- Water cooling build in my wife’s computer – Part IX
- Project Absinthe
- Project Absinthe – Part II
- Project Absinthe – Part III
- Project Absinthe – Part IV
- Project Absinthe – Part V
- Project Absinthe – Part VI
- Project Absinthe – Part VII
- Project Absinthe – Part VIII
- Project Absinthe – Part IX
- Project Absinthe – Part X
- Project Absinthe – Part XI
- Project Absinthe – Part XII
- Project Absinthe – Part XIII
- Project Absinthe – Part XIV
- Project Absinthe – Part XV: It’s alive!
- Project Absinthe – Intermission and future plans
- Project Absinthe – Part XVI
- Absinthe – Part XVII
- Absinthe – Part XVIII
- Absinthe – Part XIX: Valentine’s Day
- Absinthe – Part XX
- Distilling another batch of Absinthe
- Distilling Absinthe – Part II
- Distilling Absinthe — Part III
- Another glass of absinthe
- Another glass of absinthe — II
- Adjusting the recipe
- Absinthe to Amethyst
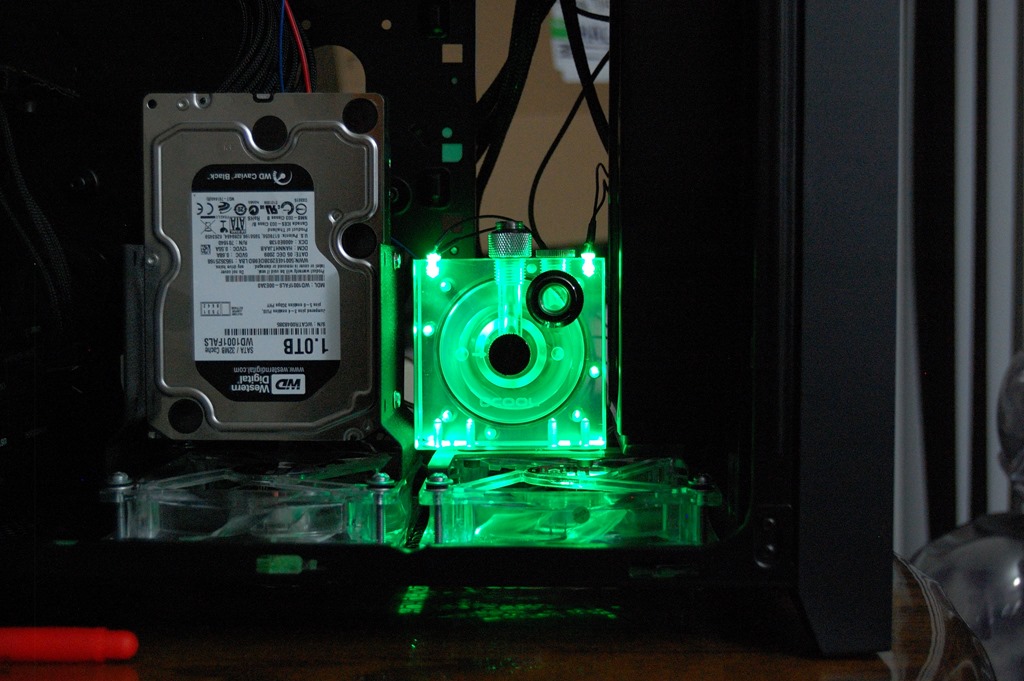
Orders have arrived and some more assembly has progressed.
One concern I had with the loop at the end of the previous iteration was how I was going to add the reservoir into the pump and radiator setup at the front of the case. I didn’t really want the reservoir hanging loose given that it would have copper tubing pushing down onto it. After getting a visual of the reservoir mount with the reservoir and radiator, the answer seemed obvious: a UN Z2 bracket.
I was planning to go with the 80mm Bitspower reservoir, but decided to go with the 100mm reservoir instead to ensure it would be long enough I could secure it with the Z2. The total reservoir length will actually be 120mm with the end caps, and the 80mm reservoir would be 100mm long, and I feared it wouldn’t be long enough.
Unfortunately Bitspower doesn’t make a 100mm full-acrylic reservoir, so I had to order the caps and tube separately. It just means I’m having to use the stop fittings and Aqua-Pipe I already have – i.e. not a huge deal.
For connecting the reservoir to the pump, I opted toward the Bitspower Mini D-Plug, which is a quick-disconnect plug. I just felt it’d be a better choice over the male-to-male rotary fittings I already have. One reason is that in assembling everything I could have one end of the plug on the bottom of the reservoir, with the other on the top of the pump, allowing me to make sure I have everything lined up for securing everything in place. In short it’ll make assembly and getting things lined up significantly easier. Plus it’ll make disassembling the loop a little easier as well.
On the lighting, the green CCFLs that give Absinthe its name, I ordered a second CCFL inverter. Currently the lighting inverter sits behind the two pass-through holes on the back of the case. It’s kind of out of sight, but not entirely. The second inverter will allow me to move both inverters behind the mainboard tray without having to use extension cables – thereby avoiding the problems that can come with them. I’ll be modifying the power cables for both to remove the switch as well – she never turns off the lighting, so there’s no need to have that ability.
Come to think of it, neither do I, so I ordered two inverters, one for Absinthe and one for my computer to get rid of the extension cables I already use. I’ll definitely also be ordering another one of the Mountain Mods hard drive cages for my computer to get rid of my 750D’s drive cage as well as probably ordering Spectre Pro fans for everything else except my H60’s radiator.
Being a drain on things
I’ve had a re-think on the drainage port. In a previous iteration I said the drain port would be going through a Koolance pass-through bracket in the lower-most expansion slot in the rear of the case. Instead I’m now considering using a pass-through fitting and dropping the drain port either through the bottom of the case or the back alongside the power supply. Regardless of which way I go on that, the valve would be attached directly to the pass-through via a rotary fitting.
This would pose a slight difficulty, as there’s not enough clearance for a fitting, meaning draining the loop would require the case to hang off the edge of table slightly or be up on a riser. But given the Koolance coolant can last over two years before you need to worry about changing it out, that’s only going to pose a problem when that time comes around and when doing the initial leak and drainage testing.
This would also mean punching and drilling a hole in the case. This wouldn’t entirely rule out the bulkhead fitting, though. It is large: about 26mm wide (a little over an inch) with a 29mm washer under it. It’s intended to be used on a water tank as well – so you can convert a larger vessel into a reservoir if you so desire – so it doesn’t have G 1/4″ threads on both sides, like what you’d find from Bitspower. So if I use that fitting, draining the loop would be like draining the coolant from a car: lift it up to put a container underneath, open the valve and let it drain out. The thread on the fitting would require a 14mm hole, just a hair over a half inch. It’s also a very heavy-duty fitting, definitely having some weight to it.
Pass-through fittings would provide the benefit of being able to attach a fitting, but with the low clearance under the case, it’d still have to be lifted up. The Bitspower fitting also requires a larger hole, if the diagram on their website is to be believed: M20 thread, meaning a 20mm hole (slightly over 3/4″).
Another option as well I considered is taking one of the pass-through fittings off the Koolance bracket and using that. It’s 5/8″ wide and would need a 9/16″ hole for the threads, perhaps a washer as well if I felt it was needed.
Finally some progress!!!
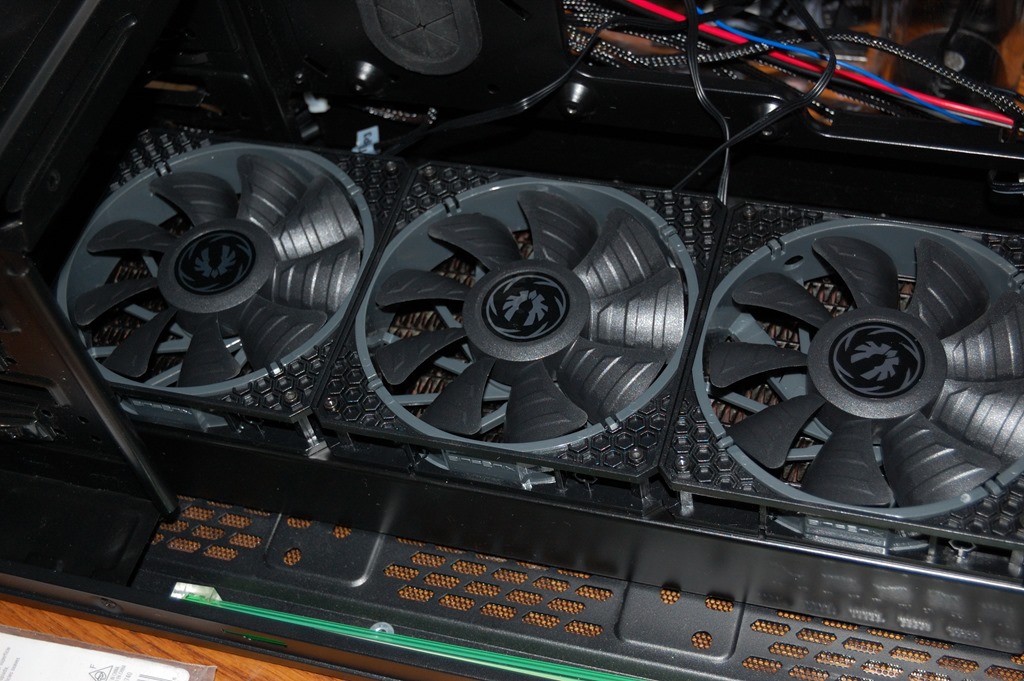
The pending arrival of the order prompted me to take apart everything I had assembled for the test fit. This was, unfortunately, unavoidable, but at least I knew before I made the order that what I had ordered would fit without any issue. The top 360mm radiator was the only thing I didn’t have to remove from the setup. The bottom fans, front radiator, the pump and hard drive cage all needed to come out. A little bit of backtracking, but making way for some progress.
First order of business was testing the fans to make sure none of them were DOA, and everything checked out.
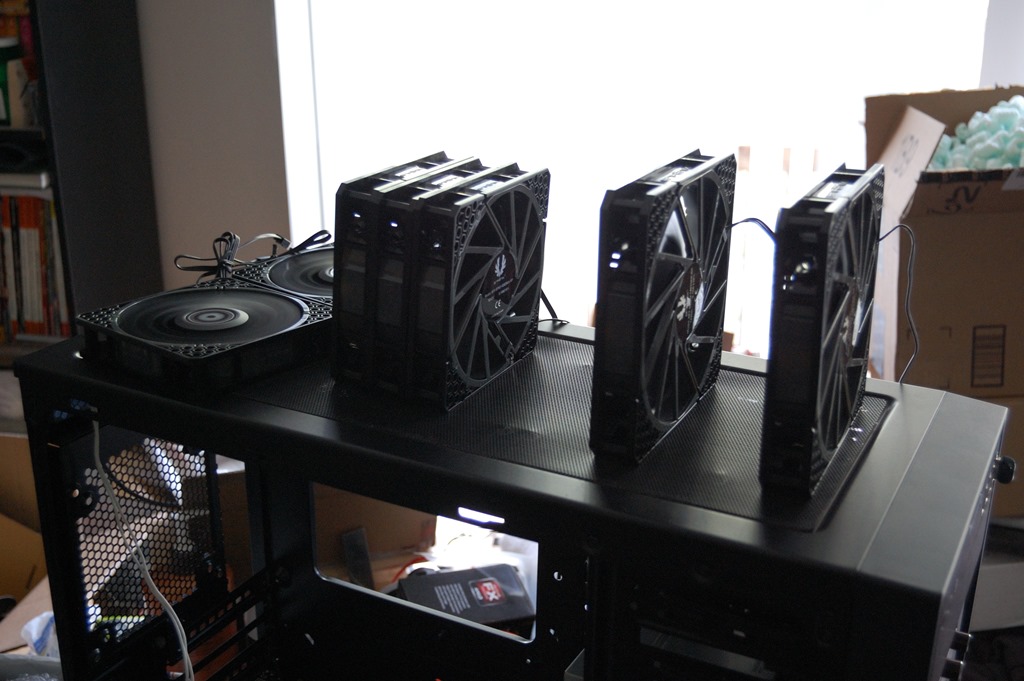
When I filed my RMA on the 140mm Spectre Pro, Performance-PCs, unbeknownst to me and apparently everyone else, had contacted their supplier to have them ship me a replacement fan. My RMA package was delivered to Performance-PCs on Monday, July 28. In conversation with them, they said they couldn’t find anything wrong with the fan and asked what I wanted to do. This was on the same day they were shipping my new order, so I asked they just ship it back with that. That arrived on Thursday, as did the replacement fan.
The faulty fan is still faulty, but at least I had a new one to replace it that works perfectly fine. And all the other fans work perfectly fine – and they’re silent, too. After testing the fans, I mounted them where they needed to go.
The Z2 bracket I ordered from Sidewinder Computers arrived on Friday. I made the mistake of thinking that I wouldn’t need to disassemble anything to mount the bracket and reservoir mount. Unfortunately I had to disassemble the entire front section again. But it was worth it to get everything aligned properly and have the reservoir secured to a solid mount – or what will be a solid mount when I mount the reservoir completely into the system. Right now I’m leaving it out of the way as I don’t need to blocking access to the fittings on the front radiator.
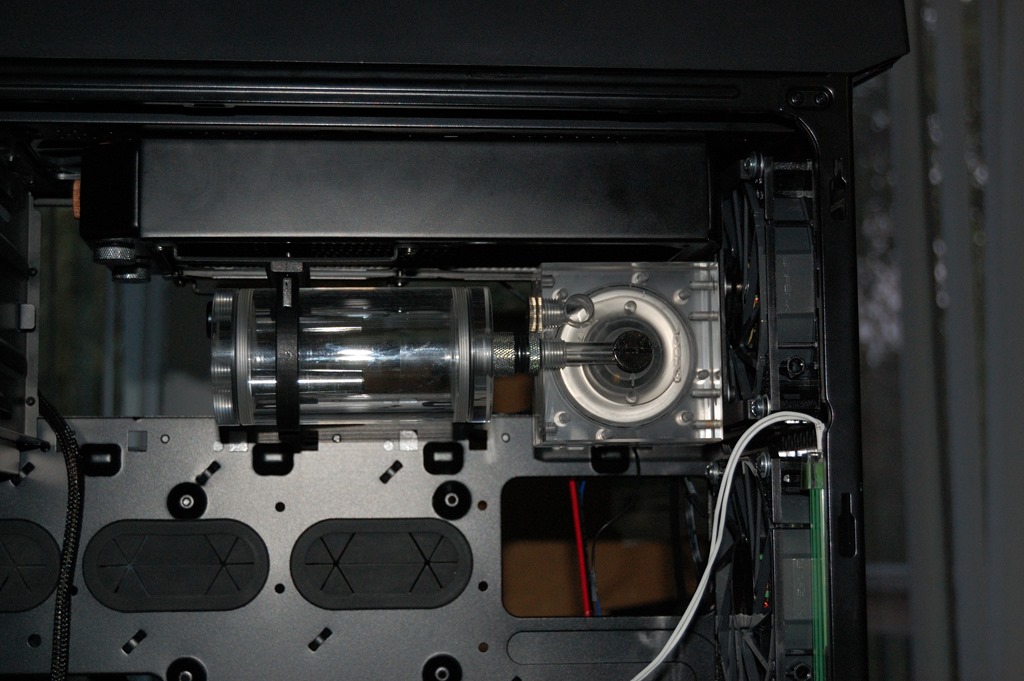
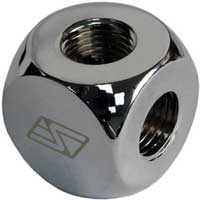
Afterward, I took the time to start putting fittings where they needed to go: the SLI bridge, both radiators, and the top of the reservoir. I’ll add the fittings to the CPU block when I get the CPU block installed on the mainboard – which will come when I’m ready to migrate everything back into the 750D. I don’t have one on the pump yet because it’ll be part of a split for running the drainage I mentioned earlier. I have an XSPC T-fitting left over from the previous build, but I’m considering going with something else, perhaps the 4-way manifold fitting from Swiftech or PrimoChill’s acrylic “T” fitting.
 |
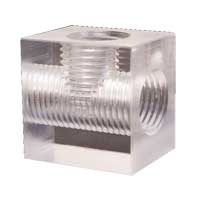 |
The latter would blend in with the pump nicely and the reservoir, while the former would blend a little more with the rest of the fittings. Hmm… this’ll be an interesting choice, and might depend on what I do to tube up the drainage system: bend copper tube or try to use fittings. I think I’ll also need to see them both in person to get an idea.
But that’s the current state of things. Next stop is to Home Depot to pick up some more copper tubing. I’ll also be looking for copper polish while I’m there. If I can’t find any, I think Wal-Mart carries something. And while I’m there I’ll probably get some more distilled water to make sure I have plenty on hand for this. Plus chocolate, since my wife reminded me she was out of chocolate. And as this is her computer I’m building, the chocolate is also kind of a mandatory component of this system.
And guys, if you cannot understand why, well then you need to better study the species of the gamer girl.
Before actually installing anything, I’ll probably start focusing a little on the cabling and cable management, especially since I’m talking about another power inverter for the lights, which will add a little more cable mess to this whole thing. The first inverter will fit easily and comfortably behind the mainboard tray. The second one will be sitting on the floor behind the hard drives – where you’ve got to really look in order to see it.
As for components, the hard drives are going to go in first so I can get the bottom of the case done before I start having to worry about the mainboard and graphics cards. Then I’ll be dissecting the graphics card and getting the AIO off the CPU to add the Koolance block.
So after weeks of waiting and test fits and trying to see how things would look, I’m finally able to start building out the loop.