- Water cooling build in my wife’s computer – Part IX
- Project Absinthe
- Project Absinthe – Part II
- Project Absinthe – Part III
- Project Absinthe – Part IV
- Project Absinthe – Part V
- Project Absinthe – Part VI
- Project Absinthe – Part VII
- Project Absinthe – Part VIII
- Project Absinthe – Part IX
- Project Absinthe – Part X
- Project Absinthe – Part XI
- Project Absinthe – Part XII
- Project Absinthe – Part XIII
- Project Absinthe – Part XIV
- Project Absinthe – Part XV: It’s alive!
- Project Absinthe – Intermission and future plans
- Project Absinthe – Part XVI
- Absinthe – Part XVII
- Absinthe – Part XVIII
- Absinthe – Part XIX: Valentine’s Day
- Absinthe – Part XX
- Distilling another batch of Absinthe
- Distilling Absinthe – Part II
- Distilling Absinthe — Part III
- Another glass of absinthe
- Another glass of absinthe — II
- Adjusting the recipe
- Absinthe to Amethyst
Monday was a night off from working on Absinthe. Tuesday I ended up staying home from work due to some dizzy spells that greeted me when I woke up. And anyone who has had those along with their stronger counterpart we refer to as Vertigo (thankfully he responded to my demands to stay away) likely knows the kind of morning I had. Thankfully the dizziness managed to die off enough later in the day that I was able to make some headway.
And first order of business on the build was making a backup of my wife’s hard drive using Macrium Reflect. I have her drives configured in a RAID 1 setup, and I’ll eventually get a hardware RAID card as well. The difference between a hardware RAID card and the onboard RAID on her mainboard, for those curious, is the same difference between the old “Winmodems” and hardware external modems that were used via a 9-pin COM port.
When the backup was done, I needed to let the computer cool off before pulling everything apart. Having a fan blowing onto the components helped it cool off faster. It’s always recommended you let everything cool off for at least an hour before you start taking things apart. I’ve violated that rule numerous times, depending on what I was doing, but the rule absolutely applies if you’re going to be doing any kind of dusting using a compressed air canister because of the extremely low temperature. It’s about the same as putting cold water into a hot glass.
Disassembling the Zalman
While waiting for the computer to cool down, I disconnected everything except the power supply. This leaves the case grounded for when I actually get in and start removing components. Since I’m touching the case, touching screws and other things that also touch the case, I can instantly ground myself. If I was using an anti-static wrist strap (I’ve never used one of these, by the way), then I’d be able to clip it directly to the case at a point near the power supply and be completely grounded because the case would be connected to my apartment’s ground circuitry.
It’s one of the reasons whenever I build a computer from the ground up, I always install the power supply first, and shortly after that I plug it in. I make sure the power switch on it is off to ensure I don’t end up doing something stupid, but the power supply being in the case and plugged in grounds the case completely for when I’m installing sensitive electronics. I have the RM1000 power supply plugged in for the same reason.
The hard drives were my first target. I needed to get those out and get the hard drive cage mounted in the case. If I didn’t do this early, it’d be difficult later on as the graphics cards were going to be close by, and the mainboard itself would also interfere a little. One thing I failed to anticipate with mounting the hard drives is that the hard drives would actually interfere slightly with the lower corner screw for the mainboard. It wasn’t impossible to reach, but it was a little blocked.
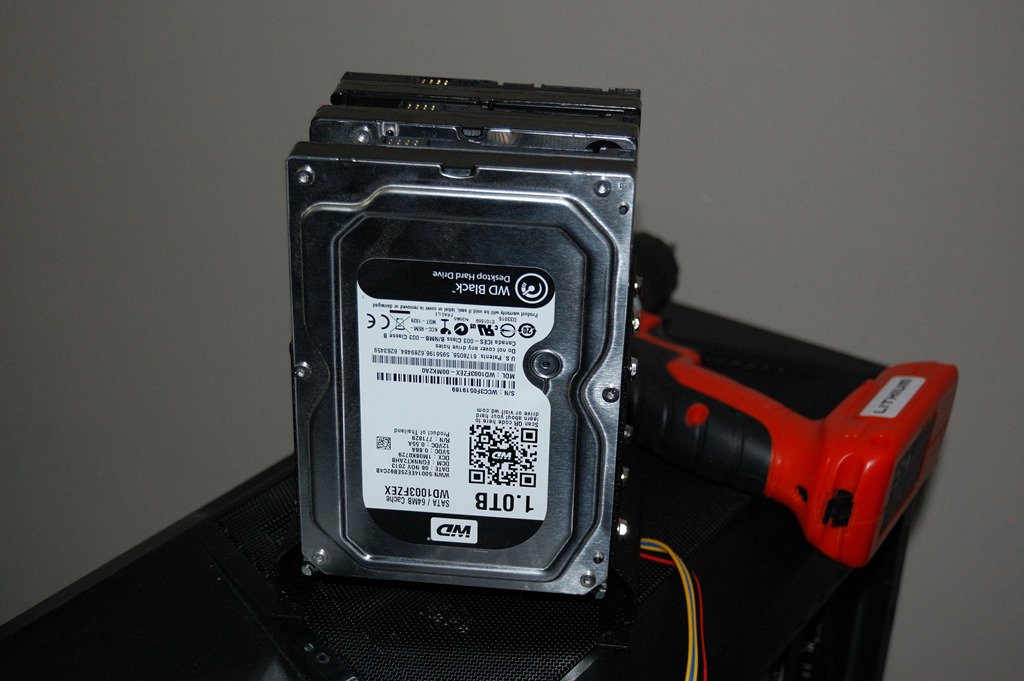
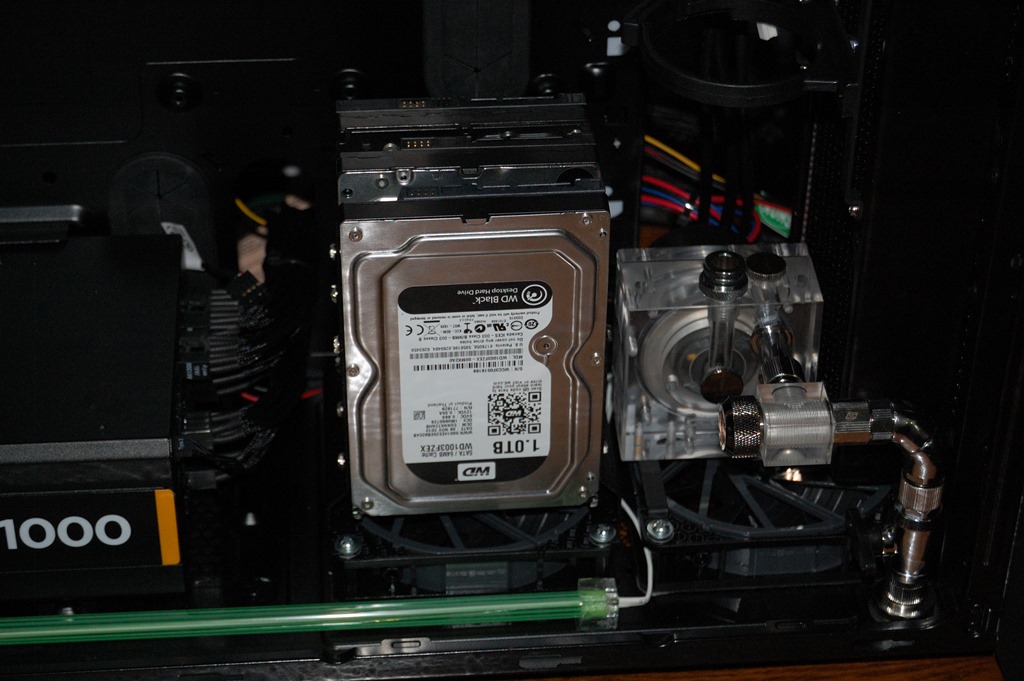
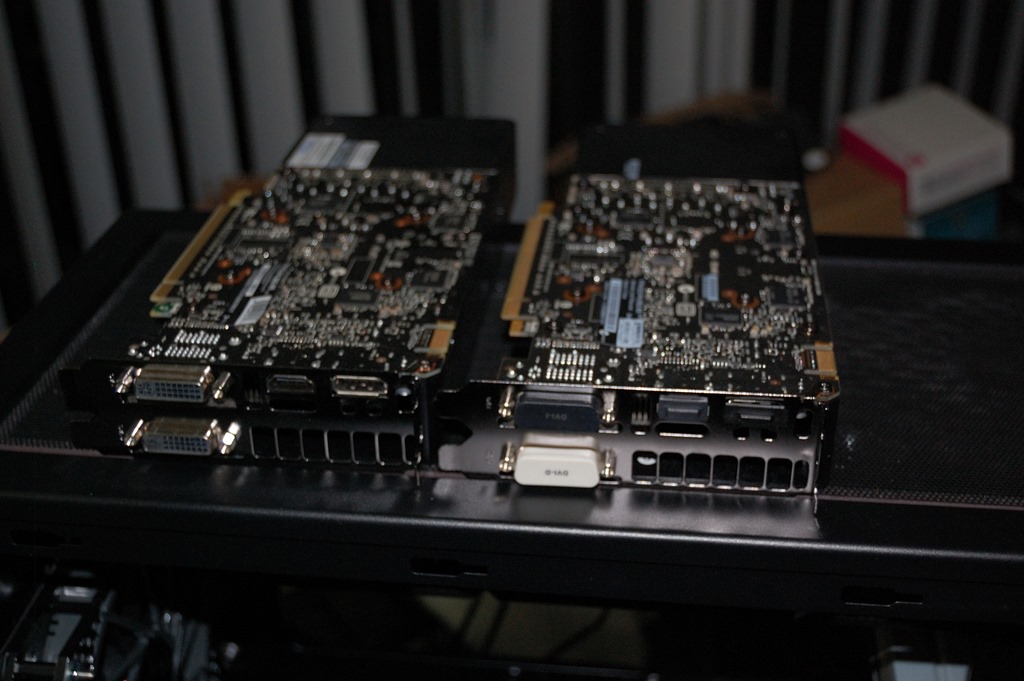
So after getting the hard drives mounted, I turned to undoing much of the cabling in the case. I wanted to get a lot of it out of the way before going after the graphics cards. Once those were out, I turned to the ThermalTake water cooler, then to the mainboard. The graphics cards I set aside on the 750D, while the mainboard I set on another mainboard box to prepare it for work.
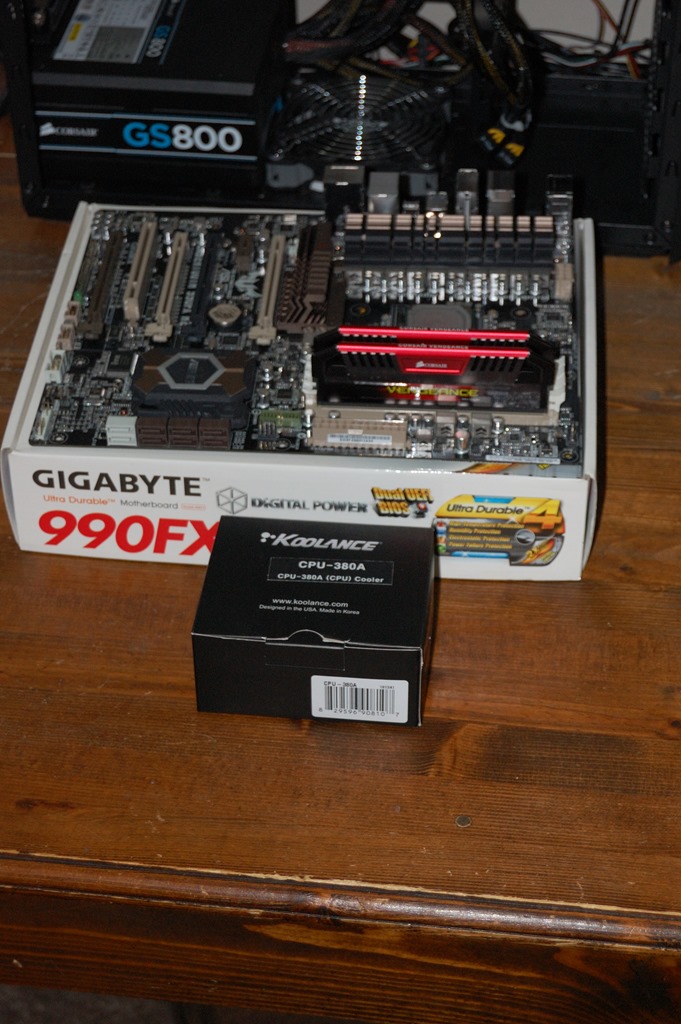
The Koolance block I new would be larger than the AlphaCool block. And it is also much heavier than the AlphaCool block. It’s probably the heaviest block on the market, now that I think about it, mainly because there is very little plastic in this. That is certainly a good thing. Plus the fitting threads are recessed into the block’s body, meaning if they crack there’s not really anywhere else for the coolant to go.
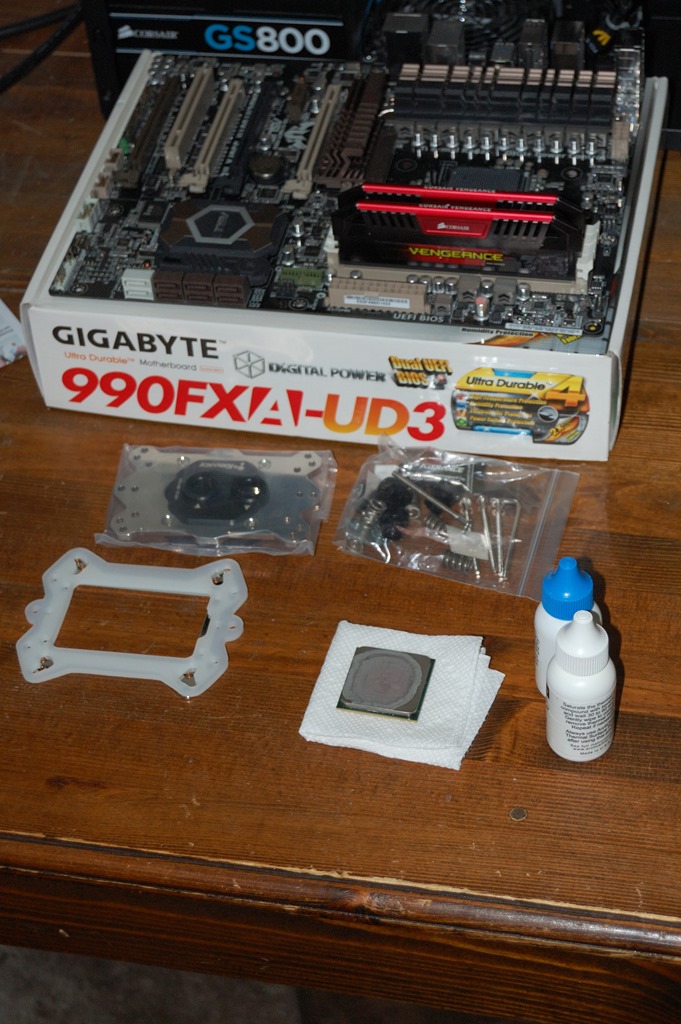
The block was relatively straightforward to install as well. The instructions were pretty easy to follow. And under the block I didn’t use Koolance’s included thermal compound, but my personal preference, IC Diamond. ArctiClean is the two white bottles next to the CPU with the old IC Diamond compound. Once the CPU was clean, it was a matter of installing it and the water block.
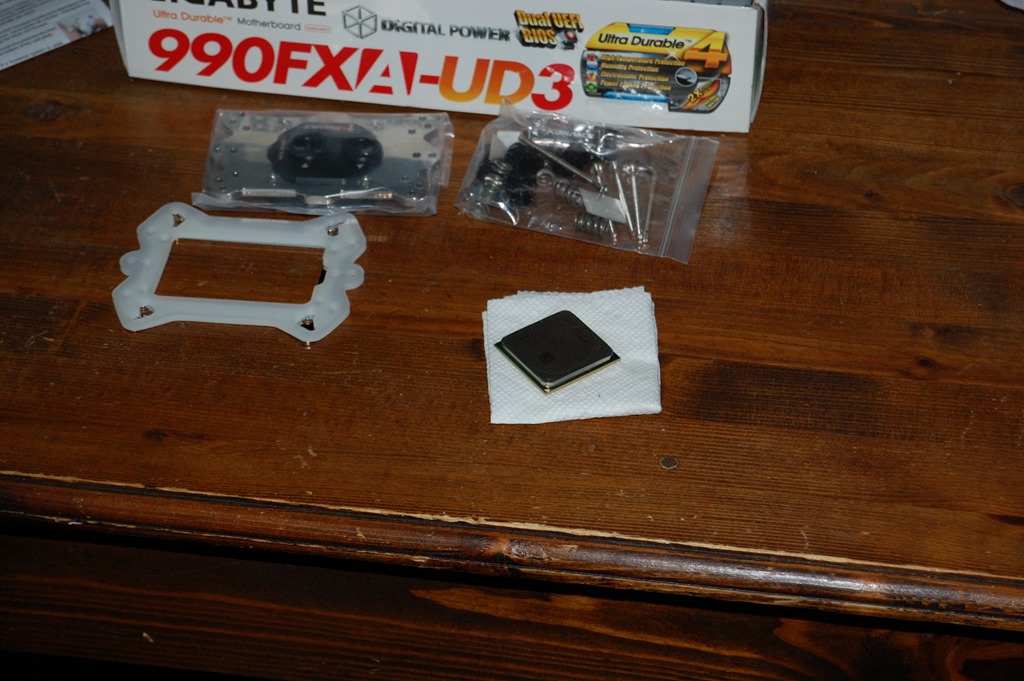
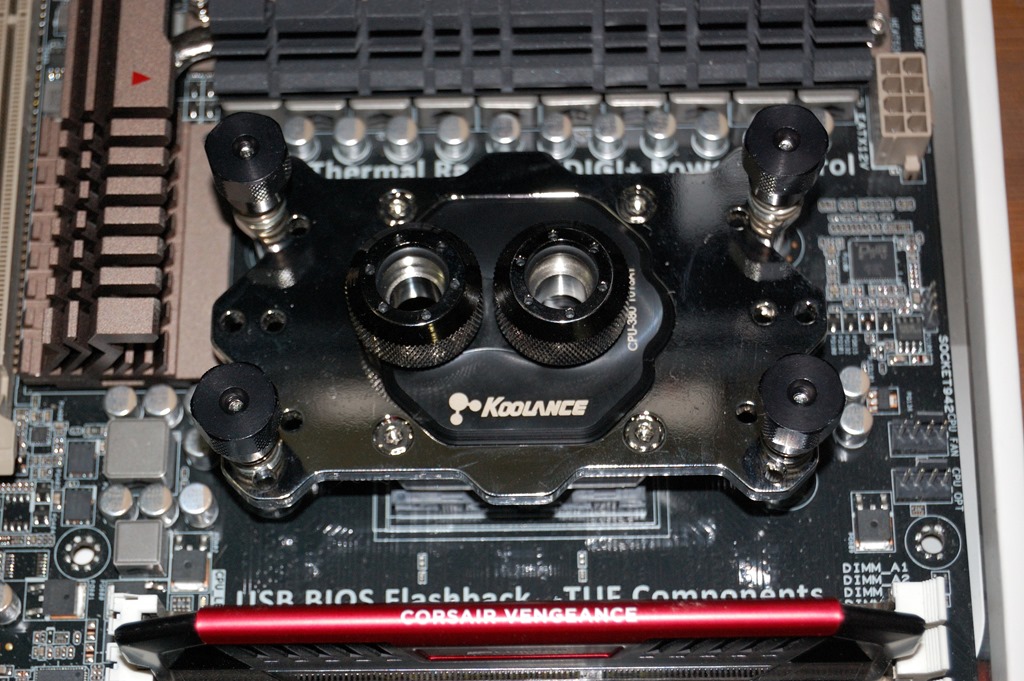
The block is installed “upside down”, so to speak, as I wanted the inlet closest to the radiator, as the path of the coolant is to go from the graphics cards to the top radiator, then to the CPU. With the block mounted, the only thing left was to install the mainboard into the case.
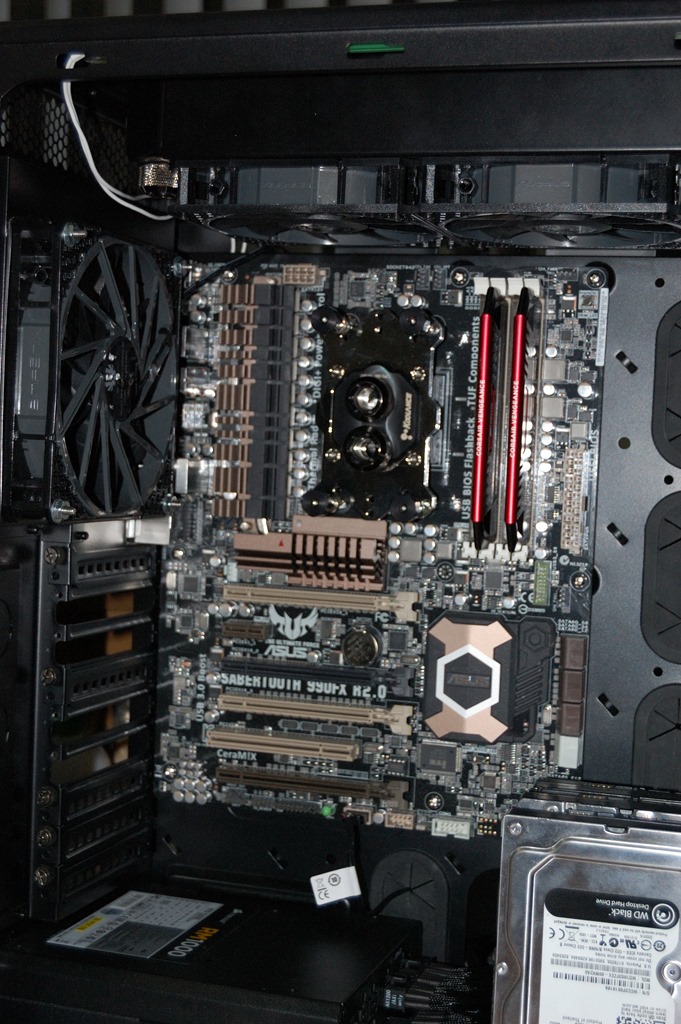
There was one thing I discovered about this setup that is requiring that I modify my plans, in that the water block is certainly taller than I originally thought. This isn’t a show stopper. It just means that the outlet from the SLI bridge will need to go to the port on the radiator on the mainboard side of the case as opposed to the window side of the case. Then the other port will go to the CPU.
And that is where I’ll leave this iteration, as that is where I left the work. The plan for the next day is to get the water blocks and SLI bridge on the graphics cards, which will allow me to make the last determinations for the tubing. Whether I start attempting to run tubing I will determine at that time.