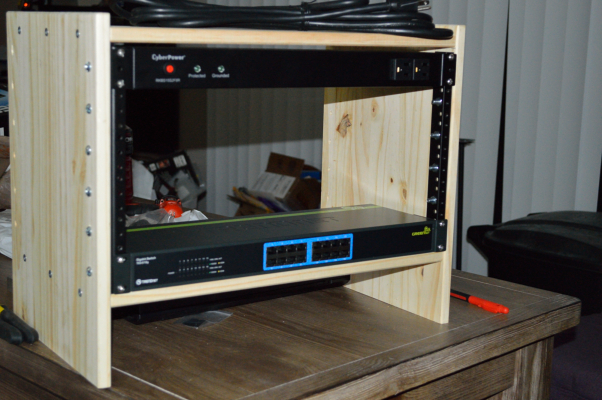
Note: IKEA has discontinued the RAST nightstand. This article is kept for historical reasons only. As an alternative for lightweight equipment, consider this article where I build a rack cabinet from the IKEA BESTÅ cabinet.
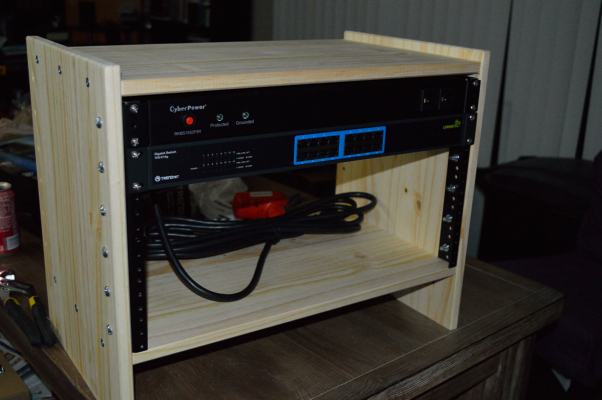
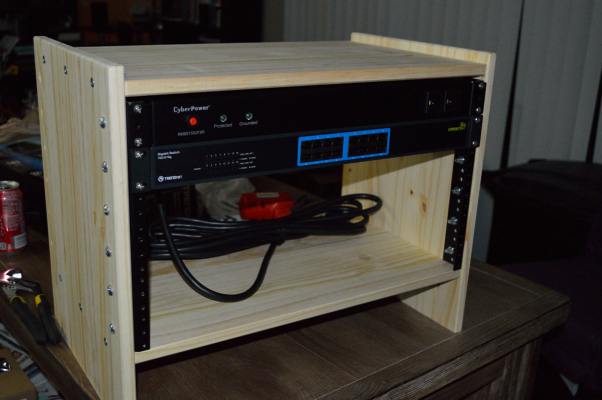
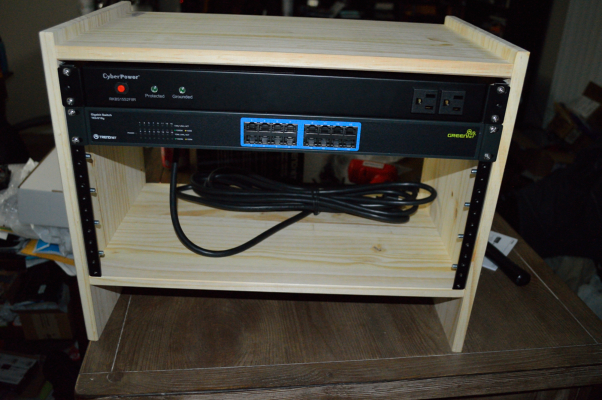
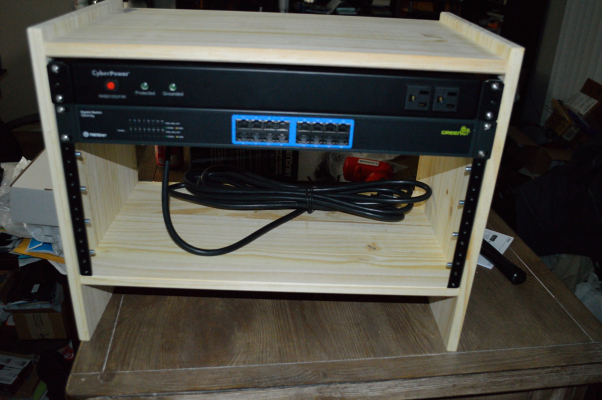
In a previous article I rambled about various rack mount projects I have in mind. Before being able to actually do any kind of rack mount project, I kind of need a rack cabinet. And since I didn’t want to spend several hundred dollars on such a cabinet, I looked around for various ideas on building my own, one of which was using the IKEA RAST nightstand as the cabinet and buying rack rails to create the cabinet. And ultimately that is the way I went.
The original idea off which I based this came from here. This was not originally my idea. I’m only providing my experience building it.
I purchased two sets of 6-unit rails from Amazon, namely the Reliable Hardware Company item RH-6-SRR-A for only $9.80 each — each set is a pair of rails so you only need 1 to make 1 cabinet. Along with these, you will need 12×1/4″ screws with nuts, 6 for each rail. At minimum they need to be 1″ long, but 1-1/4″ screws will be better, especially if you want to use washers with them. I used 1-1/4″ screws that I bought from Home Depot. To mount any rack devices you will need #10-32 — not #10-24 — and the 1/2″ screws will work fine. You’ll need 4 of those screws per device, possibly 8 for the larger devices.
So what about cost? Here’s the breakdown (without any applicable sales tax)
- RAST nightstand – 14.99
- Screws – 2.94 each for 4 screws/nuts, 3 needed
- 6U rails: 9.80 for single pair
Total: about $33.61 (plus any applicable tax or shipping charges)
The 8U rack rails (Reliable Hardware Company item RH-8-SRR-A) are $12.75 for a pair, which would give an 8U rack for about $39.50, adding in an additional packet of screws and nuts for the longer rails. But when you consider that cost compared to what most pre-fabricated rack cabinets cost, you’re still coming out pretty far ahead. You could still easily build three of these cabinets for the same cost as one pre-fabricated cabinet.
And if you wanted to stack them to build up a taller cabinet, something I intend for my entertainment center, you’d just need brackets to secure them. I mentioned using pegs in the previous article, but seeing the nightstand in person, I’m not entirely sure how wise that would be. Brackets would be the better choice.
Or if you really want to get fancy, and have the space and tools to do such, you can build as tall a cabinet as you want in whatever style you want — just make sure it’ll be strong enough to bear the weight of whatever you intend to mount into it.
Now in my recent visit to IKEA, I did acquire a LACK table, and I am considering taking a rack mount surge suppressor and gigabit switch and attaching them to that table as it will reside under my wife’s new desk. They’re the only rack mount items I’d have below her system for now, and it’d clear some more room off her table top, especially since the new table is 12″ less wide and 6″ less deep than her current table, but about 12″ taller. Sitting on top of the LACK table would be a drawer unit that currently sits on top of her desk. The computer tower we both feel should be able to sit on her desktop behind her monitors as it currently does.
Now this doesn’t mean the rack cabinet I just built will be going unused. I do have a server I will be mounting into it. Interesting story with the case, too, the Logisys Computer 4802: it doesn’t fit in a 19″ rack unless you remove the handles. But I also know there are smaller, easier to manage server cases that I’m considering for a full rack — likely to sit in the media rack I intend — rather than using the 24″ long server case. For now the 24″ case will do the job and I’ll just buy some blanking plates to fill in the other two unit spaces.
Plus I have other rack mount projects in mind, so any additional cabinets I build will certainly be put to use.
