- Water cooling build in my wife’s computer – Part IX
- Project Absinthe
- Project Absinthe – Part II
- Project Absinthe – Part III
- Project Absinthe – Part IV
- Project Absinthe – Part V
- Project Absinthe – Part VI
- Project Absinthe – Part VII
- Project Absinthe – Part VIII
- Project Absinthe – Part IX
- Project Absinthe – Part X
- Project Absinthe – Part XI
- Project Absinthe – Part XII
- Project Absinthe – Part XIII
- Project Absinthe – Part XIV
- Project Absinthe – Part XV: It’s alive!
- Project Absinthe – Intermission and future plans
- Project Absinthe – Part XVI
- Absinthe – Part XVII
- Absinthe – Part XVIII
- Absinthe – Part XIX: Valentine’s Day
- Absinthe – Part XX
- Distilling another batch of Absinthe
- Distilling Absinthe – Part II
- Distilling Absinthe — Part III
- Another glass of absinthe
- Another glass of absinthe — II
- Adjusting the recipe
- Absinthe to Amethyst
And here we are to the 18th part of this build log for Absinthe. There’s not much of an update on this one, though — just some more pictures of the build, plus a couple minor things, so let’s get into this.
First, I’ve been messing with rack mount lately, and I recently built a 6U rack mount cabinet from an IKEA RAST night stand. I decided to put that up on my wife’s desk with the network switch and surge suppressor I also purchased to go with it — her desk is nearest the router, and the switch has always been on her desk. This allowed for a good reorganization of the cabling around her system while also putting another AC outlet within reach for a USB charger.
Beyond that, the only change to her system was installing another fan using a 3-bay fan mount from Mountain Mods. This time I went with the aluminum version with a DEMCiflex filter over it. I had originally ordered an acrylic version of it, but it cracked while I was trying to make the necessary cuts for it to fit into the 750D. The aluminum one can be cut with just tin snips.
Unfortunately the aluminum one is also cut differently and sits deeper into the drive bays than the acrylic version, meaning getting the ferrous strips placed for it was a little difficult. I’ll look for something to fill in the gap later. The filter’s placed and doing its job, so I’m not all that concerned at this point.
One other thing I forgot to mention in the previous entry to the log is the sound card. The red LEDs on the SoundBlaster Z sound card is easily dispatched. Just remove the cover — just 4 screws — and take snips to the LEDs. That’s it. You are likely voiding your warranty doing this, but it gets rid of an annoying light and is, in my opinion, a much better solution to just wrapping it in tape.
So that’s it for now. There is a graphics upgrade planned for this down the line — upgrading her GTX 660s to, likely, a GTX 970, possibly two. I’m also considering an R9 290 or 290X. The only thing turning me off with regard to those cards is just how hot they run and how much power they consume. But VisionTek puts one out with a water block pre-installed for less than what it’d cost to buy a GTX 970 and water block separately.
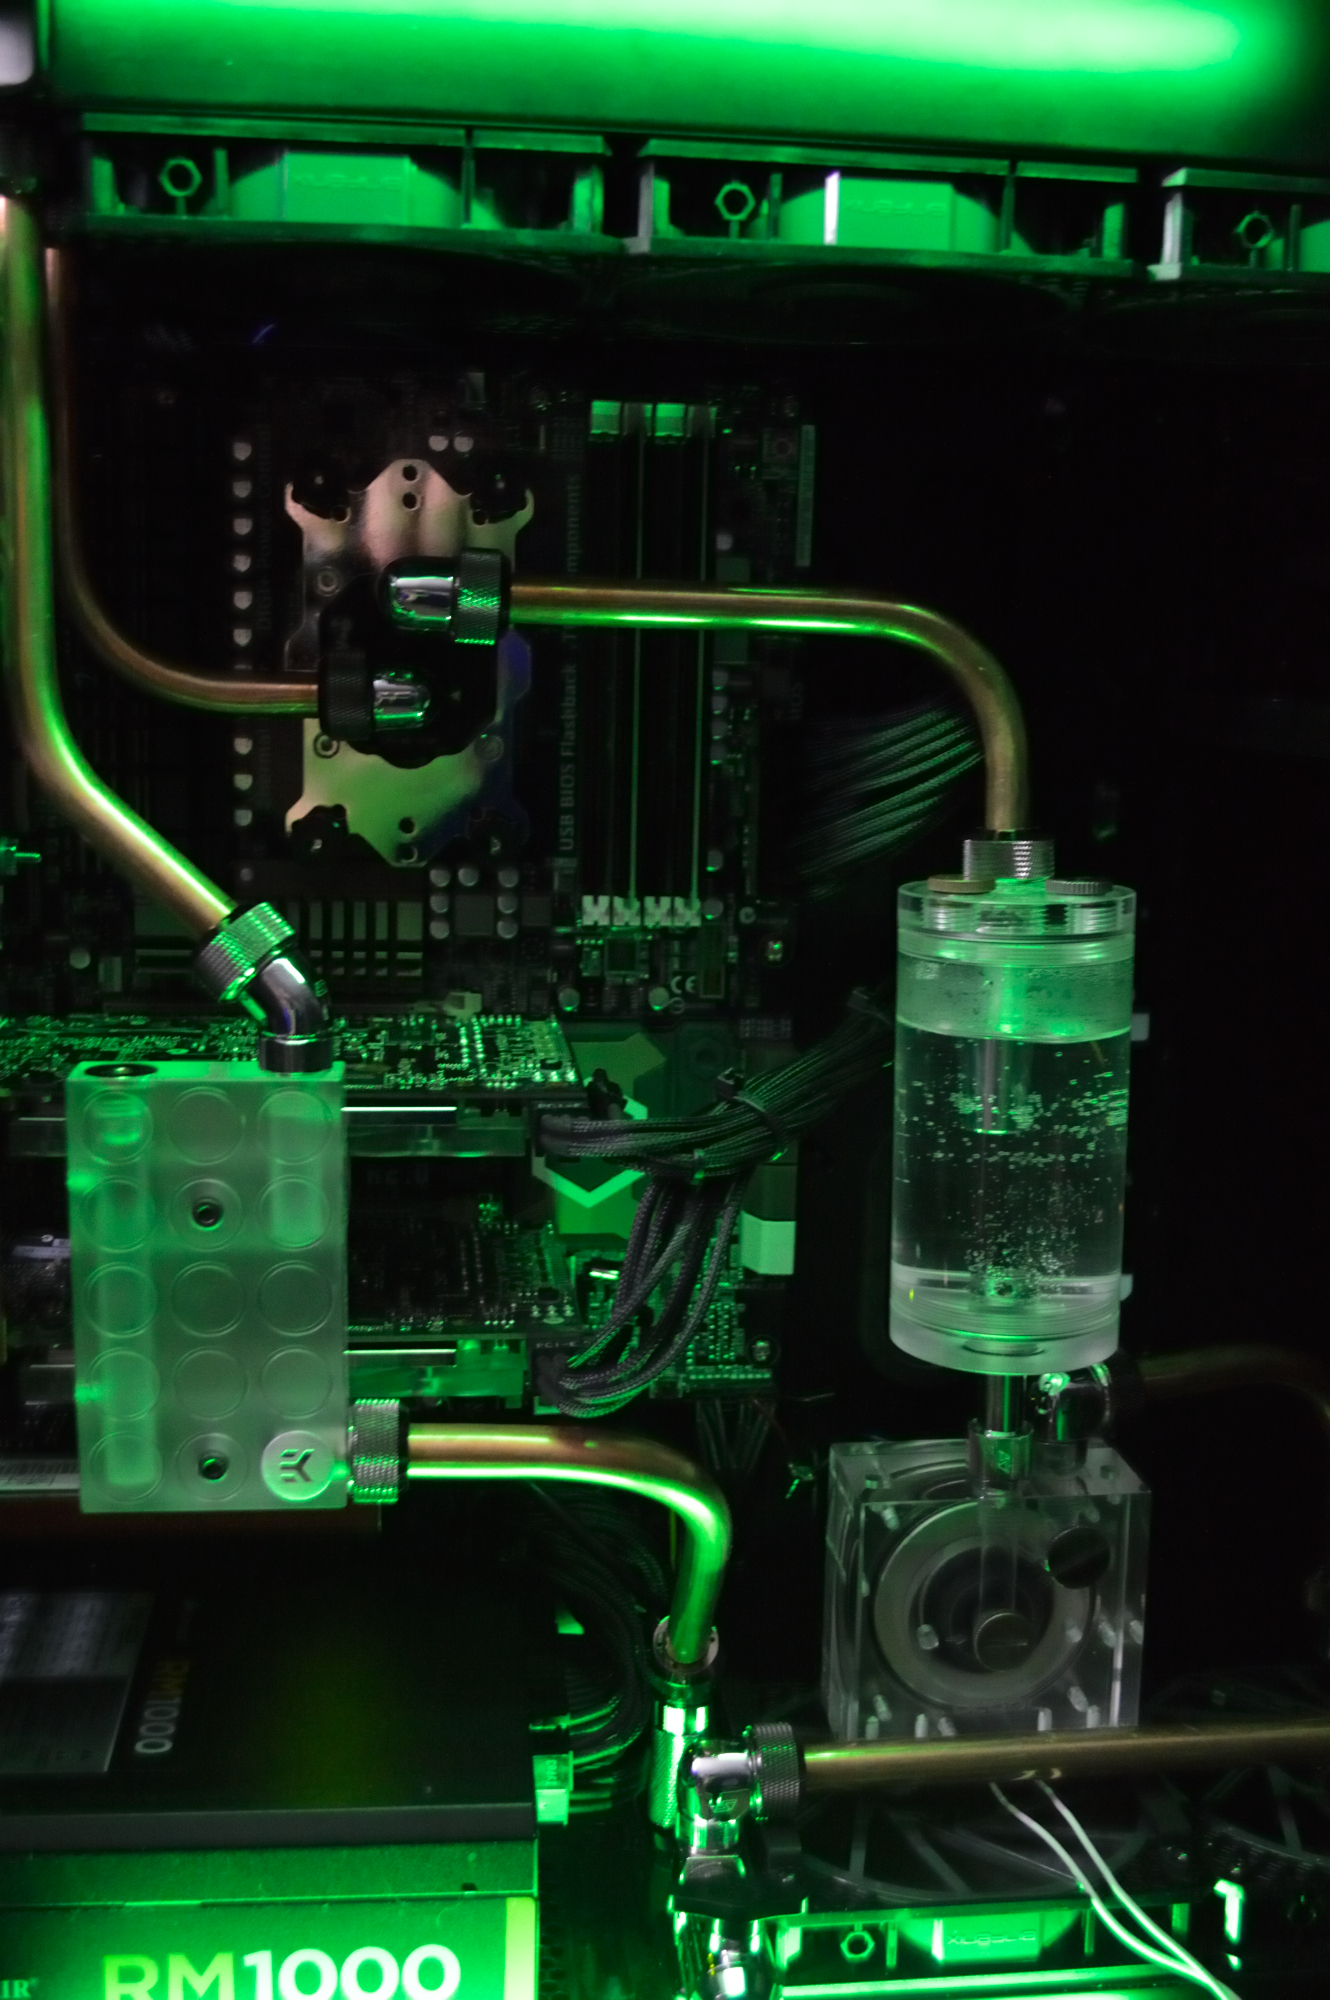
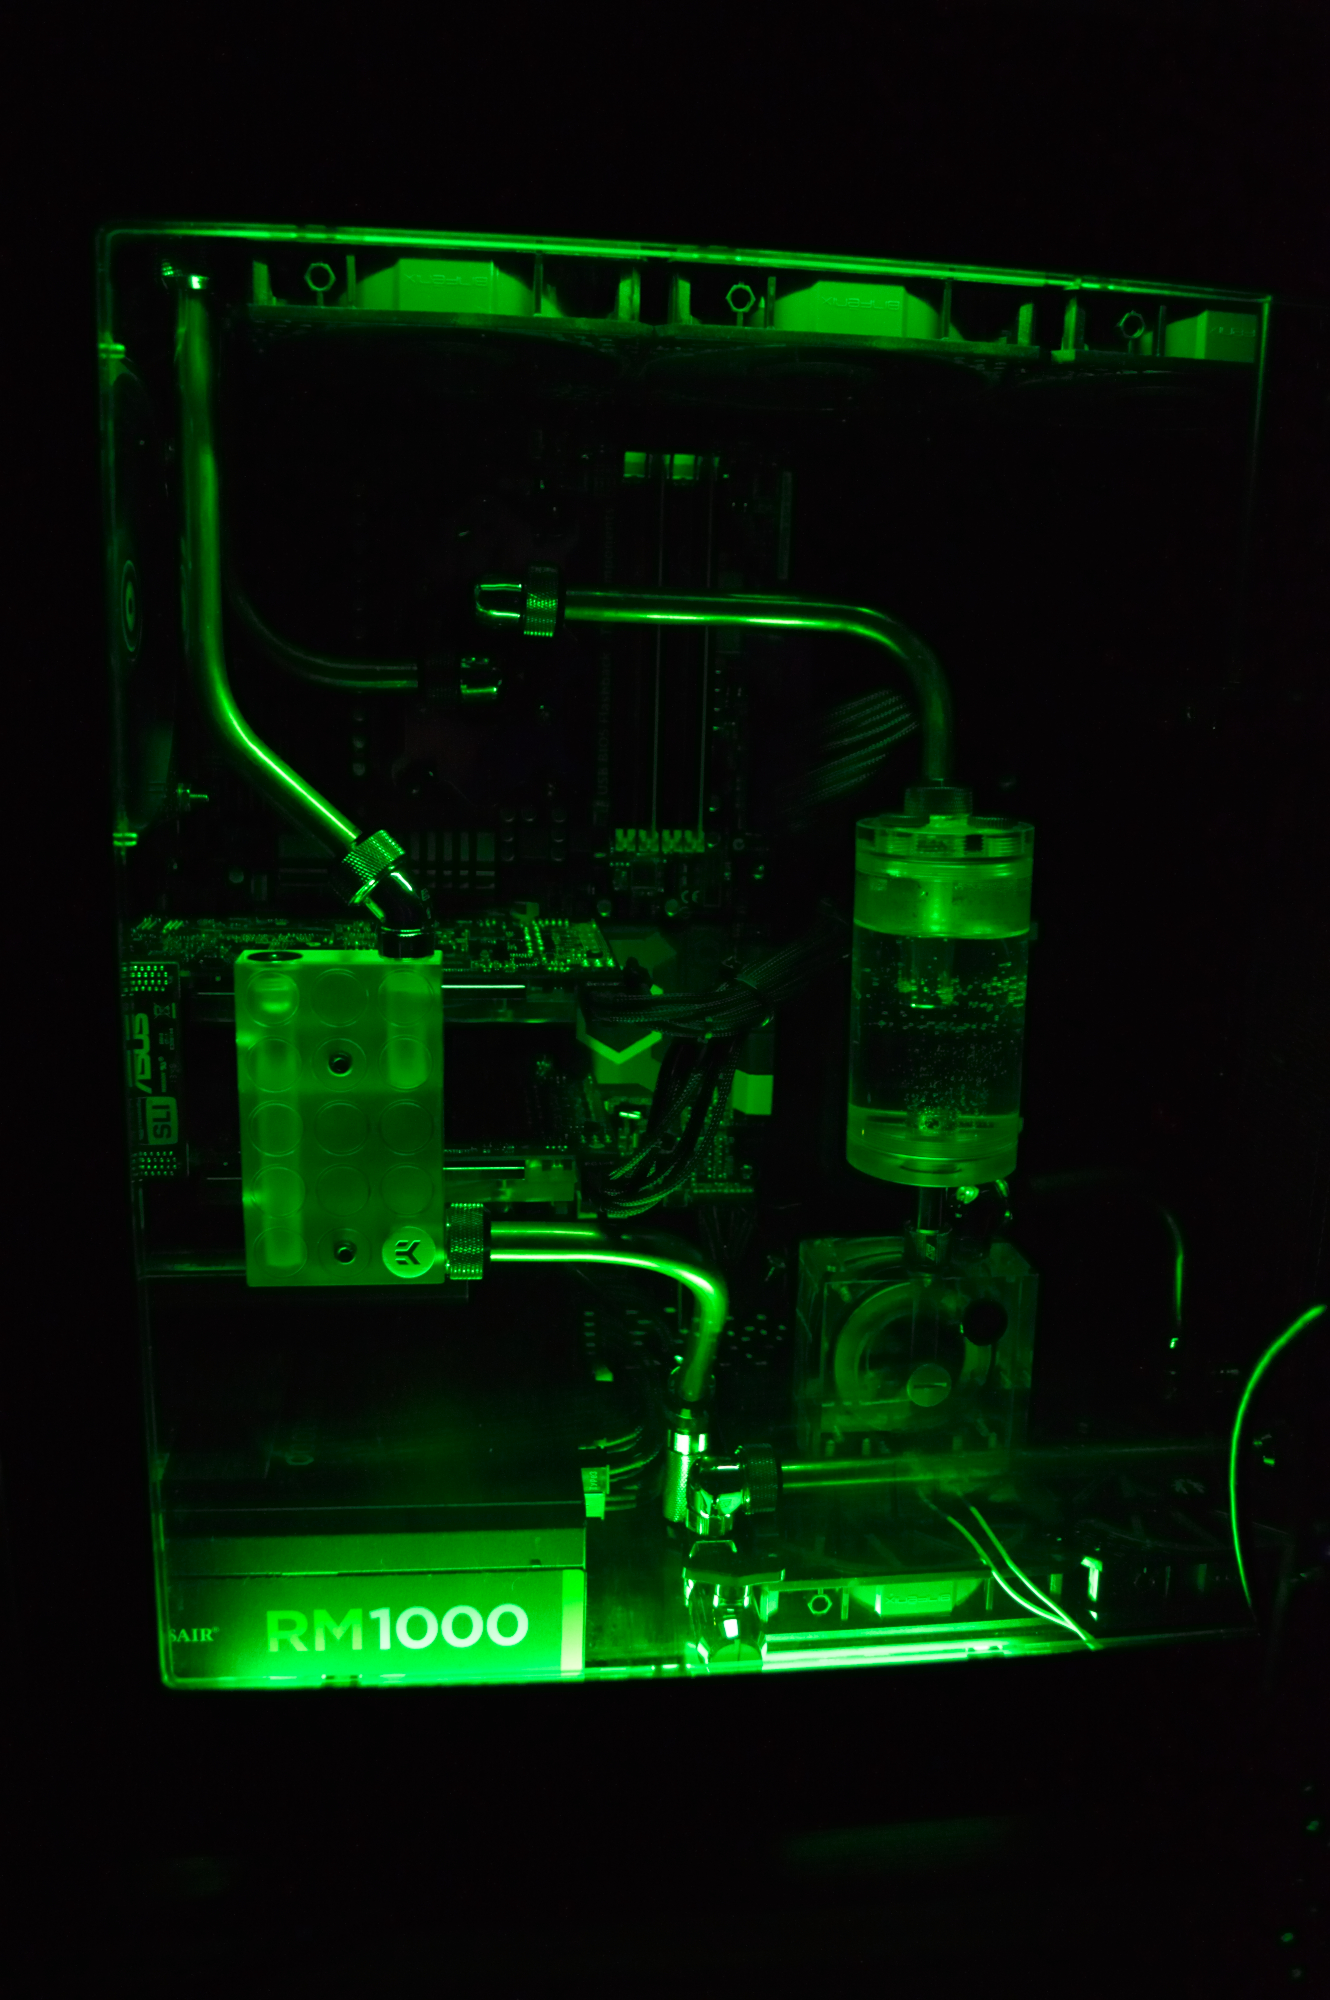
But I think ultimately it’ll be the GTX 970 in the end. We’ll see. For now, enjoy some new pictures of the build, without the annoying red light.


You must be logged in to post a comment.