- Beta Orionis
- Beta Orionis – Part II: New fans
- Beta Orionis – Part III
- Beta Orionis – Part IV
- Beta Orionis – Part V
- Beta Orionis – Part VI
- Beta Orionis – Part VII
- Beta Orionis – Part VIII: Delays
- Beta Orionis – Part IX
- Beta Orionis – Part X
- Beta Orionis – Part XI
- Beta Orionis – Part XII
- Beta Orionis – Part XIII
- Beta Orionis – Part XIV
- Beta Orionis – Part XV: Follow-up with Koolance blocks
- Beta Orionis – Part XVI: Overclocking the GPUs (or not)
- Beta Orionis – Part XVII: The AX860
- Beta Orionis – Part XVIII: New power supply and quieting things down
- Beta Orionis – Part XIX: Taking it outside
- Beta Orionis – Part XX: New loop
- Beta Orionis – Part XXI
- Beta Orionis – Part XXII
- Beta Orionis – Part XXIII
- Beta Orionis – Part XXIV
- Radiator box for PC water cooling
- Beta Orionis – Part XXV
- Corsair AX860: A retraction
- Mira
I wasn’t done with the mainboard yet. After the last segment, I started with preparing the EK Supremacy EVO block. The backplate was first, then I made the needed adjustments to the block’s jet plate and mounting bracket. That’s pretty much as far as I can get before draining and tearing down the loop.
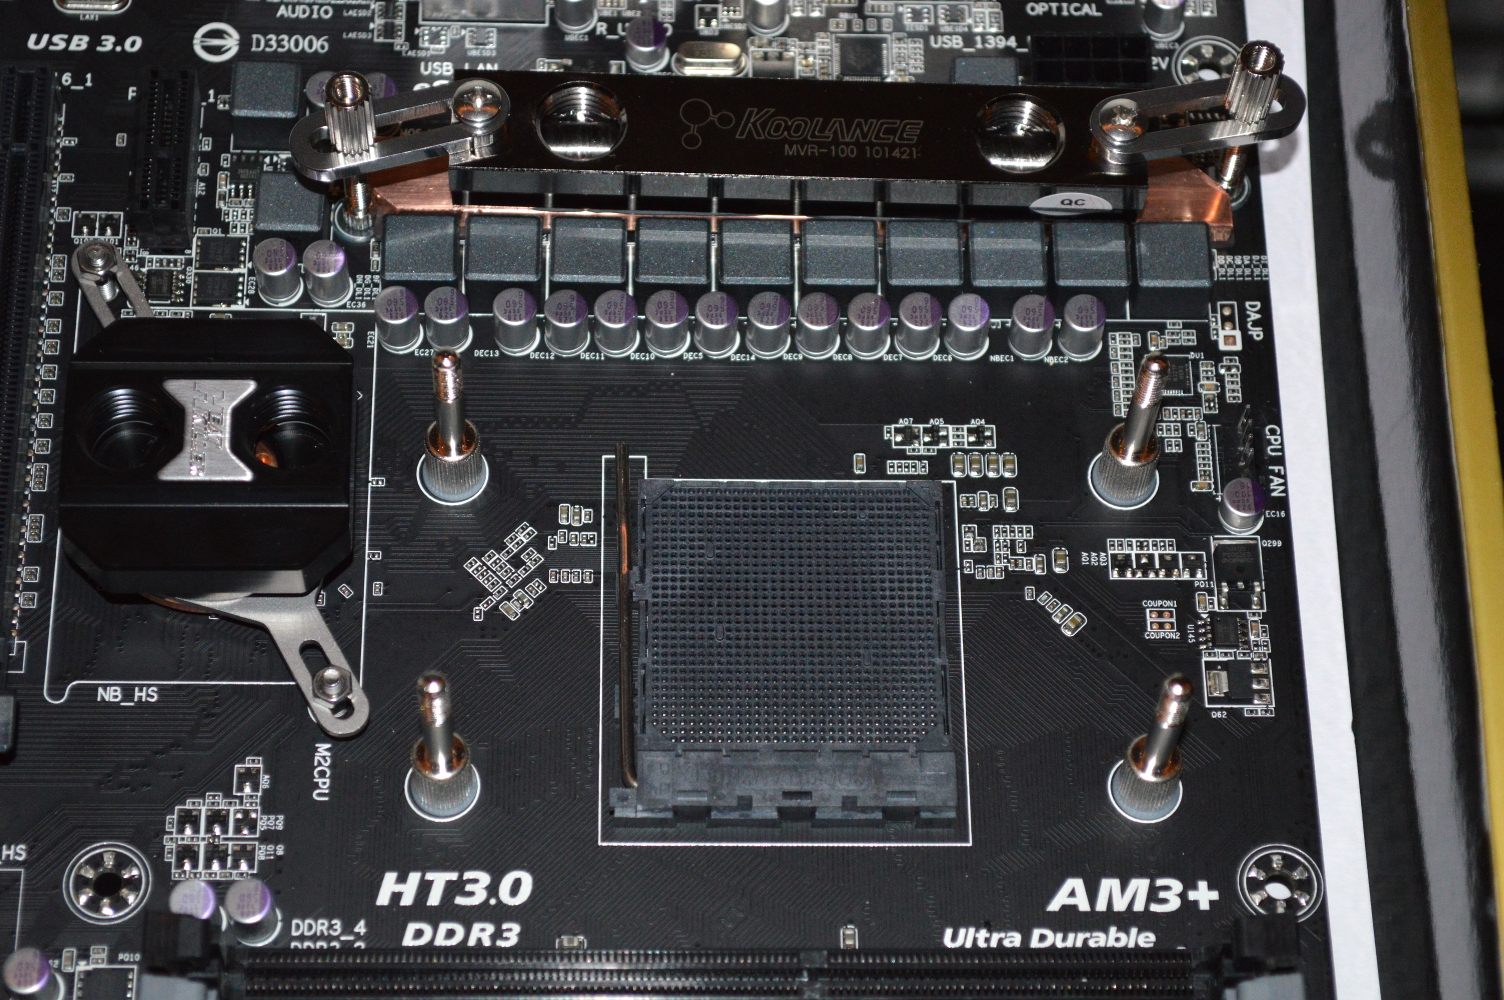
Let’s go over the plan for the loop first — as in the order of operation.
Inflow and outflow will be in the lowest expansion slot right above the power supply. The inflow will go to to the radiators — bottom, front, then top — before getting to the VRMs. It’ll be one long piece of tubing from the front to the back. Currently I’m planning to go from the VRMs to the northbridge, then the CPU, because it looks like that’ll be easier to tube up, but I might go from the VRMs to the CPU, then the northbridge. Either way, the next path is to the top graphics card, then southbridge, then bottom graphics card and to the outflow.
This will require replacing virtually all of the tubing, so good thing I’ve got about 10′ of it waiting. I’m not sure yet if I’ll need any additional fittings, but I’m going to see what I can accomplish with what I have. If push comes to shove, my local Micro Center has started stocking EK’s fittings.
Tearing down the computer
First order of business with trying this was to get the system torn down as much as possible before I either passed out, my back gave out, or I gave up and threw the thing out the window.
The three drain ports I’ve mentioned come in quite handy for draining as much out of the loop as possible. A syringe helps take care of some areas where it still gets trapped, such as the bottom radiator. I had earlier picked up several gallons of distilled water from my local HyVee to flush out everything. What I should also have picked up was an industrial-sized duster — seriously after six months this system picked up some serious dust. The fact it was running without a back cover for a couple months probably didn’t help, but most of the dust was on the top and front radiators.
Well, enough about that.
I flushed the graphics cards and the radiators, and then reinstalled them into the system. Given the pump and reservoir will be moved externally, the front and bottom radiators are directly connected by a straight line of tubing, such as what I used in Absinthe. That piece was cut from another piece of tubing I know I won’t be reusing.
After re-installing the radiators and connecting a couple pieces of tubing, I tucked all the cables in, remounted the graphics cards, and closed up the case for the night. I have a 11-week old kitten now, meaning curious beyond the point of frustration, and I can’t have her risking the system. But then she’s also the reason I’ve had the power supply plugged into the wall virtually the entire time I’ve been working on this system.
I didn’t get far the next day, in part because of my back. Above anything else, the reservoir needed to be mounted where I planned, and that is what I managed to get. I discovered a couple things as well.
I assumed the pump outlet would likely interfere with the top graphics card, and that was confirmed. There is, unfortunately, no way around that. The HDMI port is directly blocked, but whether the DVI-D ports are blocked will depend on how I run the tubing from the pump to the inlet, so for my television, I might have to use a DVI-D to HDMI converter, depending on how it’s blocked.
For the outlet back to the reservoir, I initially wanted to run that back to the far side of the reservoir, where the coolant would come back in from the bottom. Unfortunately that fitting is going to interfere with the side panel, so I’ll have to run the tubing back up to the fitting on the top of the reservoir on the same side as the pump’s outlet. I’ll figure out the specifics on that later.
It would be a couple days from that before I got back to the system, in part because I wanted to get to Micro Center to buy some more fittings. In particular I wanted Swiftech 3/8″x1/2″ fittings for the pump and reservoir. Yes, I’ll be using soft tubing externally and copper internally.
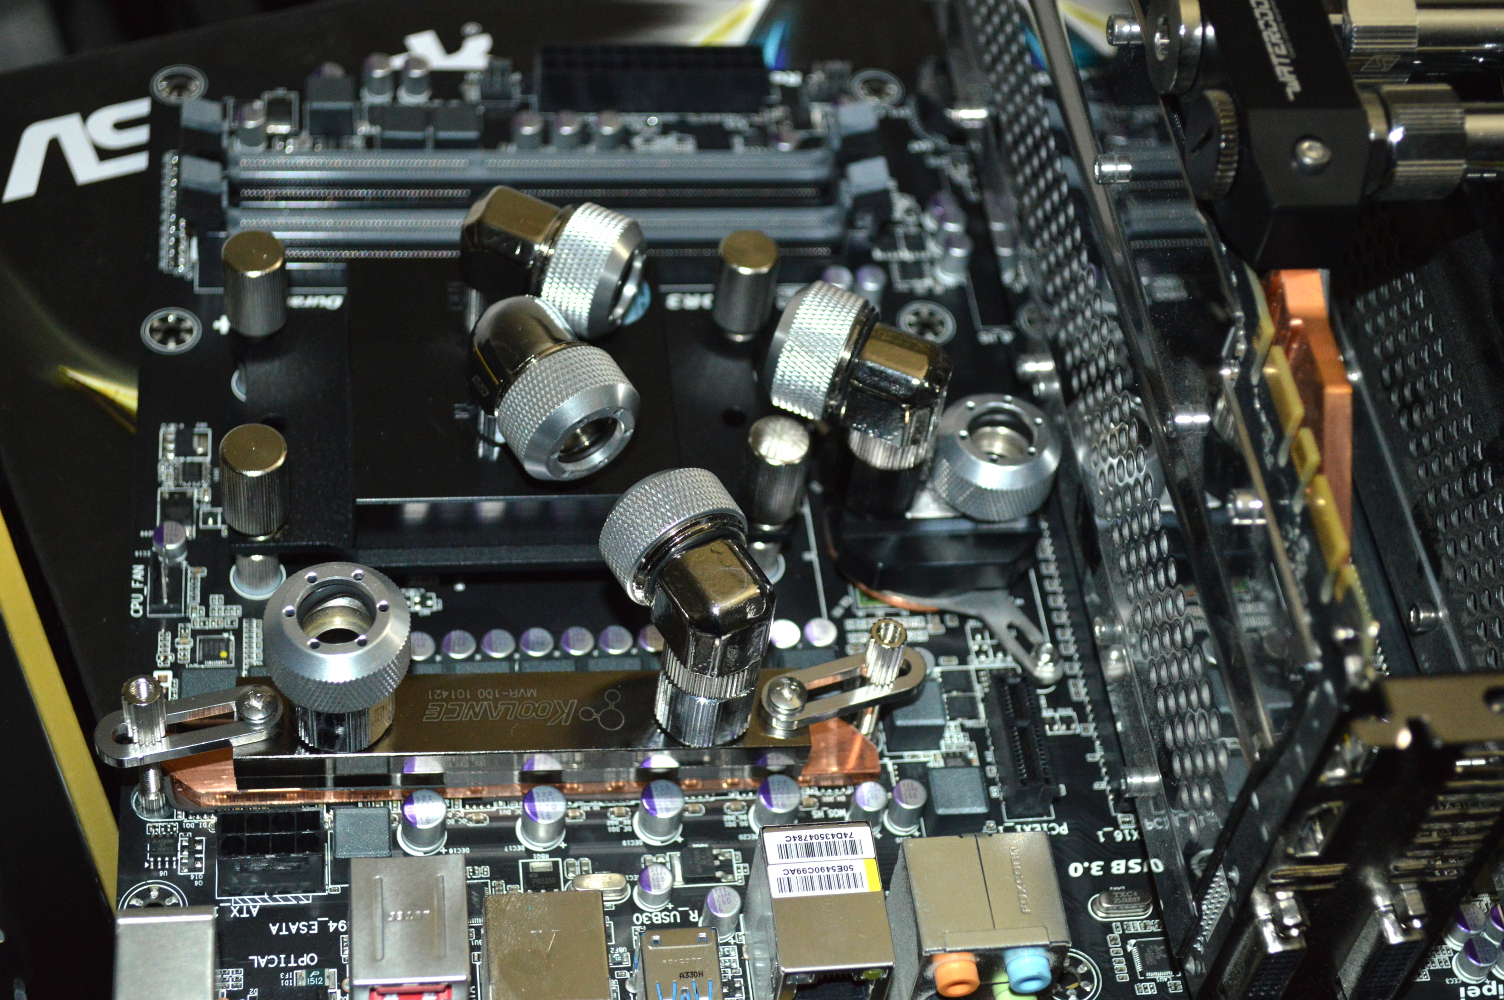
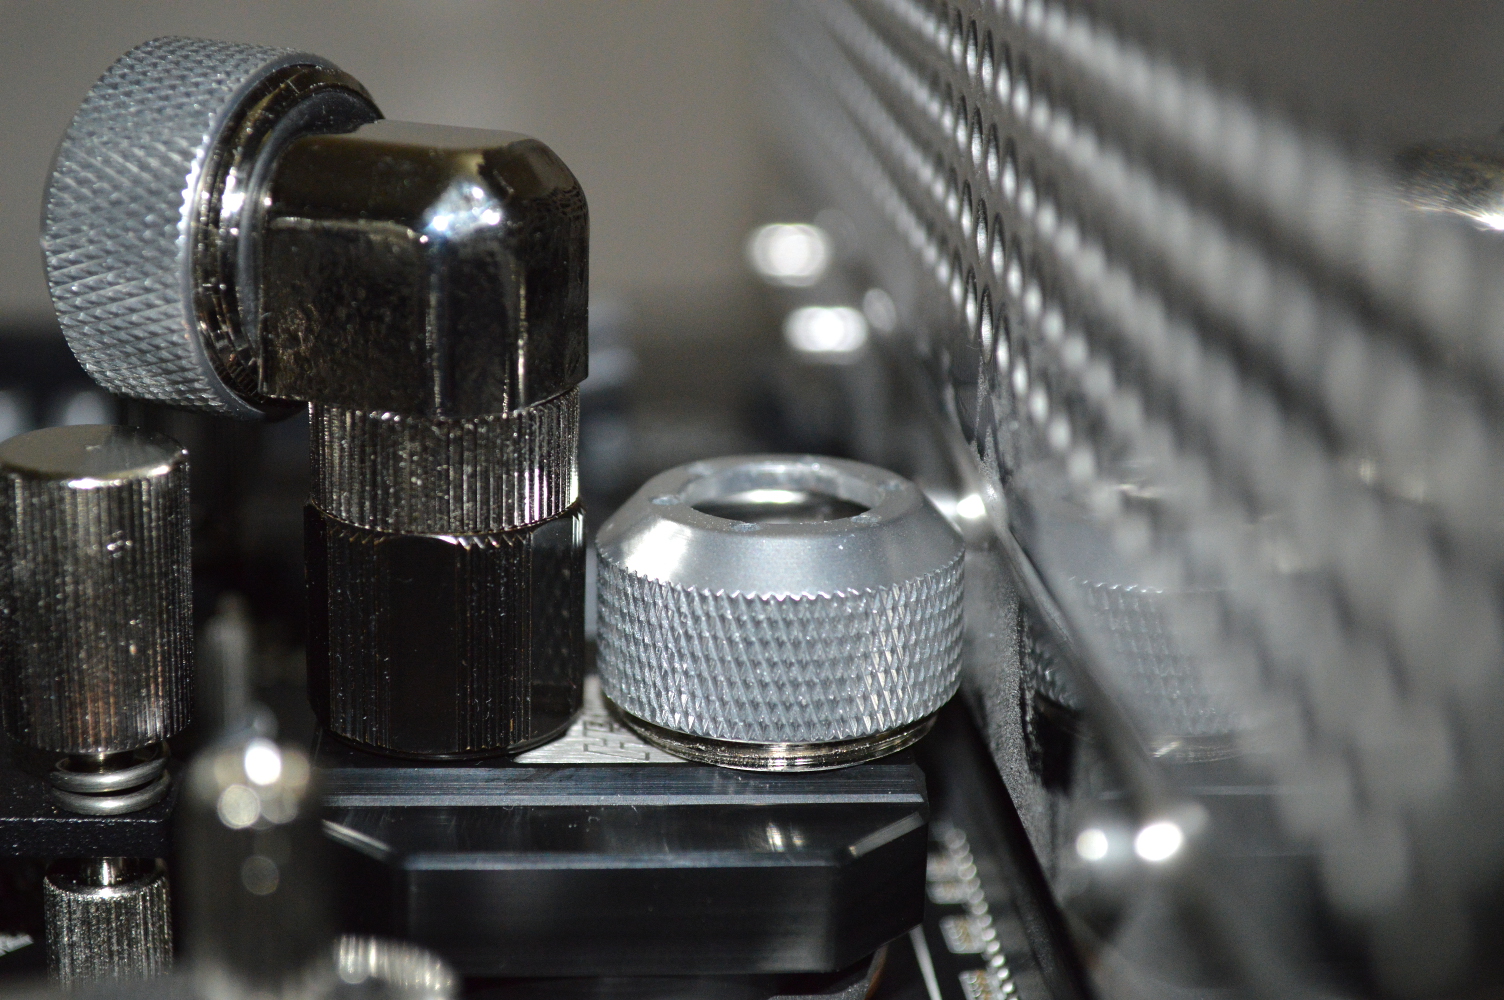
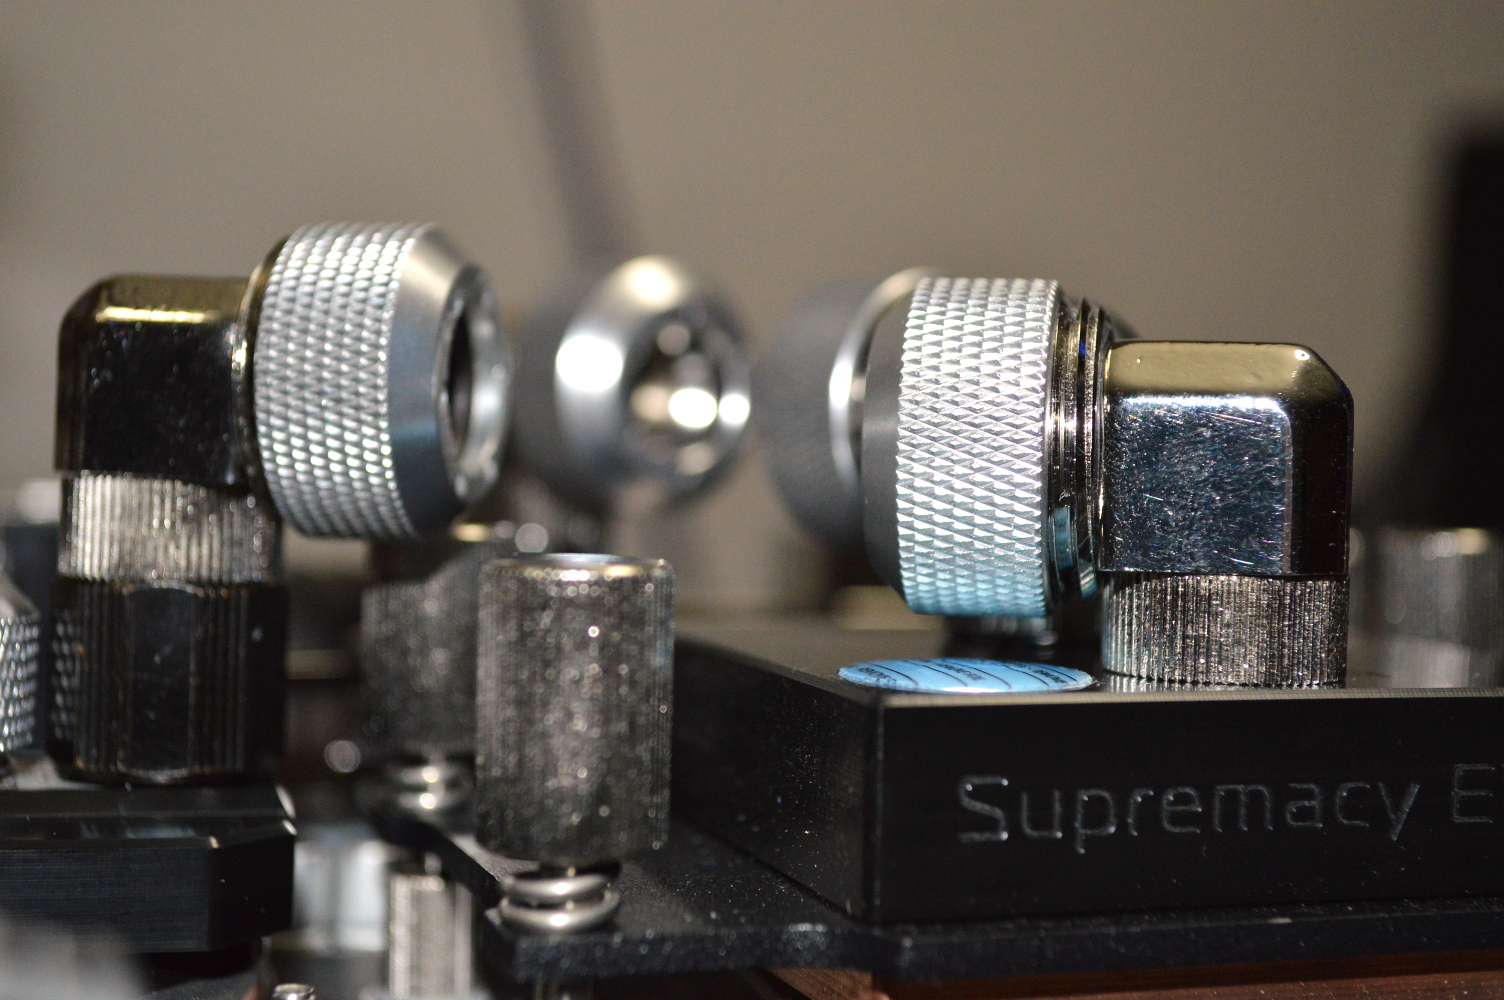
And that night I went about pulling off the Koolance block so I could get to the CPU and clean it. I installed it into the Gigabyte board, flushed the EK block, and started adding fittings into the mix, making sure to have the graphics cards in the board as well to make sure clearance is fully tested. A few things are worth noting on this. First, a Koolance 90-degree fittingin a 15mm extension fitting on the MVR-100 was level with a Swiftech 90° fitting in the EK block. How that worked out I have no idea, but I’m not going to question it.
Now going from the Supremacy EVO’s outlet to the inlet on the northbridge is a little more difficult to line up. The 15mm extension fitting puts it too high, and it appears to be by only a few millimeters. I’m wondering if lowering that to a 10mm extension would line that up. Needless to say I’ve got orders to place, especially since I’m out of 90° fittings and I’m short a couple to finish the loop. There are some parts I can tube up in the interim, and I’ll handle that later.
Depending on distance, I may just loop from the CPU to the northbridge with a 180° bend to the fitting closest to the graphics cards, which would make it easier to tube up from the northbridge to the top graphics card. I could even see about doing that to get from the VRMs to the CPU as well to eliminate the need for the 90-degree fittings. That would free up four of them. Options abound, and the only requirement for the 180 bends is that the fittings be 3″ apart on center. I don’t think I’ll have any concerns on that.
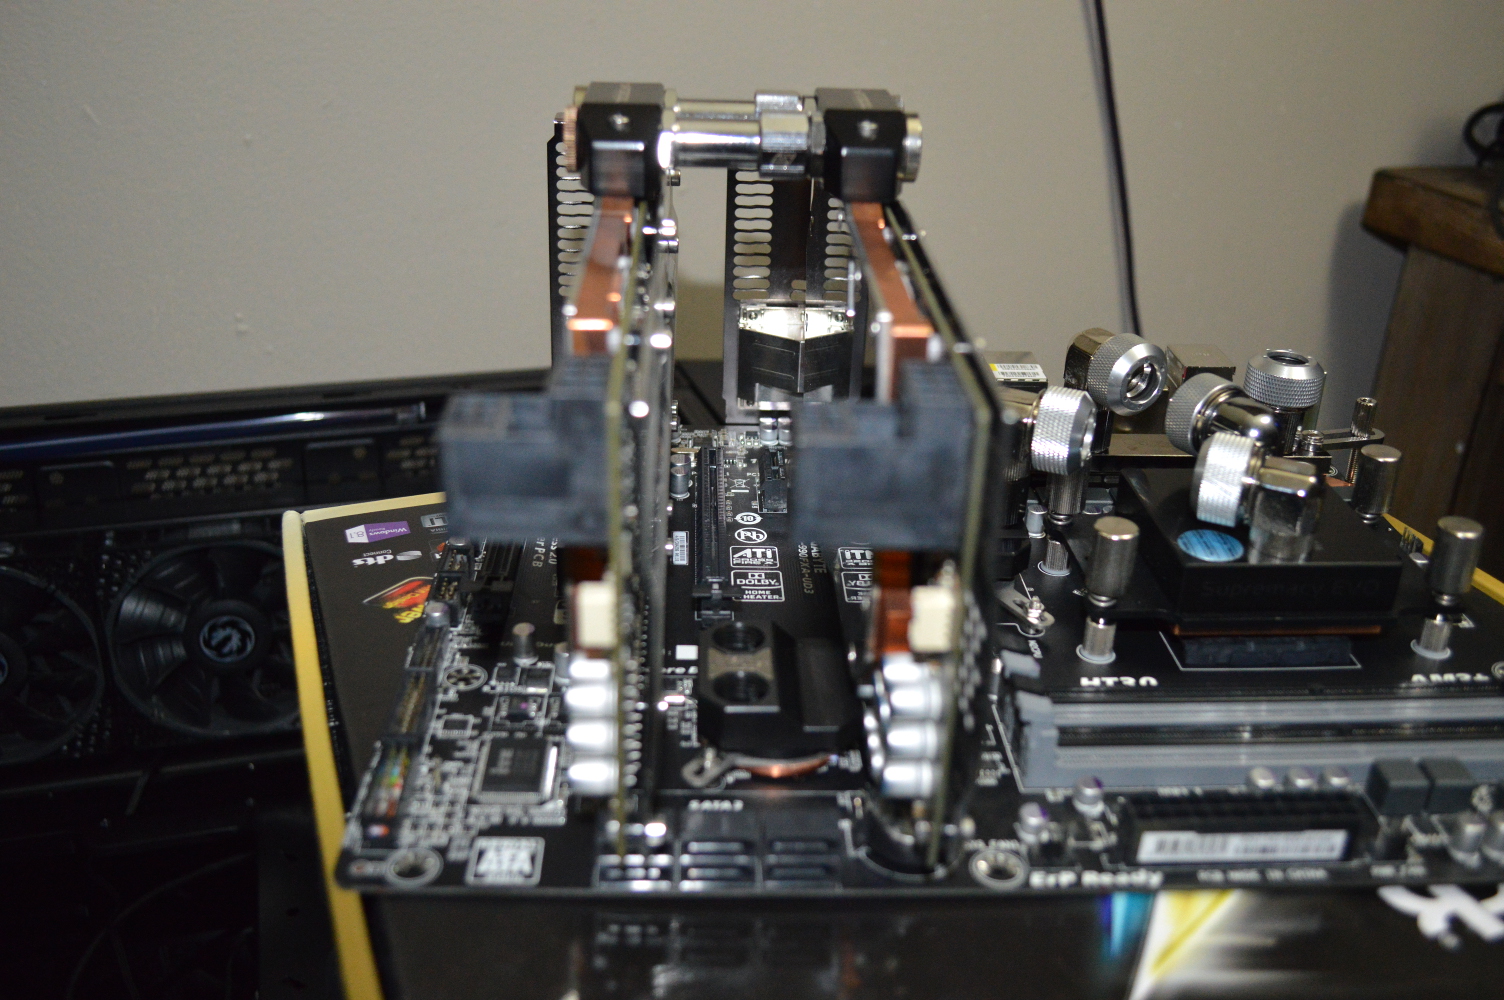
The clearance between the northbridge and the graphics cards was also only just enough. As in it looks to be a millimeter. And the northbridge is also off alignment from the graphics card by only a few millimeters as well, so lining that up is going to be an interesting exercise. I might just look into that alternative I mentioned as well.
After figuring that out, I mounted the mainboard into the case along with the graphics cards and shut everything in to keep it away from the kitten.
