- Beta Orionis
- Beta Orionis – Part II: New fans
- Beta Orionis – Part III
- Beta Orionis – Part IV
- Beta Orionis – Part V
- Beta Orionis – Part VI
- Beta Orionis – Part VII
- Beta Orionis – Part VIII: Delays
- Beta Orionis – Part IX
- Beta Orionis – Part X
- Beta Orionis – Part XI
- Beta Orionis – Part XII
- Beta Orionis – Part XIII
- Beta Orionis – Part XIV
- Beta Orionis – Part XV: Follow-up with Koolance blocks
- Beta Orionis – Part XVI: Overclocking the GPUs (or not)
- Beta Orionis – Part XVII: The AX860
- Beta Orionis – Part XVIII: New power supply and quieting things down
- Beta Orionis – Part XIX: Taking it outside
- Beta Orionis – Part XX: New loop
- Beta Orionis – Part XXI
- Beta Orionis – Part XXII
- Beta Orionis – Part XXIII
- Beta Orionis – Part XXIV
- Radiator box for PC water cooling
- Beta Orionis – Part XXV
- Corsair AX860: A retraction
- Mira
In figuring out how to tube up the mainboard, I half felt like I didn’t know what I was doing given how much I tried to change up things.
Friday night I stopped by Micro Center on my way home from work with the intent of buying fittings. Specifically I was there for some 8mm EK extension fittings to use on the VRMs instead of the 15mm Swiftech extension fittings. I also picked up a pair of 45-degree EK fittings with the intent of using those on the southbridge.
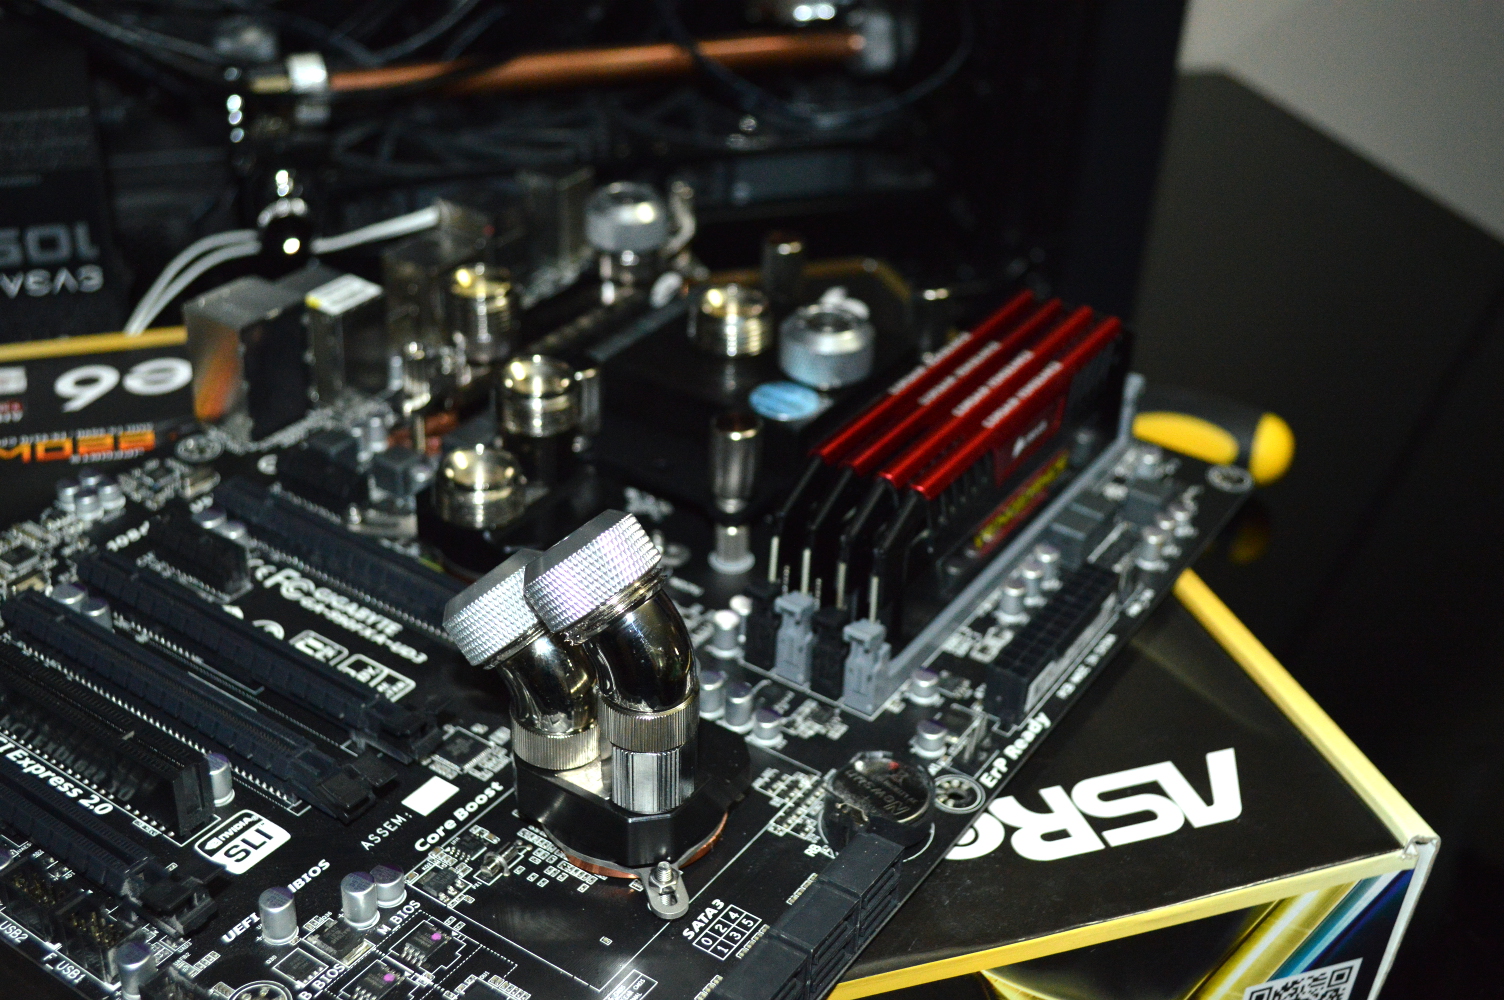
On that there would be some changes of plans that would require that I go back to Micro Center on Saturday to acquire another pair of 8mm EK extension fittings, and I picked up a pair of 90-degree fittings as well. More on that in a bit.
But the intention, going off the previous entry in the log, was to see about using 180-degree bends between the northbridge, VRMs, and CPU. Unfortunately that wasn’t possible. Recall from the previous article that I said the minimum distance between the fittings had to be 3″. The tubing bender I own has a CLR — center-line radius — of 1½”, meaning for a 180-degree bend, the fittings had to be a minimum of 3″ on center.
Ideally it should be exactly 3″ on center so I didn’t have to do anything odd to get a tube bent.
And none of the distances between fittings met that requirement. Only one of the distances exceeded 3″: from the lower fitting on the northbridge to the inlet on the CPU, which came in at 3½”. Getting that kind of 180-degree bend would’ve required doing a 90-degree bend, then finding a way to get a ½” offset in the tubing before doing another 90-degree bend. My initial attempt failed and I decided against trying for it. There might be a way to get it to work, but for now I’m not going to consider it.
So to go from the northbridge to the CPU, I instead used a 40mm extension fitting off the CPU inlet with a 90-degree fitting. I didn’t like the result. And to go from the CPU to the first graphics card, I took kind of a cheap shortcut that I also didn’t like: a 45-degree fitting with a 90-degree bend to a 90-degree fitting. Again, I don’t like the look.
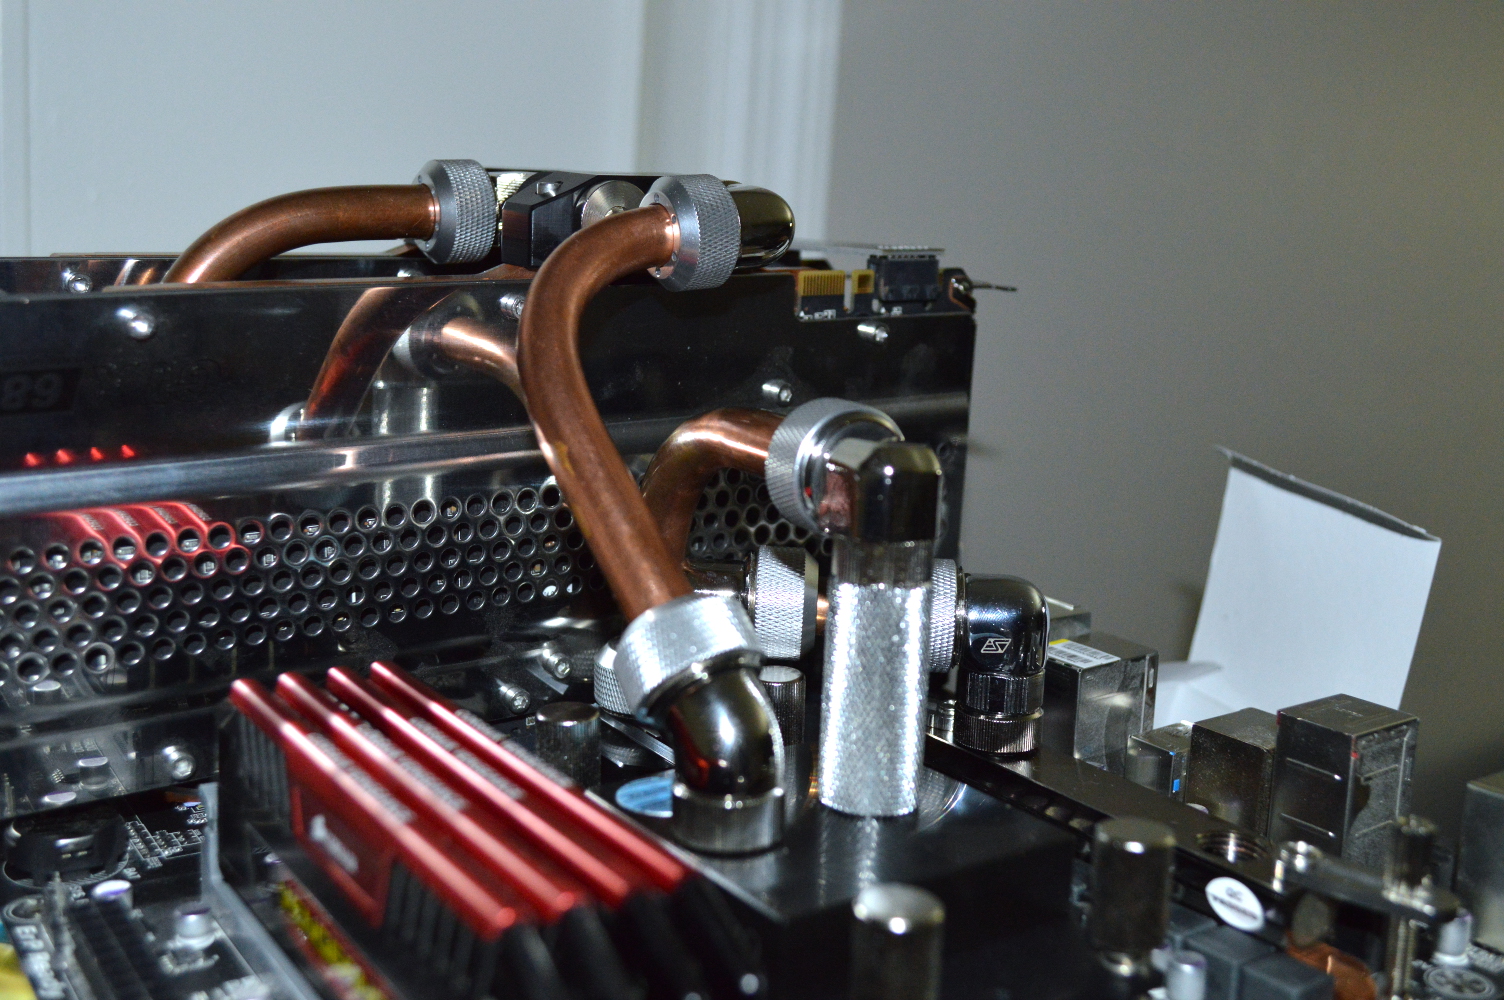
On the plus side, for the VRM to the northbridge, I did somehow manage to get that lined up about perfectly straight. That’s a Swiftech 90-degree fitting sitting on an 8mm EK extension going to a Koolance 90-degree fitting sitting on a 15mm Swiftech extension.
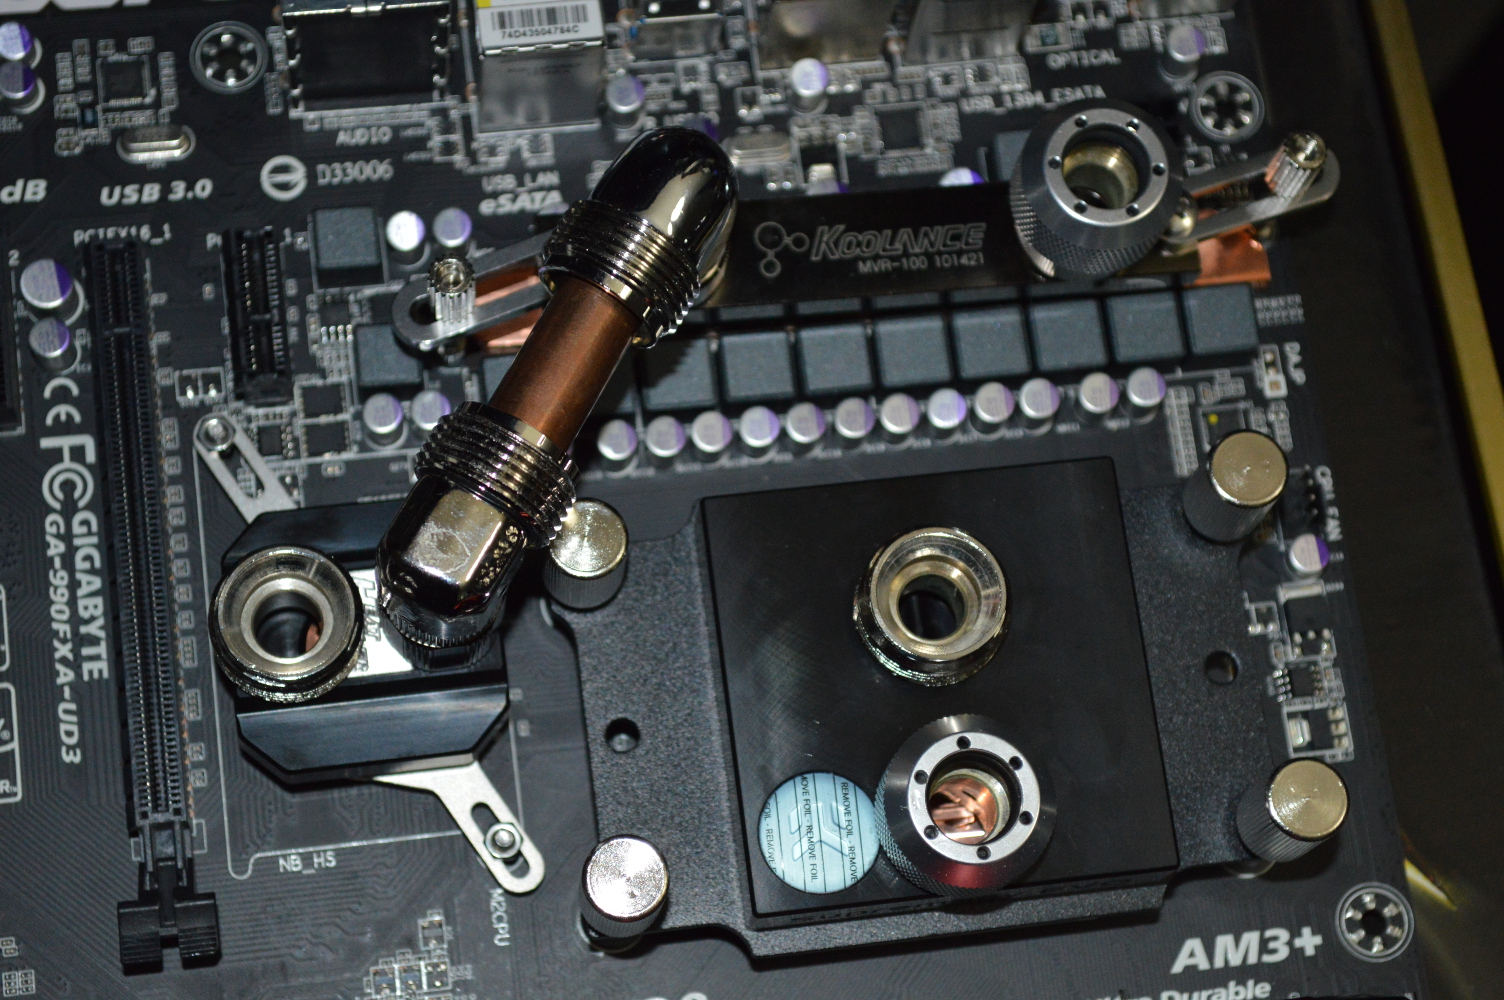
The graphics cards were a little more complicated. One thing I discovered up front was that the lower 45-degree fitting in the above picture lined up straight with a 90-degree fitting coming off the left-side of the graphics card.
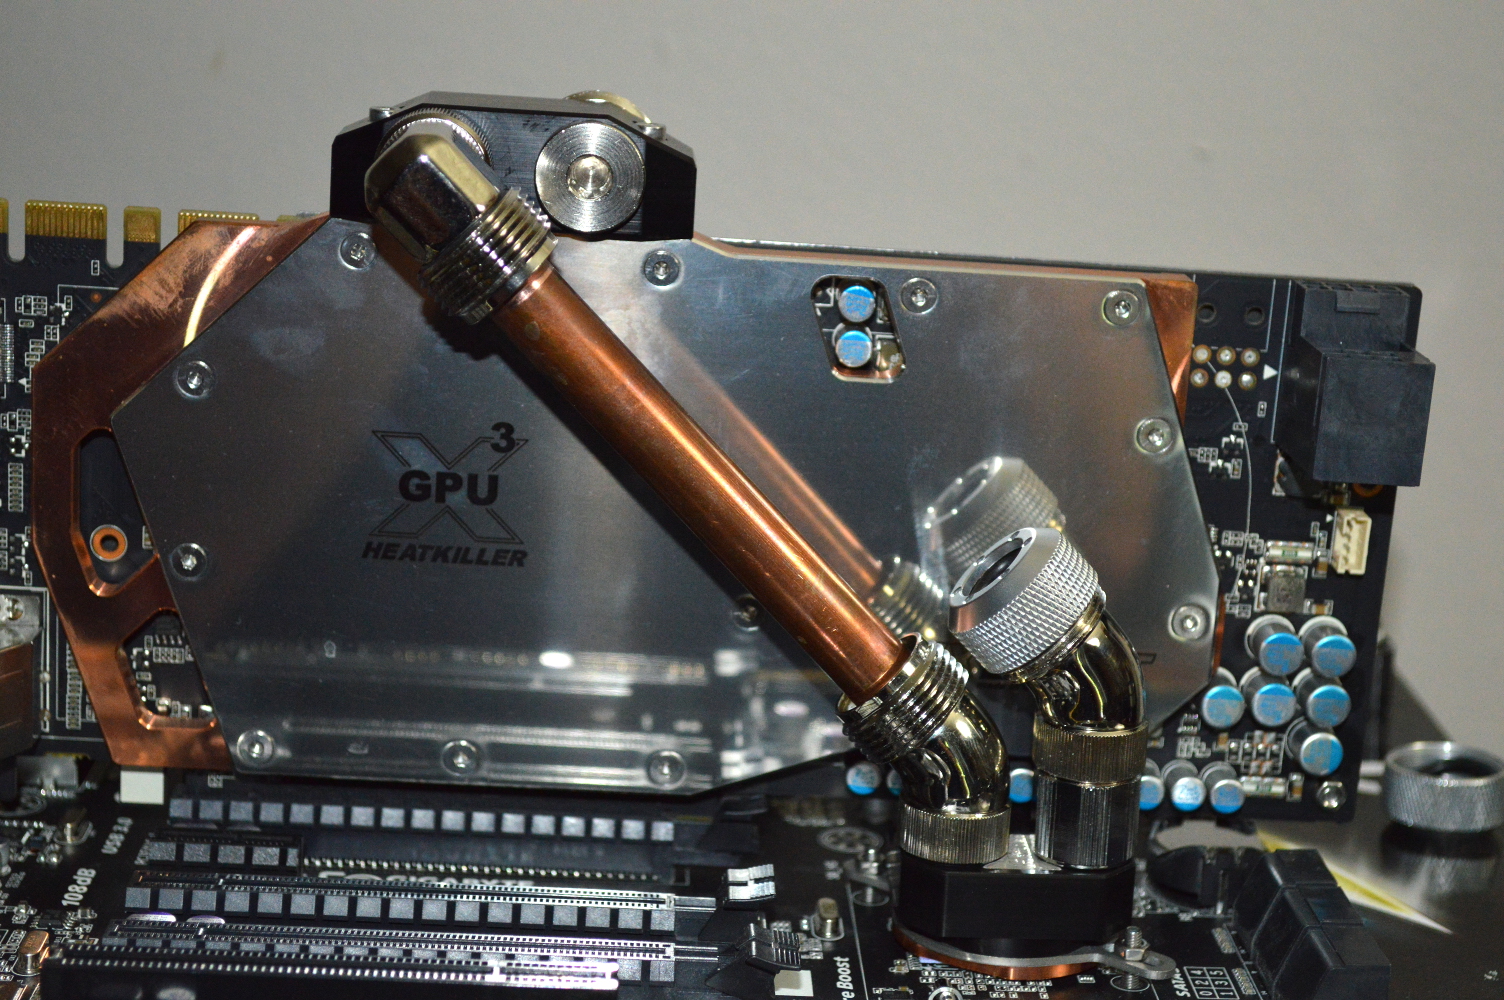
Unfortunately that setup would interfere when trying to use a 90-degree fitting with a 90-degree bend going to the other southbridge fitting, and I wouldn’t be able to use the two 45-degree fittings together on the southbridge. Oh well. What I managed to figure out in the end does work, though.
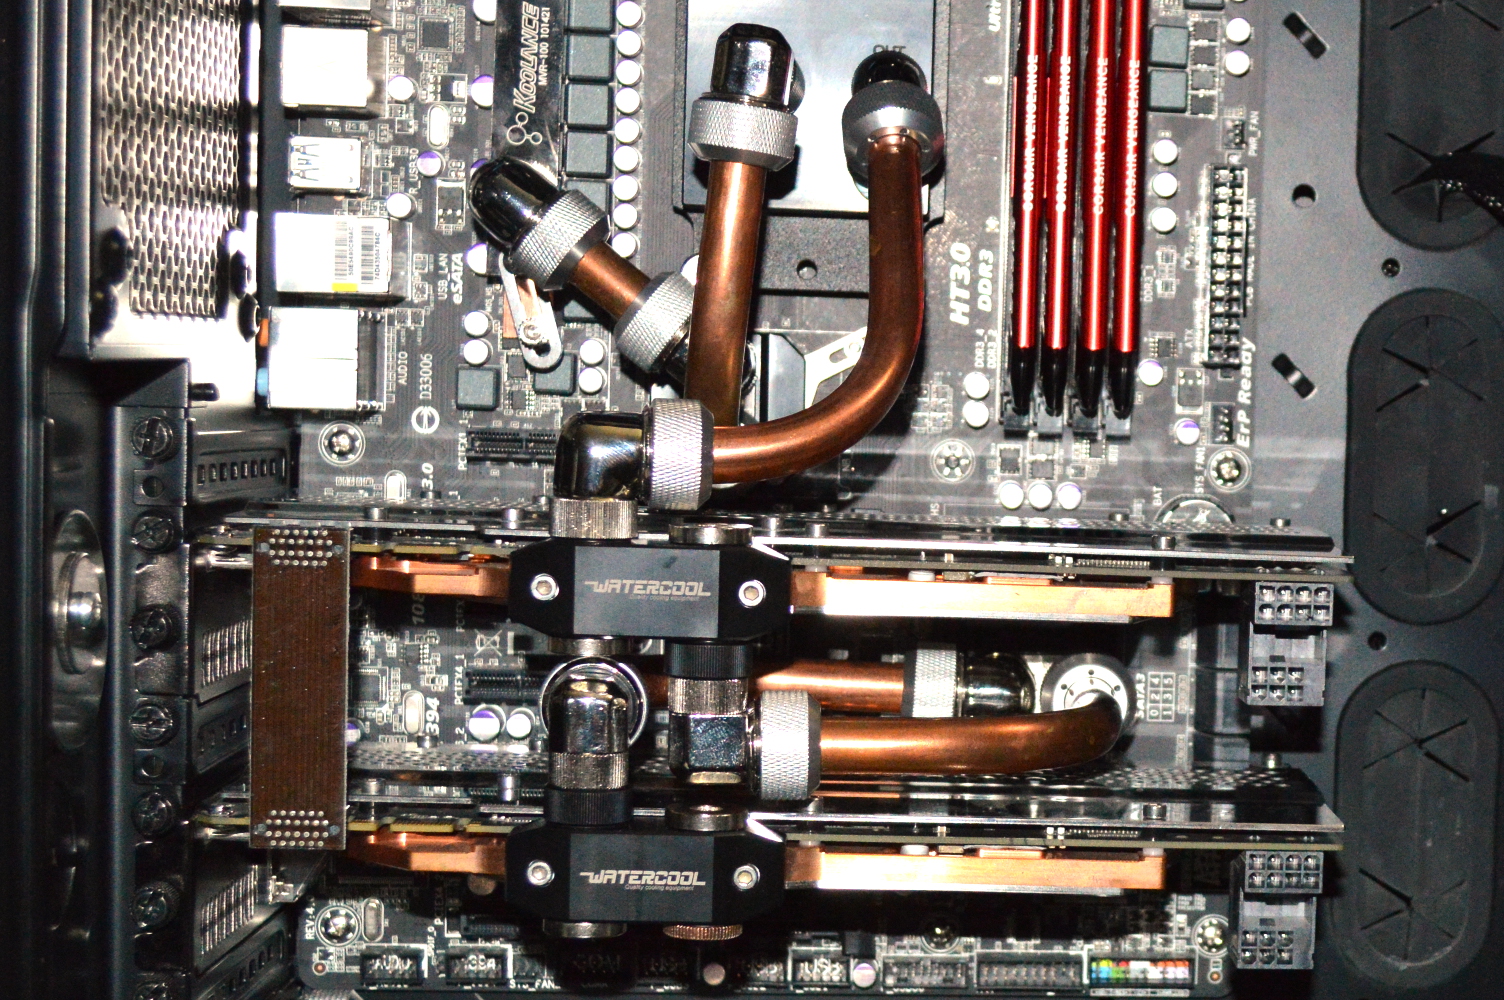
From the top card it goes out of a 90-degree Koolance fitting through a 90-degree bend into the southbridge, then out through a 90-degree fitting through another 90-degree bend into a 90-degree fitting on the second card. I’m not sure yet if I’m going to keep this setup or try to figure out something else.
So the CPU, VRM, northbridge setup will be getting redone. I don’t like it, and I’ve been considering my options, including going back to the 90-degree setup in the previous section. But to get from the pass-through bracket to the lower radiator, that required just a straight run of tubing with a 90-degree bend and just a slight offset to get it lined up.
Still left to figure out is the top radiator to the VRMs and lower graphics card to the outlet, once I have the upper mainboard area redone.
* * * * *
Reworking the loop was definitely worth the time. I managed to figure out that I could do a 180-degree bend between the VRMs and the northbridge. And a Koolance 90-degree fitting on a 15mm Swiftech extension fitting lined up perfectly with a Swiftech 90-degree fitting on the CPU’s inlet. The line from the CPU to the graphics card was fun to figure out, but I managed to do so in just one try. It’s not perfect, but it’ll get the job done.
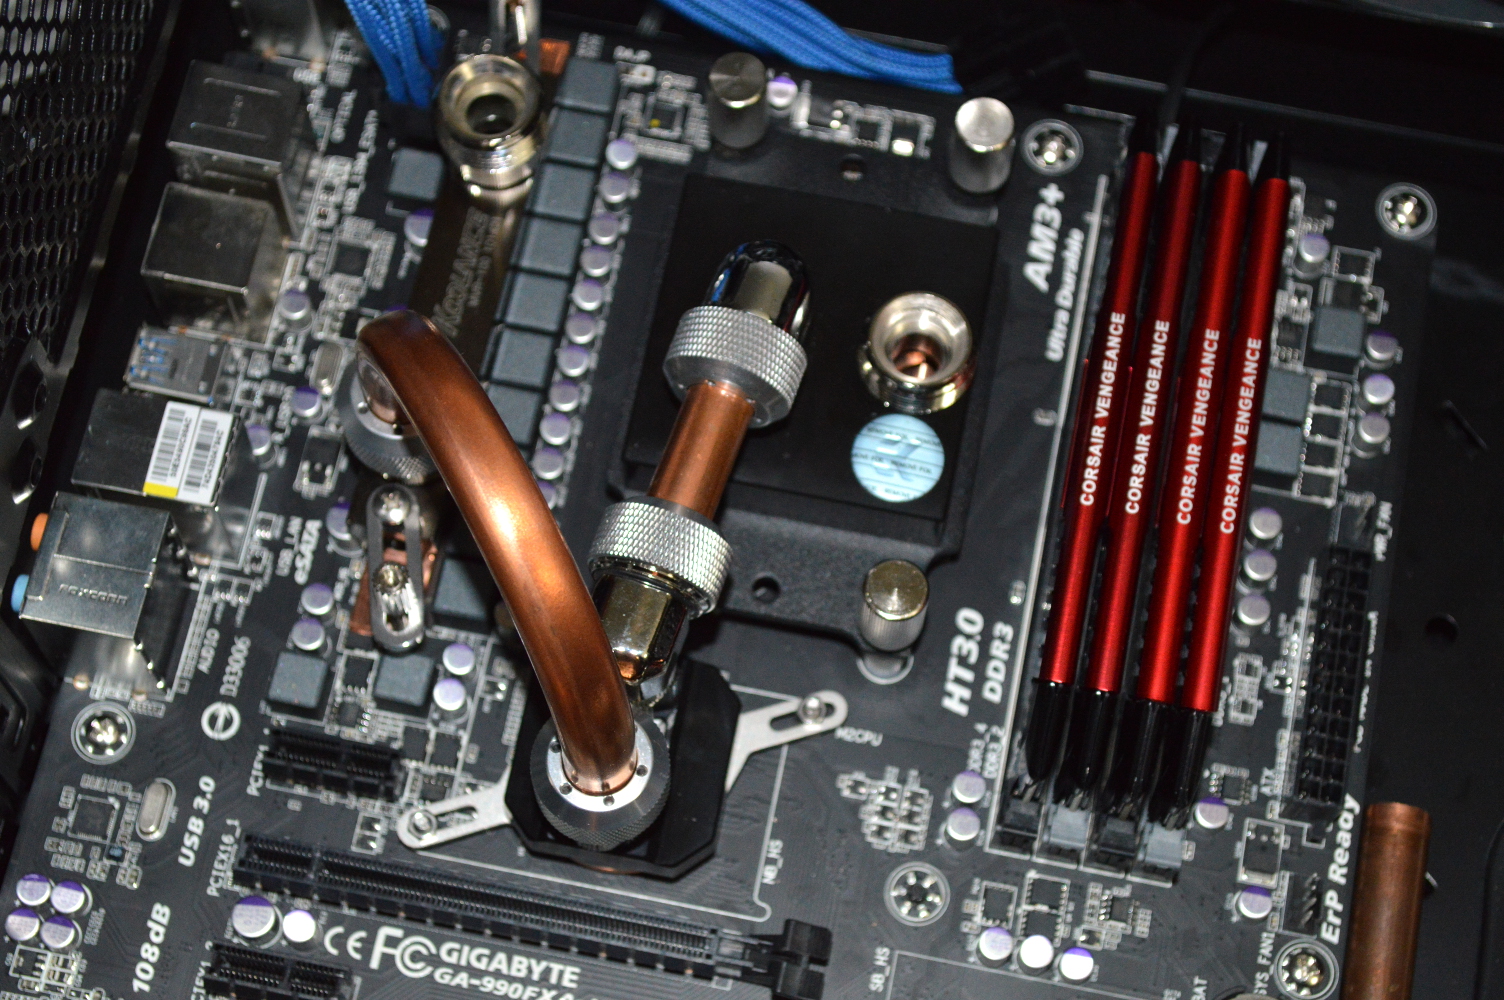
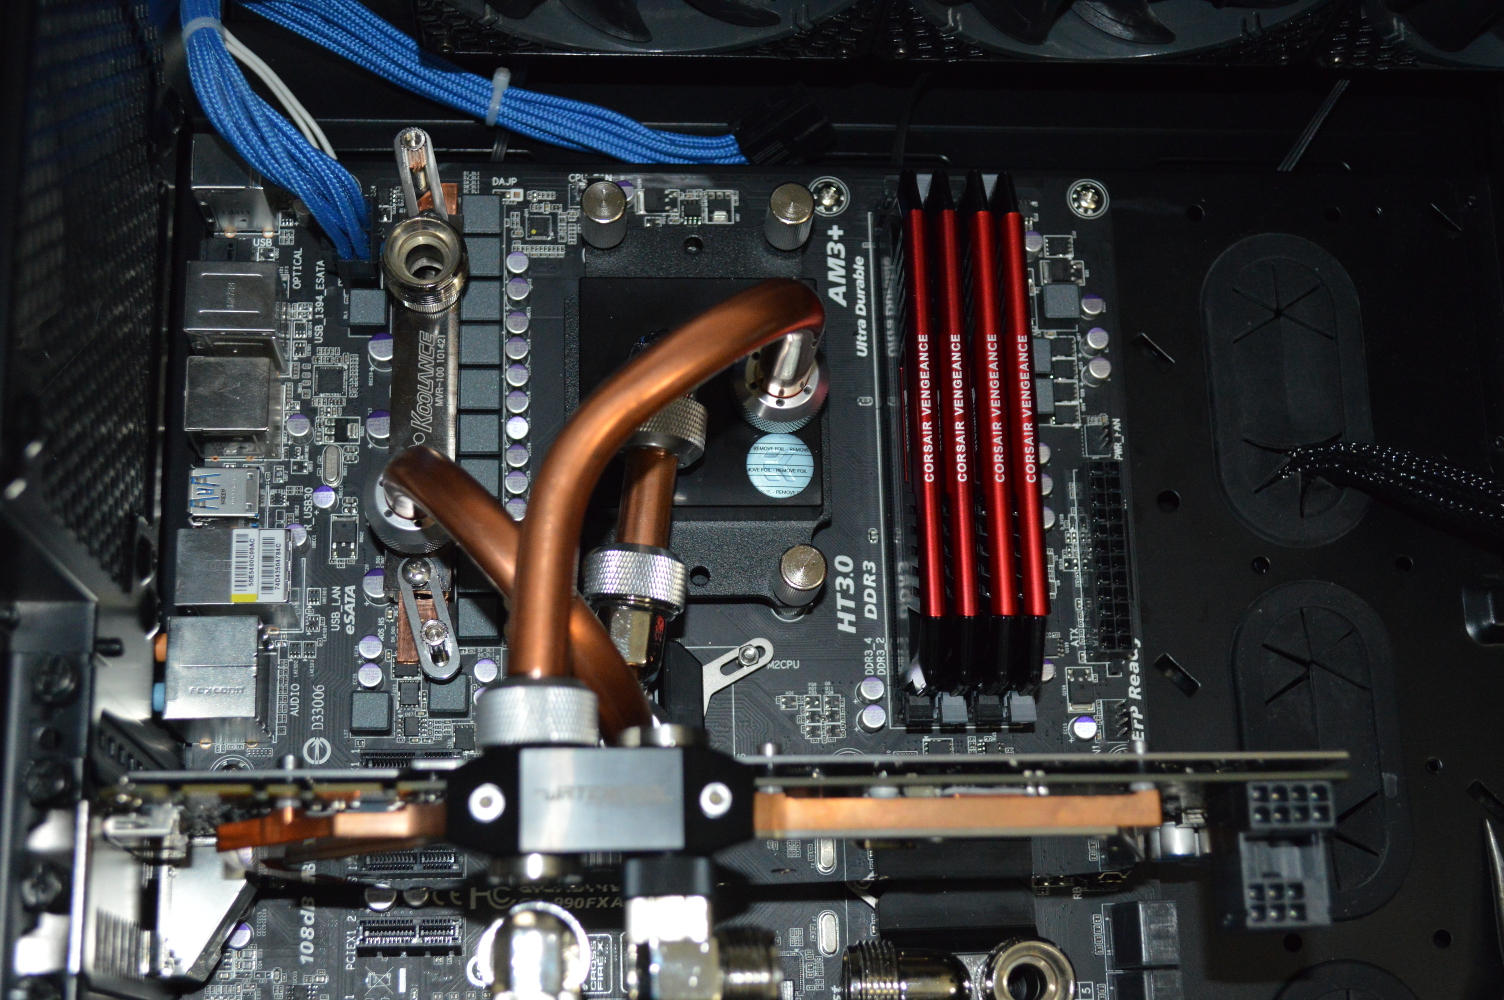
For the line from the lower graphics card the outlet, I took a half-assed approach simply because it was the last thing to figure out and I wanted this done. I used two 45-degree fittings to create a makeshift dual-rotary fitting along with a 90-degree fitting to line up with the outlet with a piece of copper I had left over.
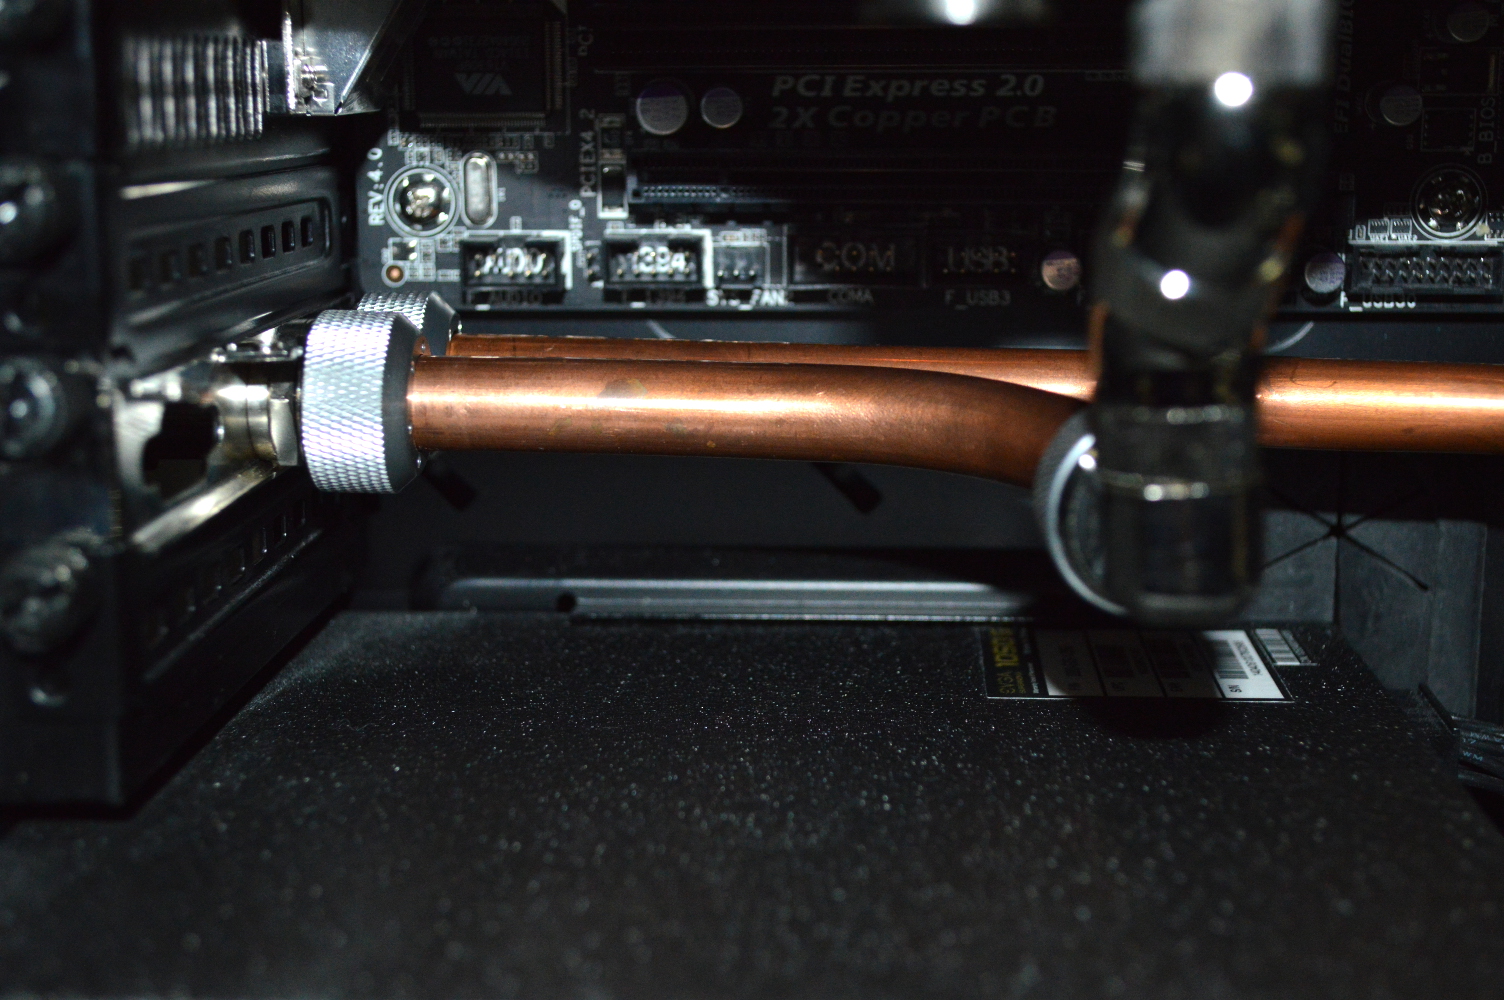
So that was it for that. The line going from the top radiator to the VRMs was a simple 90-degree bend. Nothing fancy. I connected some 3/8″x1/2″ tubing to the compression fittings on the reservoir and started a leak test.
And it leaked. A lot.
The reason is the 8mm EK extension fittings on the VRM block. In trying to install them I noticed how they weren’t seating completely flat, but it still looked like the O-rings would seal. Even wrenching them didn’t get them completely flat. So since I’m out of other extension fittings, I’ll have to run to Micro Center to get another pair. This will also mean some slight modifications to the two copper tubes involved, but if it results in that not leaking, it’ll be worth it.
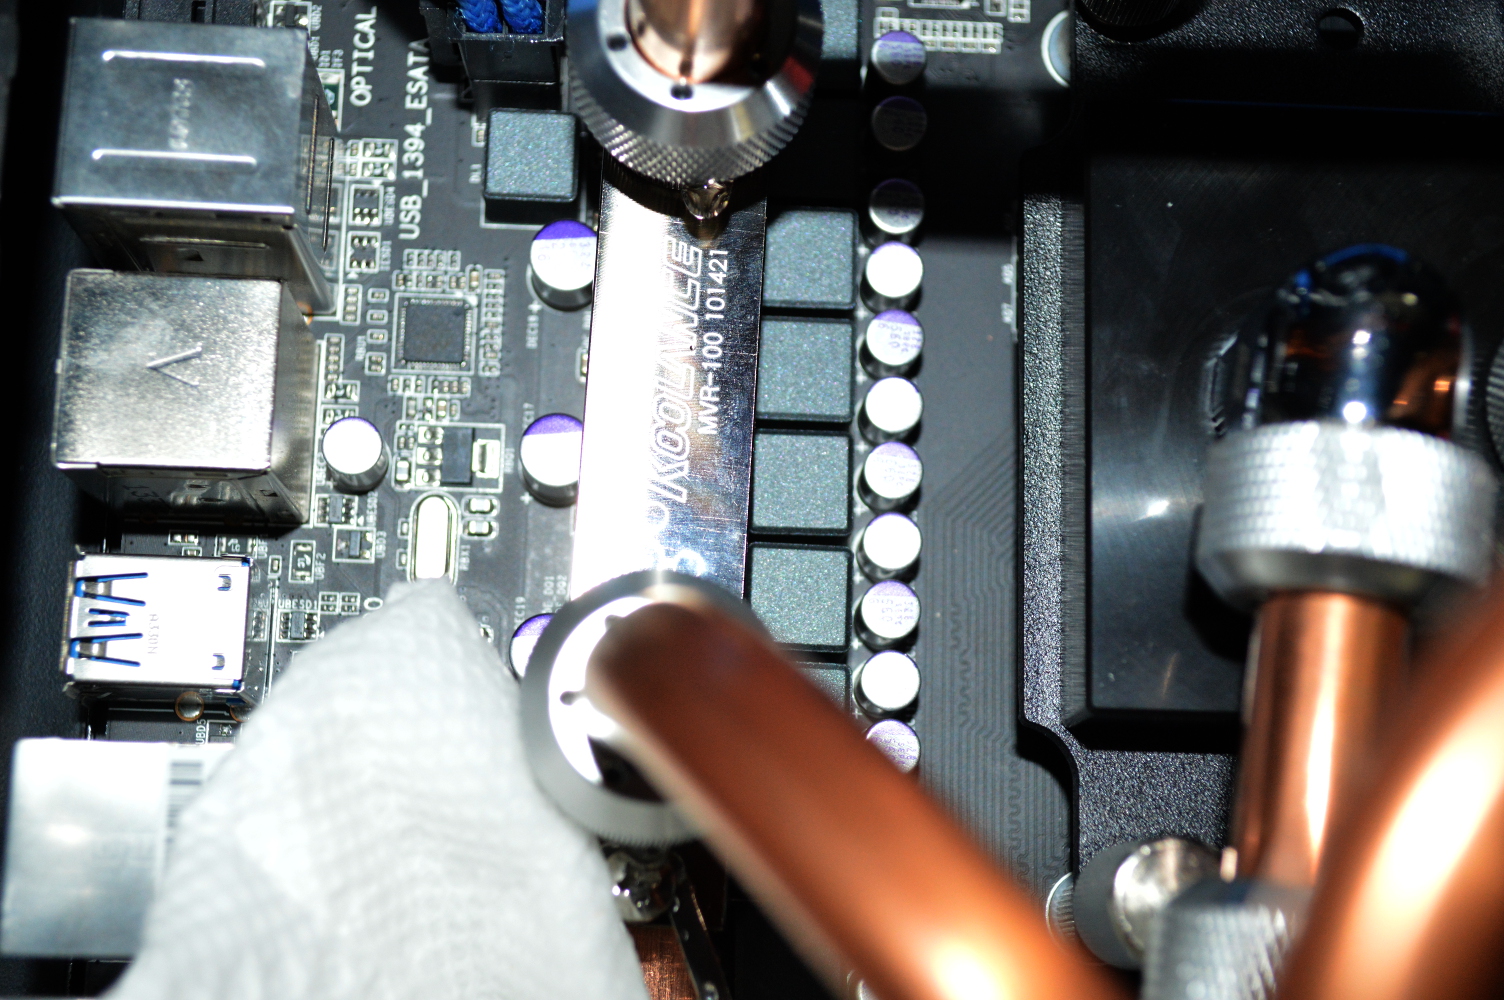
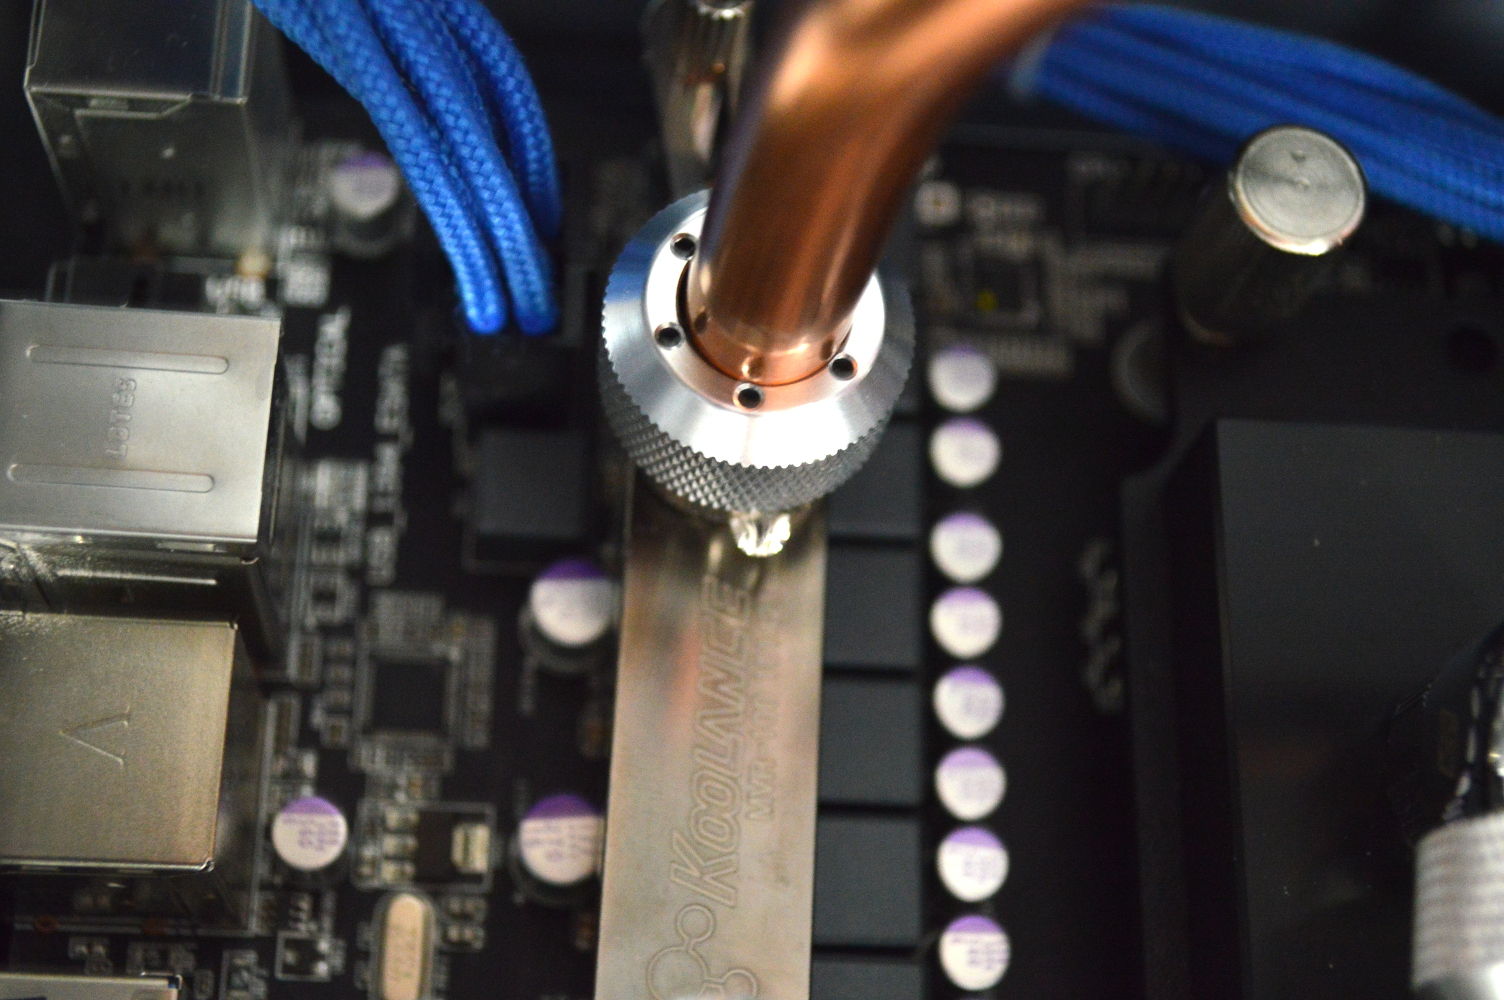
So lesson learned: do not use EK fittings with the Koolance MVR-100 or MVR-40. Hopefully the Swiftech extension fittings will have better luck.
You must be logged in to post a comment.