- Desert Sapphire
- Desert Sapphire – Part II
- Desert Sapphire – Part III
- Desert Sapphire – Part IV
- Desert Sapphire – Delivered
- Desert Sapphire – one year later
- A few problems to overcome
Ah I love international orders…
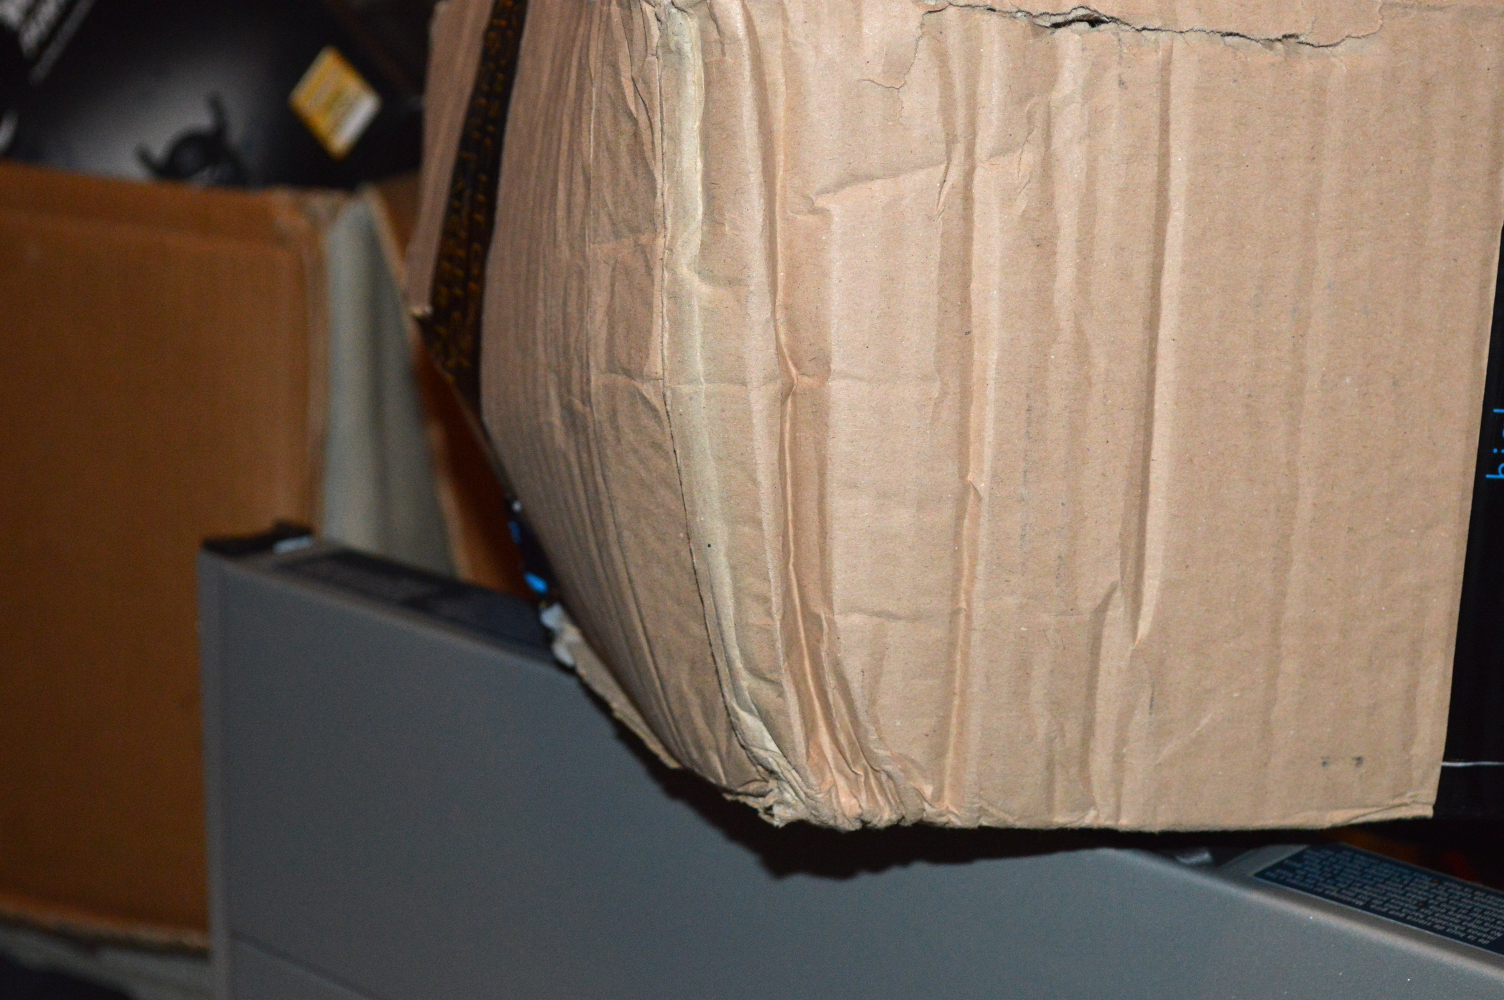
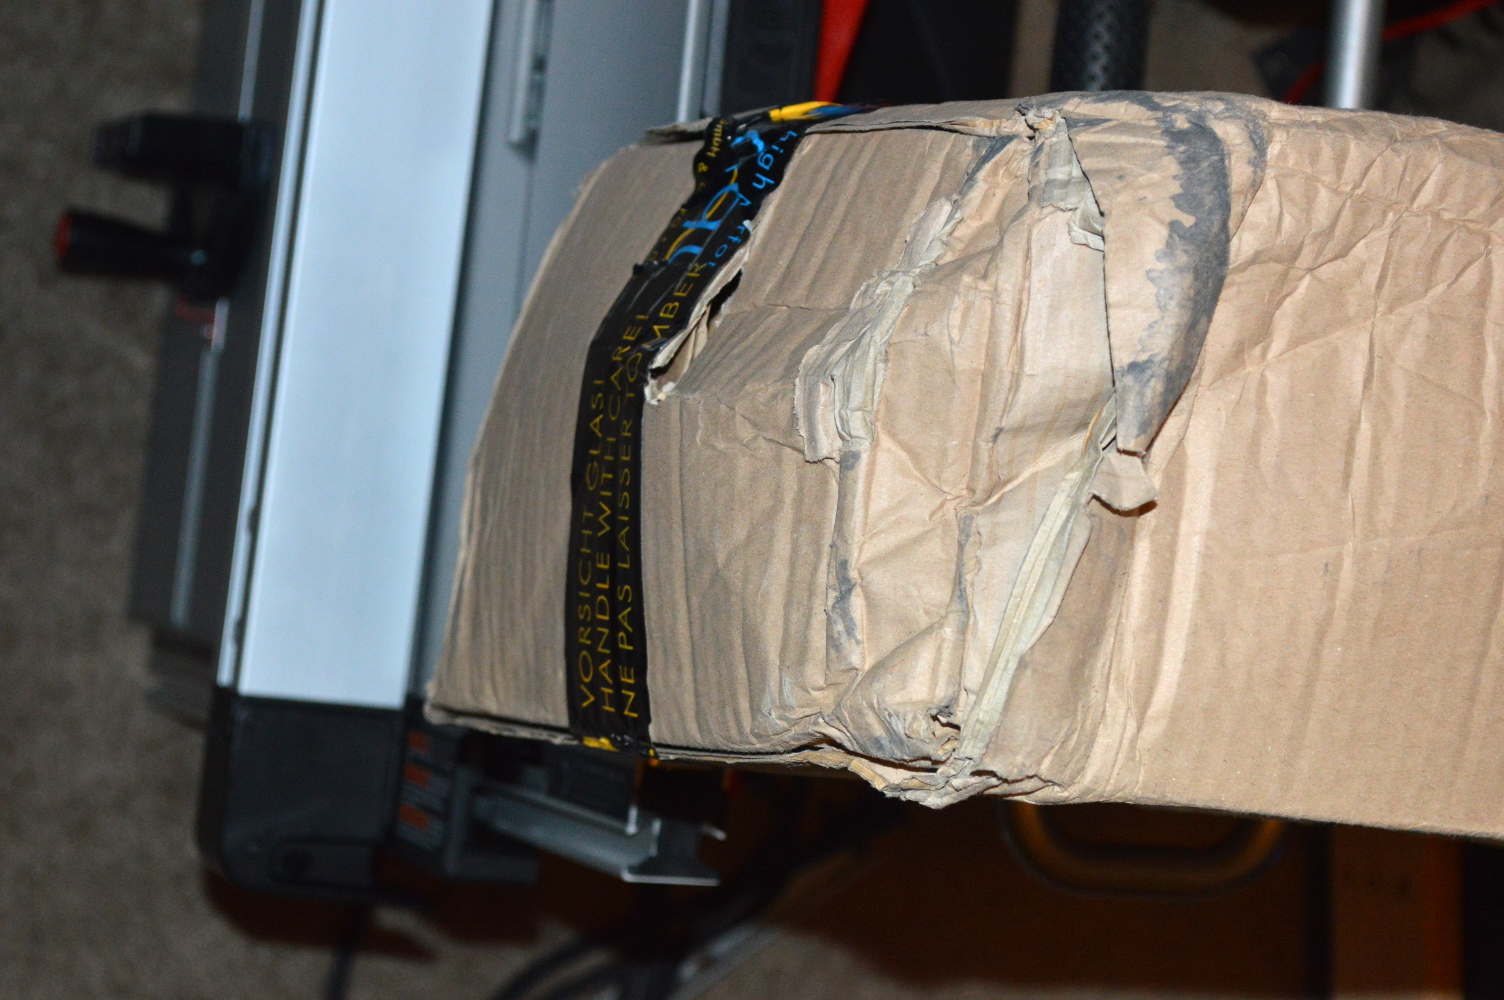
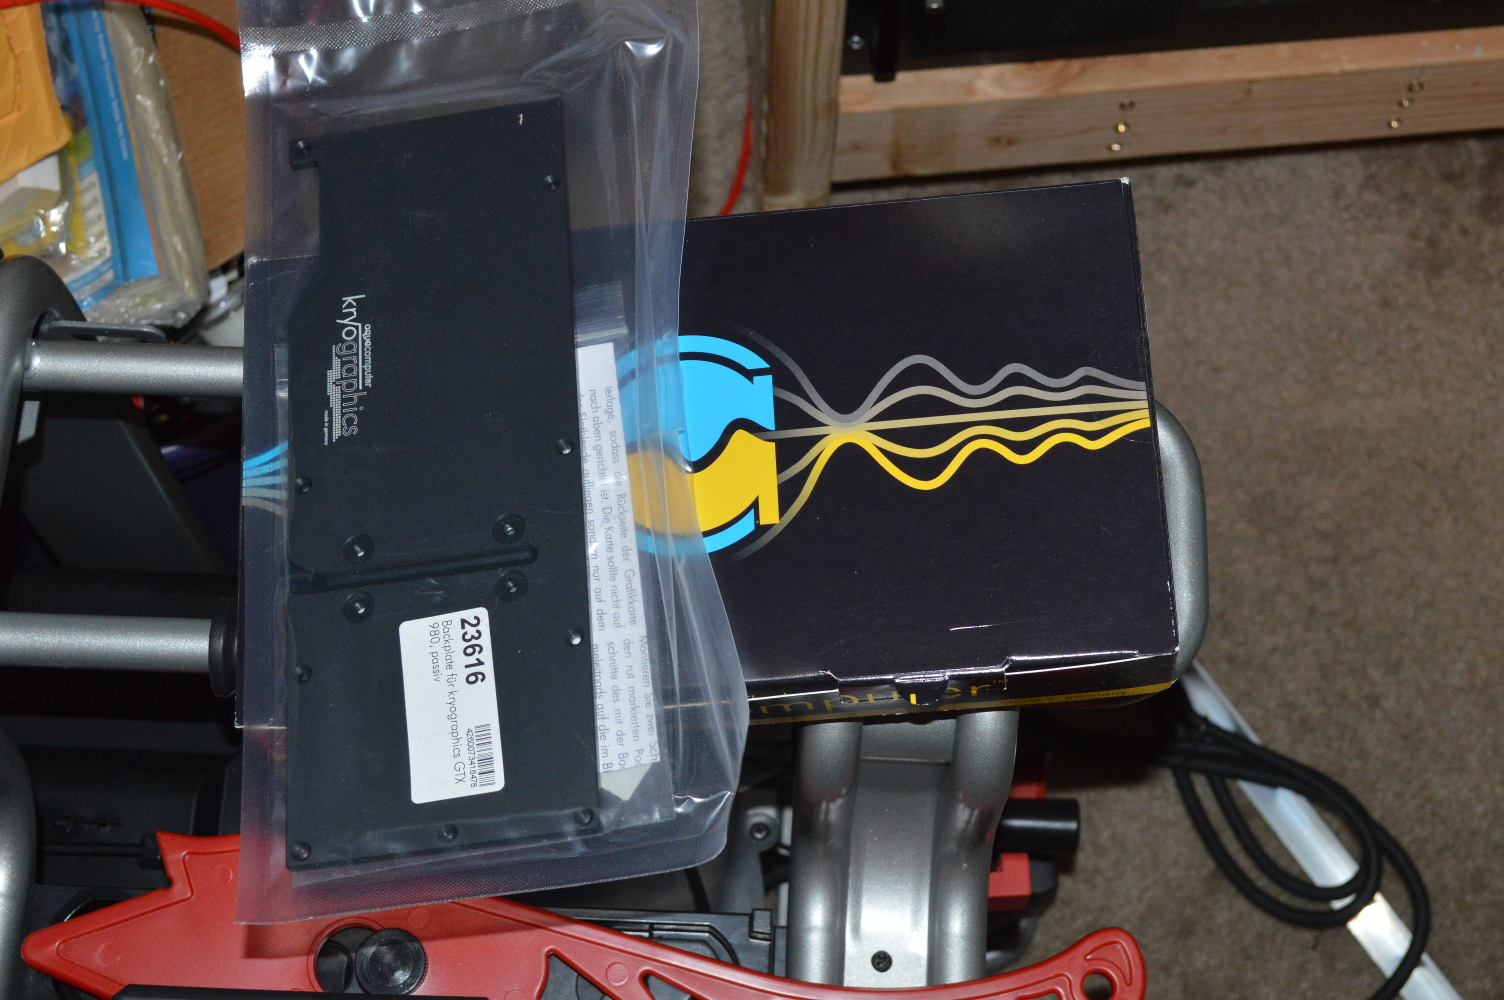
Thankfully everything in the box was unharmed. The only casualty was a corner of the thermal pad for the passive backplate. Not anything that’s concerning, though. The package from Performance-PCs came later in the week. That was the interesting one: fittings, pump, CPU block, tubing, fittings, fittings, and more fittings…
One thing I need to say about the pump: how in the hell is it capable of the specifications Koolance declares? And I mean that will all sincerity. If you look at the specification drawing, it’s about 47mm square. I was expecting this to be almost as large as a D5. 47mm, for those in the US who don’t want to pull out a calculator, is just under 2″. And no I didn’t look at the dimensions ahead of buying it.
On the plus side, it uses just 1.8A and runs off a 3-pin fan header, meaning it can be powered by the fan controller, if I decided to do that. The maximum flow rate is about 25% less than the D5 at max speed, but I bought this for the head pressure. So when the cabinet is built we’ll see how well it’ll perform.
Next step, though, was Home Depot to pick up some of their “random length” oak boards for making the cabinet.
Building the cabinet
I’ll have plans available toward the end of the build log for those who may want to build one of your own. The design here is for three double-120mm radiators on one side with everything else on the other and one side of the cabinet being bottomless to allow for airflow while the cabinet still looks like a cabinet.
As I mentioned, initially I thought about making it out of red oak, until I looked again at the price of it and decided to go with yellow pine, which cuts the cost of the cabinet in half. I bought two 18″x48″ laminated pine panels along with a 6′ length of 1″x3″ pine. Nominal width is 17.25″, which puts it a little wider than what I was aiming for. This would provide most of what I’d need to build the cabinet.
I started by ripping 18″ off one of the panels to give the 30″ long tabletop. The second panel was ripped in half to make two 24″x18″ pieces for the sides panels. This will allow for a 6″ clearance under the cabinet for airflow into the bottomless side of the cabinet. I’m sure my neighbors didn’t hugely appreciate the table saw (read a review of it here), but I can say that at least it’s not nearly as ear-piercing of a sound as my circular saw. And easier to clean up.
Though ripping the piece in half down to two approximate 24″ side panels required a little ingenuity, and a little cleanup of the cut afterward to ensure the boards were about as square as I could make them. The table saw has a maximum rip fence distance of only 18″, which was good for the first cut, but not so much for the second. Basically the clean-up involved clamping an adjustable T-square I bought at Harbor Freight at the right spot to guide my circular saw, then using an aluminum compound square from Home Depot for the little bit at the end the T-square blocked.
I initially thought of using dowels for this as well, but opted instead for #10 wood screws. To avoid problems, I wanted to also drill pilot holes in the end grain of the side panels, and #10 screws use a ⅛” pilot hole, the smallest size supported by my V-Drillguide. Through holes on the panels were 3/16″, which I would later discover is too skinny for the #10 screws to glide through cleanly. Not a problem as it means I can start the screws to line up and glue the panels before driving them home.
The holes are spaced every 3.5″. The downside was I didn’t have a self-centering dowel jig that could go down to 1/8″ — I don’t even think anyone makes one — so I had to improvise a little.
In cutting the bottom for the cabinet, I hit a little snag. I initially tried to cut a hole about 1″ in from the front and side and 3″ in from the back. Unfortunately in cutting out the hole using a jigsaw, I forgot to account for the weight of the board in the middle and when it got loose enough, it took out much of the side of the board. So instead of having a clean hole, I have a U. Oh well. It’ll still look good either way, and there will be plenty of support in the 3″ section for the radiators, especially since the radiators the radiators will be supported using brackets at the top and bottom.
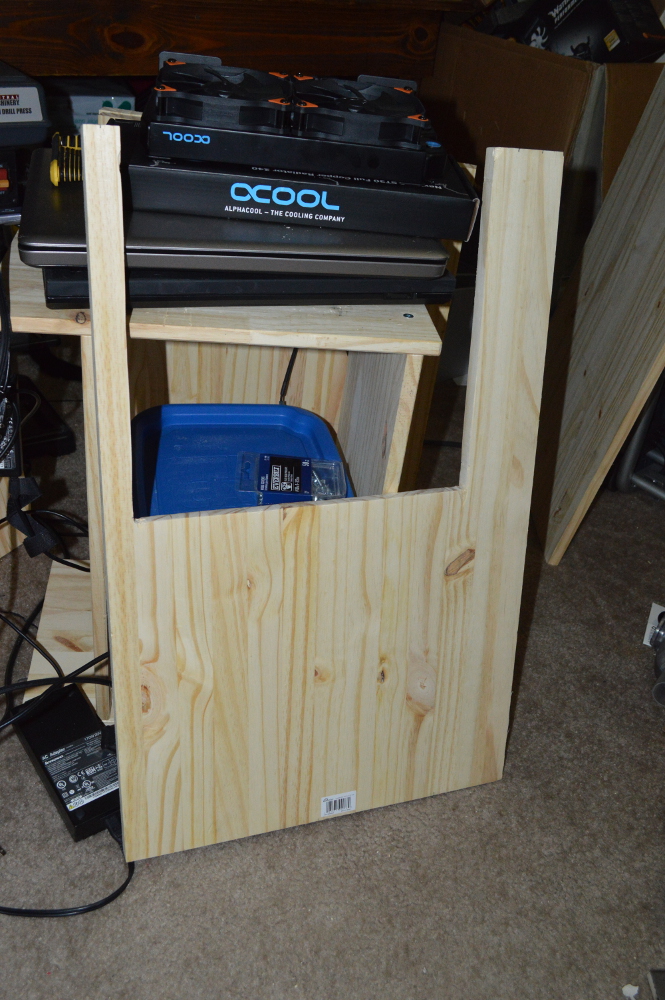
So while waiting for the brackets to arrive from Performance-PCs, I tried to get the cabinet pieces to a point where all that would be left to drill were the holes for everything to be mounted. This also meant needing to figure out how and where to mount the pump and reservoir. My back made sure to complain later from being bent over the boards cutting and sanding.
Radiator brackets
Before finishing the cabinet, structurally at least, I needed to get the XS-PC brackets in hand and mounted to a radiator for a visual test for marking the screws. I surmised looking at the brackets that the screws would be best spaced about where the fan screws are, which would put them about 225mm apart, but as much as 240mm apart. The radiators themselves will be positioned such that the fans are centered on the “ledge”.
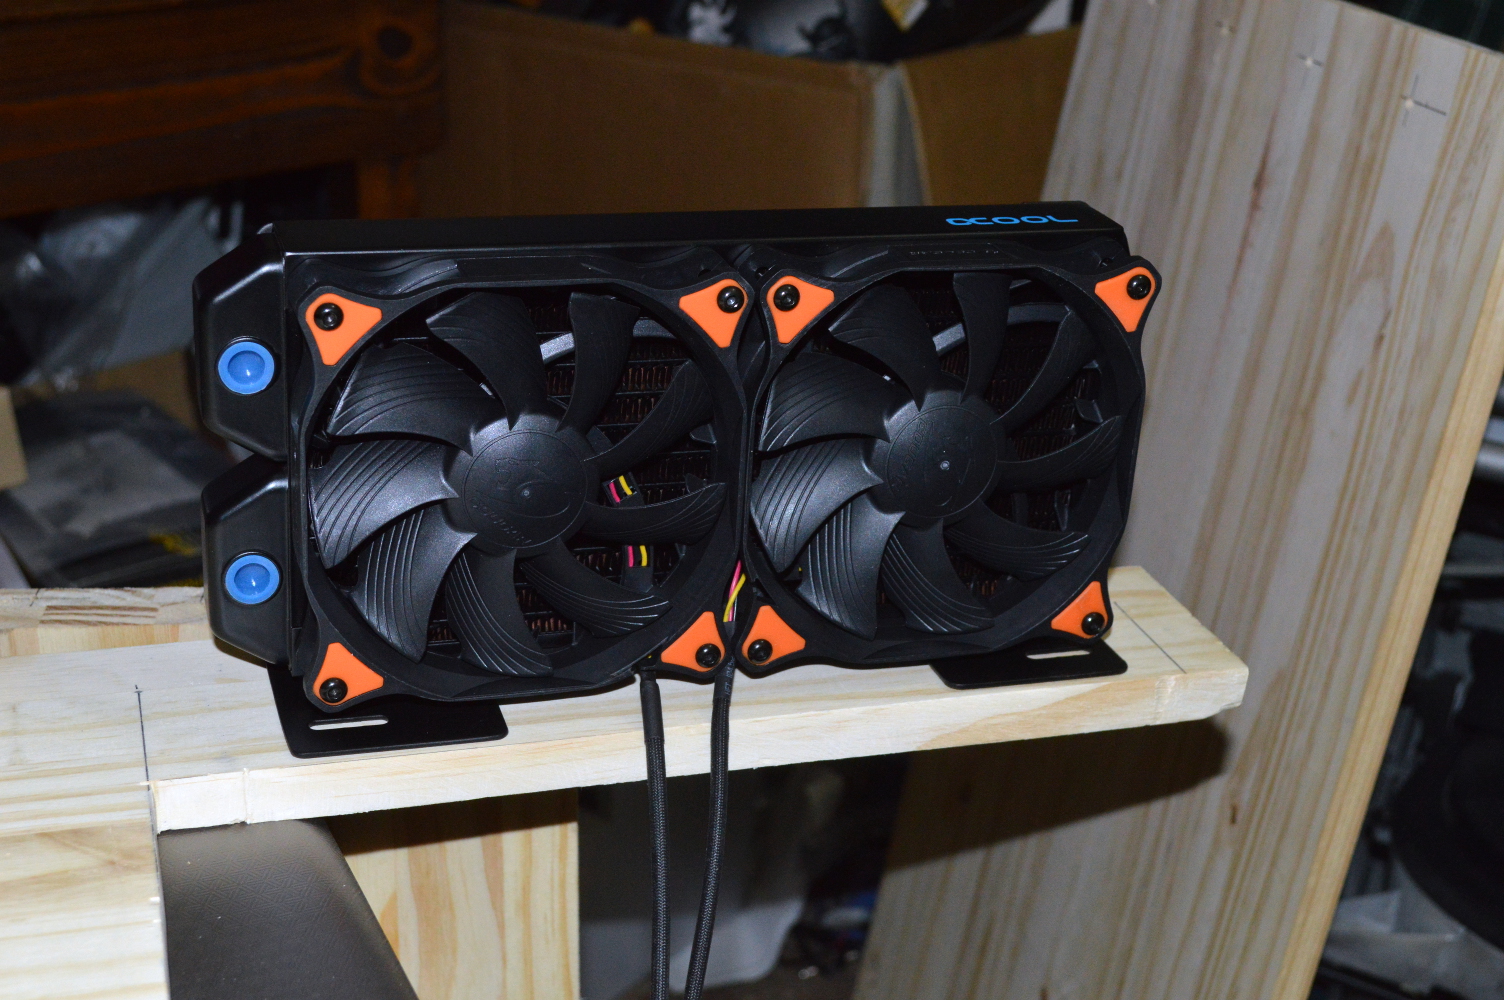
To mount the brackets, I drilled holes for 1″ long #8 countersunk machine screws. I needed the holes on the cabinet top and bottom. Then I turned my attention to drilling the holes for the bulkhead fittings. Here is where things got a little interesting.
With how the bracket is positioned and using an AlphaCool 90-degree rotary fitting, the intake for the radiator measured to about 1.75″ from the back. Measuring using diagrams for the bracket and radiator puts the center of the fitting at about 1.5″ up from the bottom (1.54″ when converting mm to in, so close enough). So I measured and drilled the side panel for that.
Only there were a couple minor hitches I ran into. I initially tried to drill with a 3/4″ spade bit, thinking that would be wide enough. Not quite. If I knew that was going to be a concern, I would’ve picked up a set of spade bits from Home Depot or Harbor Freight since I only have a 1/2″, 3/4″, and 1″ spade bit — something I’ll likely do in the near future anyway.
But I did have step bits, one that went to 7/8″. That allowed for the bulkhead fitting to sit, but not completely the way I wanted. It was just barely long enough, so I needed to sink it. That’s where another step bit came in handy, drilling a 1″ sink around the outside, allowing the fitting to sit flush with with the side panel.
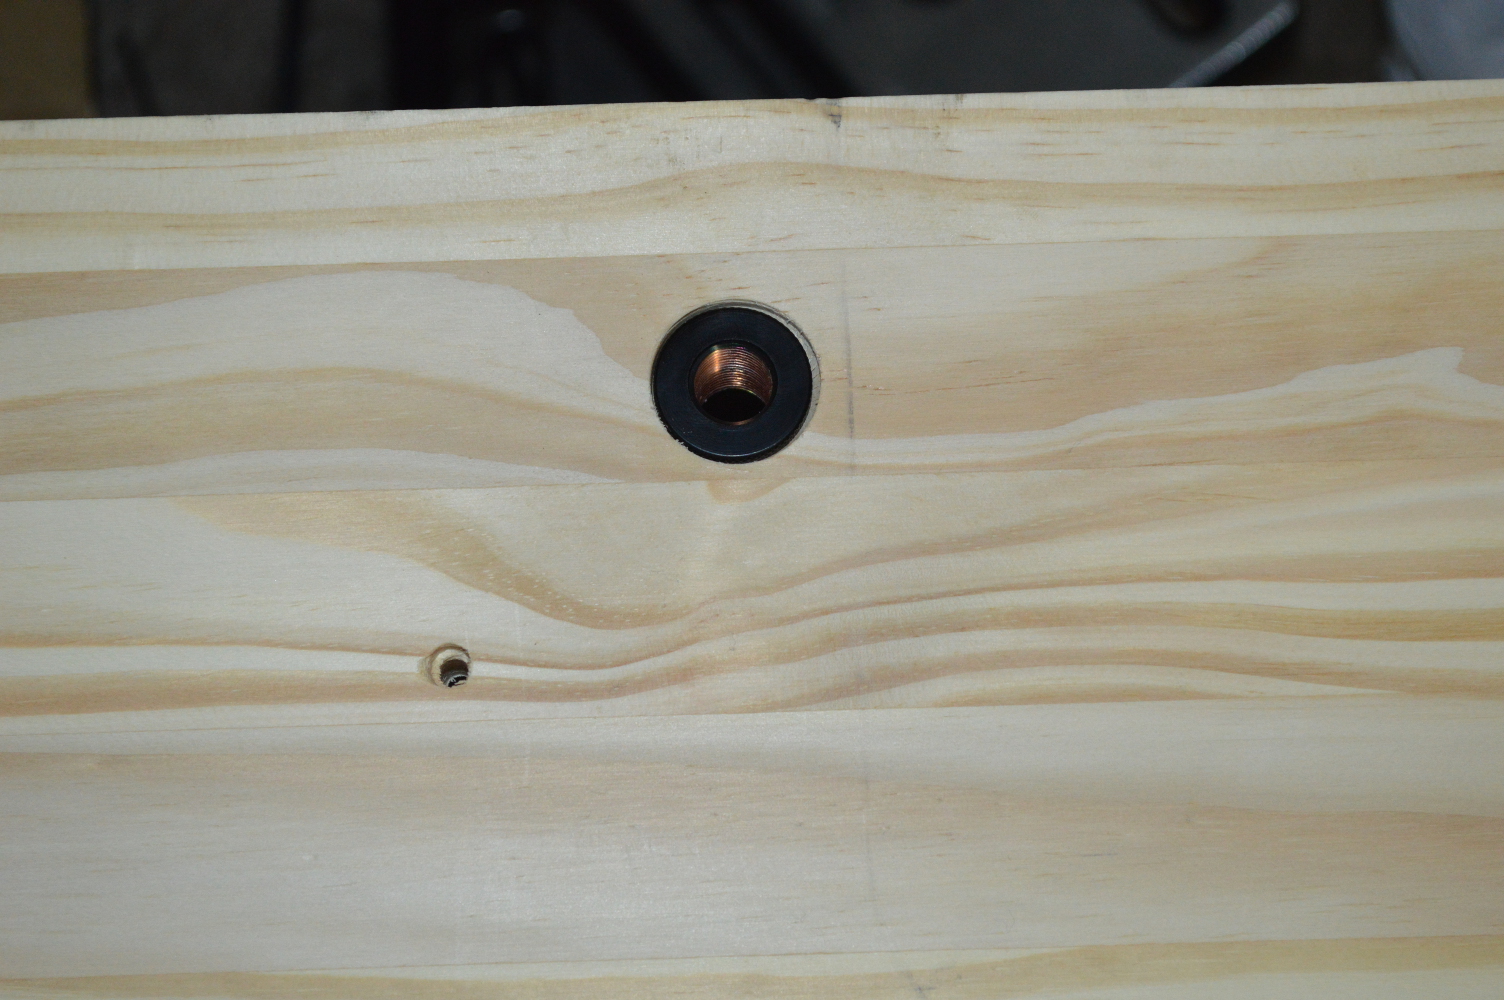
The fitting’s position should allow the return line to go straight to the bottom radiator. Unfortunately I was not going to know until the cabinet is put together whether that is how it turned out.
With the bulkhead fitting set, though, I didn’t turn my attention to the second bulkhead fitting. Not immediately at least. I planned to place it immediately above the return fitting, though. But first I’d need to mount the pump and reservoir to know where it would go.
Knowing where the bulkhead fitting would sit made measuring for most of that significantly easier. I chose to line the reservoir up so it would be centered along the same line as the bulkhead fittings. It would just make it much easier and leave the pump as the only complication.
And my thanks to Koolance and Bitspower for accurate drawings on their website. And thanks to my primary and secondary school teachers for the math education I received. No joke on that either. Let me show you what I mean.
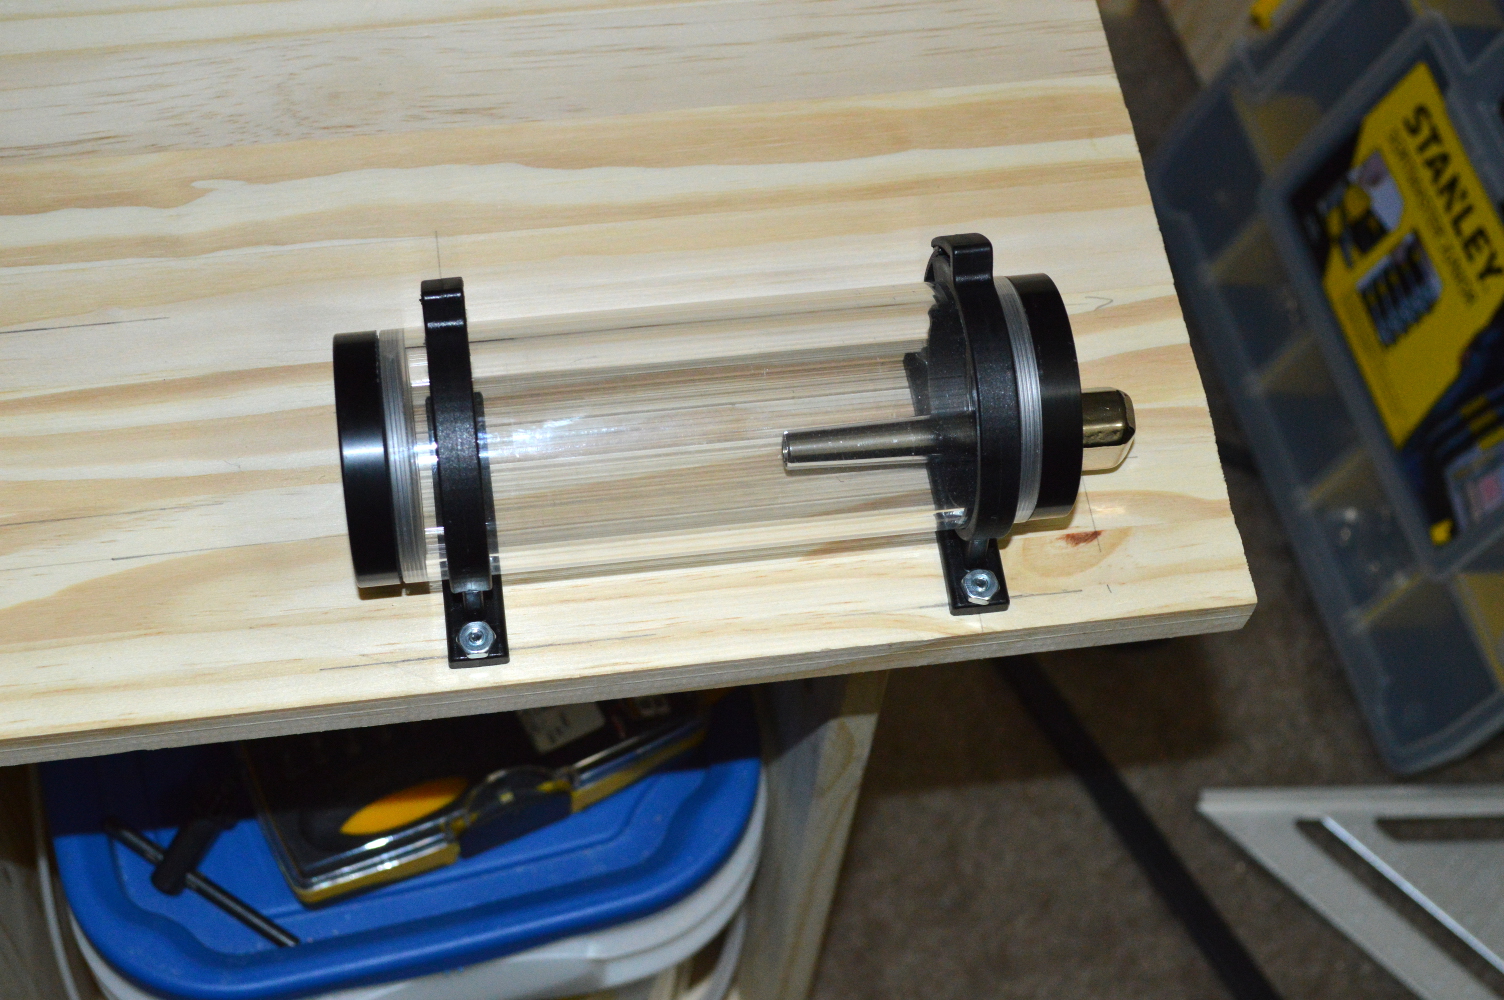
I was able to determine from Bitspower’s website that the reservoir mount I’m using was designed to fit onto an 80mm fan mount. And when mounts are designed to fit onto a standard layout such as that, it always makes measuring layouts so much easier.
Koolance’s diagram of the pump and 90-degree fitting allowed me to determine how far off the center line I’d be mounting the pump: about 40mm from the center of the bulkhead to the center of the pump, and shy of 1/2″ from the bulkhead center to the center on the closest mounting screws.
To figure out where on the board I’d be mounting it, I needed to know some details about the two EK 45-degree fittings I’d be using to connect the pump to the reservoir. Except there wasn’t any documentation available showing any kind of dimensions on the fittings, a situation that EK should rectify since everyone else from what I’ve seen makes such diagrams available. The diagrams are invaluable when making a custom project like this one. So I had no choice but to eyeball it.
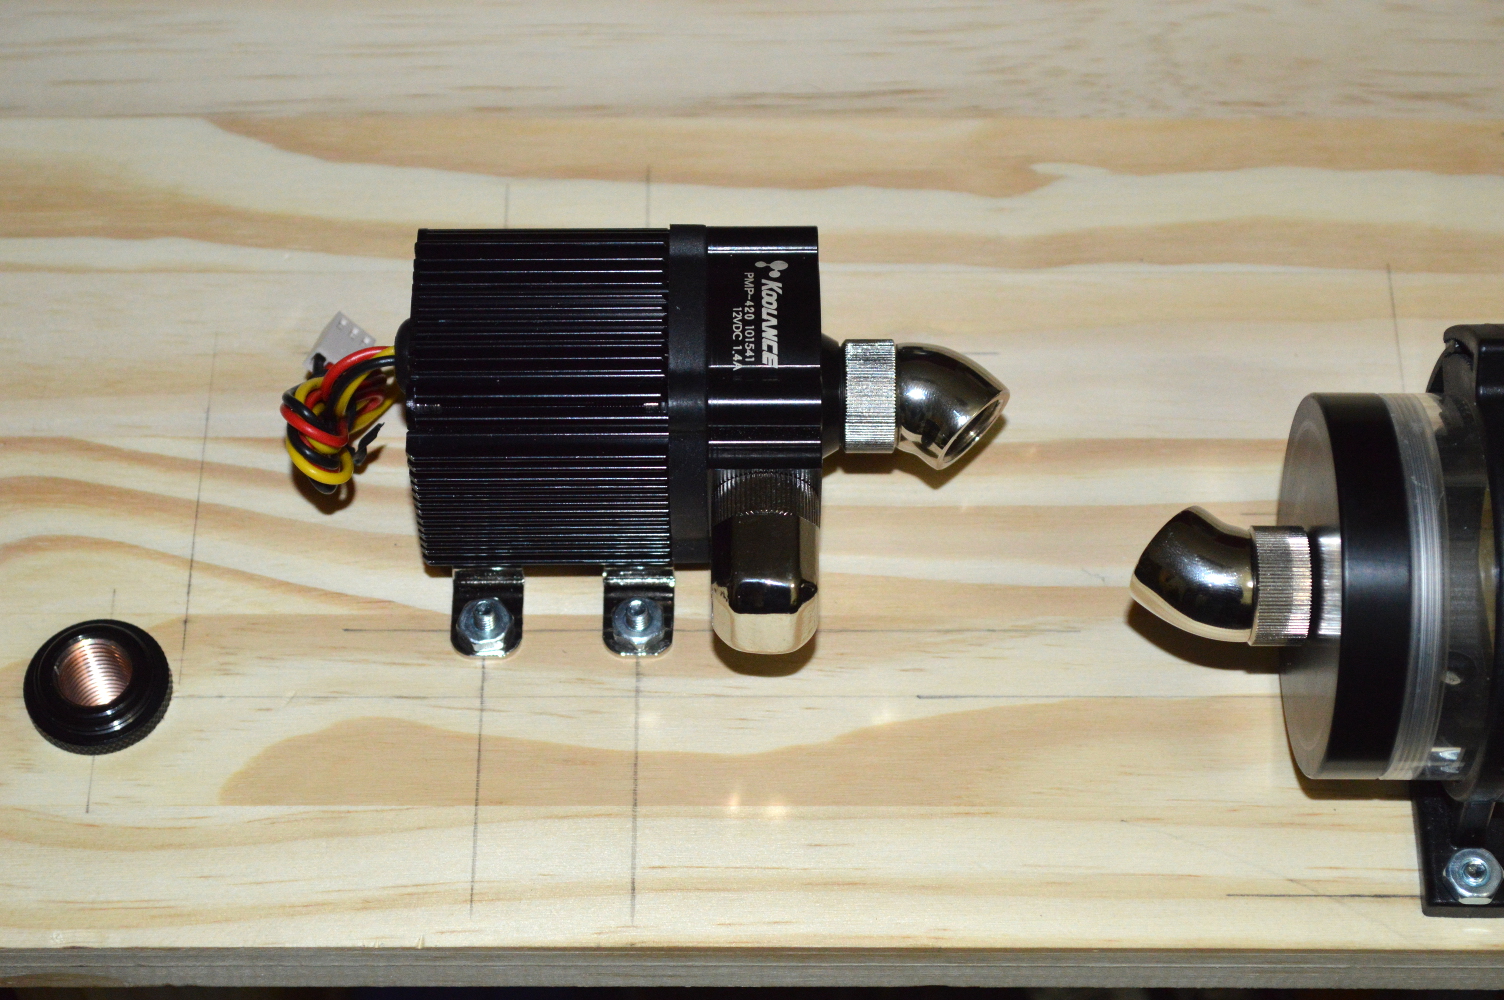
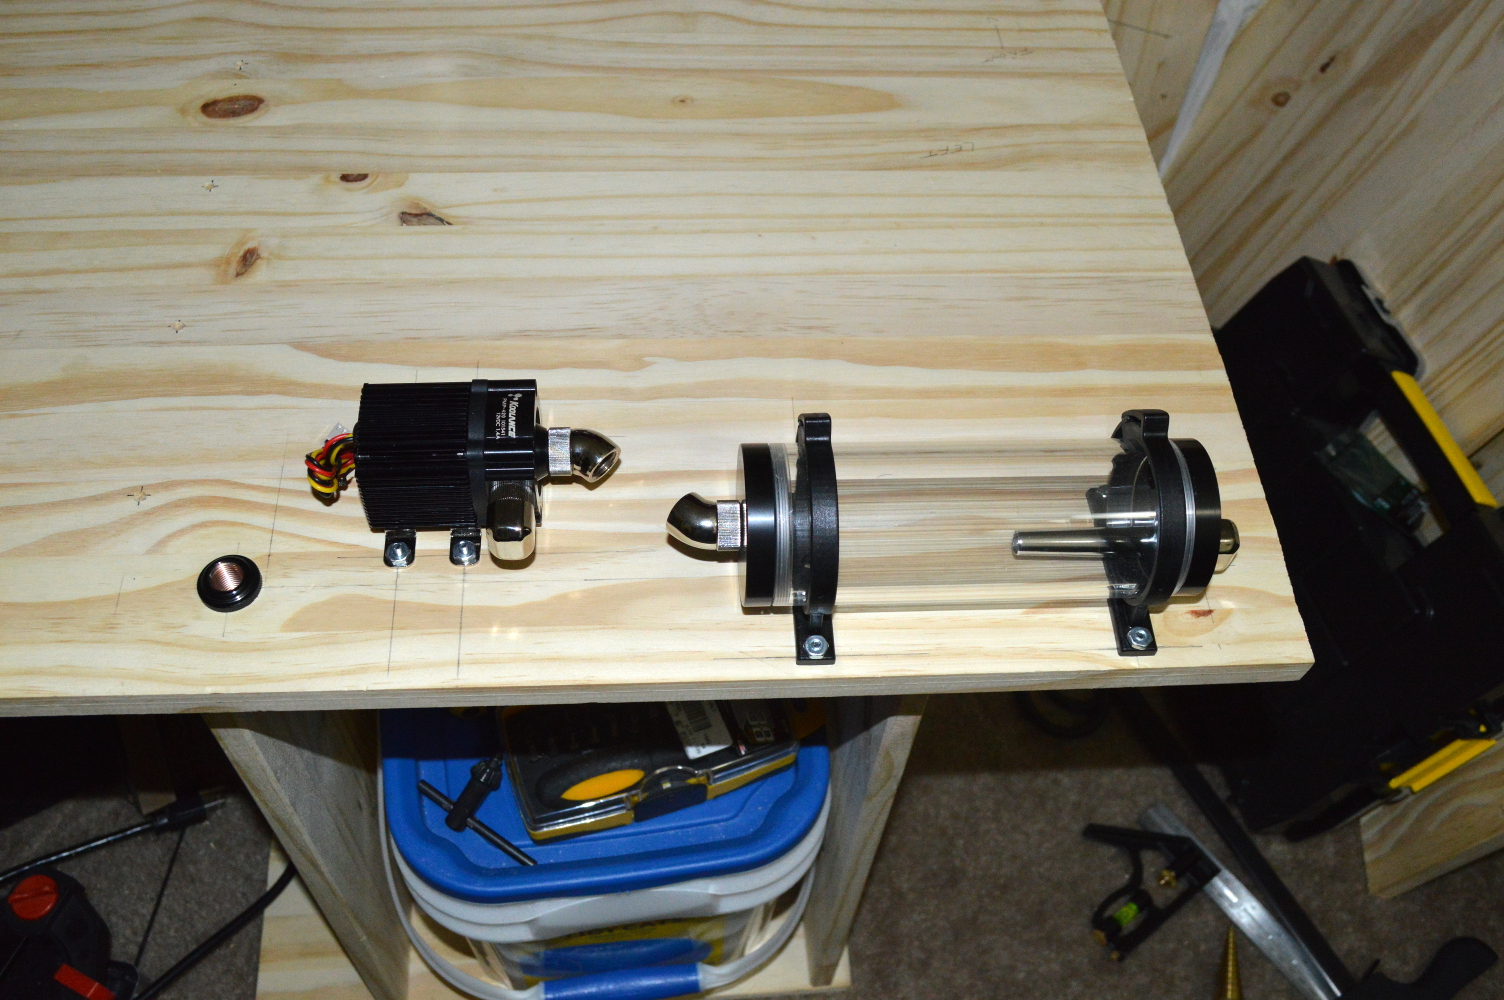
Once I had the pump mounted, I needed some ingenuity to figure out where to put the bulkhead fitting. Sure I could’ve just tried to line my square up under it, but I wanted to be a little more precise. From what I could gather, the pump top is about 18mm long, and the G1/4″ port appears to be middle-aligned, putting the center about 9mm in from the edge. This means that from the center of the lower screw hole to the center of the fitting port is about 46mm.
So I measured and drilled, following a procedure similar to what I did for the first bulkhead fitting.
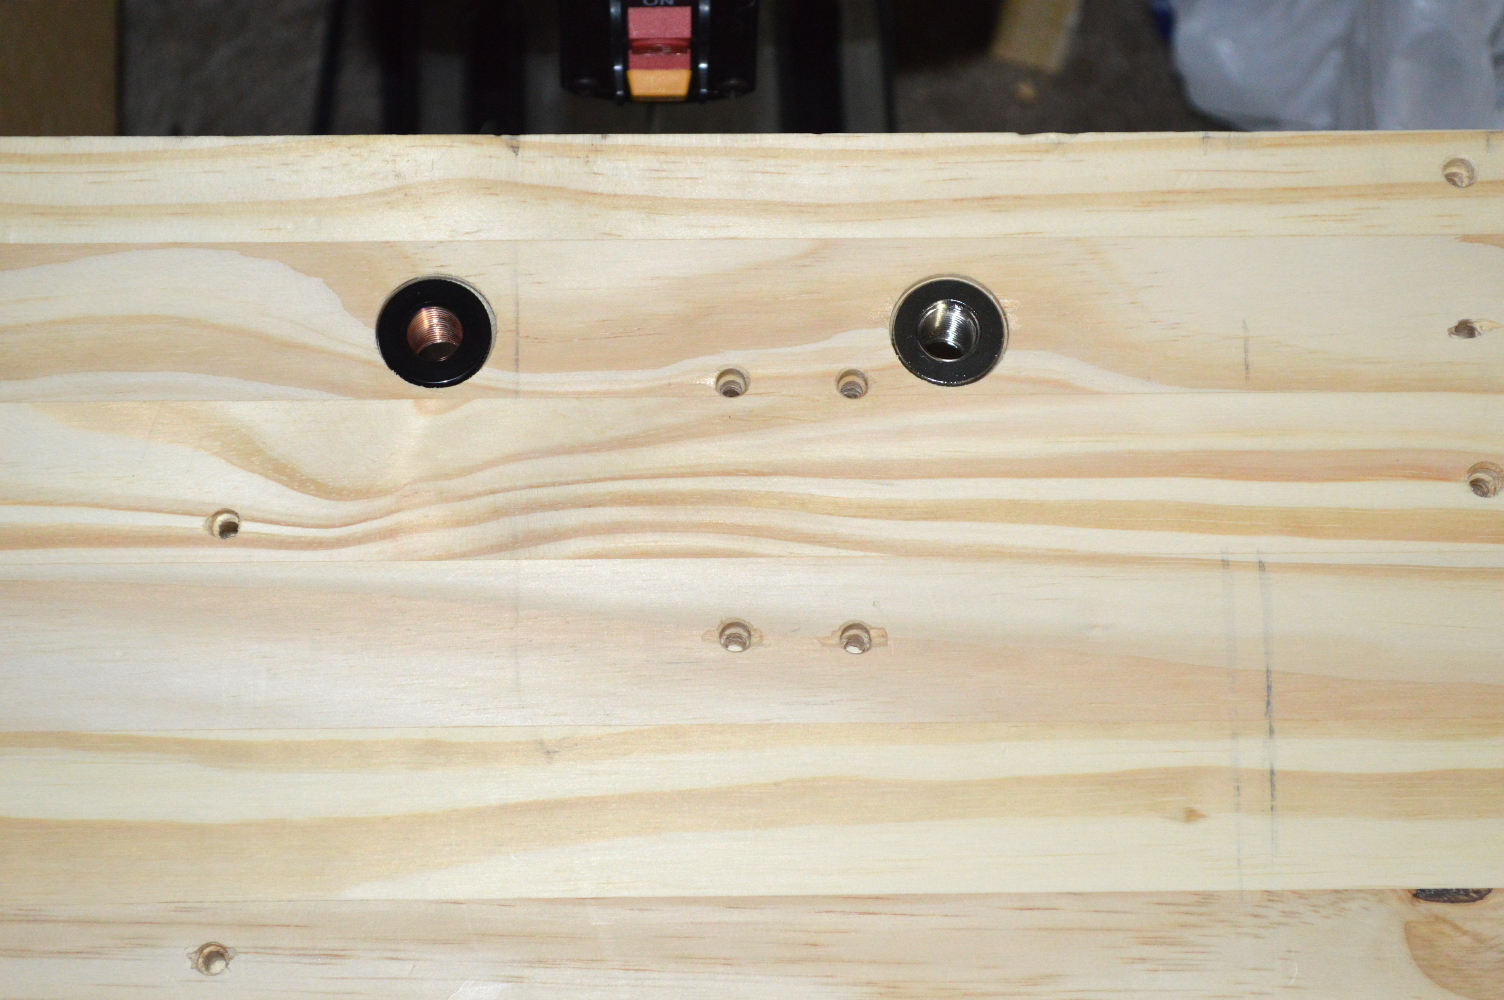
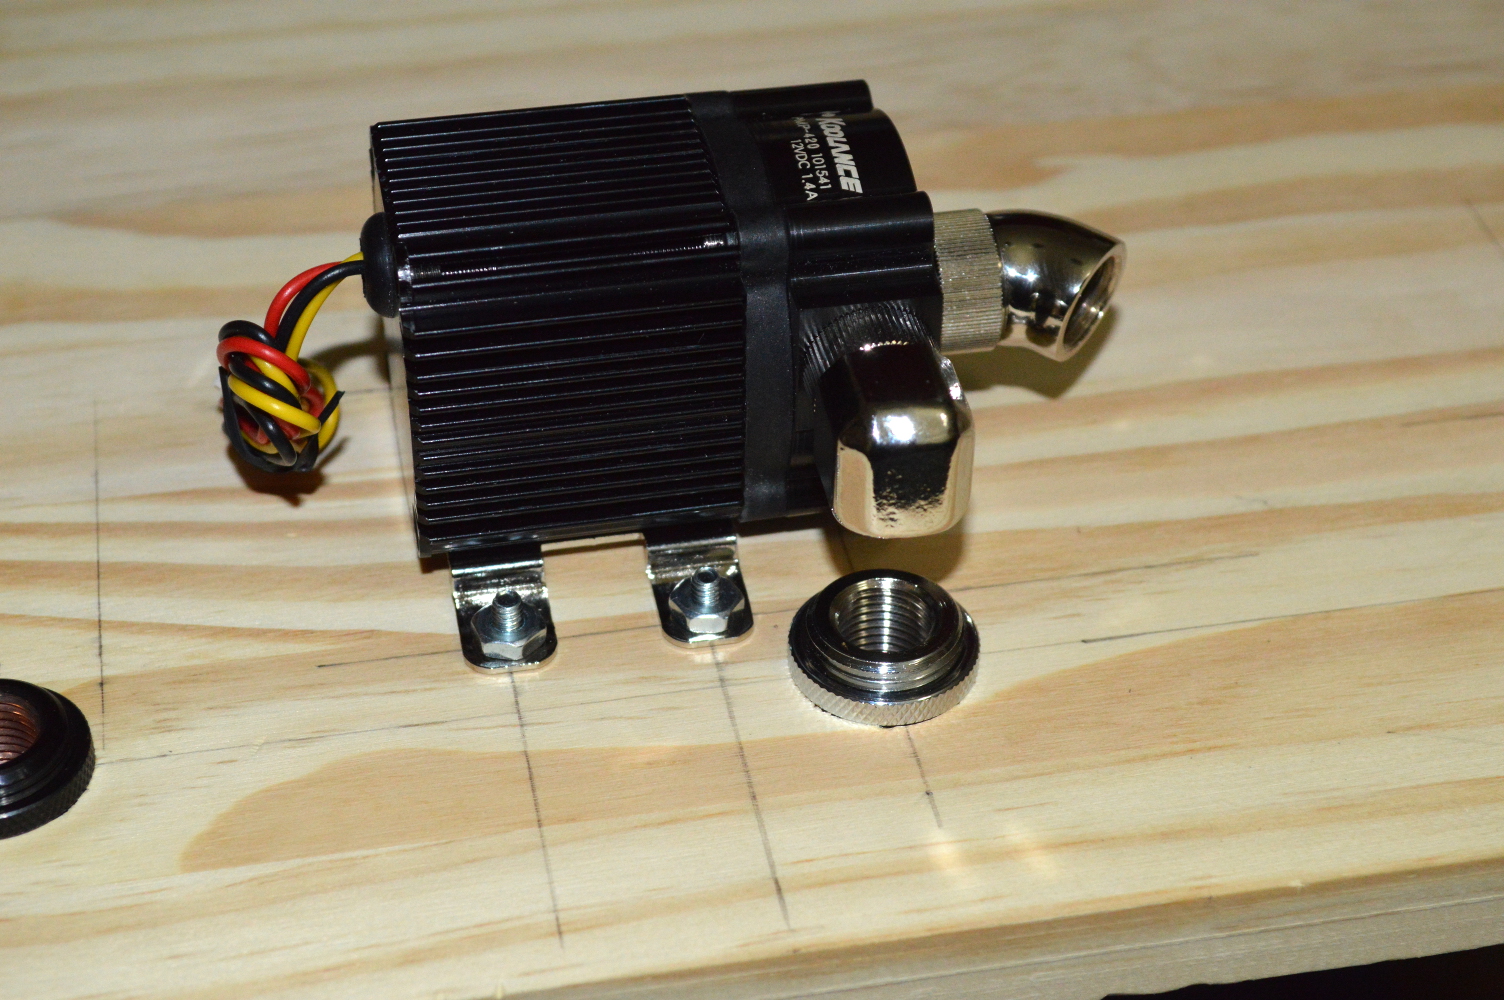
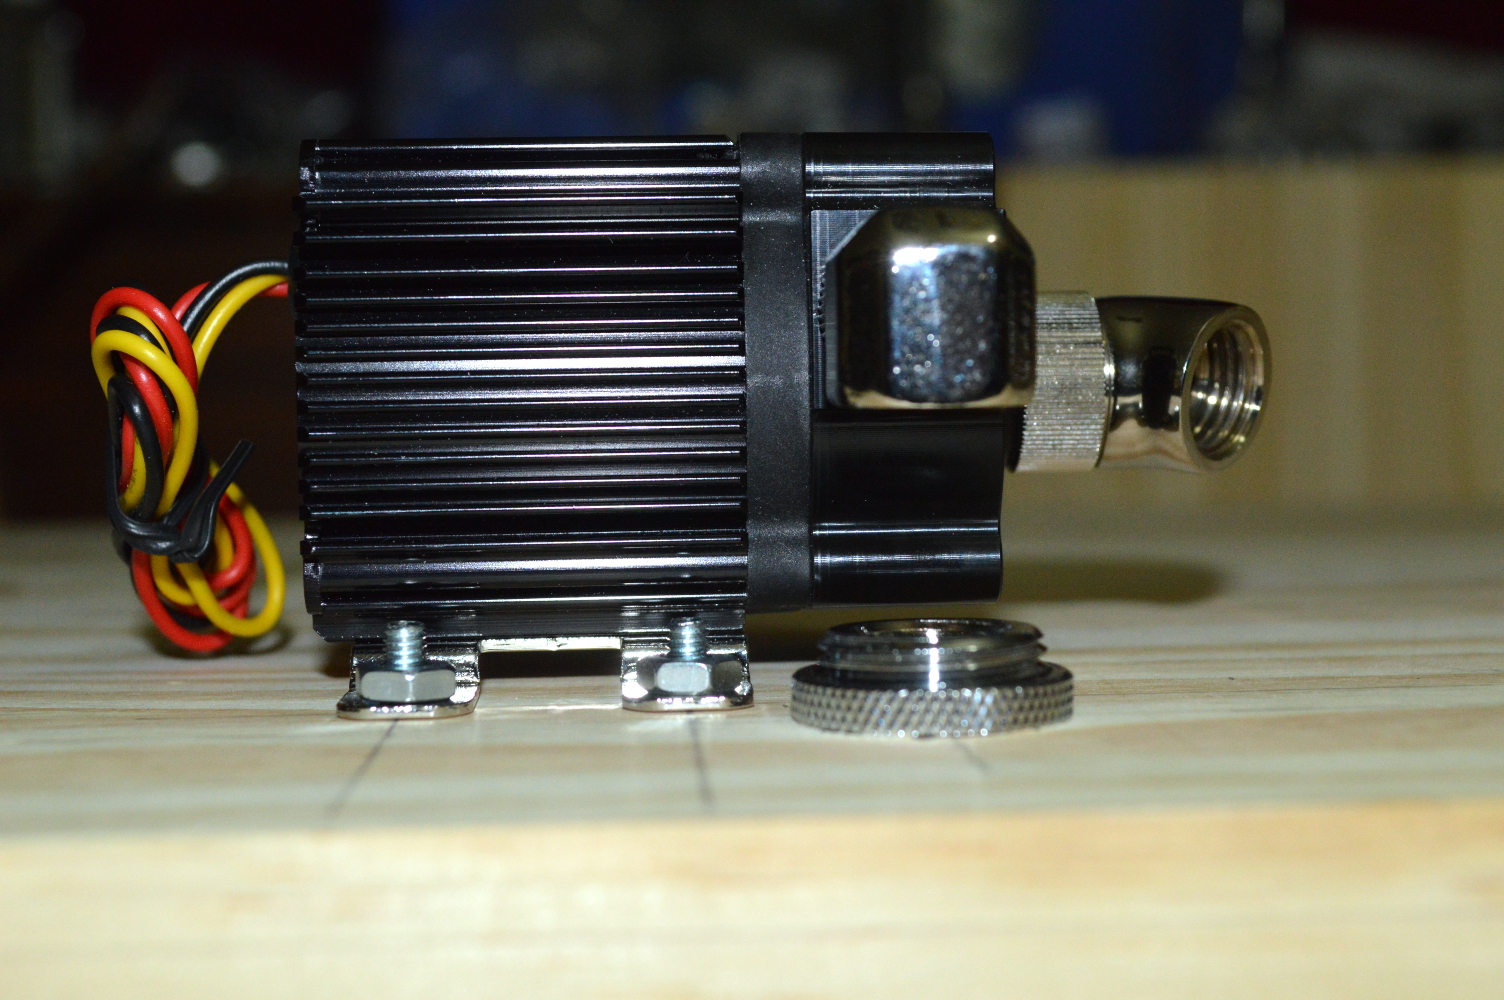
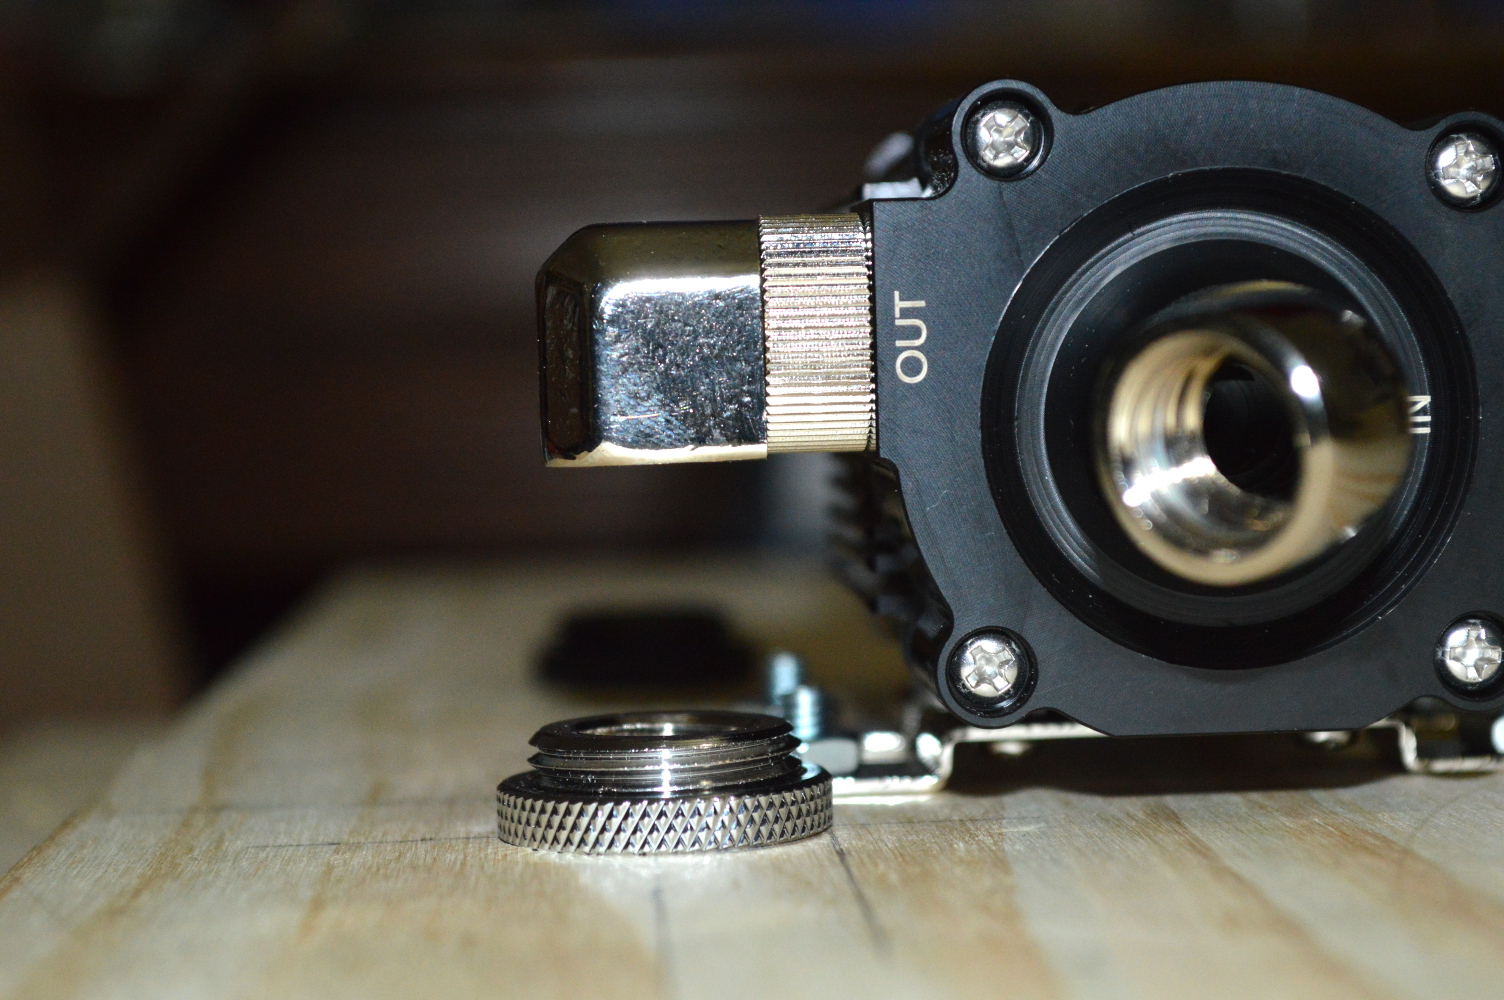
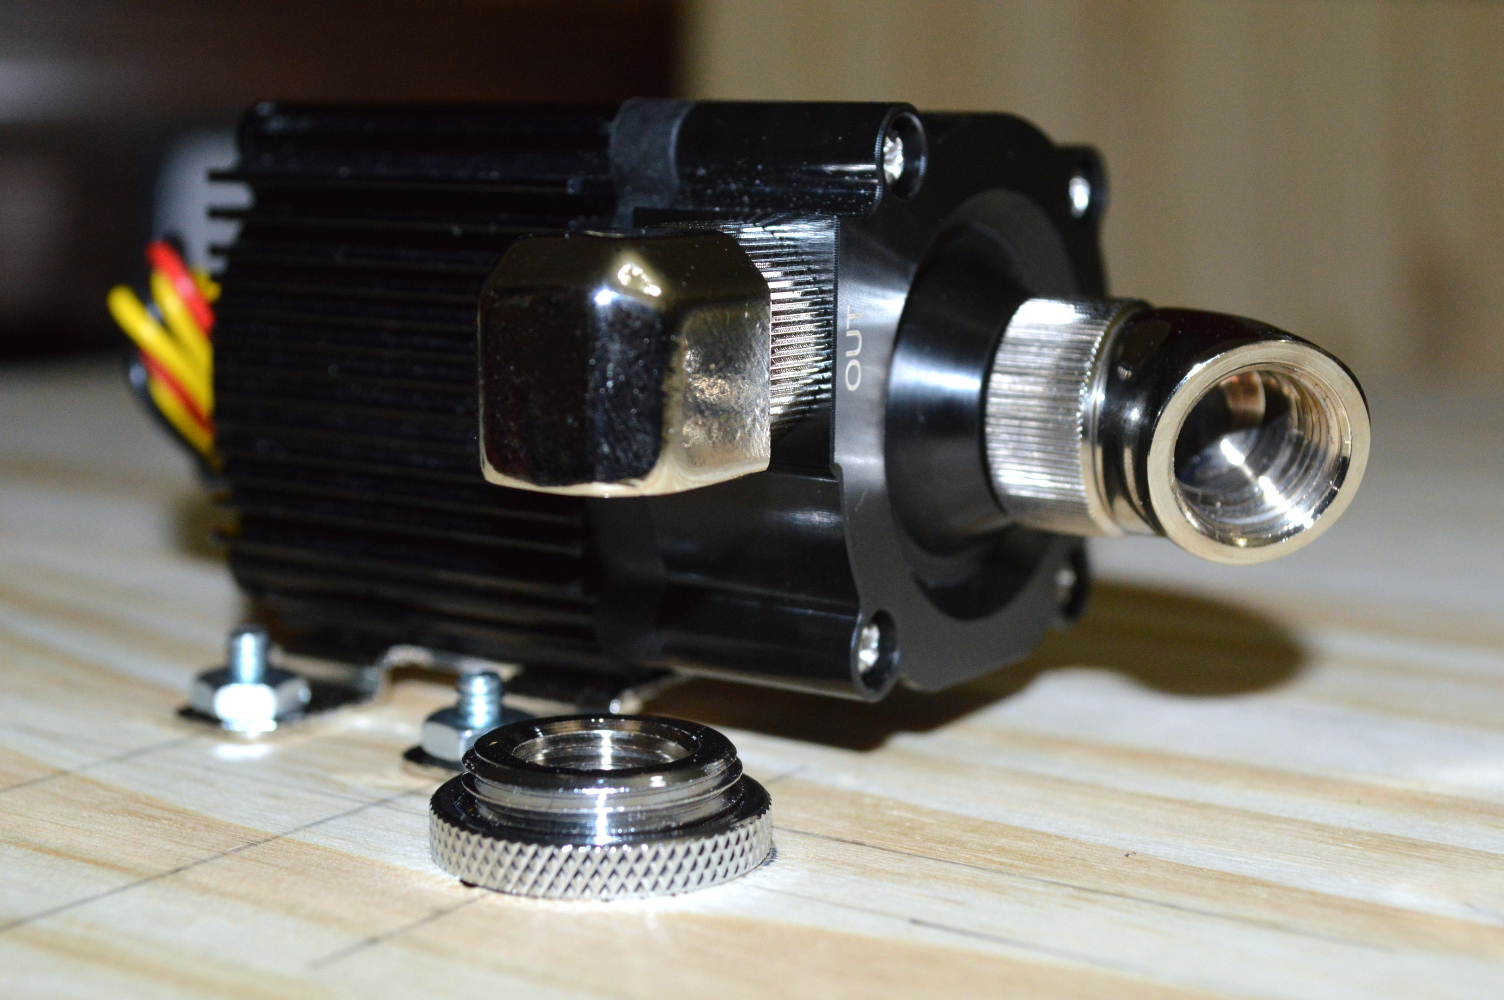
So it should be clear how this is going to run. The pump outlet is going right to the bulkhead fitting that will feed to the system. And the inlet to the box will go straight to the radiators. And the radiator will feed straight to the reservoir.
Unfortunately, though, this is much too close to make use of hard tubing fittings. So instead I’m going to use a Swiftech SLI fitting. I just need to get one from my local Micro Center when they’re next open.
The only question really still up in the air is how I’m going to power all of this. Current plan is to use a small FlexATX power supply I have laying around, provided it is quiet enough for the job. We’ll see when I flush the radiators and blocks later in the week. And I have an Add2PSU for synchronizing it with the main system, if I decide to do that.
But what you see above isn’t how the pump is going to be mounted in the final configuration, as I plan to use some 00 rubber washers for vibration isolation plus a couple 1/4″ nylon spacers. That should get the pump’s inlet lined up with the reservoir, and I’ll use PETG tubing as a short channel between them. But the 1″ screws I have are too short for that. And given a lot of this was all done on Christmas Eve night, I couldn’t just run to Home Depot to get the screws I needed. That will have to wait till Sunday after all of the Christmas festivities with mine and my wife’s families.
So until then, Merry Christmas.