- Water cooling build in my wife’s computer – Part IX
- Project Absinthe
- Project Absinthe – Part II
- Project Absinthe – Part III
- Project Absinthe – Part IV
- Project Absinthe – Part V
- Project Absinthe – Part VI
- Project Absinthe – Part VII
- Project Absinthe – Part VIII
- Project Absinthe – Part IX
- Project Absinthe – Part X
- Project Absinthe – Part XI
- Project Absinthe – Part XII
- Project Absinthe – Part XIII
- Project Absinthe – Part XIV
- Project Absinthe – Part XV: It’s alive!
- Project Absinthe – Intermission and future plans
- Project Absinthe – Part XVI
- Absinthe – Part XVII
- Absinthe – Part XVIII
- Absinthe – Part XIX: Valentine’s Day
- Absinthe – Part XX
- Distilling another batch of Absinthe
- Distilling Absinthe – Part II
- Distilling Absinthe — Part III
- Another glass of absinthe
- Another glass of absinthe — II
- Adjusting the recipe
- Absinthe to Amethyst
The United States Postal Service certainly had a weird way of delivering a package. I live in an apartment complex, meaning that packages that cannot be put in the mailbox get held at the office. It’s why I typically have packages shipped UPS or FedEx where possible and have those packages redirected to a place with better hours. On a Saturday, it means my hours are even more limited.
But when I saw them delivering mail, I checked the mailbox and found some mail, but no package despite it being listed as “Out for Delivery”. So I checked with the apartment manager to see if the package had been left with them despite not receiving a package notice as that’s happened before. No luck. Then closer to 4PM, approaching the time the apartment management office closed, I checked the listing again:

This time I had the SSD in my hands. For a while I started to worry they delivered it to the wrong apartment as I’ve received mail for other apartments. Thankfully no packages, but I wouldn’t put it past them to do something like that.
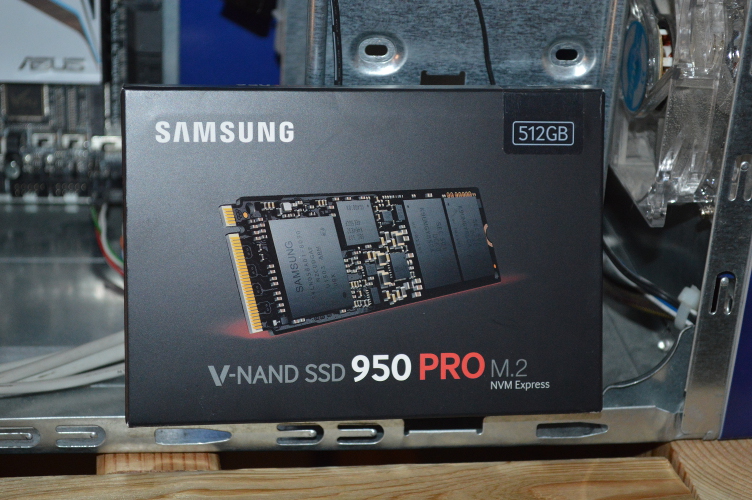
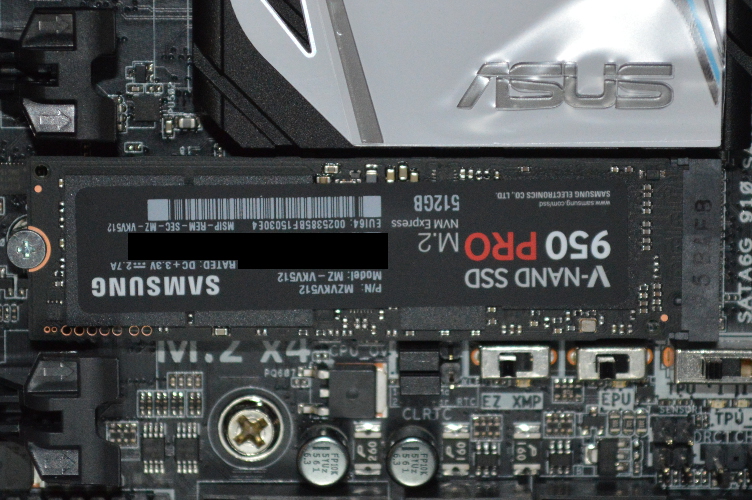
So with the SSD in my hands, I installed it into the mainboard. Note to Samsung: change the label orientation on the drive. Initially the Windows 10 installer didn’t want to install to it, but a quick “Load Optimized Defaults” and a few small modifications — disabling the serial port and onboard audio — managed to get the installer detecting it as a bootable drive.
With that out of the way, the only thing left to do was get naked.
Note: When using the 950 Pro, be sure to download and install the Samsung driver for that device to ensure optimal performance and stability. I actually had a hard time getting a fresh Windows 10 install to remain stable until I discovered that driver.
Stripping down
Since my wife still actively used Absinthe while I was testing the new hardware, I obviously needed to coordinate with her on making the upgrades since this was going to mean several days of downtime.
Saturday was spent finishing the testing on the hardware while also grabbing the water I knew I’d need to flush out all the components. I already had four gallons of distilled water before buying an additional six. Ten gallons should be plenty, and if it’s not I can always grab more. I’ve had as much as 14 gallons stocked before — that was ahead of building Desert Sapphire.
I also reinforced the pine table under her desk. The board had some flex to it and it made me uncomfortable given how much weight would be resting on it. So I took some slimmer pine boards — 3″ wide by 3/4″ thick — and made crossbeam supports going across the width of the panel underneath it, just screwed and glued in place.
Sunday was crunch time. After coordinating with my wife, we disconnected everything and got the case within reach. Not being able to access the system in order to keep it clean has definitely taken its toll, meaning the move to below the desk will certainly be beneficial, not just in terms of airflow.
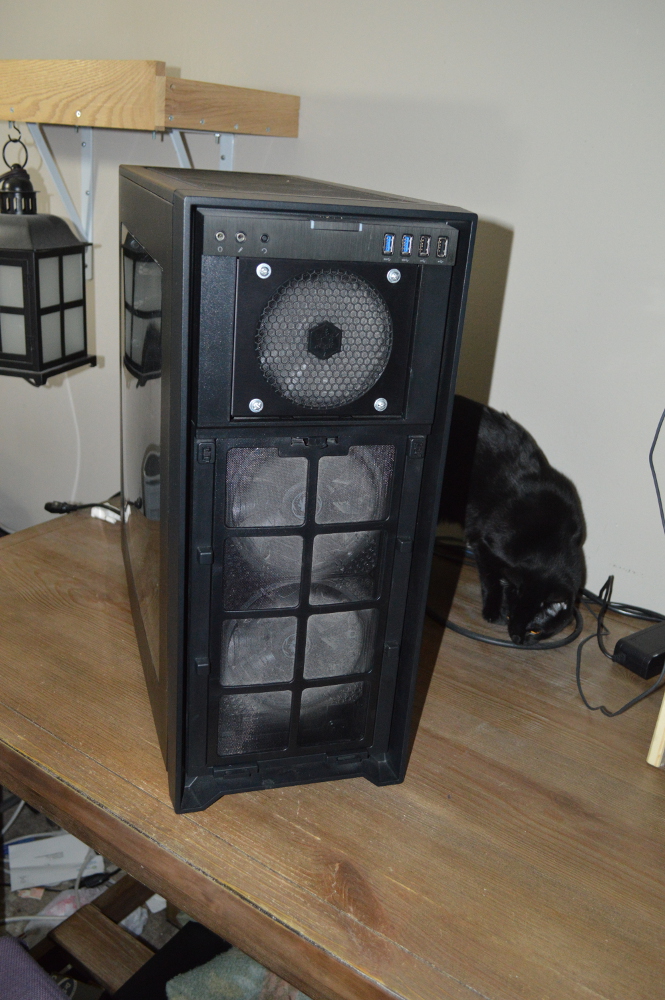
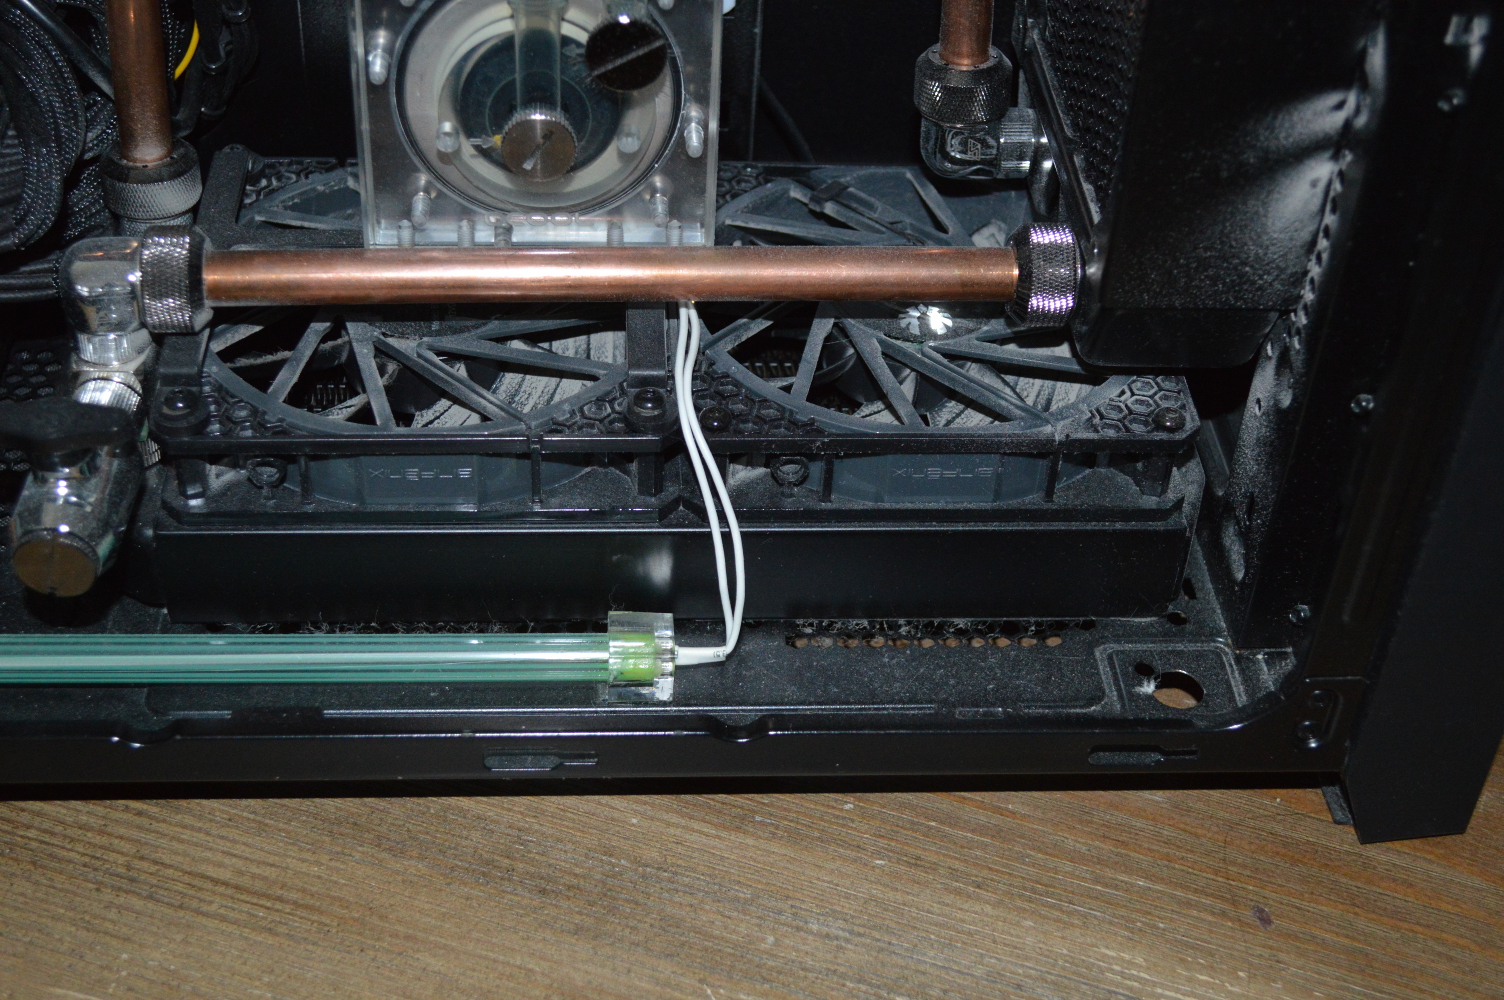
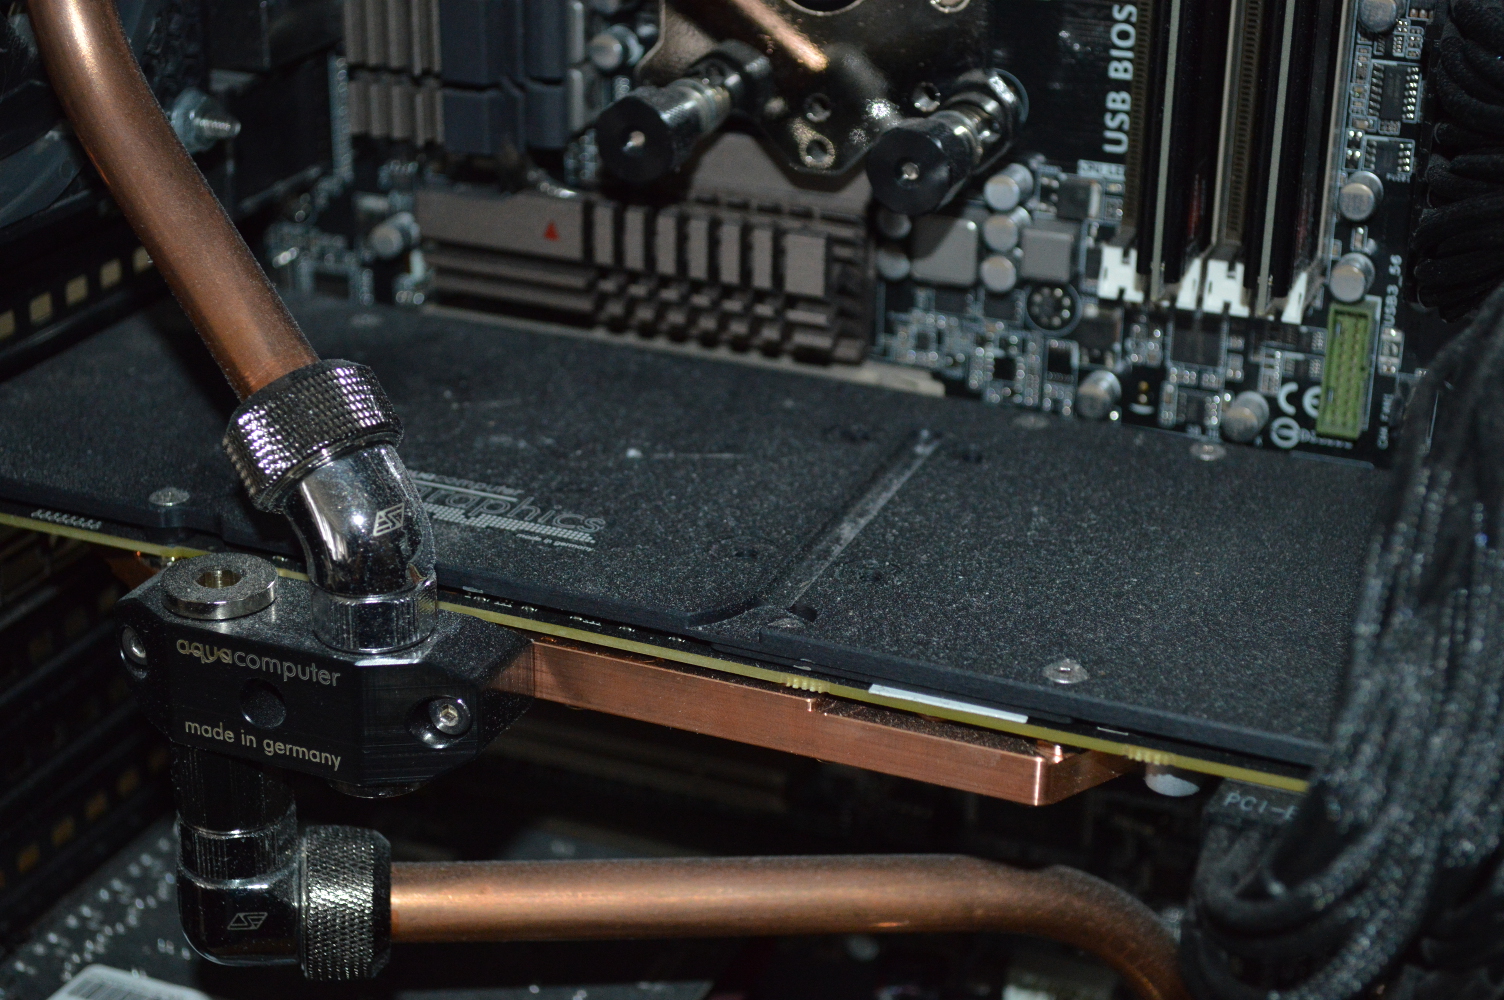
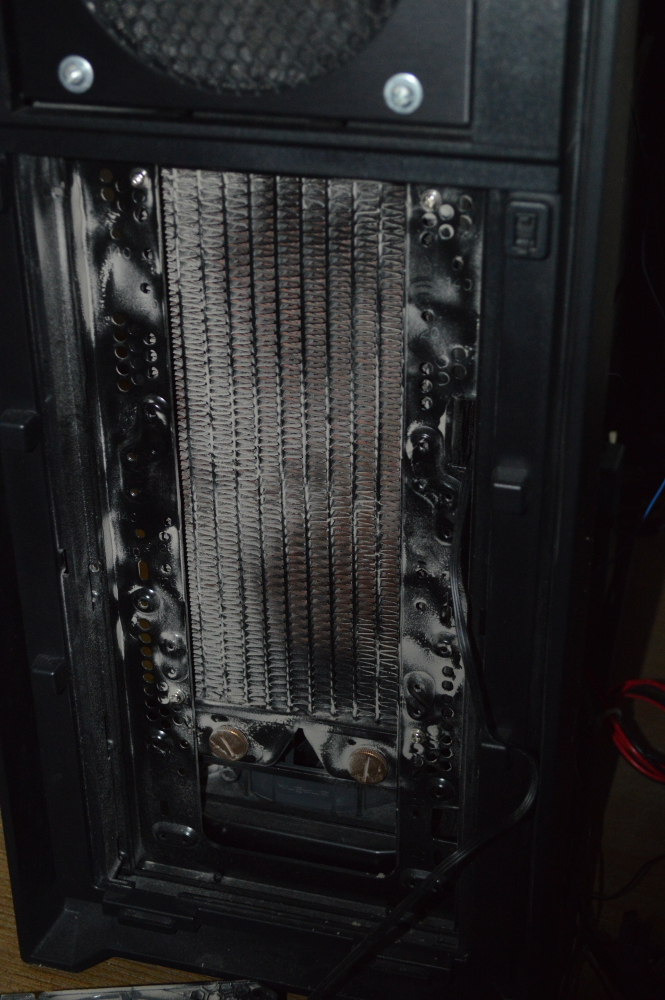
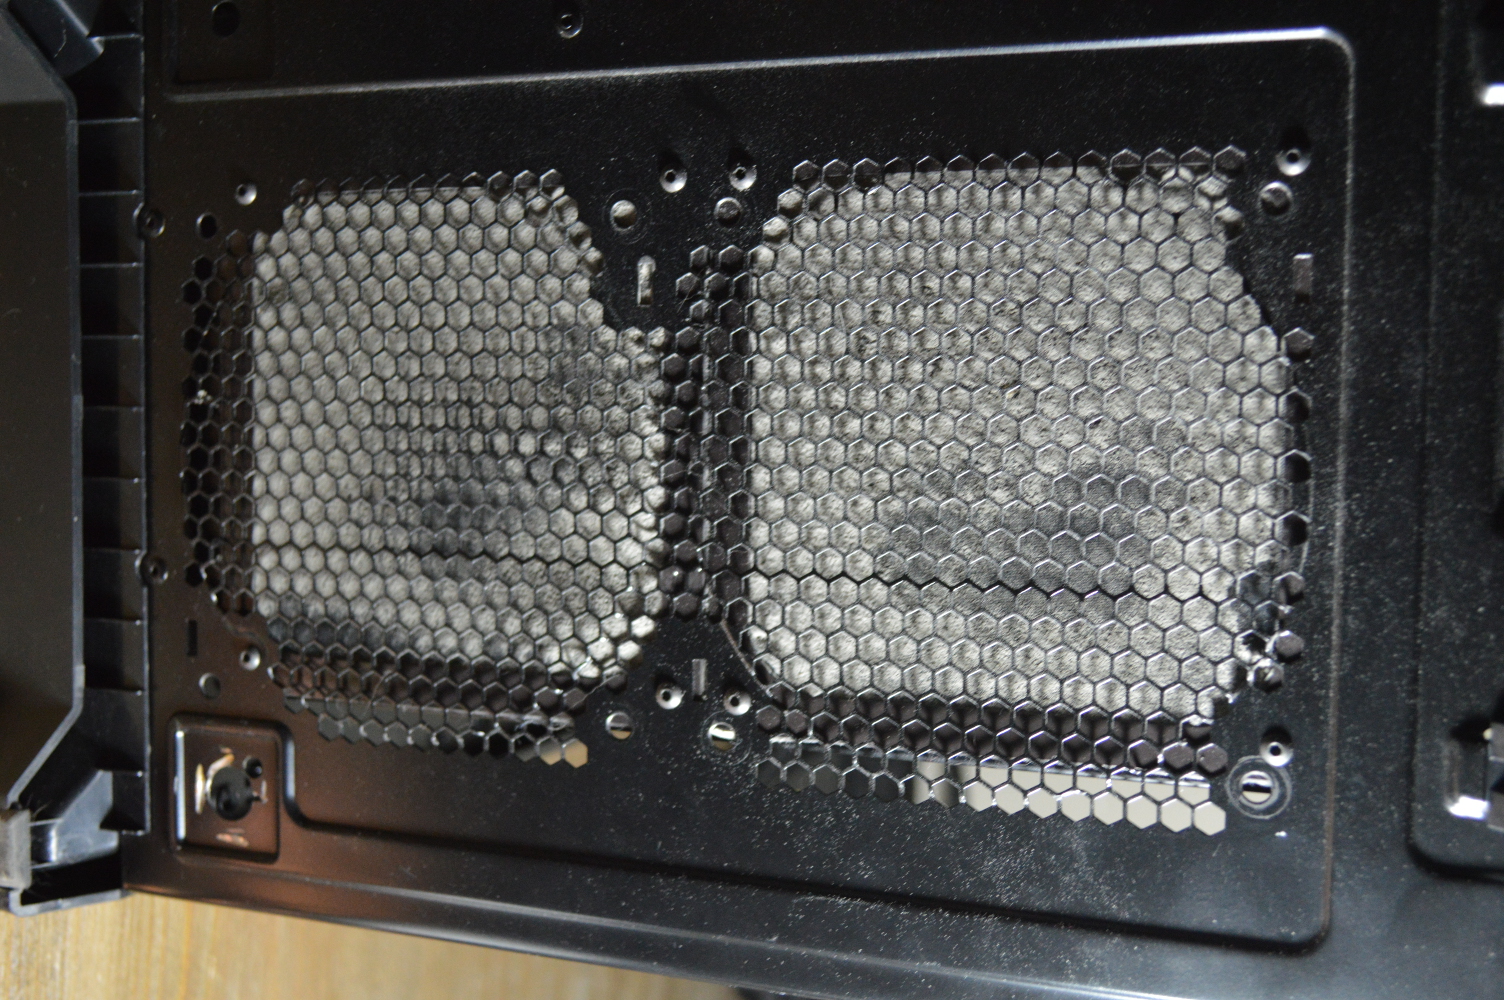
Once everything was shut down and disconnected, I first wanted to take care of the software side of things. That meant migrating her Windows 8.1 Pro license to the X99 Pro system. I had already installed Windows 8.1 Pro to the system the night before, so it was just a matter of activating it. Once activated, I upgraded the license to Windows 10 Pro, made note of software key for a fresh install, imaged the drive, and shut everything down.
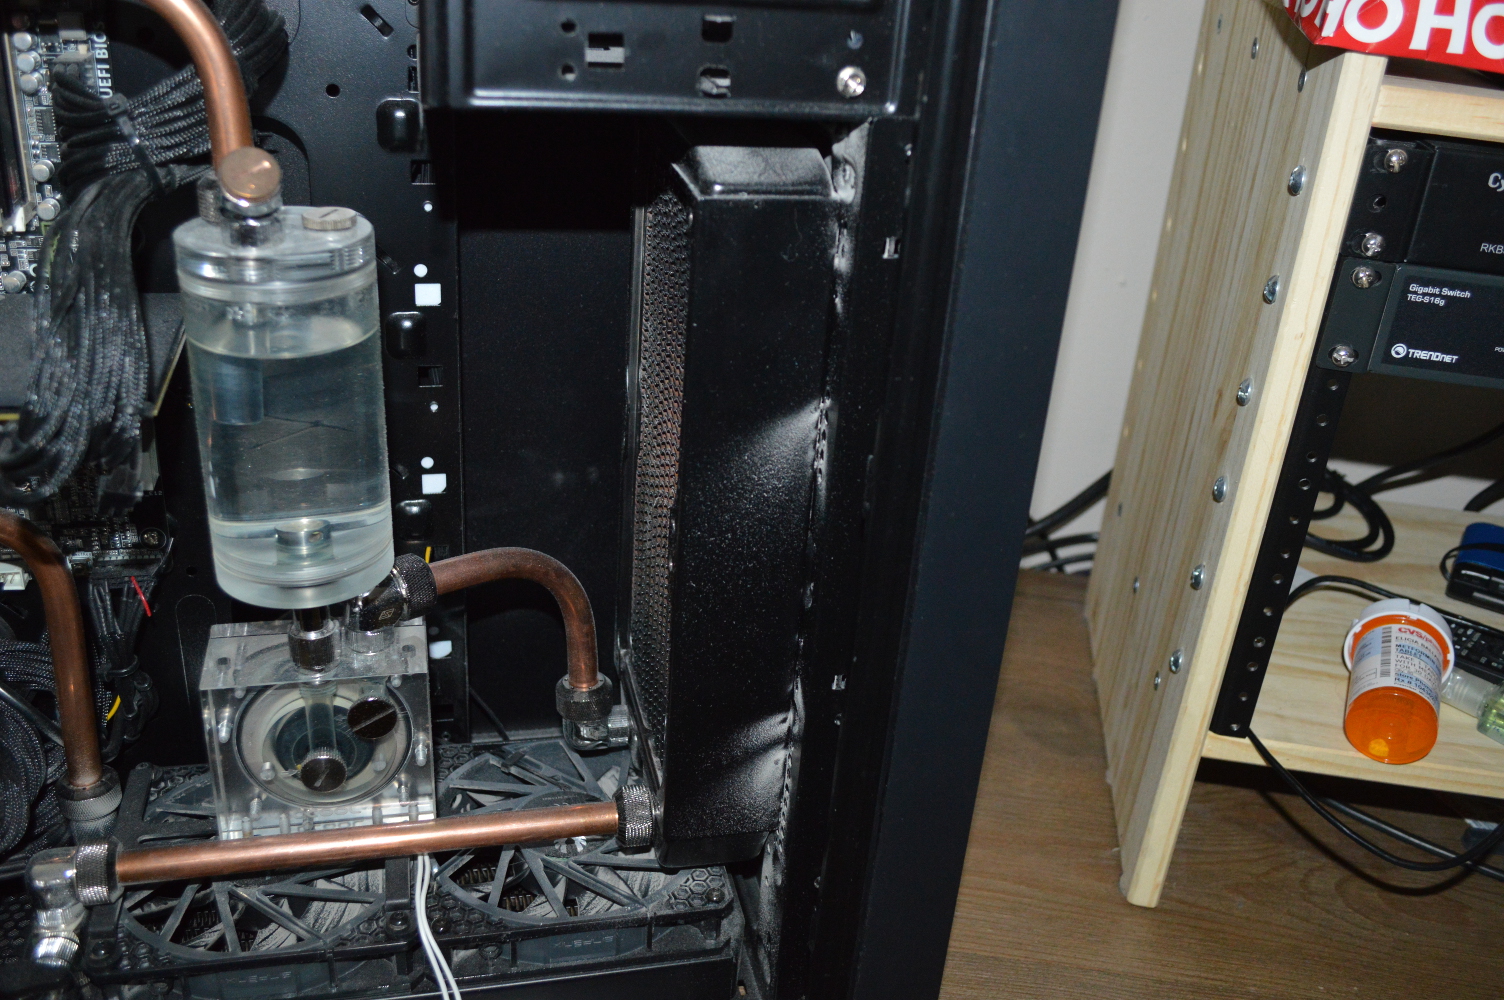
Next came draining the loop and taking it all apart. And I took everything out of the system to get as much of the dust out as possible. I re-assembled the system by the end of Sunday as well, with the exception of the water loop. I saved assembling the loop for Monday since I knew there were going to need to be some changes.
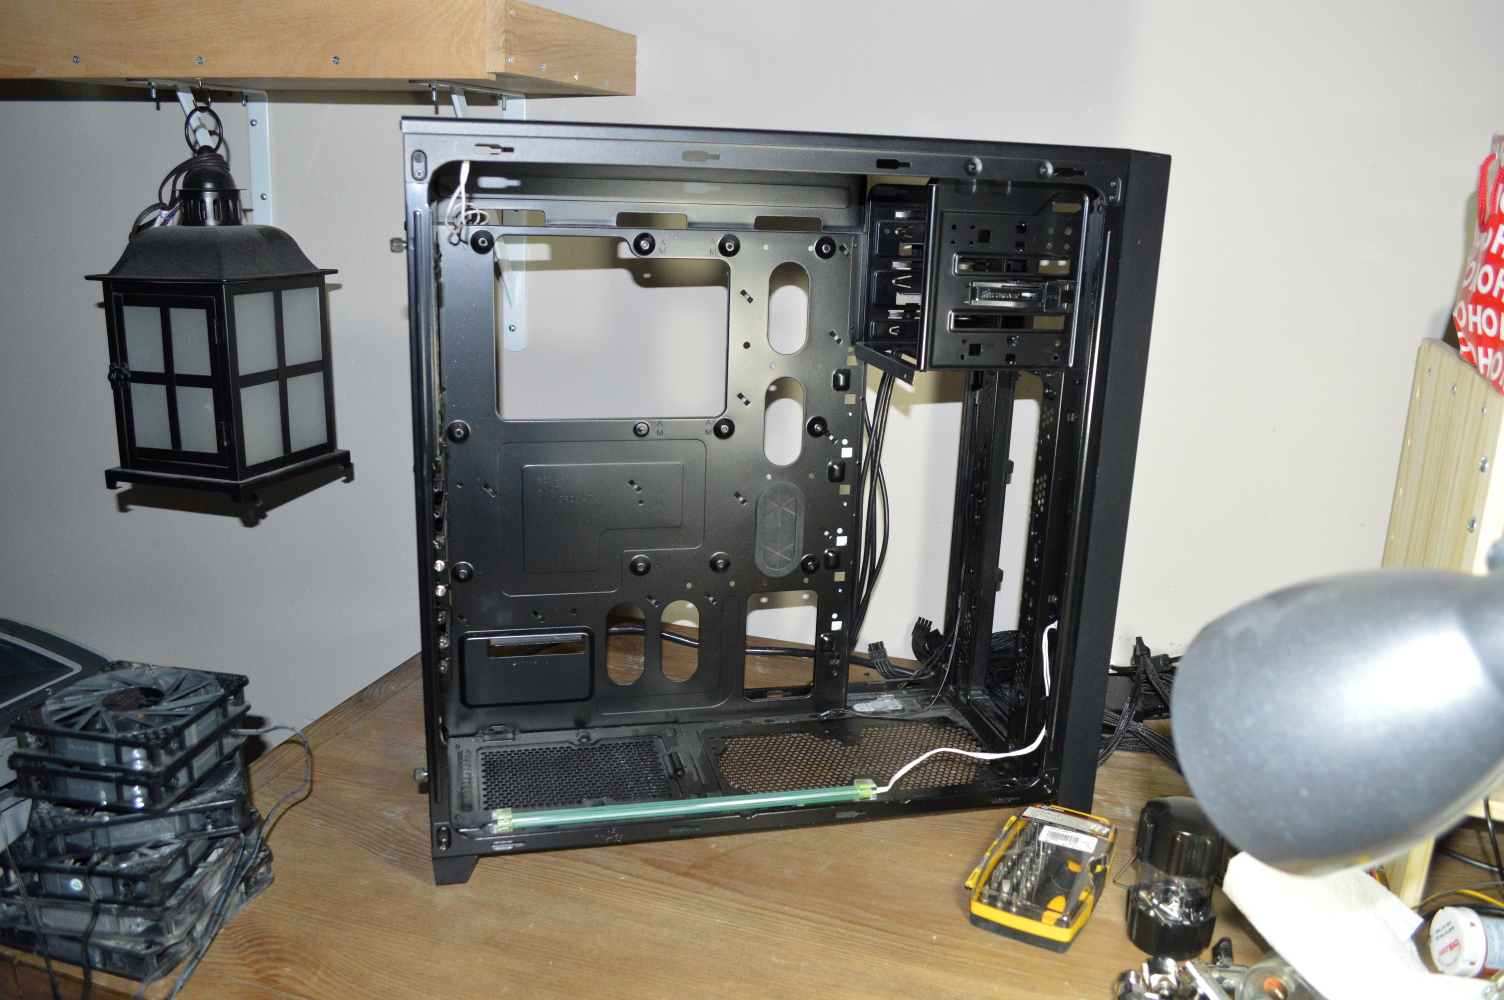

Assembling the loop
Monday had the new water block coming for the CPU. One other thing about the Watercool block to enjoy: the instructions say the alignment of the block doesn’t matter. And the mounting system for the block is very, very easy for LGA-2011 and LGA-2011v3 sockets. I mounted the block with the outlet downward as I feel that makes draining the system much easier since it means the CPU block isn’t going to be a fluid trap.
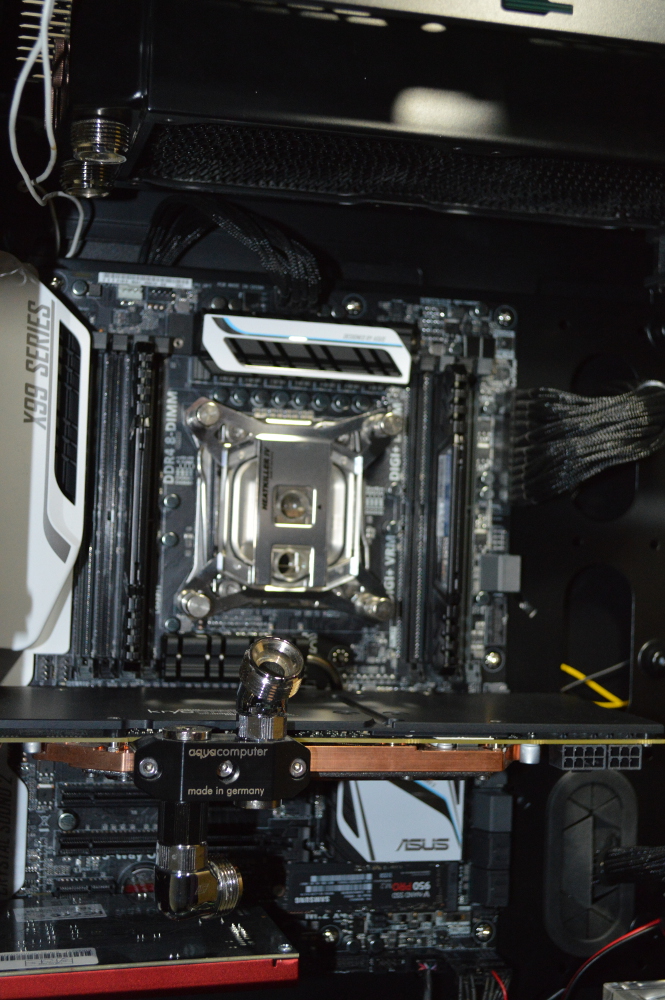
Now this meant that going from the CPU back to the reservoir was going to require a new line. But I decided to try something a little different and use PETG, using a 40mm extension fitting to raise up a 90-degree fitting enough to get a straight line to a 90-degree dual-rotary fitting. I also replaced the line across the front on top of the bottom radiator with PETG as well. This was left over from the stock I ordered for building the cabinet in Desert Sapphire.
Now most of the rest of the copper tubing runs could be re-used. The runs going from the graphics card to the top radiator and top radiator to CPU could not due to the memory slots between the rear I/O and the CPU — slots which aren’t present on her previous Sabertooth board.
But the change in approach was pretty straightfoward: right-angle bend between the graphics card and top radiator, dual 90-degree bend to get from the radiator to the CPU. Only I didn’t have a lot of copper left and I ended up messing up the bending trying to measure it and account for the radius in my tubing bender. So rather than buy another coil of tubing, I opted for a different approach that required overnight shipping.
Out with the copper, in with the PETG
AlphaCool and Bitspower make 90-degree fittings that are female-to-female G1/4″ threaded. This allows you to screw hardline fittings into them and use those to make the 90-degree bends instead of trying to bend tubing. They can work with Type L or Type M hard copper pipe along with PETG and acrylic tube. I ordered six of the AlphaCool fittings from Performance-PCs along with more PrimoChill fittings.
And once they arrived, I sought to change the loop over from copper to PETG. It didn’t take long, thankfully, and part of the reason is how easy PETG is to cut to length. The same tubing cutters I’ve used previously for soft tubing can cut cleanly through PETG without any problem. So after some careful measurements and cuts, all of the copper was replaced with PETG.
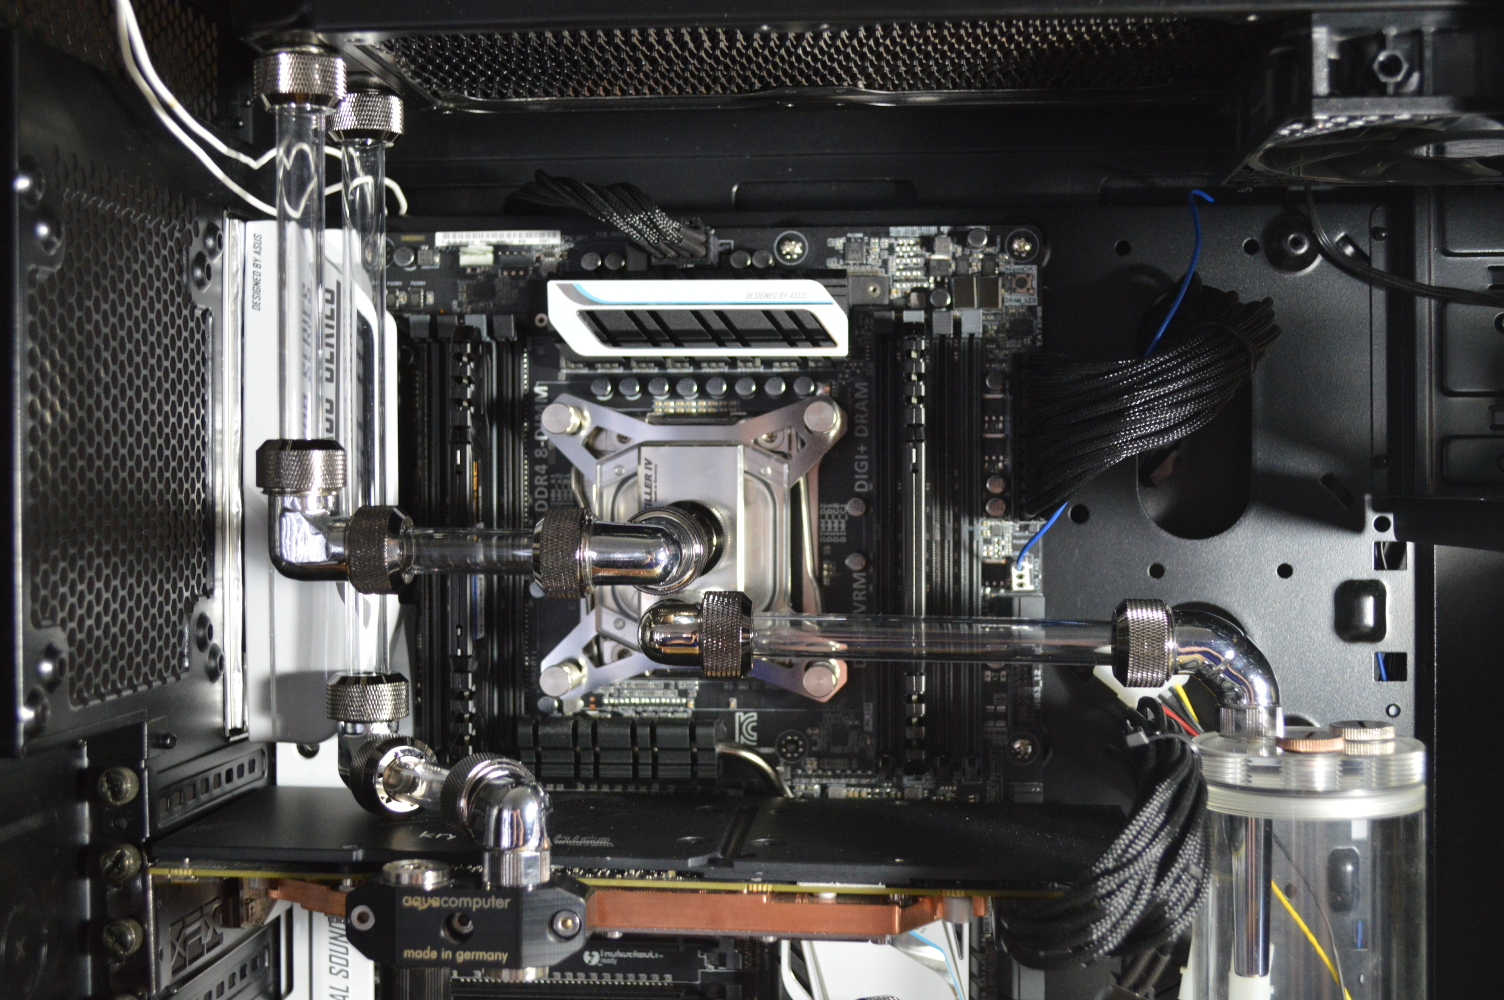
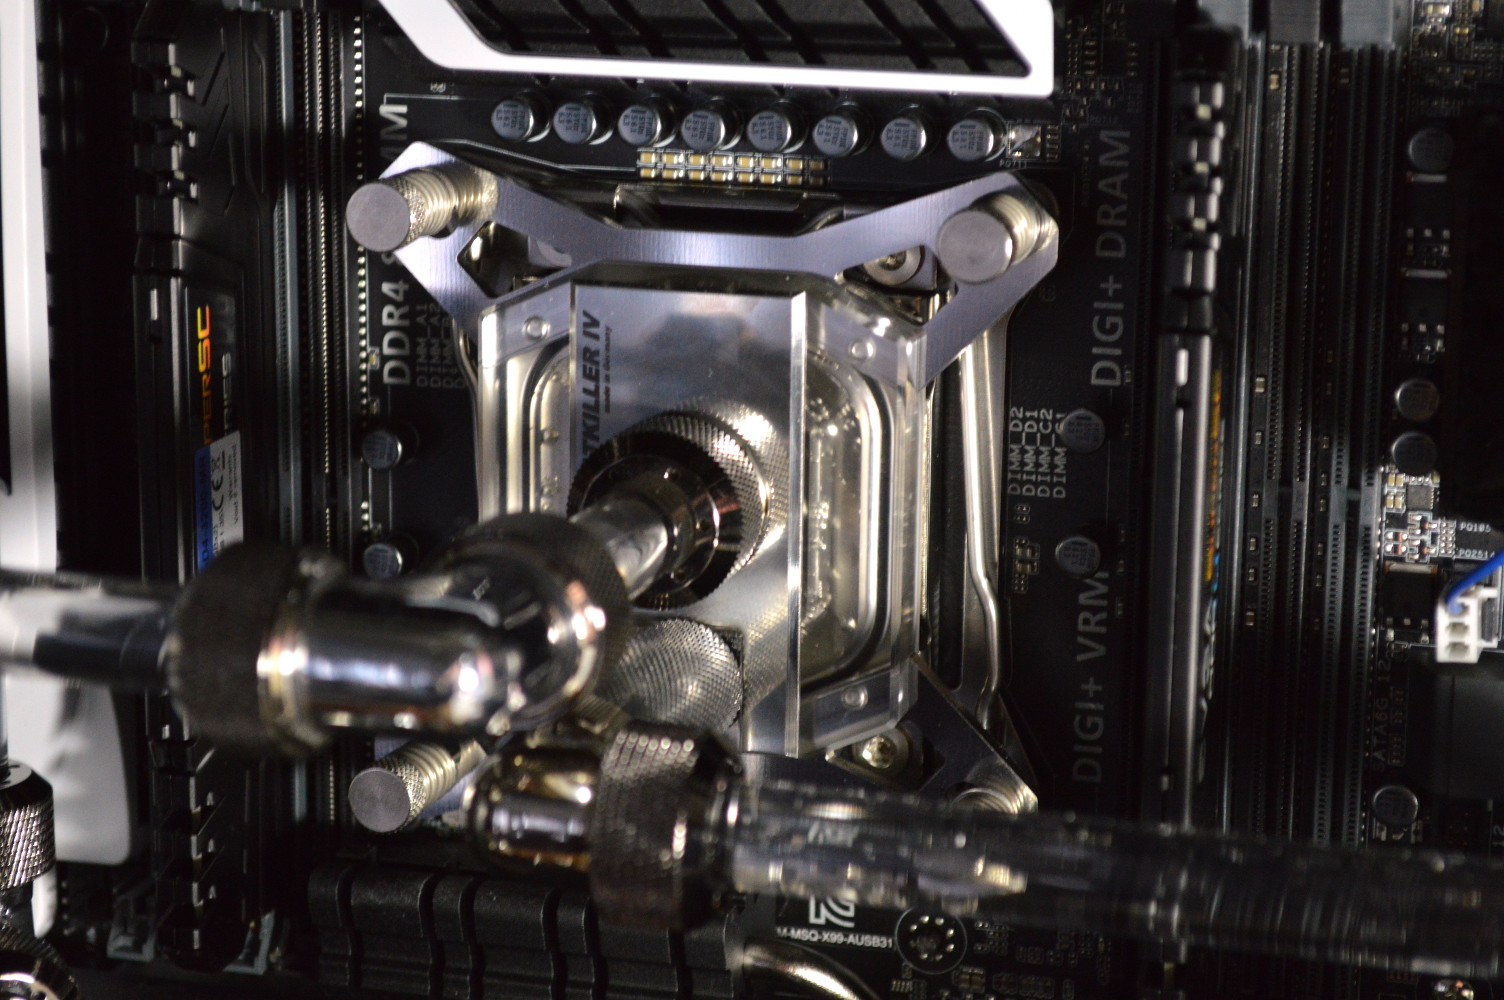
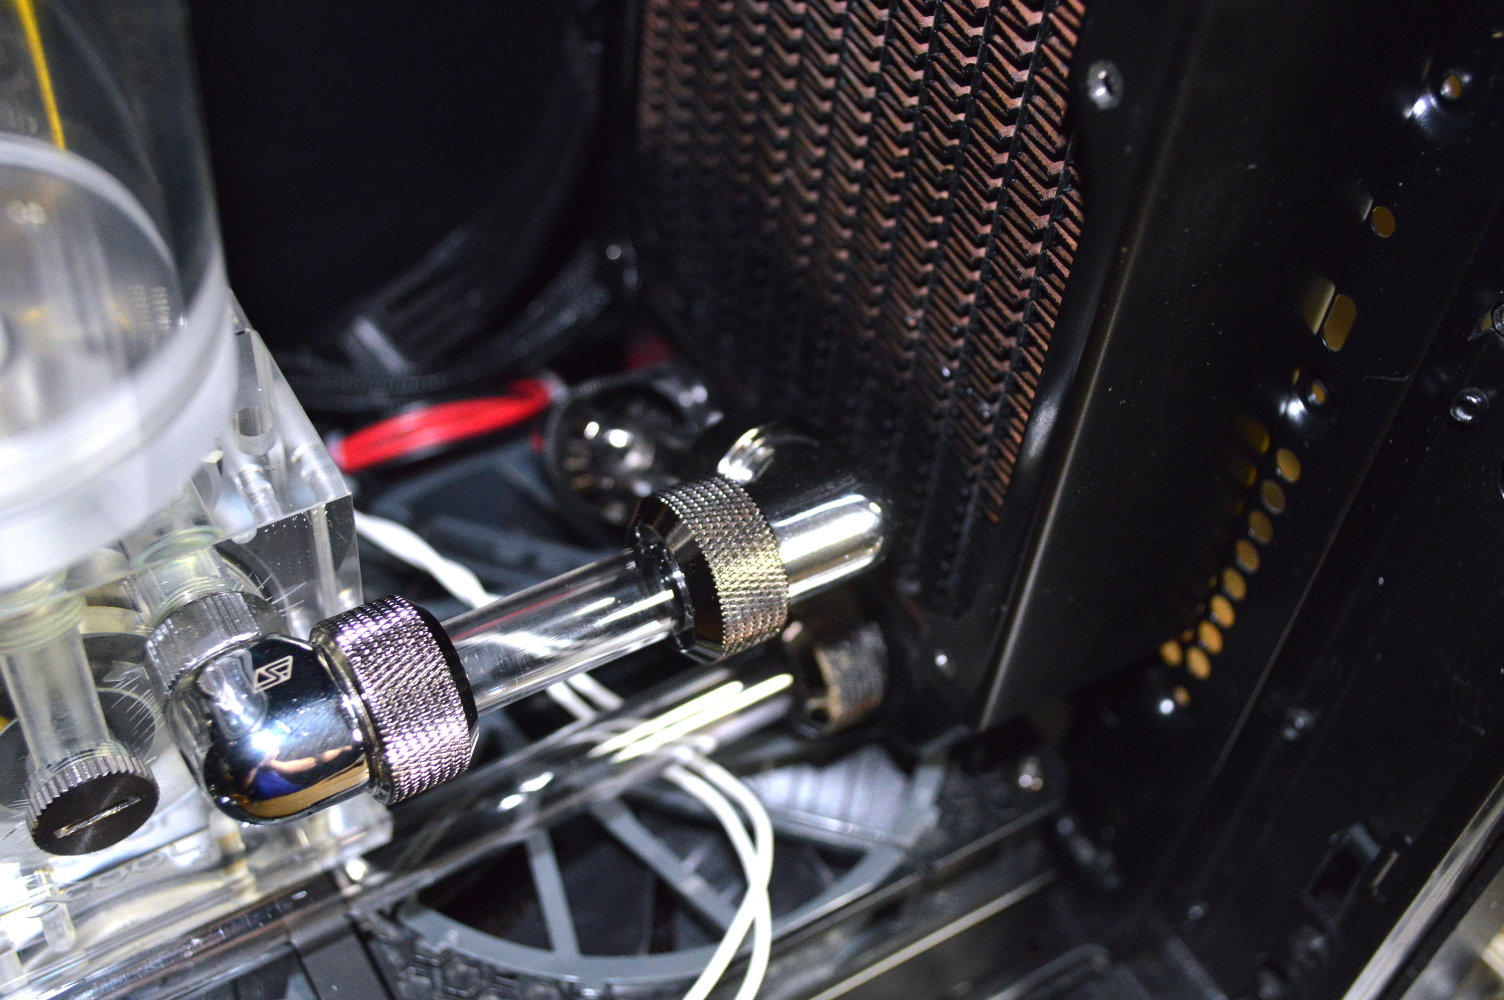
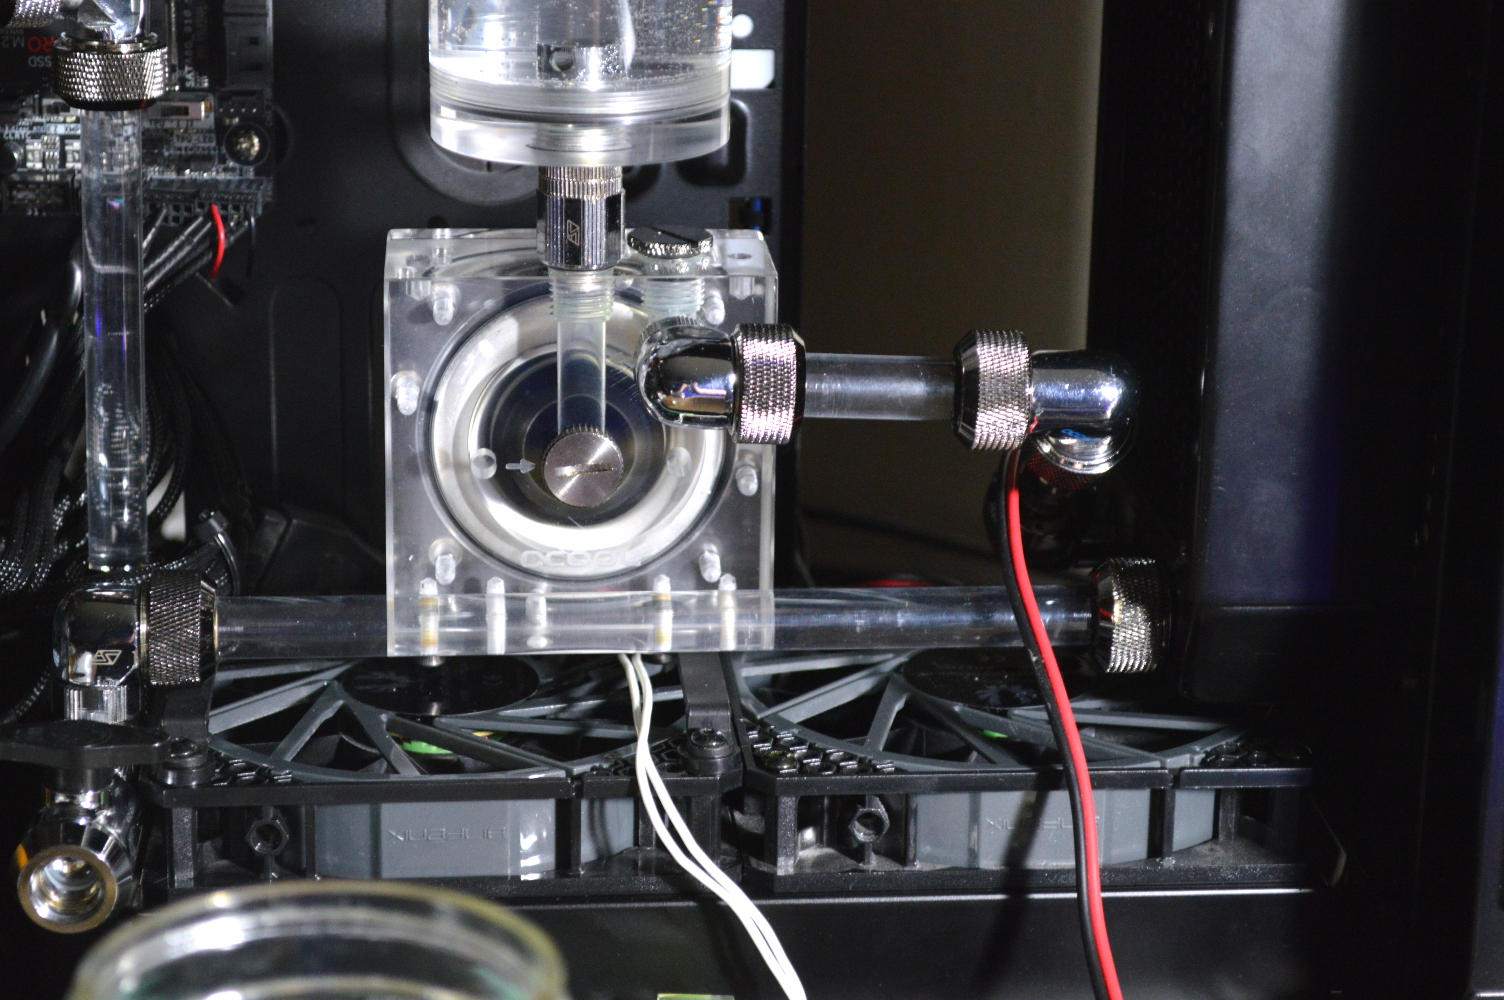
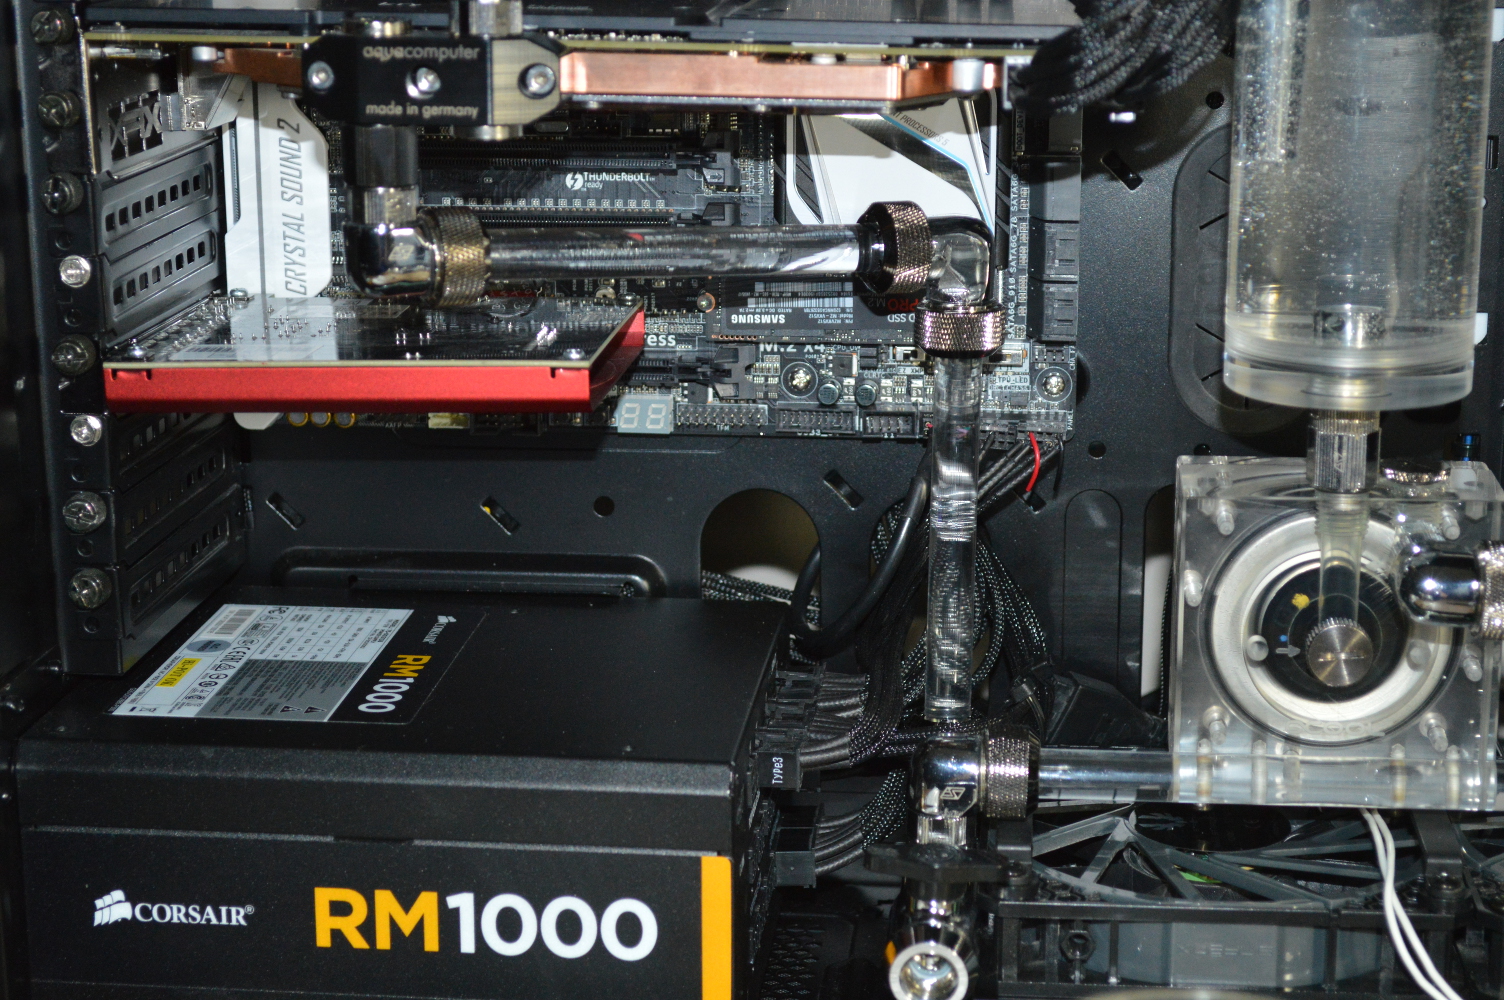
And with that, the loop was leak tested and filled with coolant. I did a clean install of Windows 10 Pro to the system and imaged the drive, then turned it over to my wife to install everything else. We still have the external enclosure, and that will be connected later to recover her other profile-related items before the drive is set up as a backup unit.
And the Green Fairy takes hold, the green glow of her enchanting spell that inspires this project’s namesake will surely captivate my wife again, drawing her deep into its temptation. Listen closely and you can almost hear her calling out for you.

Final specifications
System specifications
CPU: Intel i7-5820k
Mainboard: ASUS X99-PRO/USB 3.1
RAM: 16GB DDR4 (will be upgraded to 32GB eventually)
Graphics: XFX “Double D” R9 290X
Storage: Samsung 950 PRO
Power: Corsair RM1000
Chassis: Corsair 750D with Airflow Edition front panel
Sound: Creative Labs SoundBlaster Z
Water loop specifications
CPU block: Watercool Heatkiller IV Pro
Graphics block: Aquacomputer kryographics Hawaii with passive backplate
Radiators: AlphaCool XT45 360mm (top) and 240mm (front), AlphaCool ST30 240mm (bottom)
Pump: AlphaCool VPP655 with AlphaCool HF D5 clear acrylic top
Reservoir: Bitspower Z-Tube 100mm with Z-CAP I and Z-CAP II (acrylic)
Fittings: PrimoChill Revolver 1/2″ OD, AlphaCool HF L-connectors, Swiftech 90-degree elbow fittings
Tubing: PrimoChill 1/2″ OD PETG