- Radiator box for PC water cooling
- Mira
- Mira – II
- Mira – Finished
- Another pass by Mira
- Another pass by Mira – II
- Another pass by Mira – III
- Another pass by Mira – IV
- Another pass by Mira – V
- Some changes to the radiator box
- Back to AMD
- A more intelligent radiator box
- Upgrading the chassis
- My own Linux challenge
I’m writing this on Mira, which means the system is up and running. But it wasn’t without hiccups. As much as I’d hoped the upgrade would go smoothly. I will say, up front, that my luck once again held out on the mainboard and processor and the system posted without issue… after I pressed the BIOS reset button on the I/O — one of the downsides to buying an open-box mainboard from Micro Center.
Draining the system
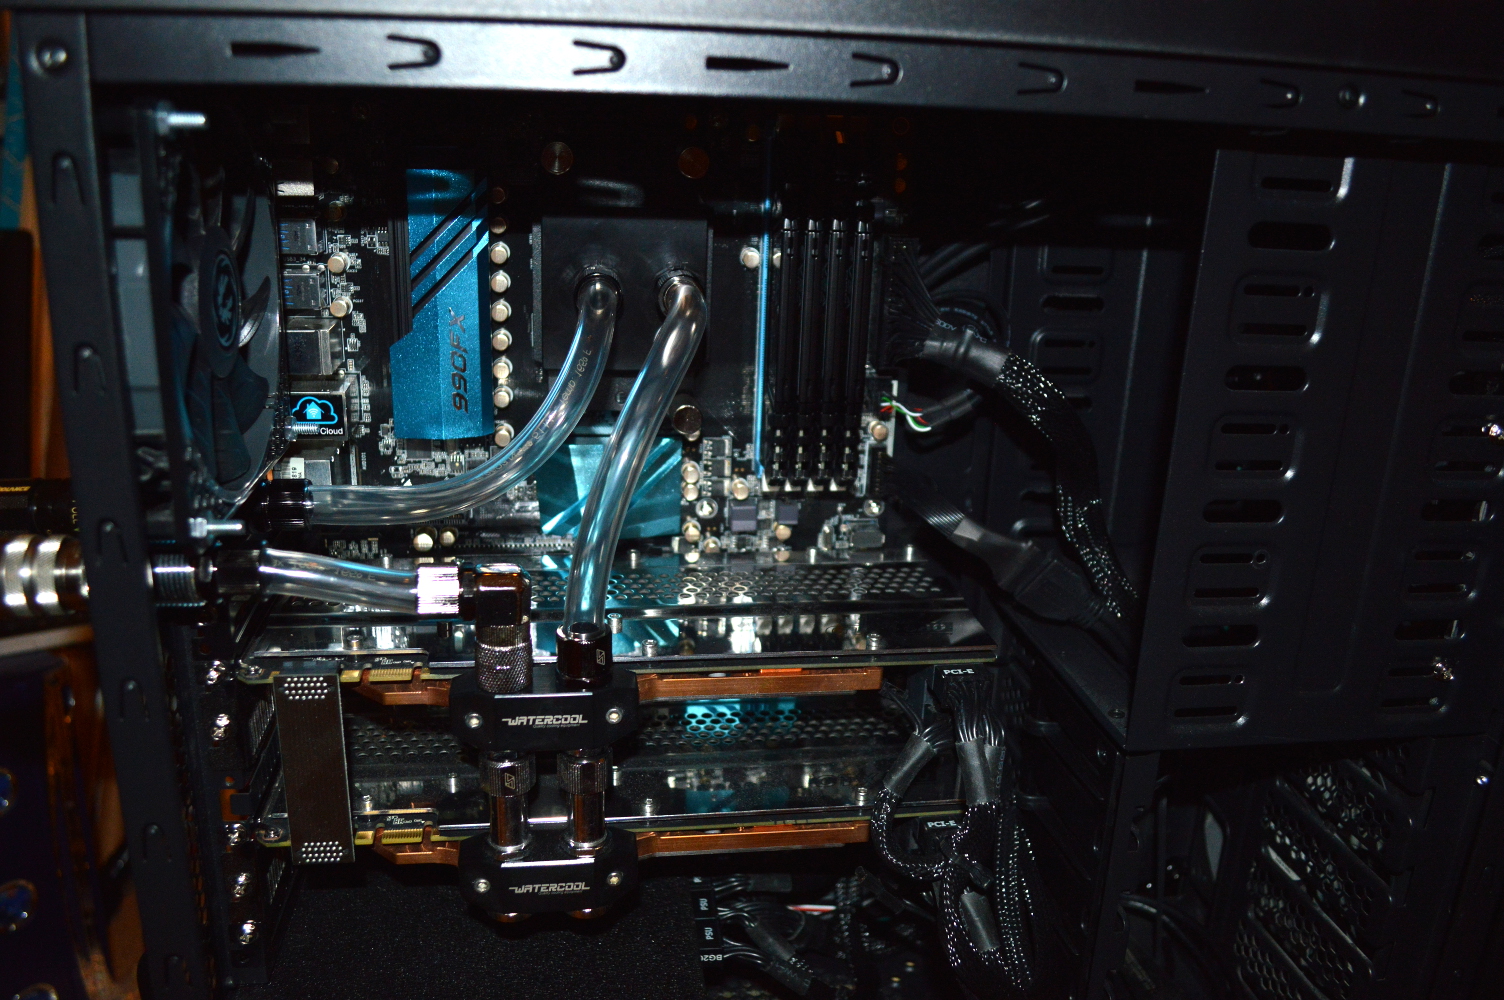
The graphics cards were set up in a U-parallel configuration, wherein both the inlet and outlet were on the top graphics cards:

Draining this using quick disconnects would’ve meant having to tilt the system in various directions to get the water flowing out. An alternative that panned out quite well is just taking the two stop fittings off the bottom graphics card and letting it drain out through there.
Once I had the graphics cards out, I flushed them with distilled water — three (3) gallons pushed through with a spare pump — and installed them in the H440, finished the cable management, and set that aside and turned my attention to the radiator box.
Radiator box
This was cause of all of my problems. After draining it (just took the quick disconnects off the tubing at the sink), I tore it completely down.


Getting the radiators off and flushed. Getting the dust blown out of the fans. Mostly. I didn’t take a brush to the fins this time. Then came putting the thing back together.


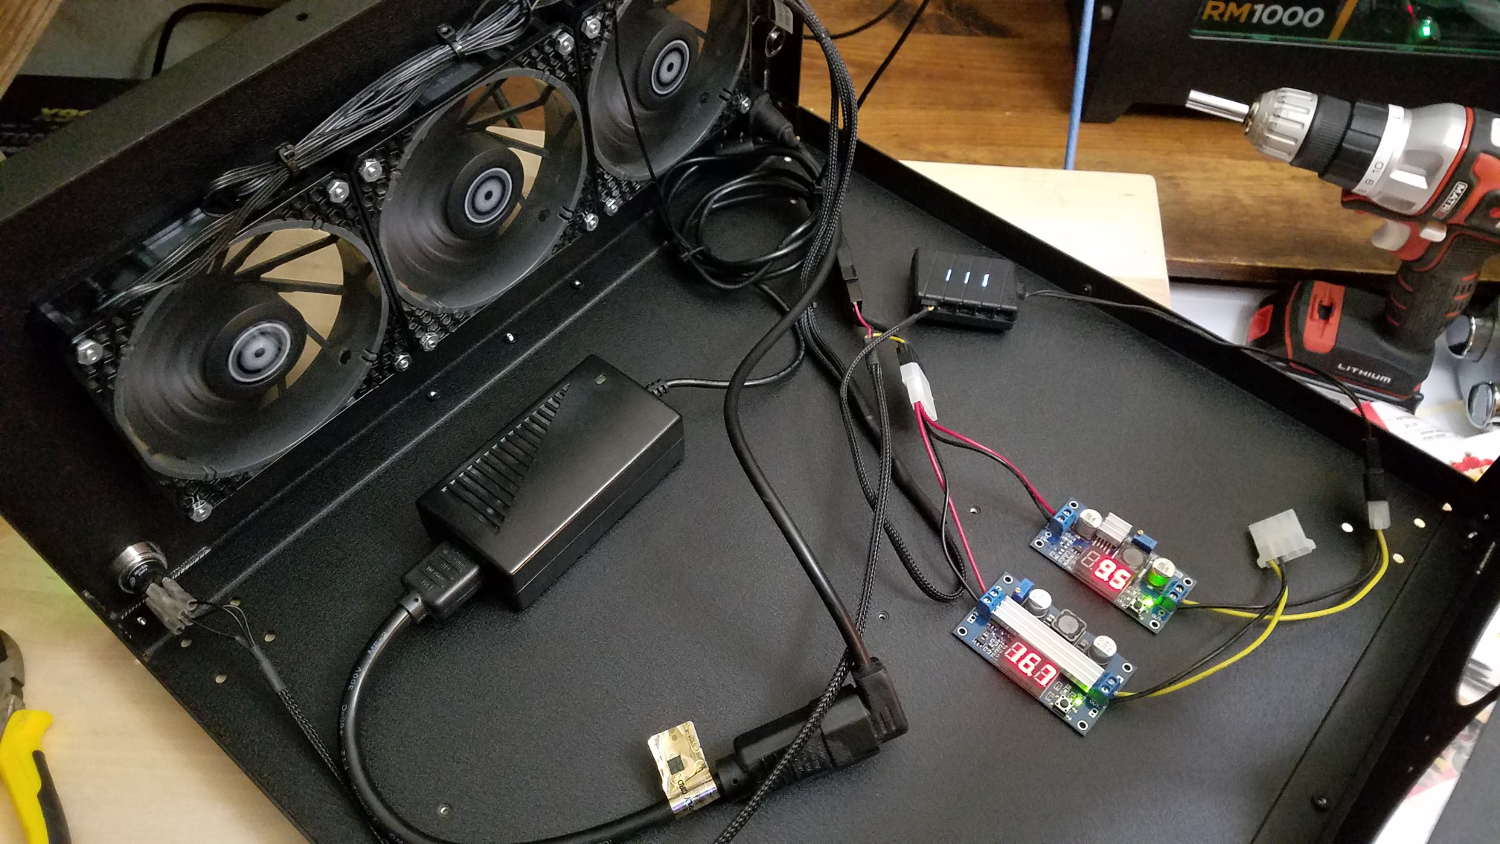
Before taking the box down completely, there was actually one fan that got disconnected during the last assembly that I never bothered to reconnect. So to ensure I had all nine (9) radiator fans and the three (3) exhaust fans powered and running, I periodically tested the fan connections to make sure everything was sound.

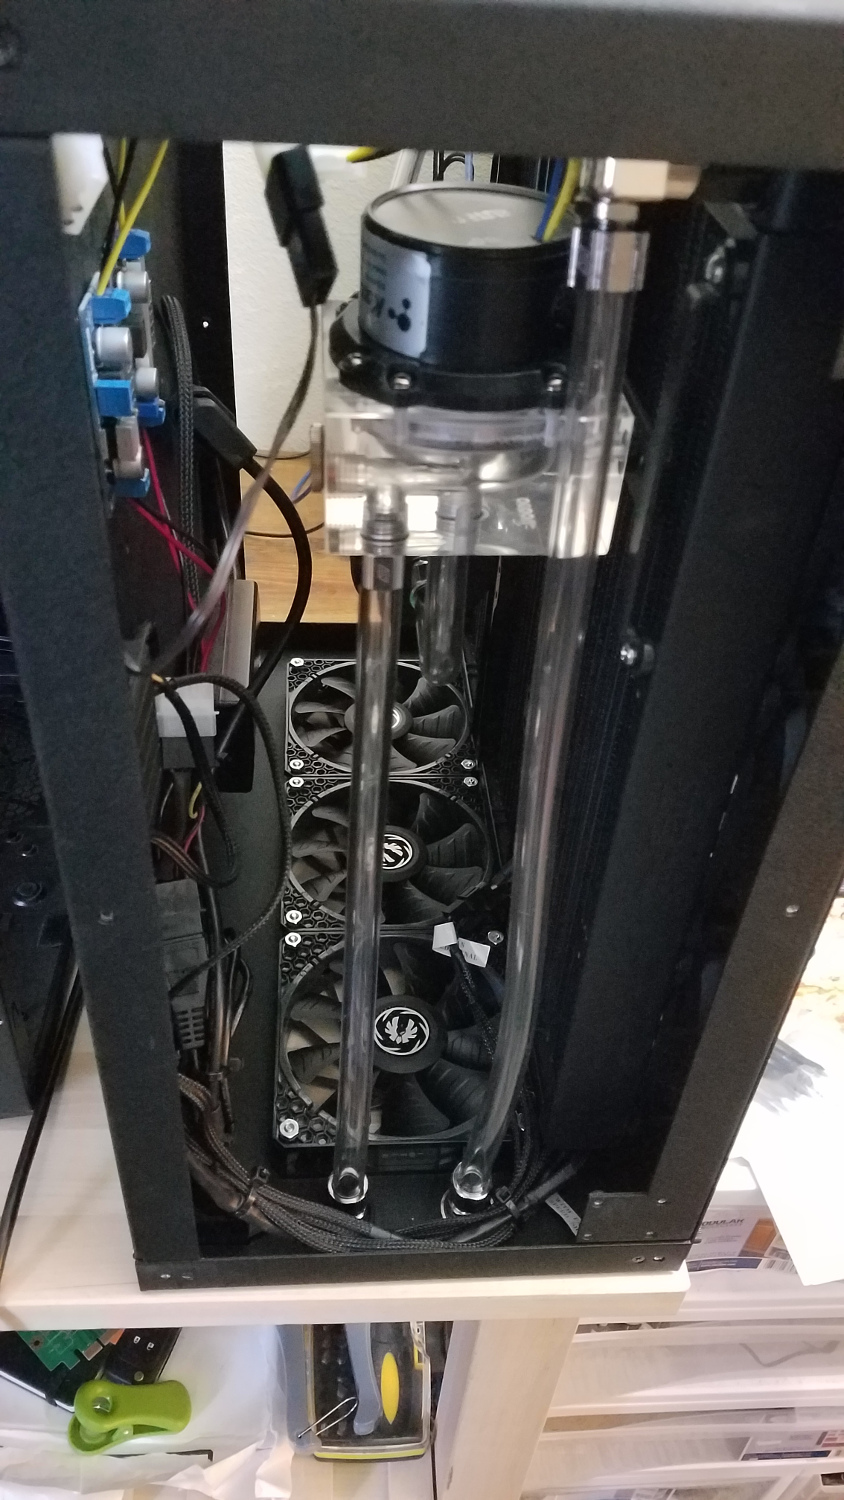
The new reservoir suits this project much better as well being top-return capable. This top, though, is a separate purchase, but worth it for this, in my opinion. Your mileage may vary based on your project.


And now, looking up from the bottom, the cabling at that point was a mess, but at least I was able to get the radiator panel mounted to the rest of the case without any difficulty. Managing the cabling was, at that point, less important than making sure all the fans were still connected.


Then it was time to clean up the cabling.


With the radiator box essentially done, I turned my attention to the main system, getting it tubed up and connected to the radiator box. The direction of flow is in to the graphics cards at the bottom, up through to the CPU, and out to the inlet on the radiator box. The inlet takes it through the bottom to the top radiator, then back to the reservoir.


But the leak test didn’t go smoothly. There were a couple leaks from the inter-connects on the radiators. At first, it looked like the leaks were coming from the Swiftech SLI fittings. So in tearing those apart, I noticed that the fitting wasn’t nearly as tight as I’d liked. A few measurements pushed me to buy #6 and #8 O-rings from Home Depot. I used one of each with the brass ring in between them. That sealed the SLI fittings nice and tight in a fashion similar to the Primochill Revolver compression fittings, but didn’t take care of the leak entirely.

That is an EK 90° rotary fitting. It snapped, and I’m not sure entirely how. But it was still sitting flat enough in the fitting that I didn’t notice it immediately. It was when I took out that fitting and the adjacent one on the other radiator that it came apart like this. Thankfully my local Micro Center had replacements in stock. Once I had that fitting replaced, the leak test passed and I was able to get the system up and running.
If you follow JayzTwoCents on YouTube, you’ve likely seen his video where he discussed a leak he had which is also from an EK 90° rotary fitting:
NZXT H440 – Mini-review
Let’s momentarily revisit the NZXT H440 chassis. I really enjoyed building into this. Even for the Sabertooth X99 and it’s full-cover “armor”, the mainboard seated relatively easily and I was able to easily access all the needed points for cabling. Cable management was reasonably easy as well, though having two PCI-Express power cables seemed to add just a little too much cable bulk for the back panel.
The threads, though, are very tight for the thumb screws, and I had to resort to a screwdriver to keep from tearing up my fingers. This is likely due to them not protecting the threads when painting the parts.
And the smoked window is darker than my sunglasses. Seriously. It requires you to install white lighting (definitely can’t go with a different color on this, or at least I can’t see doing that) replace it with MNPCTech’s clear window. So… yeah. Time to order a lighting kit, or pick up something from Micro Center.
Benchmarks
Here’s how the new platform tested (old benchmarks in red).
- 3DMark Fire Strike: 12638 [9797]
- 3DMark Cloud Gate: 31911 [19918]
- 3DMark Sky Diver: 35006 [25205]
- Unigine Heaven: 1904 [1826] (Ultra Quality, Extreme Tesselation, x8 Anti-aliasing)
- Unigine Valley: 3743 [3025] (Extreme HD preset)
So the Unigine benchmarks didn’t change much. Not even an 80 point gain on the Heaven benchmark, though Valley went up by over 700 points. Valley is a bit more CPU-reliant, though, doing calculations with plants, wind, and rain. So given that the graphics cards didn’t change, seeing Heaven’s score go up by an insignificant amount (4.2%) isn’t surprising.
Further showing that the change in platform didn’t mean much for GPU performance, at least with regard to these GPUs, the graphics scores for the 3DMark benchmarks showed insignificant improvements on the X99 and 5820k versus the 990FX and FX-8350 in Fire Strike and Sky Diver:
- Fire Strike: 16091 / 15849 (1.5% gain)
- Sky Diver: 54593 / 52455 (4.1% gain)
- Cloud Gate: 102438 / 81712 (25.4% gain)
The significant gain with Cloud Gate I’ll speculate is similar to the significant gain with the Valley benchmark: Cloud Gate relies on the CPU more than Fire Strike and Sky Diver for its graphics testing and scoring.
The gains in the overall 3DMark scores, however, show the much better contribution of the Haswell-E processor where the better CPU performance is needed: almost 3,000 points gained on Fire Strike, almost 12,000 points on Sky Diver, and almost 10,000 points gained on Cloud Gate.
It’s clear as well that the GTX 770s are holding things back now. But those will get changed out in a later upgrade.
Temperatures
Given that I’m using a very non-standard means of water-cooling this system, how does it perform, especially compared to the FX-8350?
The FX-8350 would easily get up above 60°C when under a high amount of stress — e.g. transcoding videos — with an EK Supremacy EVO block. But the graphics cards wouldn’t ever really get all that high — they’d touch at 50°C, maybe a little higher, but it’d take a while to get there, and the temperatures would typically hover in the mid-40s.
On Mira, after running a string of benchmarks, the GPUs would get into about the mid-40s°C. The CPU also touched in the low 40s on the hottest core.
But for a good temperature test, I took a BD rip of the latest Jungle Book (I own the physical copy as well) and transcoded it with Handbrake. The original file was 24.3GB. It took about 21 minutes to transcode and kept the CPU pegged at 100% the entire time, with the cores all running at the boost clock of 3.6GHz. At the time I write this, I’m using just straight distilled water as the coolant.
The CPU temperature jumped up to around 40C almost immediately. During the transcode, the hottest core hit 43°C, which was also the package temperature, with the coolest core being at 39°C.

And that is why I have an external radiator box, and why external water cooling had me intrigued. These temperatures are certainly rather interesting as well given that the i7-5820k is specified at a higher TDP than the FX-8350 — 140W and 125W, respectively. So easily the water block is the variable here, where the EK Supremacy EVO isn’t able to perform nearly as well as the Heatkiller IV. Which makes sense since I don’t recall seeing temperatures nearly as high with the Koolance CPU-380A as I saw with the Supremacy. Oh well.
Specifications
Main system:
- CPU: Intel i7-5820k
- Mainboard: ASUS Sabertooth X99
- RAM: EVGA DDR4-3200 2x8GB (running at XMP profile)
- GPUs: 2xPNY GTX 770 4GB OC
- Chassis: NZXT H440 Black
- Power supply: EVGA 1050 GS
Water cooling system and radiator box:
- CPU block: Watercool Heatkiller IV Intel Pro
- GPU blocks: Watercool Heatkiller GPU-X³ GTX 680
- Radiators: XSPC EX360 (x3)
- Pump: Koolance PMP-450S with AlphaCool HF D5 clear housing
- Reservoir: EKWB EK-RES X3 250 Lite with Multiport Top and 140mm Internal Tube
- Tubing: Primochill Primoflex Advanced LRT 3/8″x1/2″
- Fans: Cougar CF-V12HB
- Housing: Mountain Mods Pedestal 18 with Triple-120 panel
So for now the system is complete. About the only other change I’ll be making will be to drain out the distilled water and replace it with Mayhem’s X1 clear coolant and installing a bright white light to illuminate the system behind the dark window.
And later down the line will be a GPU upgrade, pulling out the GTX 770s and replacing them with, likely, a GTX 1080.
You must be logged in to post a comment.