- Water cooling build in my wife’s computer – Part IX
- Project Absinthe
- Project Absinthe – Part II
- Project Absinthe – Part III
- Project Absinthe – Part IV
- Project Absinthe – Part V
- Project Absinthe – Part VI
- Project Absinthe – Part VII
- Project Absinthe – Part VIII
- Project Absinthe – Part IX
- Project Absinthe – Part X
- Project Absinthe – Part XI
- Project Absinthe – Part XII
- Project Absinthe – Part XIII
- Project Absinthe – Part XIV
- Project Absinthe – Part XV: It’s alive!
- Project Absinthe – Intermission and future plans
- Project Absinthe – Part XVI
- Absinthe – Part XVII
- Absinthe – Part XVIII
- Absinthe – Part XIX: Valentine’s Day
- Absinthe – Part XX
- Distilling another batch of Absinthe
- Distilling Absinthe – Part II
- Distilling Absinthe — Part III
- Another glass of absinthe
- Another glass of absinthe — II
- Adjusting the recipe
- Absinthe to Amethyst
In the interim, the R9 290X was put back into the system and the GTX 1080 pulled and sent back to NewEgg on RMA. Unfortunately NewEgg didn’t send out the replacement till they had the original.
Replacing the R9 290X back into the system was as easy as pulling it out, thankfully: drain, remove the bulkhead fitting, remove the GTX 1080, seat the R9 290X, then screw the rotary fittings back into the R9’s water block. Then it was a matter of bleeding the system again.
New GTX 1080
And then doing it again with the replacement.
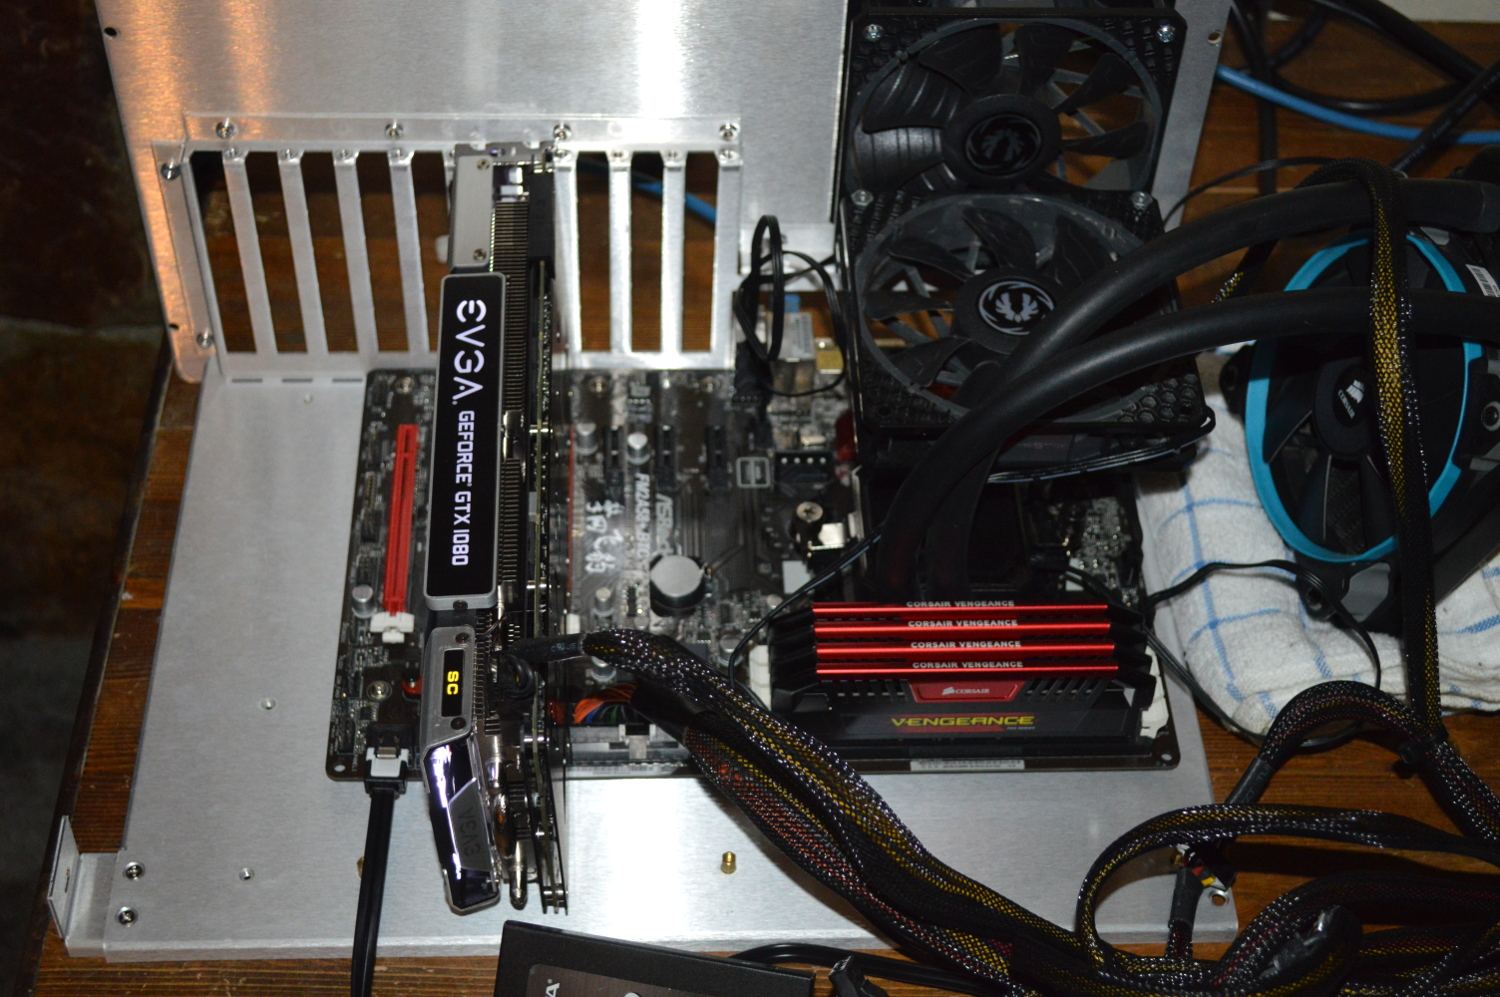
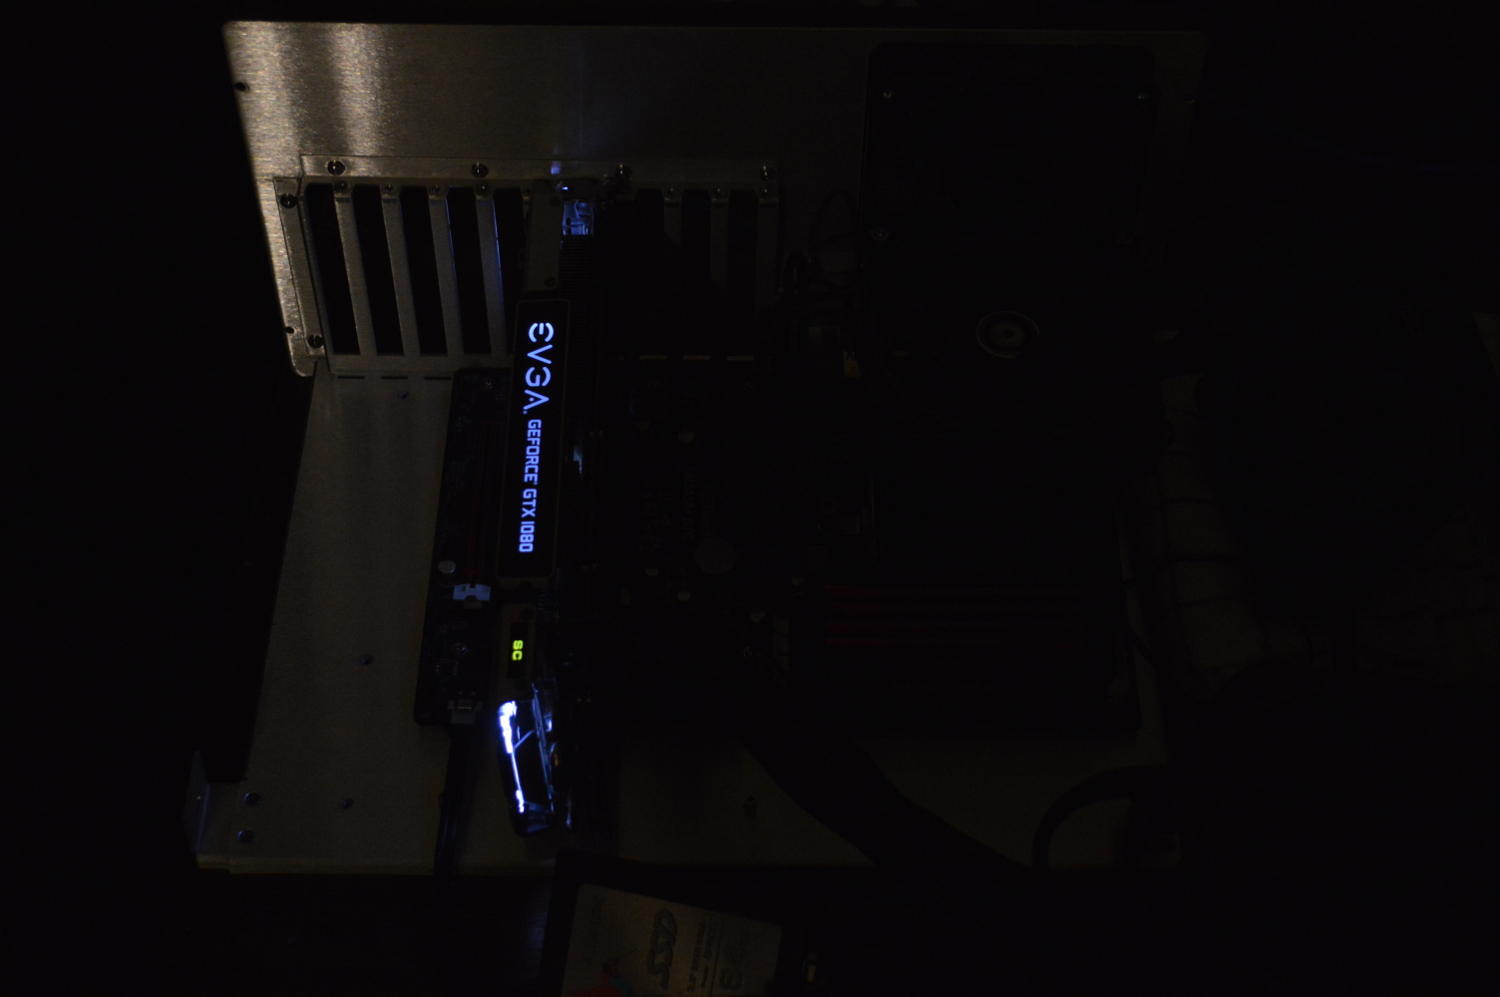
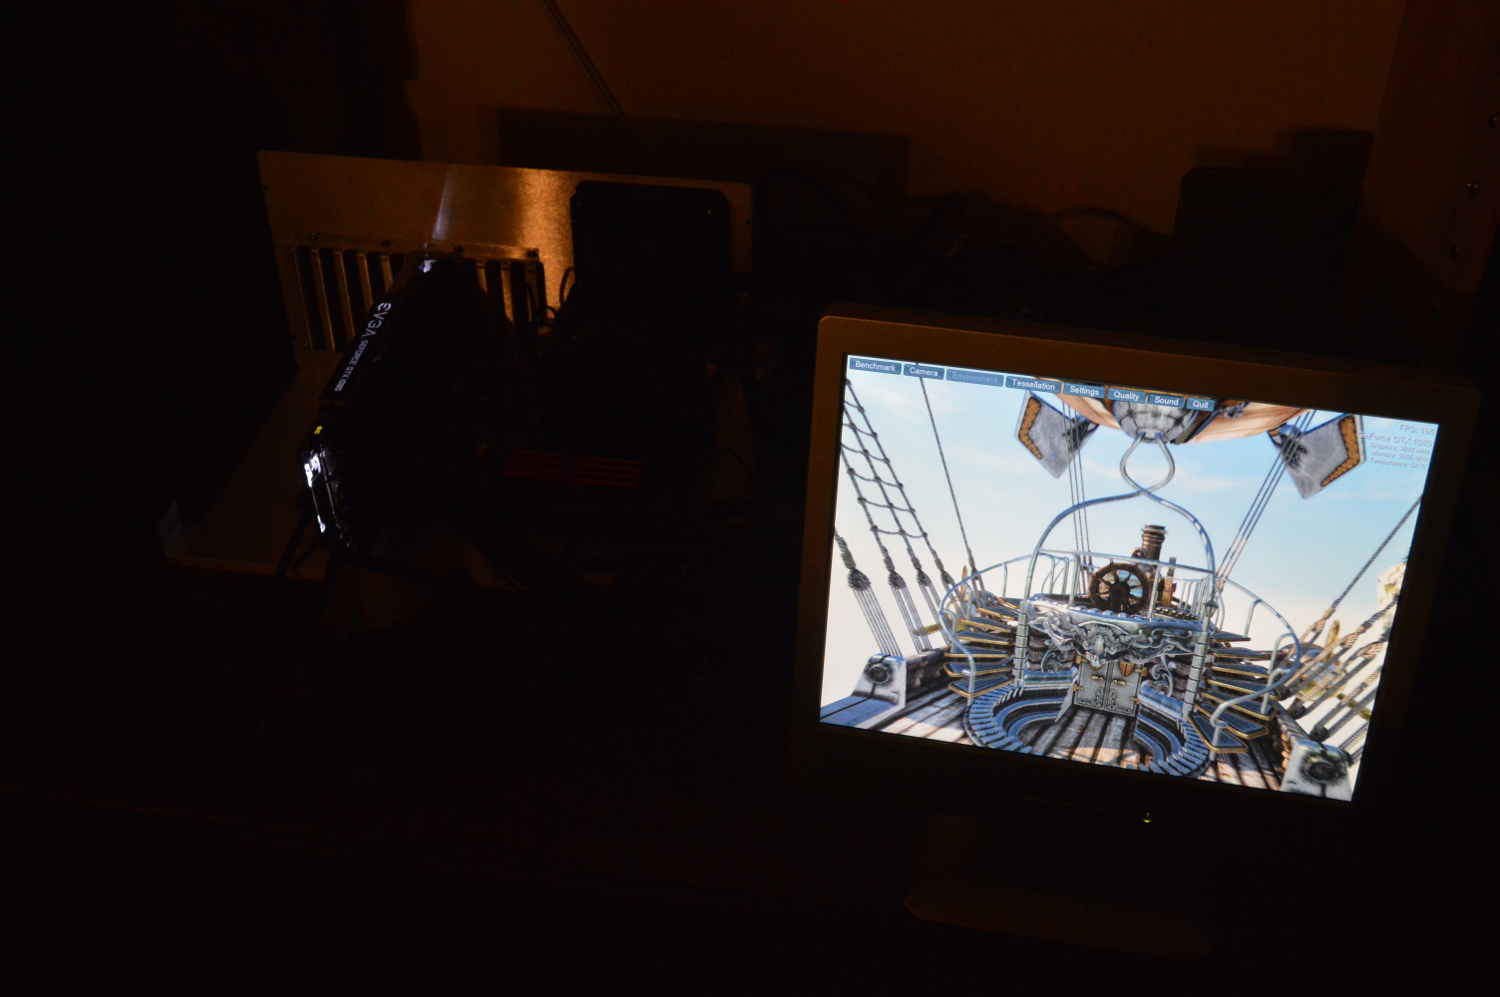
This time to avoid complication, I had the replacement seated in an open system for easier testing without having to tear apart the loop. That’s an AMD A8-7600 system that had been running Einstein@Home on Linux for a while. It’ll be converted into another computing system for BOINC or Folding@Home later.
Thankfully this unit didn’t have the prohibitively loud coil whine. But I left it running for a while just to make sure, along with making sure it could handle the stress. When building Desert Sapphire last year, I had to RMA the original GTX 980 as it wouldn’t go into any 3D mode. Thankfully Amazon turned it around quickly.
Now while the coil whine wasn’t prohibitively loud, there is still some coil whine. There will always be coil whine. The question is the degree.
In Unigine Valley, it wasn’t noticeable, but in Heaven it was. When tessellation was turned on. Otherwise it wasn’t there.
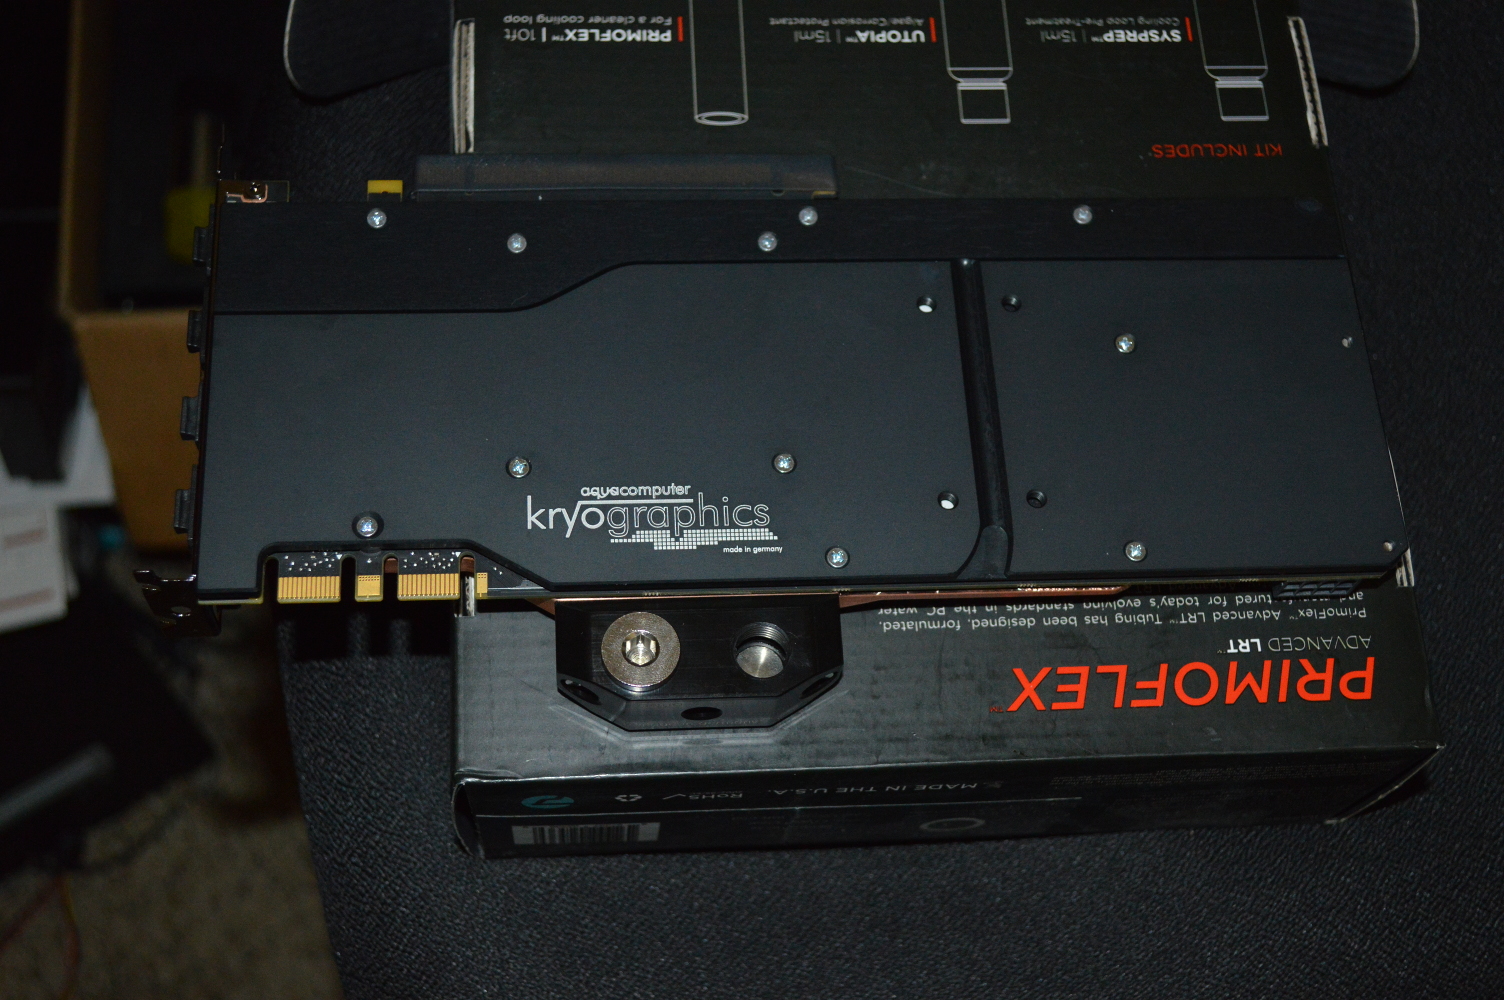
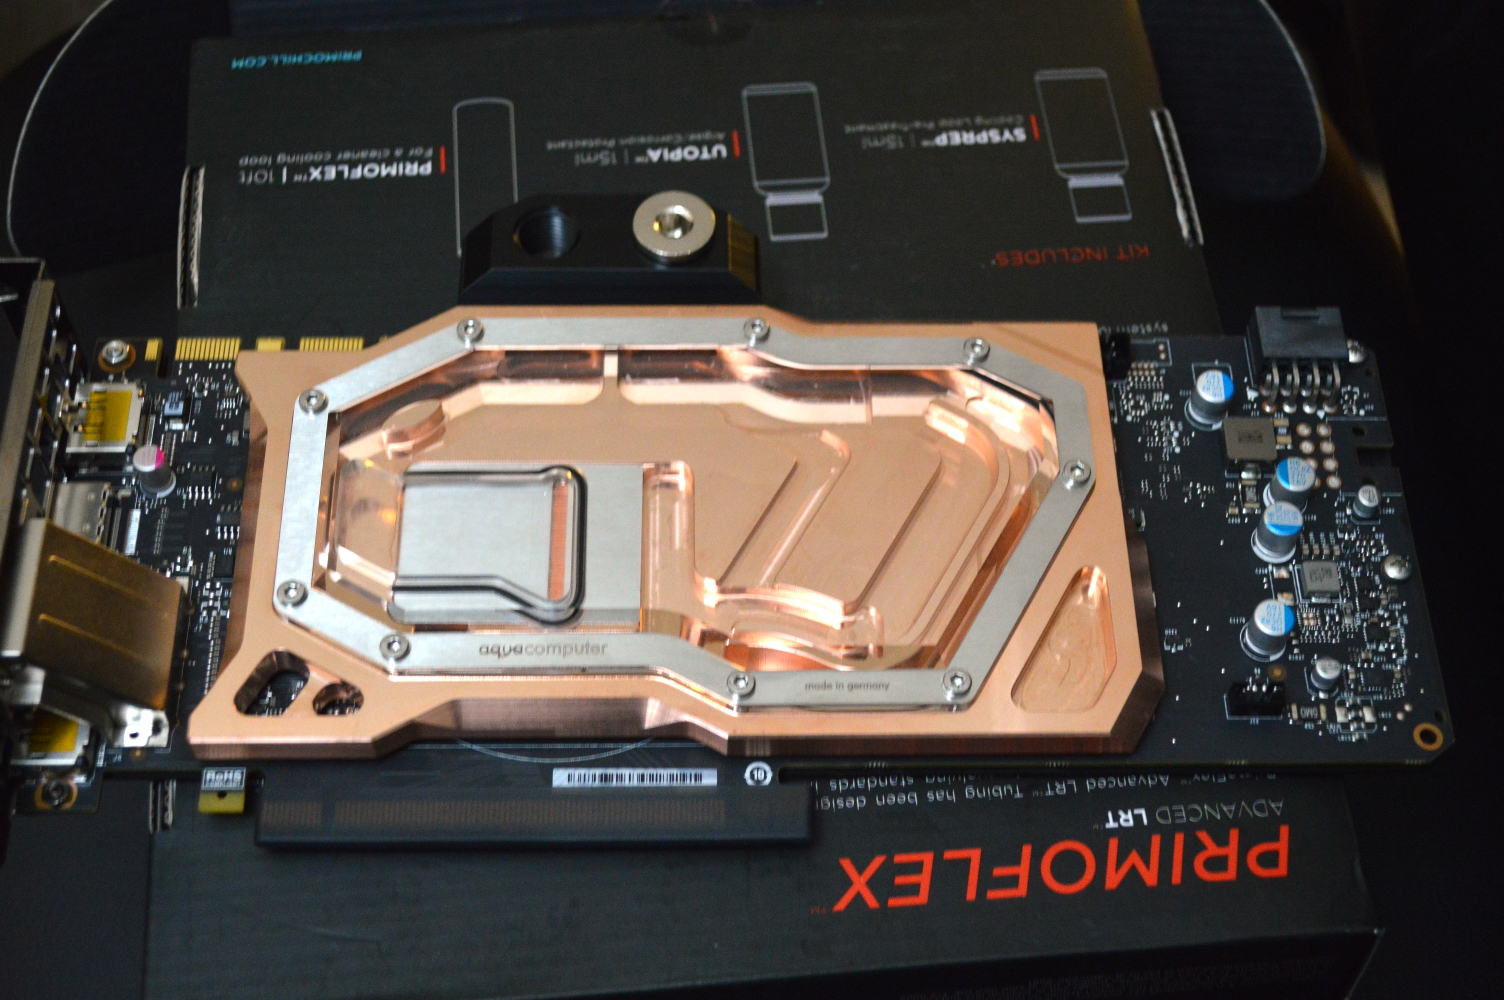
I went with the Aquacomputer kryographics with the passive backplate. It’s the best line for power delivery cooling. Which is very important, especially when overclocking. I used it for the R9 290X for that reason, and also for the GTX 980 in Desert Sapphire.
To flush the loop, I used a technique similar to what JayzTwoCents used to flush his build: open the drain valve about half way, and then just keep flowing distilled water through the reservoir.
Though with the setup in Absinthe, that wasn’t nearly as easy as I would’ve liked. But it gave me a reason to buy another 5-gallon bucket and some more tubing from Home Depot. While I wouldn’t recommend the plumbing tubing from there for a loop, it works great for temporary uses. Ultimately I didn’t use it, merely because I wanted to ensure the fluid had a direct path from the drain valve to the bucket.
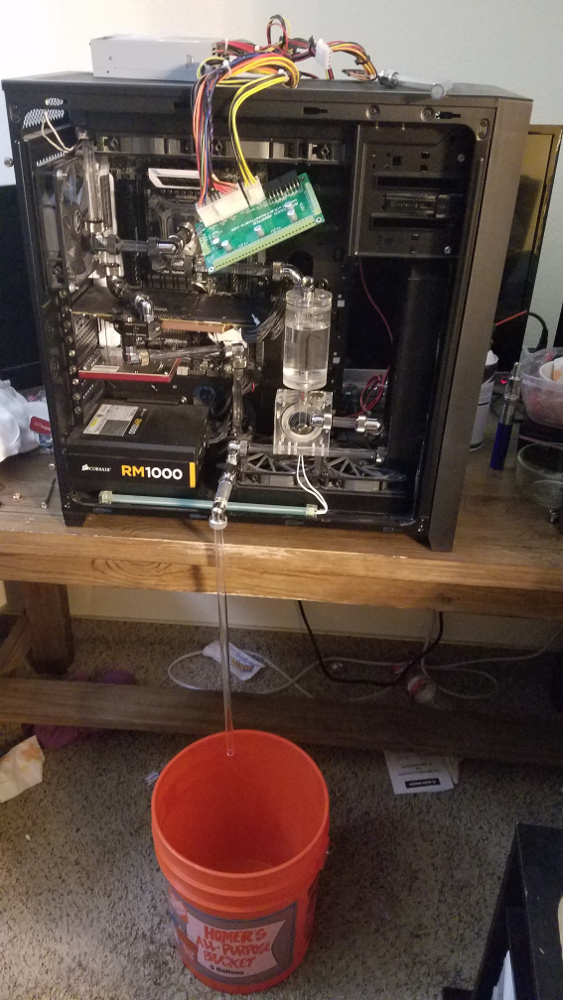
Once it was drained it was a matter of swapping out the cards and bleeding the loop. Unfortunately I did have to make some tubing modifications — the fittings aren’t in exactly the same place as on the R9 290X, but it wasn’t much. But unfortunately bleeding the loop didn’t go as planned and one of the tubing actually popped out of one of the fittings, first spraying, then pouring the coolant out.
Needless to say that meant disassembling the entire system to clean things up and make sure the coolant didn’t spray onto something vital. Thankfully the mainboard and other components came out without much cleaning needed. The radiators were a different story, but then they really needed a cleaning anyway from being pretty well covered in dust.
Time to hit the showers!
I’ve read before of people trying to clean radiators by running water across them without much luck. That’s largely because the water pressure isn’t where it needs to be. If you really want to clean your radiators of dust, use the shower head. Better still, use a handheld. While you could also use a spray hose at the kitchen sink, bathroom shower heads and handhelds cover more area and have more pressure.
Plug the fitting openings with stop fittings first. Then just spray the water up and down and up and down the length of the radiator, spraying into all the little nooks as well. Use about the same temperature of water as you’d normally shower with — unless you’re one of those insane people who takes cold showers, in which case use warm water as that will help rinse away the dirt and dust better.
The thinner water jets on the shower head will get into the nooks and between the fins much better than just running it under a tap. Plus the higher pressure of the thinner jet can power away the dust much more efficiently. Just be sure to do this to both sides of the radiator to make sure you get everything, especially if you’re cleaning 45mm or thicker radiators.
You’ll notice as you’re doing this that the water will cling to the fins like honey to honeycomb. You’ll need to give a couple swift downward shakes to get the bulk of the water out of the fins. Then set the radiators on towels to dry, preferably overnight.
The result?
They look practically brand new now except for some minor paint wear. If only I could do this with the fans. Next time I tear this system apart, I’ll have to see about doing that to the chassis. I could swear I took pictures of the clean radiators, but apparently never did…
Reinstalling everything
With the radiators rinsed and the rest of the coolant cleaned up out of the chassis and off all the components, it was now a matter of putting the whole thing back together. The fittings and tubing pieces were rinsed in distilled water first to ensure they were clean.
I used this as a chance to make some minor changes to the loop layout — flipping the CPU block and some other minor tubing changes. It also gave a good chance to refresh the thermal paste. I saw from removing the block that I didn’t have as even of a spread as I would’ve liked.
I needed to redo the cabling anyway as the GTX 1080 needed only one PCI-Express power cable. And then once it was all assembled, it was a matter of bleeding the loop, then turning it back over to my wife after doing some temperature testing.
