Distilling Absinthe – Part II

Build Log:

Now that we’re past the introduction, let’s actually get down to work, starting with a small aside on the table.

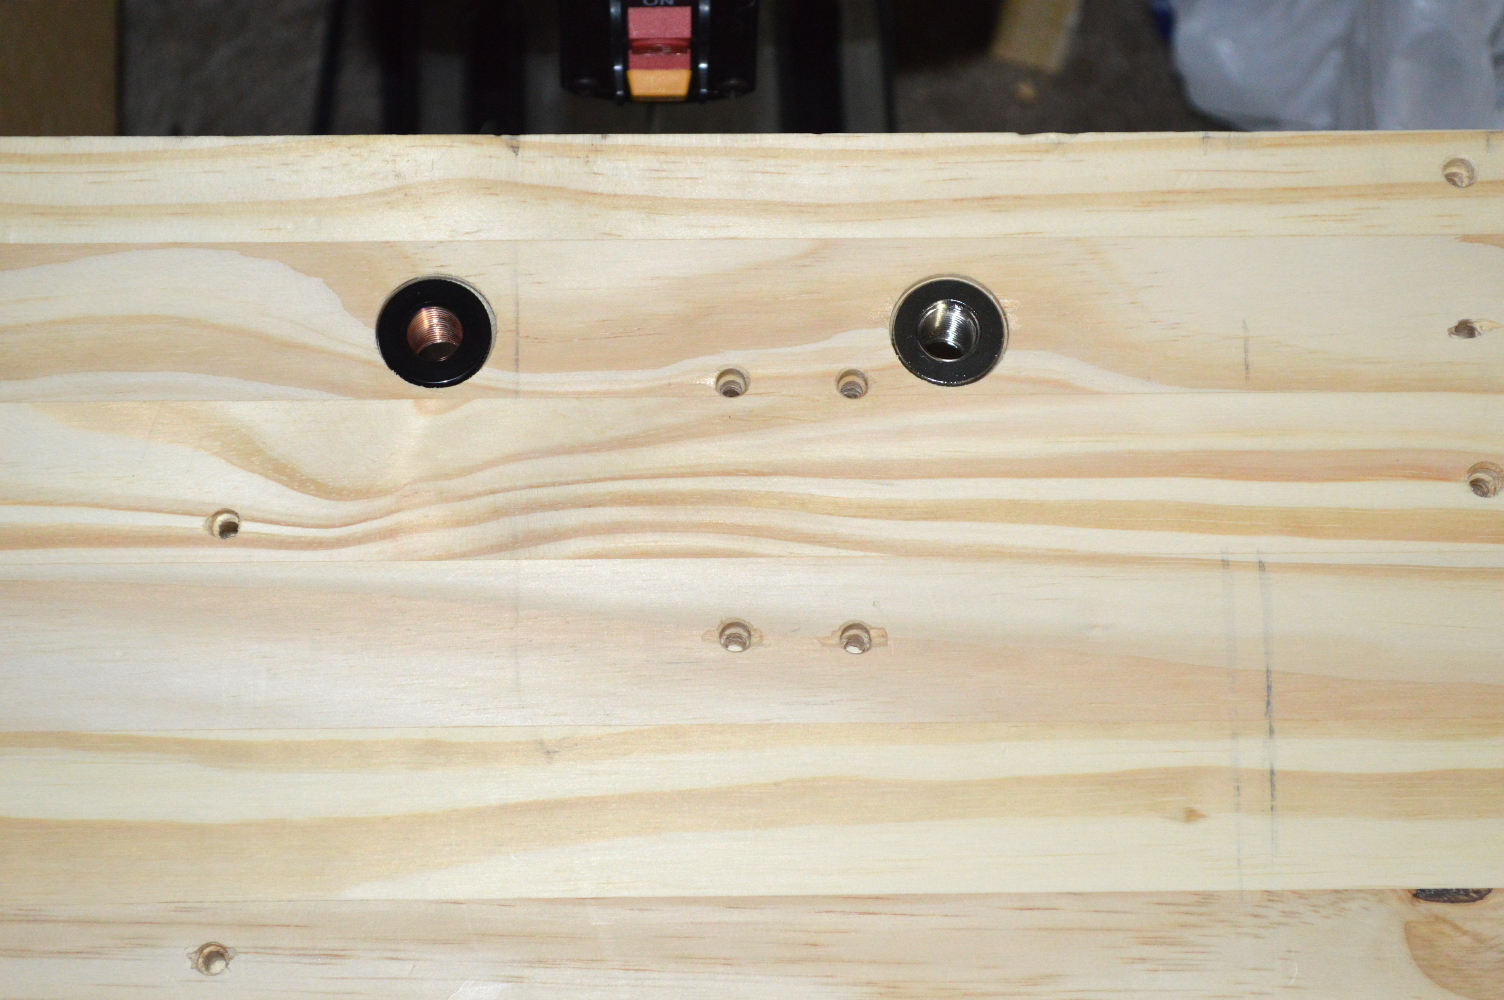
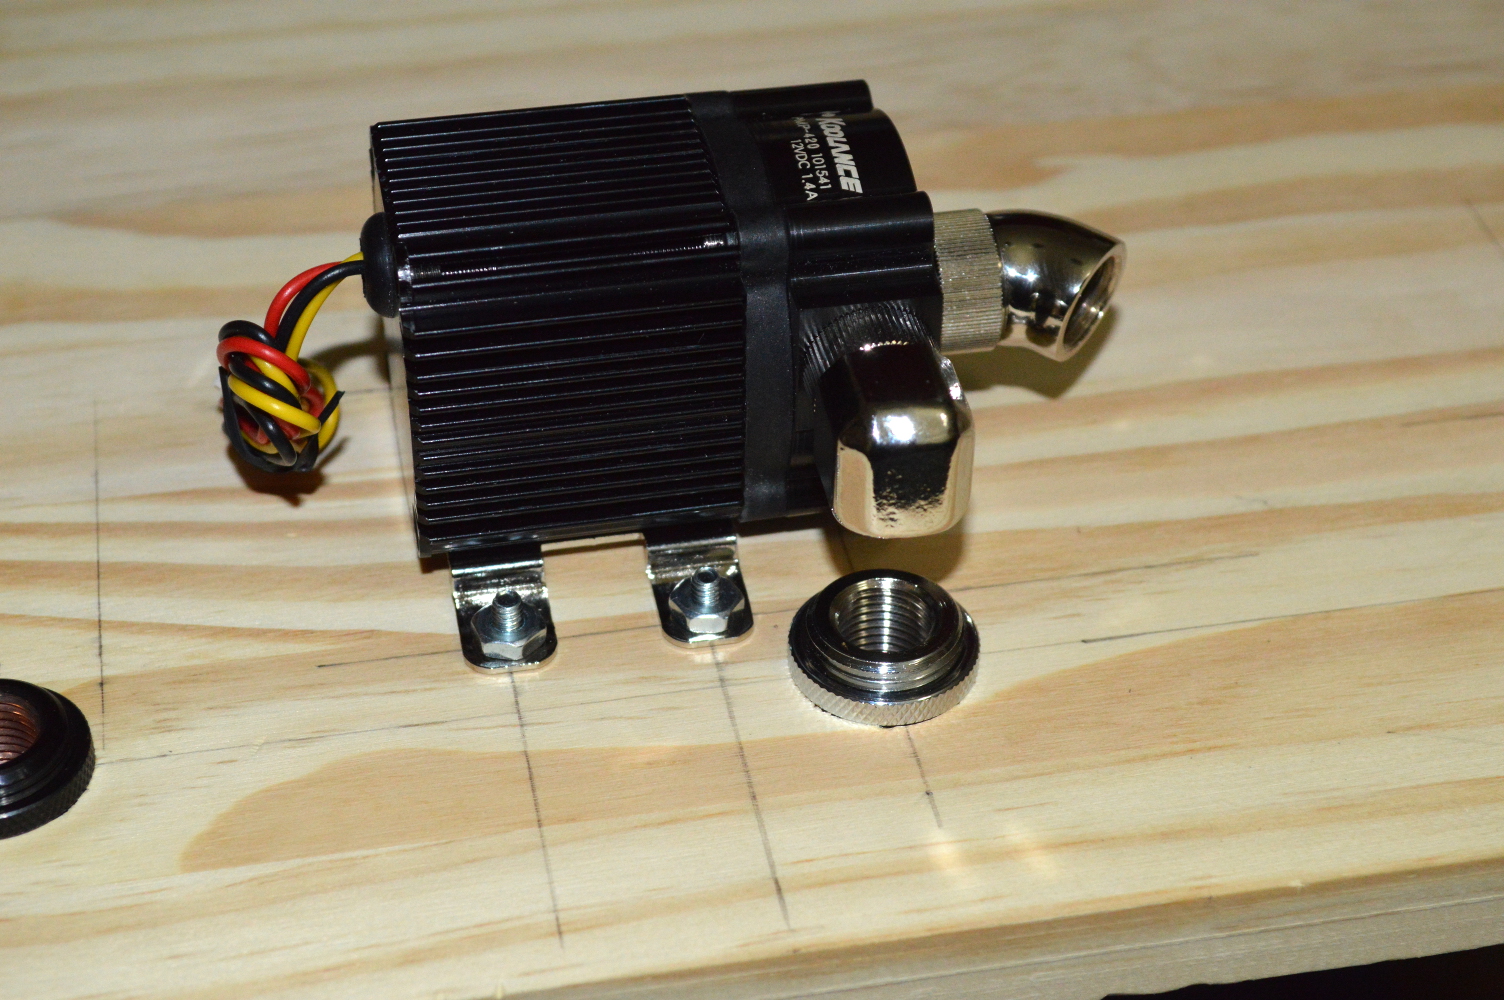
I said in the previous section that I wanted to move the system out from behind her monitors and onto a small table under her desk.  First my wife’s desk is actually a 42″ bar table. Specifically it’s the Pinnadel pub table from Ashley Furniture (link to product) that we bought through Nebraska Furniture Mart for much less than what Ashley charges for it directly. Anyway, the stretcher is about 8″ above the floor. So I need a table that can clear over that while still leaving adequate clearance above the chassis for air flow around the top radiator.

The small table was very simple: a pine plank cut from larger stock with four (4) IKEA Godmorgon legs. It took me only 15 minutes to make the table as I already had a plank of wood left over from building the Desert Sapphire cabinet. For most builds a 12″x24″ board should work. Get either oak or pine as those are the two strongest commonly-sold woods with pine typically being less expensive (and stronger than oak). Shelf boards will be your friend here. But avoid MDF and particle board.

IKEA has other vanity legs available that are shorter and less expensive if you don’t need what I acquired. Otherwise all you need is just a board large enough to hold your tower. If you are building this to support a larger chassis, buy an extra set of legs for the middle for extra support.

New hardware

Now let’s get into the feature presentation, starting with the new CPU block:

HK_IV_PRO_INTEL_Acryl_3

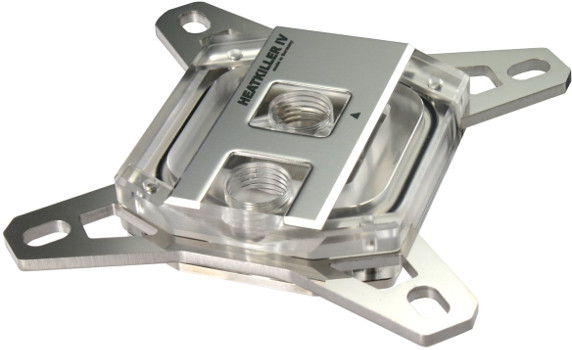
I decided to go with the Watercool Heatkiller IV Pro, specifically the acrylic version. It’s a little lower profile while retaining much of the silver from the Koolance CPU-380A currently being used. In some tests it’s been shown to out-perform the EK Supremacy EVO. And it doesn’t require any modification for it to perform well for LGA-2011v3 processors. In short, all around I think it’s the better option.

So I ordered it from Performance-PCs at the same time I ordered a few other things to finish up another project. For Absinthe, thankfully this is really the only thing I needed to order since I’ll be re-using everything else.

But let’s get to what you’re really wanting to see.

Testing the new hardware

For testing I used a spare GT620 graphics card since my wife’s R9 290X was still in Absinthe when I set this up.

test_setup

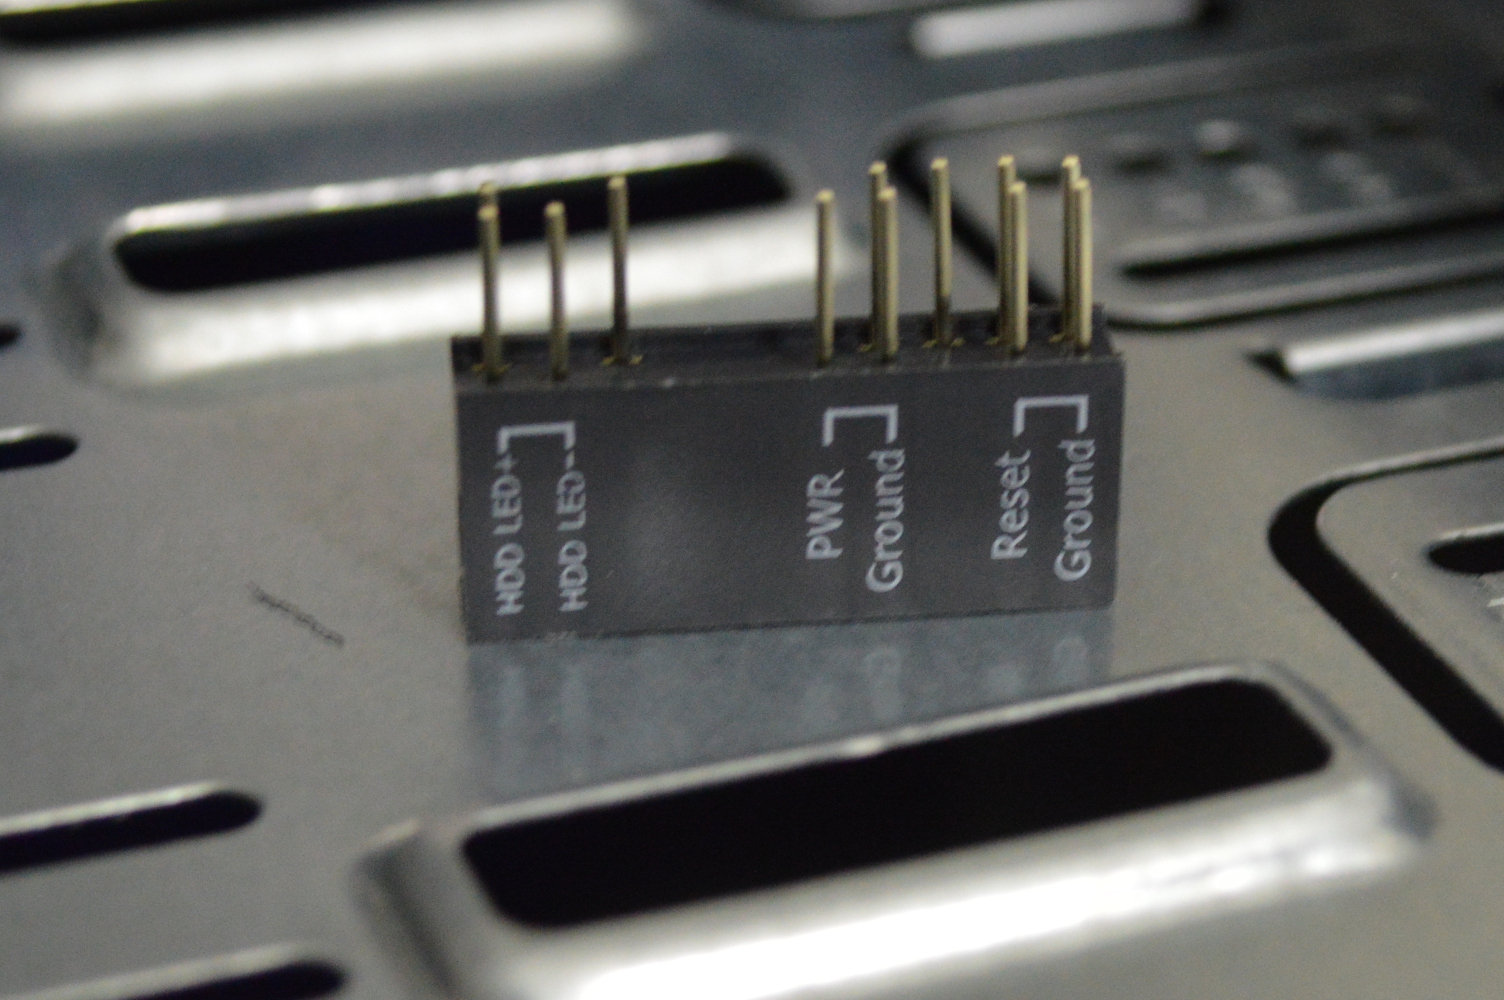
One thing I really like about the X99 PRO is this little guy:

fpio_plug

But given how I have the FPIO already connected in Absinthe, this is largely unnecessary. Still a nice touch, though, and I’ll use it anyway as it’ll make it a lot easier to figure out the pinout for the USB plugs I currently use.

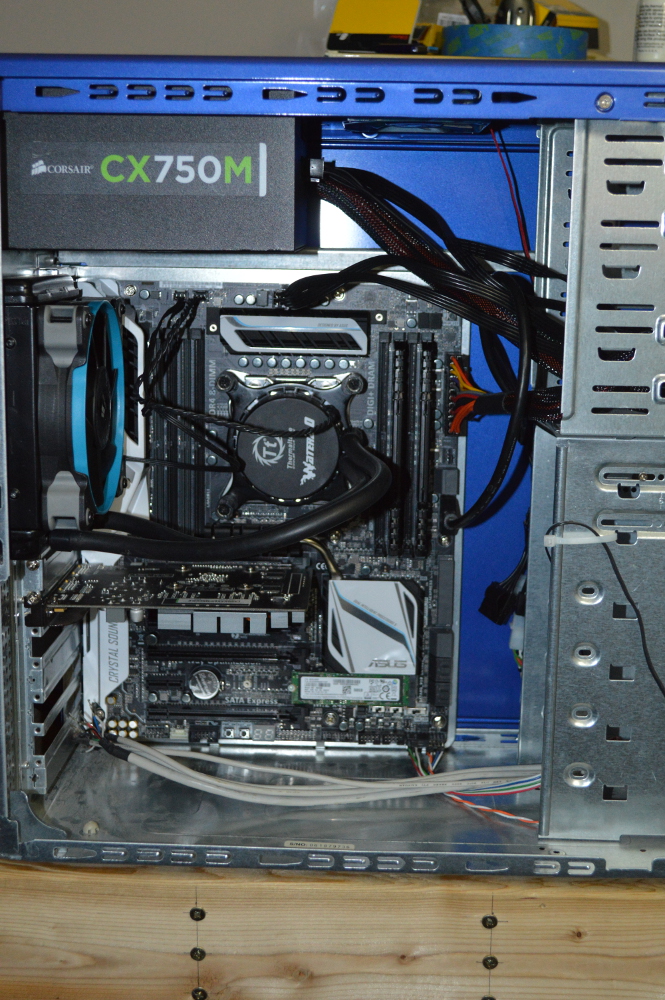
So with everything mounted, using a CX750M for temporarily powering this and a ThermalTake Water 2.0 Performer for the CPU, it was time to power it on so the mainboard could fail to detect the M.2 drive… Ugh… I assumed the drive was bad, so I exchanged it at Micro Center. Interestingly, I ended up getting a slight refund doing this because of a recent price drop. When I got home, I plugged in the other drive…. only to get the same result.

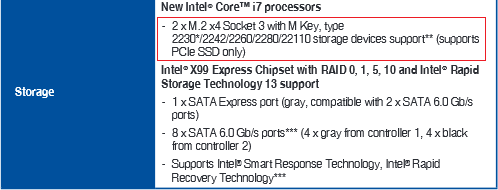
I took to the Internet to see if I could find out what the hell was going on. In searching around, I decided to look through the PDF version of the manual for any information regarding getting M.2 drives to work — double-checking for recommended BIOS settings in case there was something non-obvious I needed to do. That’s when I discovered this little gem:

x99pro_ssd

That’s right, the X99-PRO does not support SATA M.2 SSDs, something Micro Center’s product page doesn’t mention. You must use a PCI-Express based SSD in the M.2 slot. So guess who’s getting a 950 Pro 512 GB

That’s what I get for not doing a good enough compatibility check before buying parts. But at least I could absorb the extra cost. Mostly. I know a lot of people end up pouring a lot of saved cash into builds like this without a lot of leeway for contingencies — a consideration that seems very curiously absent in discussing builds online.

So it looks like Beta Orionis (β Ori.) is getting an SSD upgrade ahead of schedule. What’s interesting is that the M.2 850 EVO worked without issue in the ASRock X99 Extreme4 board I used in Desert Sapphire, so I think it’s reasonable to presume that another X99 board would’ve been able to use the 850 EVO. Oh well. While waiting for the SSD to arrive (I ordered it through Amazon), I decided to move ahead and test whatever else I could. I had a spare 120GB Patriot Torch LE SSD I could use in the mean time.

So that’s it for now. The more immediate next step will be to test the 950 Pro when it comes in to make sure it’s not DOA. Then Absinthe will be torn down completely, stripping the 750D completely naked for cleaning and parts inspection. I’ll probably need to give the case a shower as well to get all the dust out of it.

Note: the product image for the Watercool Heatkiller IV is copyright Watercool e.K. (Germany) and used in accordance with Fair Use under 17 USC § 107 for the purposes of commentary and/or criticism.

Distilling another batch of Absinthe

Build Log:

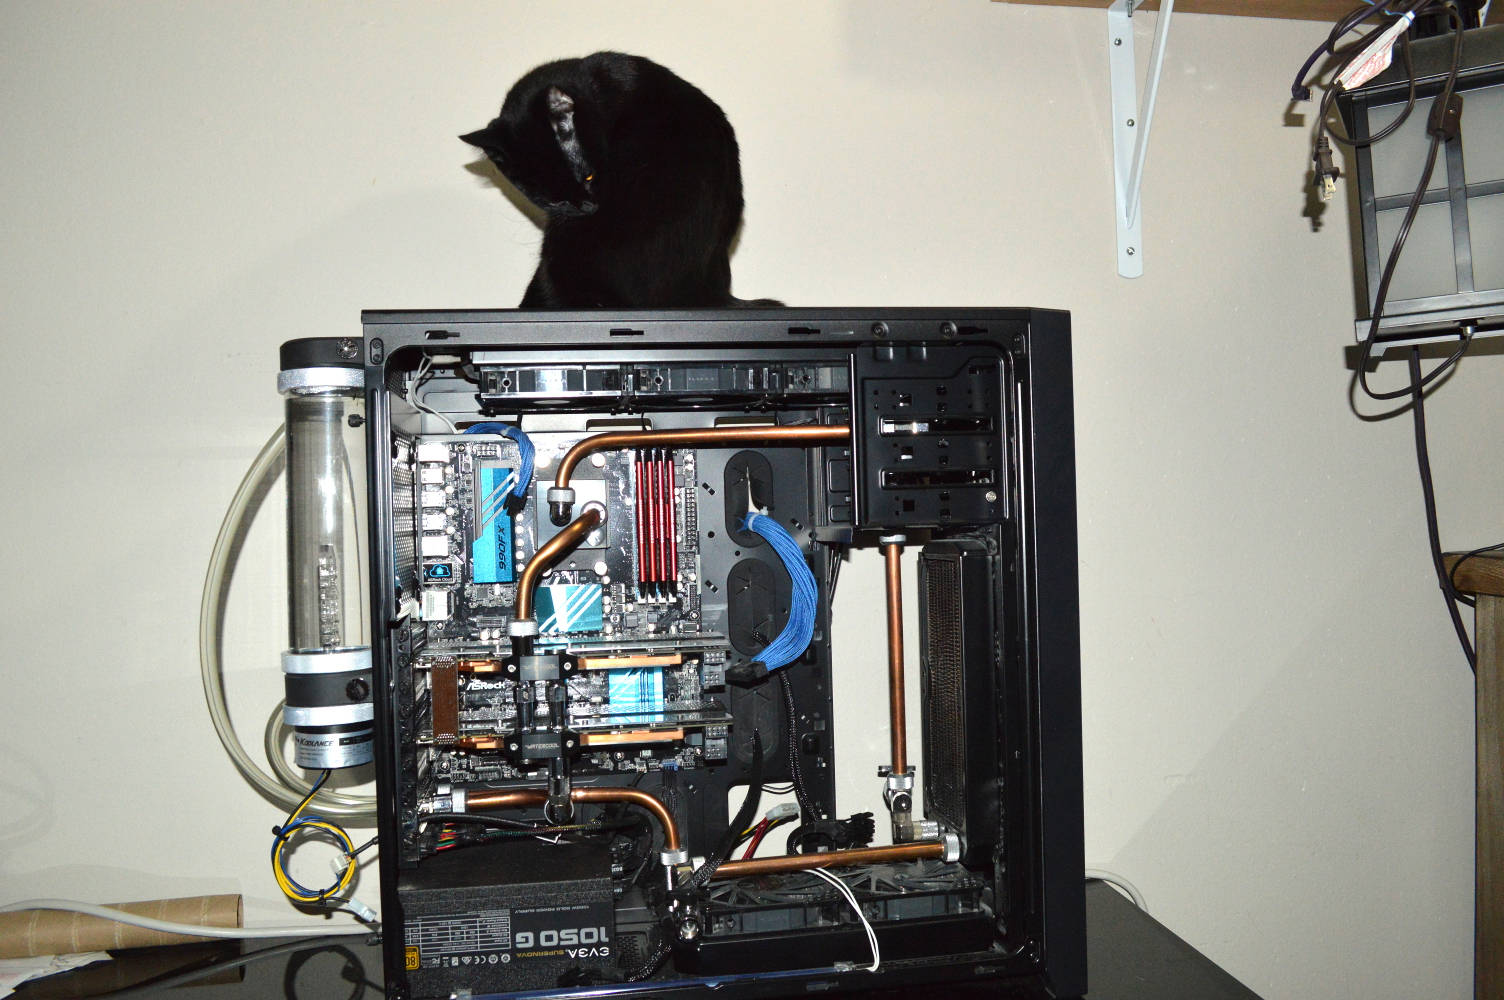
It has been about a year since I last wrote about my wife’s computer, Absinthe. In that time the system has been running smoothly without any complaints. To recap, here are the current specifications of the system:

Processor: AMD FX-8350
Mainboard: ASUS Sabertooth 990FX R2.0
Memory: 16GB AMD Radeon Performance DDR3-1866
Graphics: XFX R9 290X 4GB “Double D”
Sound: Creative Labs SoundBlaster Z
Power supply: Corsair RM1000
Chassis: Corsair 750D
Storage: 2 x 1TB WD Black in RAID 1 (MediaSonic ProRaid HUR3-SU3S3 connected via eSATA)

And the system is water cooled:

Pump: AlphaCool VPP655 with AlphaCool HF D5 Plexi pump top
Reservoir: Bitspower Z-Tube 100mm with Z-CAP I and Z-CAP II (acrylic)
Radiators: AlphaCool XT45 360mm (top) and 240mm (front), AlphaCool ST30 240mm (bottom)
Fans: Bitfenix Spectre Pro 120mm and 140mm
Tubing: Type L annealed copper tubing
CPU Block: Koolance CPU-380A
Graphics card block: Aquacomputer kryographics Hawaii (acrylic glass edition) with passive backplate
Coolant: Koolance LIQ-702 clear

Wait, no complaints with an AMD FX processor? How is that possible?!?

The system is coming due for an annual cleaning and flush. This time around I’m going with a different coolant: Mayhem’s X1 clear. The system will basically need to be torn down to practically nothing for cleaning as well. Getting into every nook and crevice of the 750D, flushing all the radiators and blocks, clean all the fans and everything, and largely get everything back up and running again, clean as a whistle.

I will also need to inspect the copper tubing and replace any that is discolored or showing signs of oxidation. Having copper doesn’t get you away from that.

Along with that, the system is going to also be moved out from behind her monitors, where accessing it can be a chore, to a short table under her desk where it’ll be a lot easier to see and access for periodic dust removal with the vacuum, especially on the bottom radiator. Again, the new coolant will be Mayhem’s X1. Desert Sapphire required only 1L of coolant, and I ordered three bottles of concentrate for it. I’m likely going to be exceeding 1L for Absinthe. We’ll see.

The water cooling configuration is likely not going to change this time around. We’ve talked previously about moving the system back into her old blue chassis and externally water-cooling it, but we’ve opted against it this time just to get things back up and running faster.

But that’s not all that’s happening…

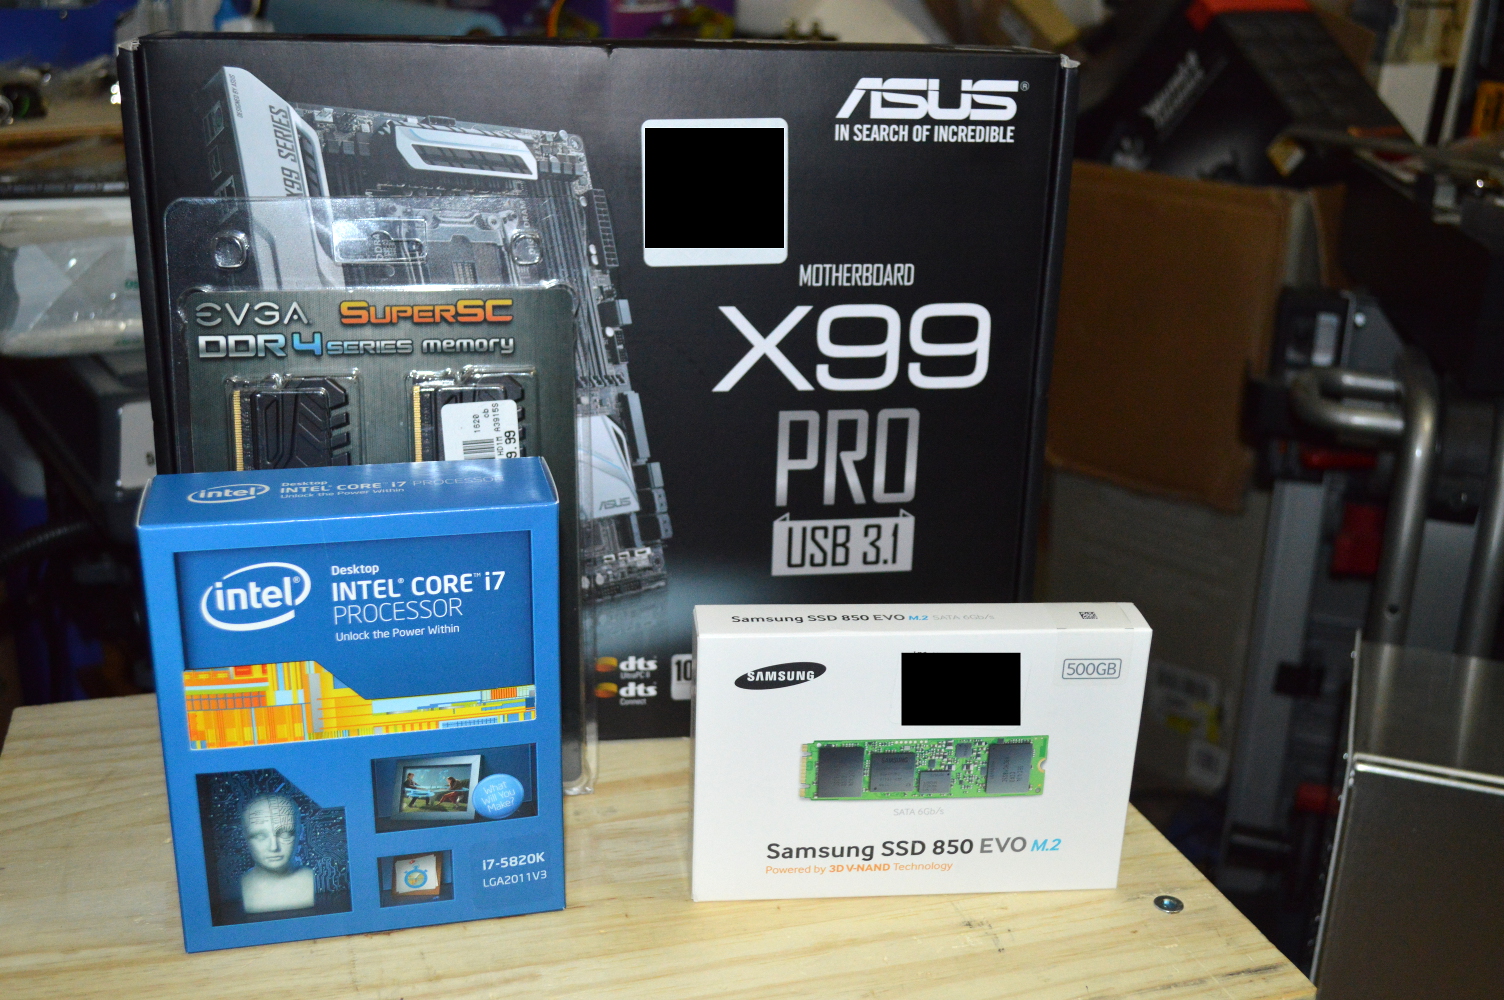
upgrade

Processor: Intel i7-5820k
Mainboard: Asus X99-PRO
Memory: EVGA SuperSC DDR4-3200 2x8GB
Storage: Samsung 850 EVO M.2 500GB

And yet to be ordered is the new CPU block, which will likely be the EK Supremacy EVO, or I might opt for something else such as the Watercool HeatKiller Pro IV, or stick with Koolance and go with the CPU-380I. We’ll see. The new hardware will first be set up in a test setup to tempt my wife (yes, I love to live dangerously) and make sure everything is going to work as expected.

Absinthe currently has Windows 8.1 (Pro if I remember correctly), and that license will be moved to the new platform and upgraded to Windows 10. The external RAID 1 will be used for periodically backing up the system. Given she’ll have an SSD this time around and we have Google Fiber, installing her games onto the new system is going to be child’s play. She was practically drooling over Desert Sapphire, so this’ll be a good upgrade for her with plenty of room to expand later on.

Why Haswell-E and X-99 over the Skylake and Z-170? In short, scalability.

As I’ve said here numerous times, my wife multitasks like nothing. She’d been doing that since first having dual monitors on an Athlon X2. That is why I went with the AMD FX-8350 when I initially built her system a little over two years ago. On the Intel side, getting that same scalability requires going with an i7 regardless of which generation you select, and it was a price premium I wasn’t willing (or really able) to pay at the time. An i5 has only 4 cores, which doesn’t provide the same scalability for multitasking as an i7 or FX 8-core.

When she had only two monitors, she probably could’ve gotten away with an i5. But now that she has three, an i7 would basically be required. About the only other upgrade that would’ve improved multitasking performance is an SSD. And single-thread performance is a non-issue when the operating system is trying to balance processes across a small number of cores. That is where the AMD FX 6-core and 8-core processors beat the Intel i5, though whether an Intel i7 matches an AMD FX 8-core is debatable given HyperThreading is not the same as physical cores.

So when it came to the next upgrade leap, Haswell-E was a no-brainer, as was the SSD, and I’ll likely do the same or my system, Beta Orionis, depending on what AMD’s next generation has to offer. The i7-5820k has six (6) physical cores plus HyperThreading expanding it out to twelve (12) parallel threads, a 50% improvement in parallel multitasking over the FX-8350.

And when you combine better scalability of the Haswell-E with the better per-thread performance, scaling both horizontally and vertically, overall you’ve got a very significant gain. But that is basically the overall philosophy of this move, coming to a newer generation processor that will also have more cores and threads for better multitasking.

Thank you, FedEx

I’ve written about FedEx a few times, including going so far as to write a couple articles talking about a complaint I had against them in late Q3 2014 (here and it’s followup). However I believe that when a company does something right or positively unexpected that they deserve public praise as well.

I ordered two surplus computers from Arrow Direct, one on January 27, the other on January 28. One of them will ultimately be returned because I got an order cancellation request in too late. Anyway, Arrow Direct shipped the computers FedEx Ground. Typically this is their slowest service. And even for packages coming a short distance away, they’ve sometimes still taken almost half a week to get here. That’s why I’ve typically favored UPS for shipments over FedEx, and will gladly pay a couple dollars more for that.

FedEx sent the shipment alert e-mails the night of January 28, showing they were shipping from Columbus, Ohio, with an expected delivery date of the following Monday, February 1. The following morning after they were shipped, I went into my FedEx account and redirected the packages to be held at my local 24-hour FedEx Office — it’s just a lot more convenient doing that when you live in an apartment complex.

The morning of January 30, when I’m writing this, I had a voice mail, text message, and e-mail alerts from FedEx telling me the packages were ready for pick-up. They were shipped FedEx Ground, and the packages were delivered in 2 days, on a Saturday.

Thank you, FedEx.

fedex

Doxing anti-vaxxers

If you click on the “Vaccines” category for this blog, you’ll find two other articles preceding this one. Vaccines is one topic that probably riles people up more than abortion and gun rights. Combined.

That said, I’m a staunch advocate of vaccination. It’s very safe and very effective at preventing the contraction of various communicable diseases. However, being a staunch libertarian, I always believe it should be up to a person as to whether or not they will take the vaccines or allow them to be administered to their children. That being said, the government has the power to determine the vaccination requirements for children attending public schools under their purview:

When you send your kids to a public school or private school, you have to abide by the rules of the game. It’s as plain as that. Public schools are owned and operated by the local or state government. As such, the government sets rules about attendance and those who attend.

An obvious example of this is the vaccination schedule. For decades, public schools have required that students be vaccinated in accordance with a recommended schedule codified in their regulations. For the most part these schedules follow the CDC recommendations. If you do not keep your child’s vaccines up to date, you will be notified of the noncompliance. If you refuse to bring your child’s vaccinations back into compliance, your child will be removed from the school, and other repercussions could arise as well.

Now a lot of school districts and States do allow for the medical equivalent of “conscientious objectors” with regard to vaccines. There are a couple problems with the idea related to how vaccines work. First, not every vaccine provides 100% impenetrable immunity in every person who takes it, yet anti-vaccine advocates readily propagate this straw-man argument: “If you’re child is fully vaccinated, why are you so concerned about my unvaccinated child?” No vaccine is 100% effective, and no vaccine expert will say such. That is why we are still concerned.

This goes on the concept of “herd immunity”. Herd immunity is established when a pathogen’s presence in a population is relegated to one or a few individuals and the pathogen cannot spread beyond that. Herd immunity does not mean no presence of a pathogen in a population. But if it is introduced, it cannot spread. Herd immunity protects those who cannot be vaccinated and those in whom the vaccine for some reason is not effective.

Again, no vaccine is 100% effective. Not everyone can take it, and it won’t take in everyone. That is why herd immunity is extremely important to population health and the eradication of communicable pathogens.

That being said, though, if you are one such “conscientious objector”, should your refusal to vaccinate your children be public knowledge?

Mike Drago of the Dallas Morning News seems to think so: “If you don’t [vaccinate your children], and your kid goes to school with mine, I should get a note or a call from school about it, pronto.” Except there’s a huge problem with this idea: medical privacy laws. But Drago has already thought of that: “I suggested we amend the ‘Affidavit Request for Exemption’ with language effectively asking parents to waive their privacy protections.”

One way you can easily tell if ideas like these are bad ideas is to apply them to other areas. After all, I’m pretty sure the anti-abortion right would love to extend this idea to abortions and make signing away your privacy rights a condition of obtaining an abortion or birth control. Anti-gun advocates are practically calling for just that with calls for universal registration, especially given that a newspaper in New York published the names and addresses of those who had a handgun permit.

Even better, let’s extend it to the First Amendment. Want to speak your mind on a political matter? Better be willing to give up your right to privacy. Note that I am aware of the invasion of privacy known as “doxing”, and I do not advocate or condone its practice in the least. But Drago is saying that anyone who refuses to vaccinate themselves or their children should essentially be “doxxed”.

Like it or not, we do have the right to body autonomy. Sure not being vaccinated means that you could potentially risk the health of others. So, then, why aren’t you calling for “doxing” everyone who refuses to wash their hands after using the restroom? If you don’t wash your hands properly and use hand sanitizer to further reduce your own personal chance of spreading a communicable disease, I’m afraid you’re a much greater risk to population health than a couple conscientious vaccine objectors.

Remember, in the wrong person, any pathogen can be fatal. So you not washing your hands properly could cause a child or immuno-compromised adult to be exposed to a virus or bacterial strain that causes a debilitating case of diarrhea.

One unvaccinated child is not a significant risk to the health of a population. Even a few unvaccinated children will not be a significant risk. If those children are never exposed to the pathogens against which vaccines are available, they are not a risk to anyone with regard to those pathogens. But a schedule-compliant vaccinated child who isn’t taught how to properly wash his/her hands is a greater health risk than a child whose parents didn’t get him/her vaccinated according to schedule.

Let’s keep the risks into perspective. And the perspective is simple. You are likely a greater risk to your children’s health than your children’s classmates.

That being said, there are vaccine-preventable pathogens that are still common in the United States. Pertussis is one, along with influenza and HPV. With these, the possibility of exposure is significantly higher than for measles, and everyone should be vaccinated against them according to recommendations. But it is disgusting to call for “doxxing” those who don’t vaccinate.

In any decision, there needs to be a cost/benefit analysis. There is no benefit to publicly outing those who don’t vaccinate. There is plenty of cost, though, especially in a currency we cannot afford to spend: our liberties.

Instead, this is just an idea by a few people who want to shame people for making a contrary decision.

Reply to Nicholas Kristof

Nicholas Kristof is a writer for the New York Times focusing on human rights, women’s rights, health and global affairs. As part of the SundayReview column, he addressed firearms in an article called “Some Inconvenient Gun Facts for Liberals“.

At the start, Kristof states some basic facts. The number of guns in private hands went up while the number of homicides went down. Kristof mentioned gun homicides, but all of violent crime declined after peaking in 1992 and 1993 as gun ownership went up. Kristof also mentions the landmark study showing the Assault Weapons Ban of 1994 did practically nothing for violent crime.

On concealed and open carry, he points out that the fears of liberals have largely failed to come to fruition, but with a small caveat:

With some 13 million Americans now licensed to pack a concealed gun, many liberals expected gun battles to be erupting all around us. In fact, the most rigorous analysis suggests that all these gun permits caused neither a drop in crime (as conservatives had predicted) nor a spike in killings (as liberals had expected). Liberals were closer to the truth, for the increase in carrying loaded guns does appear to have led to more aggravated assaults with guns, but the fears were overblown.

Then he turns his attention to the inertia in Congress with regard to getting new firearms legislation passed:

So why does nothing get done? One reason is that liberals often inadvertently antagonize gun owners and empower the National Rifle Association by coming across as supercilious, condescending and spectacularly uninformed about the guns they propose to regulate. A classic of gun ignorance: New York passed a law three years ago banning gun magazines holding more than seven bullets — without realizing that for most guns there is no such thing as a magazine for seven bullets or less.

Absolutely this is one of the major problems in the gun control debate. You have a bunch of people who are largely ignorant not just of firearms, but existing laws regarding firearms, attempting to lecture and belittle those who defend gun rights. It should be considered obscene for those who wish to implement policy to be ignorant of that which they seek to regulate more than already is — yes, we already have plenty of laws governing firearms.

I mean liberals are likely largely offended by the ignorance of creationists when it comes to talking about evolution, so why are they accepting the large-scale ignorance of the anti-gun lobby when it comes to firearms? I think it’s for the same reasons that Christians continue to argue about creationism: they don’t realize their own ignorance, and won’t do anything to correct it.

For example, we already have background checks in the United States, yet the discussions on “universal” background checks fail to include this point. I wonder why. You also cannot purchase a firearm off the Internet to evade a background check. I’ve purchased two firearms online and had to go through a separate background check for each one.

Another is the common retort that the NRA managed to ban research into gun violence, and no such thing has happened. The only thing the NRA managed to successfully lobby is to prevent the United States Centers for Disease Control and Prevention — a subset of the United States Public Health Service, who has a stated anti-gun agenda — from conducting gun violence research. Gun violence research has actually been occurring by other organizations.

And, one other thing: stop using the term “gun safety”. I really hate having to continually address the fact that passing new laws regulating firearms is not about “safety” but control.

Before continuing, I should make one thing known here. I’m a very, very staunch defender of due process. No person should be stripped of any of their rights — including the right to a firearm — without first having been adjudicated through a Court. This is a basic requirement of the Fifth and Fourteenth Amendments. No person can be deprived of their rights without due process of law. Plain and simple.

Any time you talk about restricting someone’s access to a firearm, if that restriction is not predicated by any kind of legal process through a Court overseen by a judge, you’re violating the Due Process Clause. Don’t like it? Tough shit.

As such, all this talk on universal background checks is moot. If a person hasn’t been adjudicated by the system, it won’t come up in any background check. And all the discussion about universal background checks largely forgets this.

New Harvard research confirms a long-ago finding that 40 percent of firearms in the United States are acquired without a background check. That’s crazy. Why empower criminals to arm themselves?

The link Kristof gave is to an article on the site The Trace called “Just How Many People Get Guns Without a Background Check? Fast-Tracked Research Is Set to Provide an Answer“. Deborah Azrael, PhD, of Harvard University, conducted research to determine how many guns change hands without a background check being first conducted. The research covered a survey of 2,072 firearms owners, about 40% of whom said they acquired their most recent firearm without a background check.

So far it appears the study has yet to be published, so quoting an unpublished study is a bit premature. Azrael has promised to be detailed in her study:

Azrael says that when results from the survey are published, they’ll note the distinction between gun sales and gun transfers, and provide more information on where these unregulated exchanges take place.

Those are very important distinctions. The current standard under law is that a person cannot transfer a firearm to someone they know or has reason to believe cannot legally possess one. That’s the standard here in Missouri, and it’s a standard that applies under Federal law as well.

Here’s another distinction: how many of those claiming to have acquired their latest firearm without a background check have never had a background check for any firearm they’ve acquired? The percentage in that instance will drop to under 1%. Some States — Kansas being one, I believe Missouri is another, but I’m not sure — allow those with an active concealed carry permit to bypass the NICS background check when acquiring a firearm due to the extensive background check needed to acquire a concealed carry permit. That’s not a private transfer, but it is still one occurring without a background check.

So we’ll have to wait till Dr Azrael publishes her study to see how well it withstands scrutiny. I don’t expect it to given the fact they surveyed only a little over 2,000 gun owners. Now, granted, that’s better than a previous, oft-quoted study that only had 250 participants, but it’s still tiny compared to the estimated number of gun owners in the United States.

But let’s get back to Kristof’s question: “Why empower criminals to arm themselves?” This is a presumption that the Due Process Clause does not allow regulators to make. You cannot presume that everyone who seeks a firearm through a private transfer intends to use that firearm for harm. Indeed, even if a large number of private transfers are to people who legally cannot possess a firearm, it appears they aren’t really doing much with them.

Dr Azrael estimated in statements to The Trace that her numbers provide an estimate of 20 million firearms changing hands each year in private transfers. Provided that number is accurate, let’s assume for a moment that all homicides and non-fatal injuries in 2013 (latest year for which fatal and non-fatal injury data is available through WISQARS) resulted from private transferred firearms. That is 84,258 non-fatal injuries and 11,208 deaths. So in total 95,466 total injuries and homicides from firearms. Add in another 21,175 suicides, and the total is 116,641.

Out of 20 million firearms transfers, that amounts to 5.8 firearms injuries or deaths per 1,000 firearms privately transferred. Out of the total number of firearms estimated to be transferred via her survey (50 million per year), that’s 2.3 firearms injuries or deaths per 1,000 firearms transferred (privately and not).

And out of all firearms believed to be in private hands in the US — I’ll use the estimate of 300 million — the rate drops to 3.89 in 10,000. Talk about a drop in the ocean.

So perhaps the focus on private transfers is, as many gun rights activists have been saying for years, largely overblown? Perhaps time would be better spent focusing on the problem areas, such as the one Kristof mentions next:

Some evidence supports steps that seem common sense. More than 10 percent of murders in the United States, for example, are by intimate partners. The riskiest moment is often after a violent breakup when a woman has won a restraining order against her ex. Prohibiting the subjects of those restraining orders from possessing a gun reduces these murders by 10 percent, one study found.

“If you can keep a gun from someone at that moment of threat, that is very important,” notes Daniel W. Webster, a gun safety expert at Johns Hopkins University who has pioneered research on keeping guns from high-risk individuals.

And we absolutely should. The question is how to identify “high-risk individuals” to cut them off. Restraining orders are one such identification. And, here’s the thing many don’t seem to realize: you can restrict firearms ownership for someone under an active restraining order without violating their Due Process Rights! That is so long as the person who is the subject of the restraining order has an opportunity to fight the restraining order.

At the same time, though, it sounds like it’s largely not having a great affect on homicides. Sounds like for intimate partner violence, firearms are not the weapon of choice. But it’s a small thing that can be instituted without much regulatory effort and without violating someone’s due process rights, so why not?

Some public health approaches to reducing gun violence have nothing to do with guns. Researchers find that a nonprofit called Cure Violence, which works with gangs, curbs gun deaths. An initiative called Fast Track supports high-risk children and reduces delinquency and adult crime.

And this is largely where we need to focus our efforts. “An ounce of prevention” so to speak. The only downside is these programs are having a hard time securing funding, so every effort should be made to fund these programs. So if you care about stopping gun violence, whip out your checkbook and send them some cash!

In short, let’s get smarter. Let’s make America’s gun battles less ideological and more driven by evidence of what works. If the left can drop the sanctimony, and the right can drop the obstructionism, if instead of wrestling with each other we can grapple with the evidence, we can save thousands of lives a year.

Nice little attempt at trying to play to both sides overall. It’s one thing to say “if we focus on what works”, it’s another ballgame to prove that something works.

The problem of violence is how it plays out. Most violence is “heat of passion”, such as intimate partner violence. Comparatively little is premeditated. And the premeditated violence can be extremely difficult to prevent because 1. it is difficult to identify those premeditating violence to stop them and 2. those premeditating violence will work around whatever laws are passed. After all, that’s exactly what Eliot Roger did. Funny how no one in the “gun safety” movement mentions him.

So instead if you want to curb violence, not just gun violence, you need to go right to the sources of it. Unfortunately those sources extend from childhood — the environment in which a child is raised. Yet most who are raised in squalor don’t go on to commit violence. It’s just not in them to do it. So what pushes others to commit violence? That’s the question to address.
Road Trip: A renewed view of the Second Amendment

Recently I had the great opportunity to take a road trip with my wife to southern Nevada. Being a freshly-renewed permitted carrier of a concealed weapon from Missouri, my wife and I planned the trip to have as little encumbrances to our CCW privileges as possible. So the route we planned took us south to Oklahoma City, west through the Texas “panhandle” and New Mexico and Arizona before turning north to the Las Vegas metro. Our stop in Kingman, AZ, gave us the chance to secure our firearms in a fire-proof lock box before hitting US-93 north. Nevada was the only State on that route that does not recognize my permit.

Driving through the rural southwest countryside gives you a renewed sense on the Second Amendment and what it’s really about, especially when you’re talking about a countryside that is much more sparse than what I’ve ever seen before, or at least recall ever seeing.

To give you an idea, New Mexico is 36th in the list of States by population, just two below Kansas, but 5th by square mileage. Missouri is 18th by population, 21st by area. Kansas is 15th by area. And in Kansas much of that population is gathered around three points: Kansas City, Topeka, and Wichita. Kind of like in Nebraska (just below New Mexico by population) where you have Omaha, Lincoln, and everywhere else.

Out in the rural areas, a firearm could literally mean the difference between keeping what you have or potentially losing some of your livelihood, if not our life.

Living in the city, it is quite easy to see how arguments for gun control can be considered. Everyone is relatively densely packed. Even in Kansas City, I can see how many could argue for gun control. Missouri has some of the loosest gun laws in the country, but Kansas City and St Louis make Missouri look bad in terms of violent crime. But consider Iowa, which has gun laws pretty close to Missouri, but some of the lowest violent crime rates in the country.

But again, that’s living in a metro. When you try to take the problems of living in metropolitan areas and act like those problems exist everywhere, resistance to that concept should not be unsurprising. But at the same time, the sense of independence among those living in rural parts of the country will feed into the resistance. You walk onto a cattle ranch in rural New Mexico (or rural anywhere, for that matter) and try to tell the owner and his/her family how they must live their lives, you’re not going to be met kindly.

One of the interesting paradoxes that plagues the firearms discussion is how major firearms incidents feed gun sales. Many on the gun control left have used this trend as a springboard for the argument that the NRA feeds on mass shootings worse than the gun control proponents. That’s not the case. Instead to see what is going on, look at another mass shooting: Charleston, SC.

After the Charleston incident, guns were attacked, but interestingly so was the flag for the Army of Northern Virginia — wrongly called the “Confederate flag”. Calls for banning it sounded off from all parts of the country. And paradoxically, this actually spurred on sales for items bearing the flag’s design. Why? It comes down to one simple concept: the people buying the stuff didn’t want to be told they couldn’t have it.

After Sandy Hook, many of those who bought firearms were first-time buyers. After Sandy Hook, there were massive calls for gun laws and gun bans. As I pointed out on this blog and elsewhere, many on the gun control left were also calling for blood — public executions of gun owners, bombing the NRA headquarters, beheading Wayne LaPierre and NRA executives, and so on. In response, guns were bought up by the truckload, and shelves cleared of ammunition. I called it “gun control without legislation“. And again, many were first-time buyers, people who previously had not considered buying a firearm, simply because they did not want to be told by anyone else that they could not own one.

So driving through the countryside gives you a renewed sense of the libertarian idea. And why in New Mexico, Gary Johnson was very popular. It’s amazing how kindly people respond to you when you stop trying to tell them how to live their lives. Isn’t about time we start doing the same with regard to firearms? Or are we going to be constantly of the idea that adults must always be treated like big children?

Desert Sapphire – Delivered

Build Log:

The project is now in the client’s hands. Let’s go over the last steps and the final details.

First, the PMP-420 was a no-go. I replaced it with a DDC pump that is still noisy, but not nearly as much as the PMP-420. I still want to figure out how to quiet the pump, so I will be in touch with the client about what to do for the noise. But given the client didn’t mention the pump while standing inches from the cabinet, I’m going to presume it’s not going to be an issue for him. If it is, then we can discuss it.

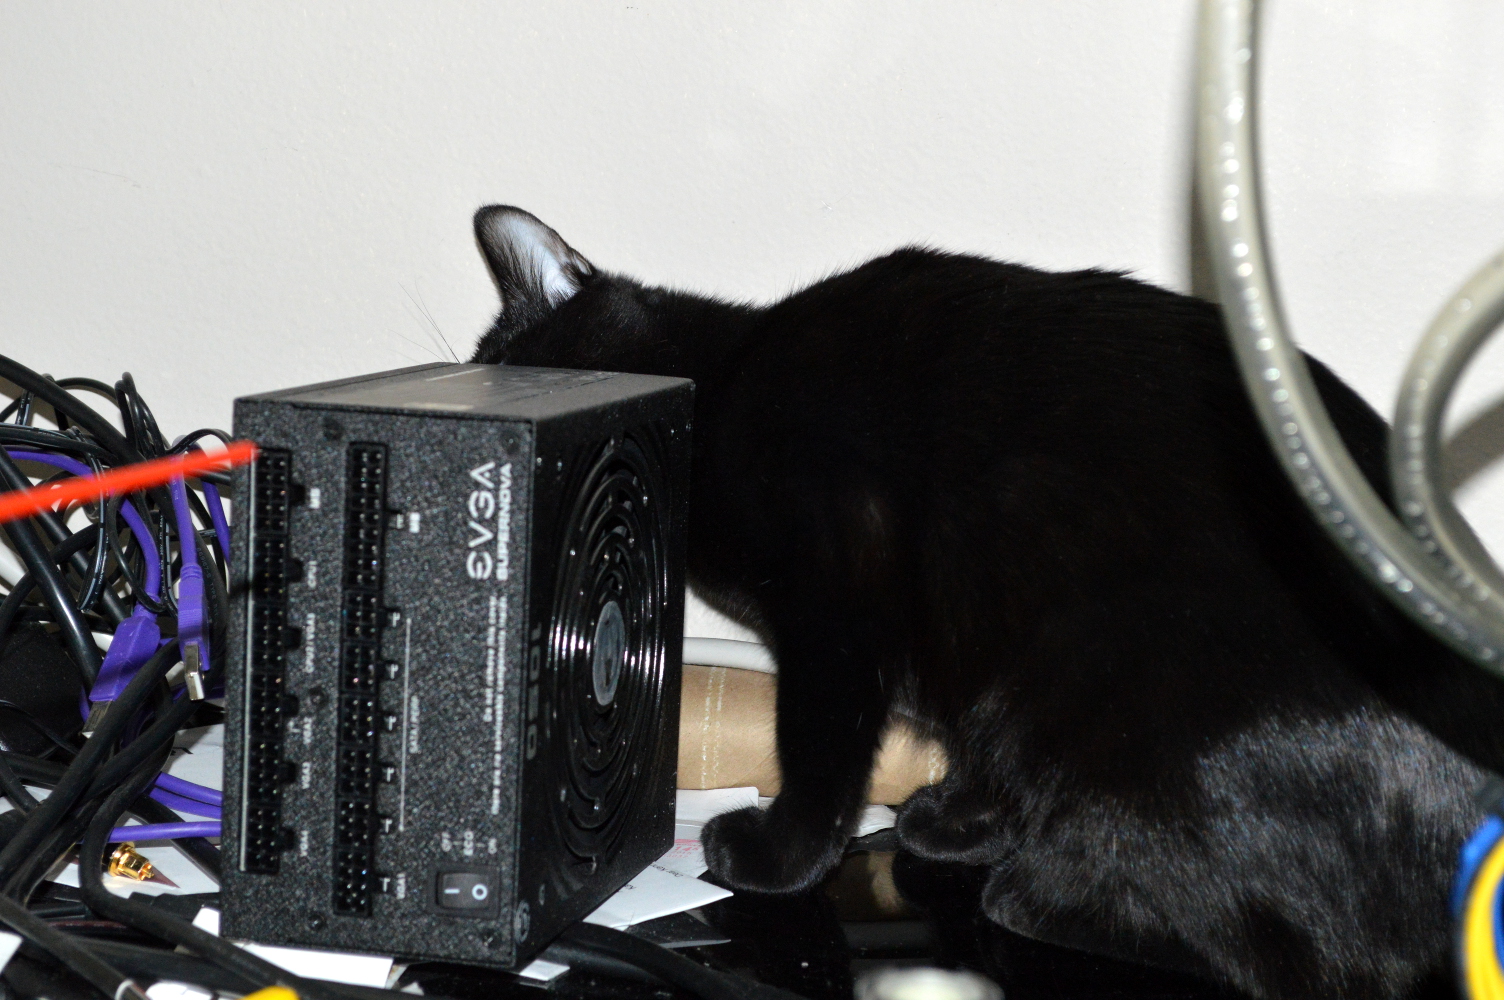
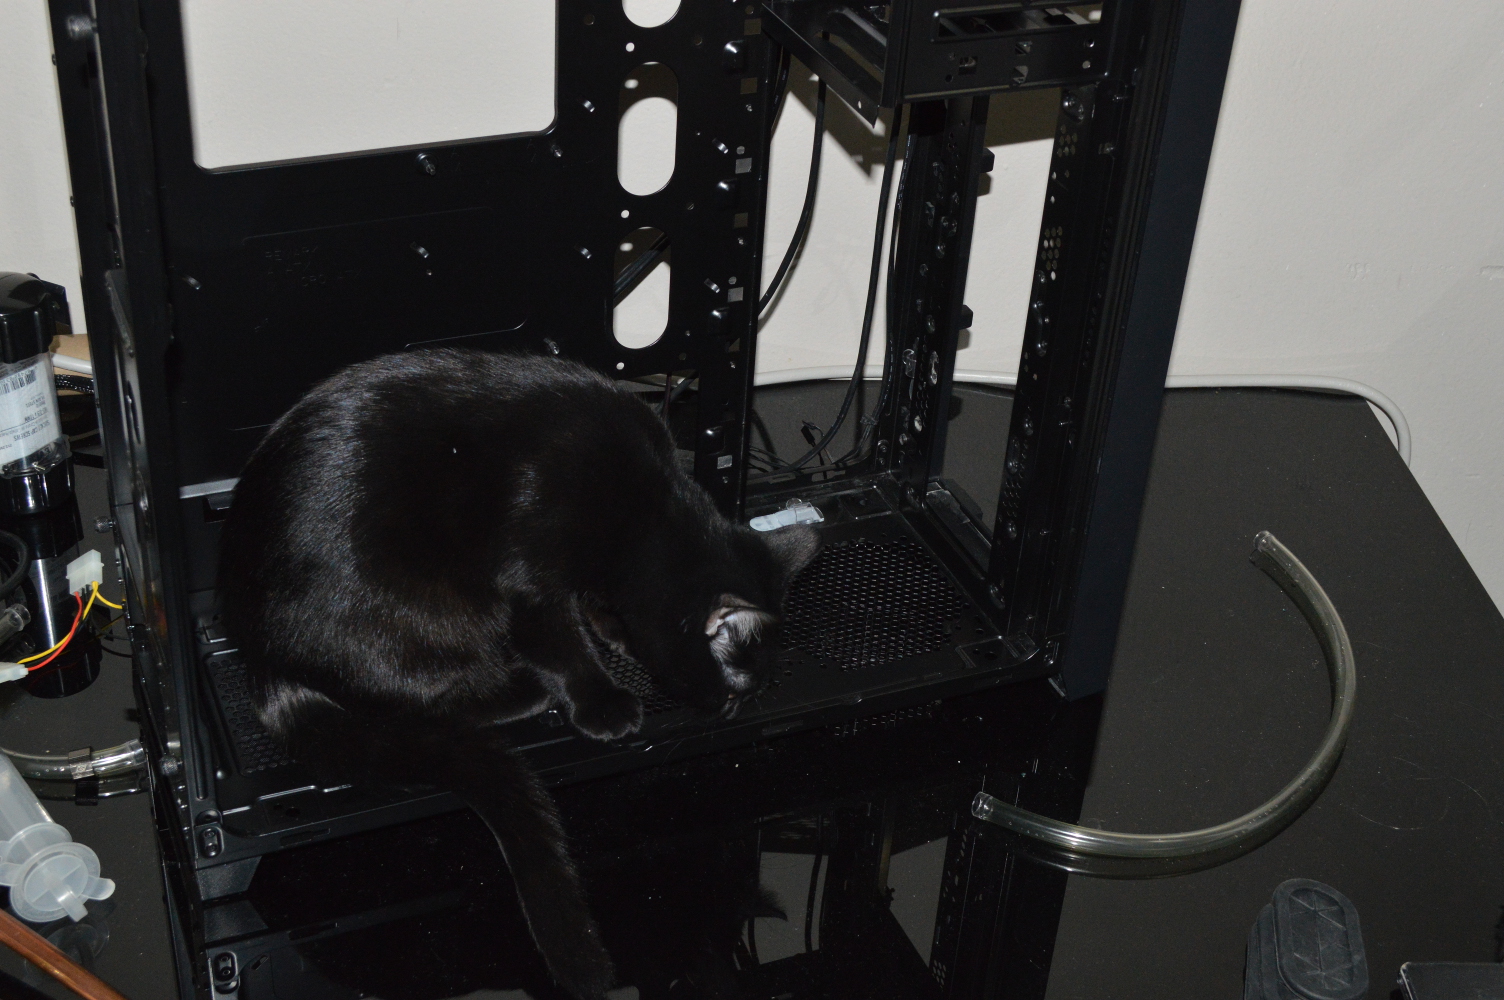
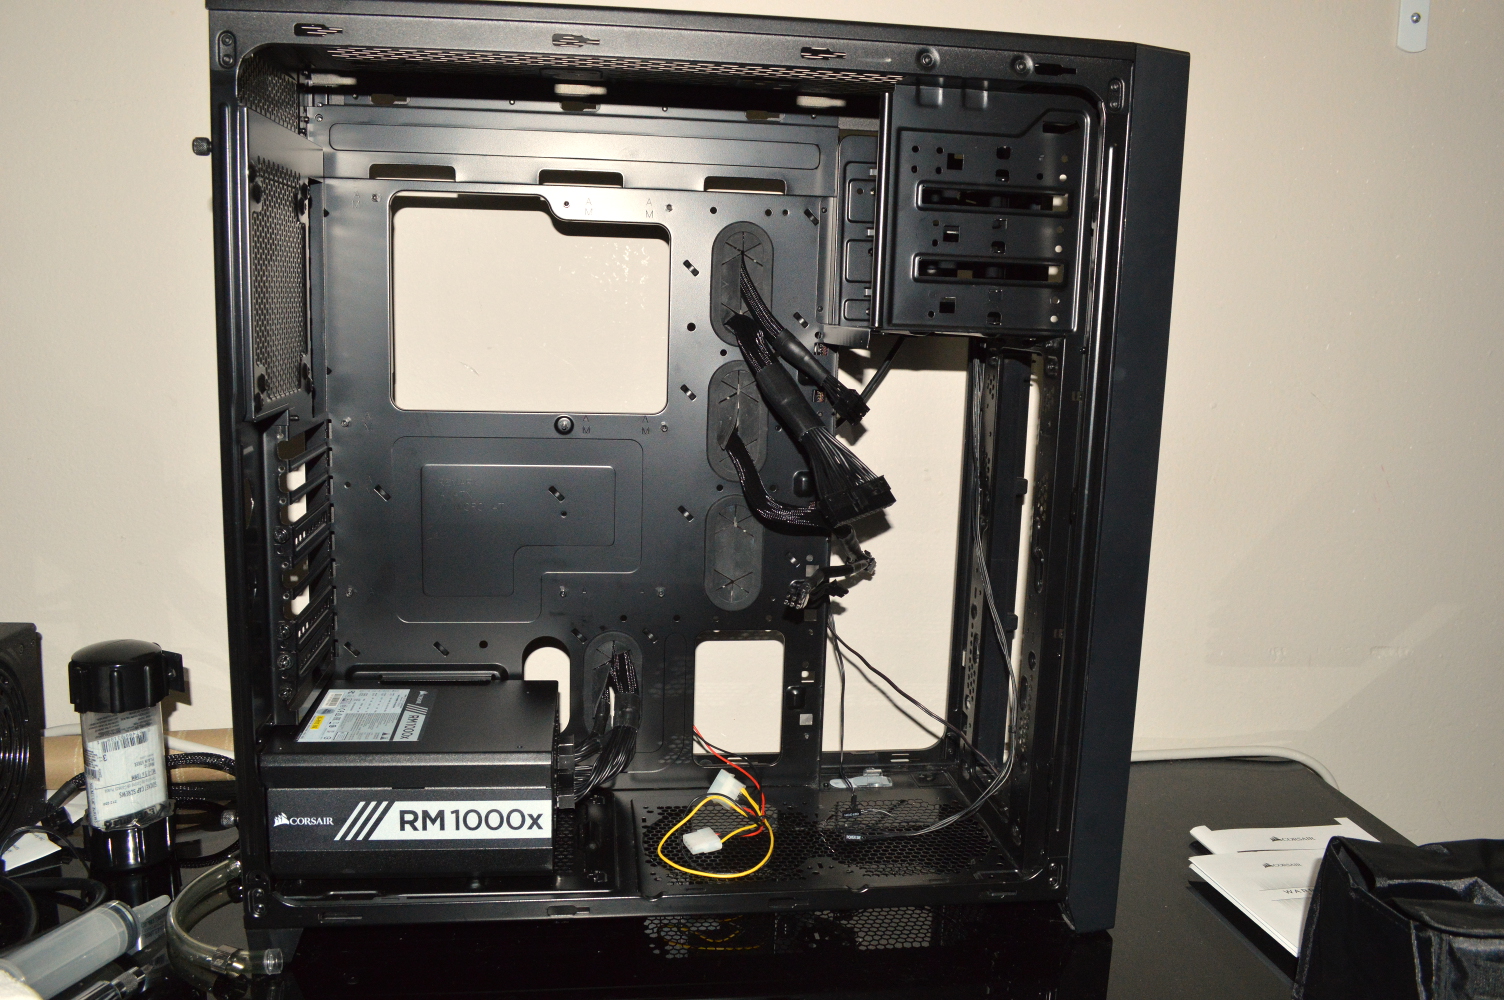
But again, let’s talk last steps. Last I left I said that I got far enough with the system that “it was time”. What I meant on that was tearing down Beta Orionis and stripping everything out of it. And I do mean everything. Alice decided to help. I actually didn’t know that a 7 month-old kitten could fit into the triple 5-1/4″ drive bays…

alice

alice2

alice_drivebays

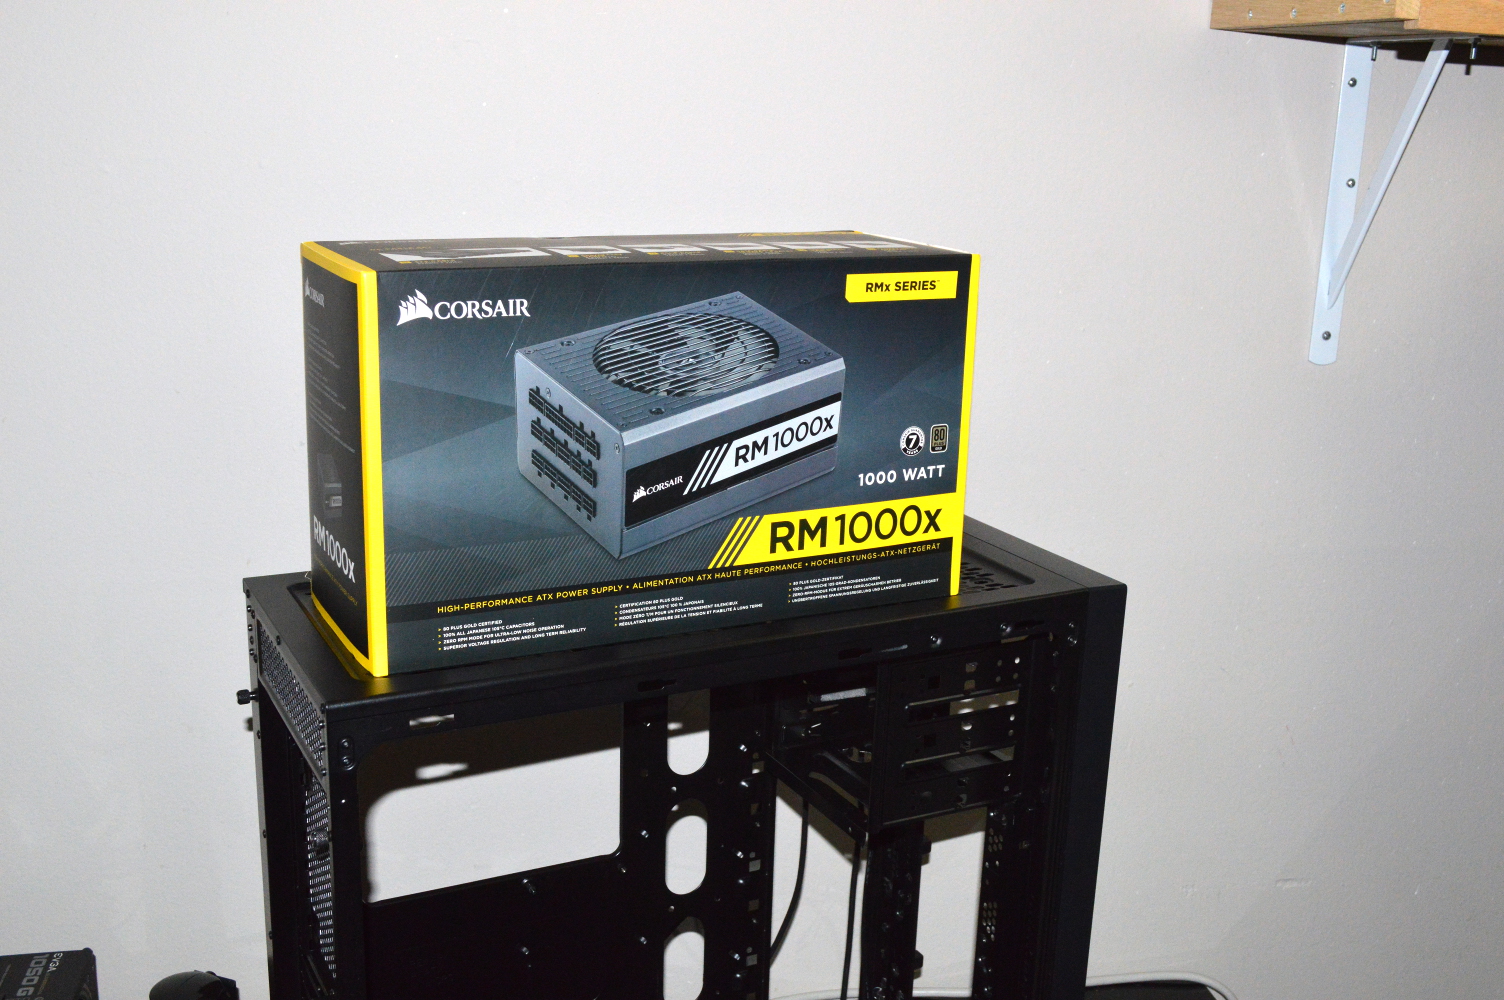
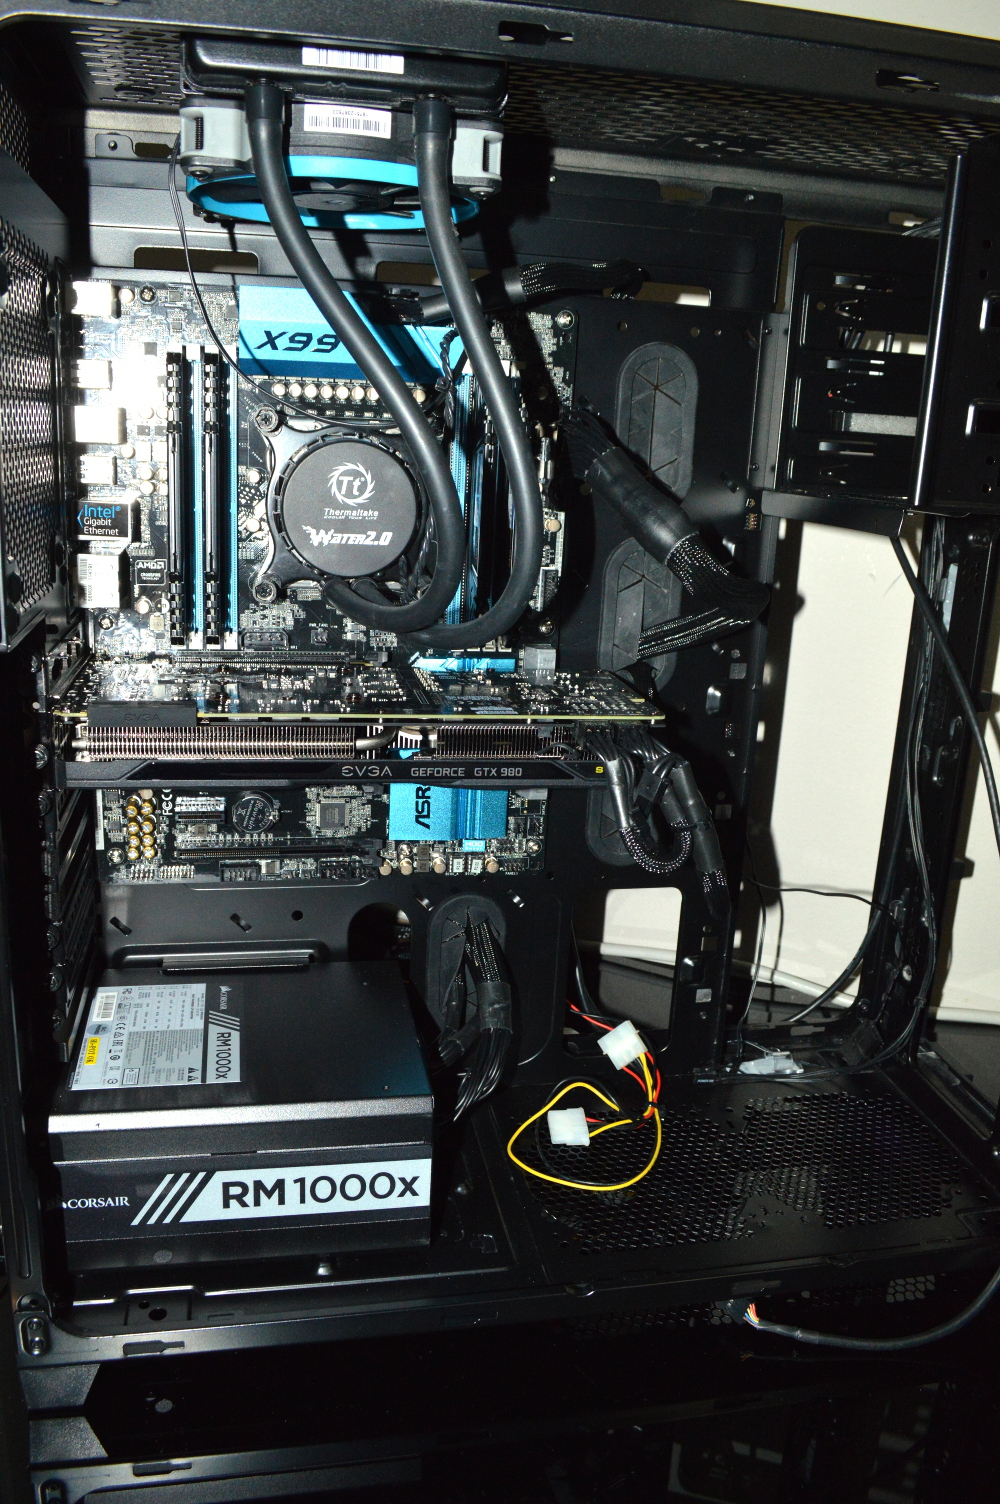
Once everything was out of the case, and Alice gave her approval, I fetched the new power supply. Corsair RM-1000x. I selected this to give the client a very, very good power supply that was going to also be quiet. The pump itself was loud enough. The PSU didn’t need to contribute to it at all. I ran the cabling I knew would be necessary and then fetched the rest of the system from the blue case.

alice3

rm1000x

rm1000x2

x99

As you can see, I initially mounted the AIO in place along with the graphics card with its air cooler. Since I knew it wouldn’t take long, I wanted to wait before putting on the blocks till either there was nothing left to do, or my back was going to require it. Instead I turned my attention to flushing and mounting the radiators.

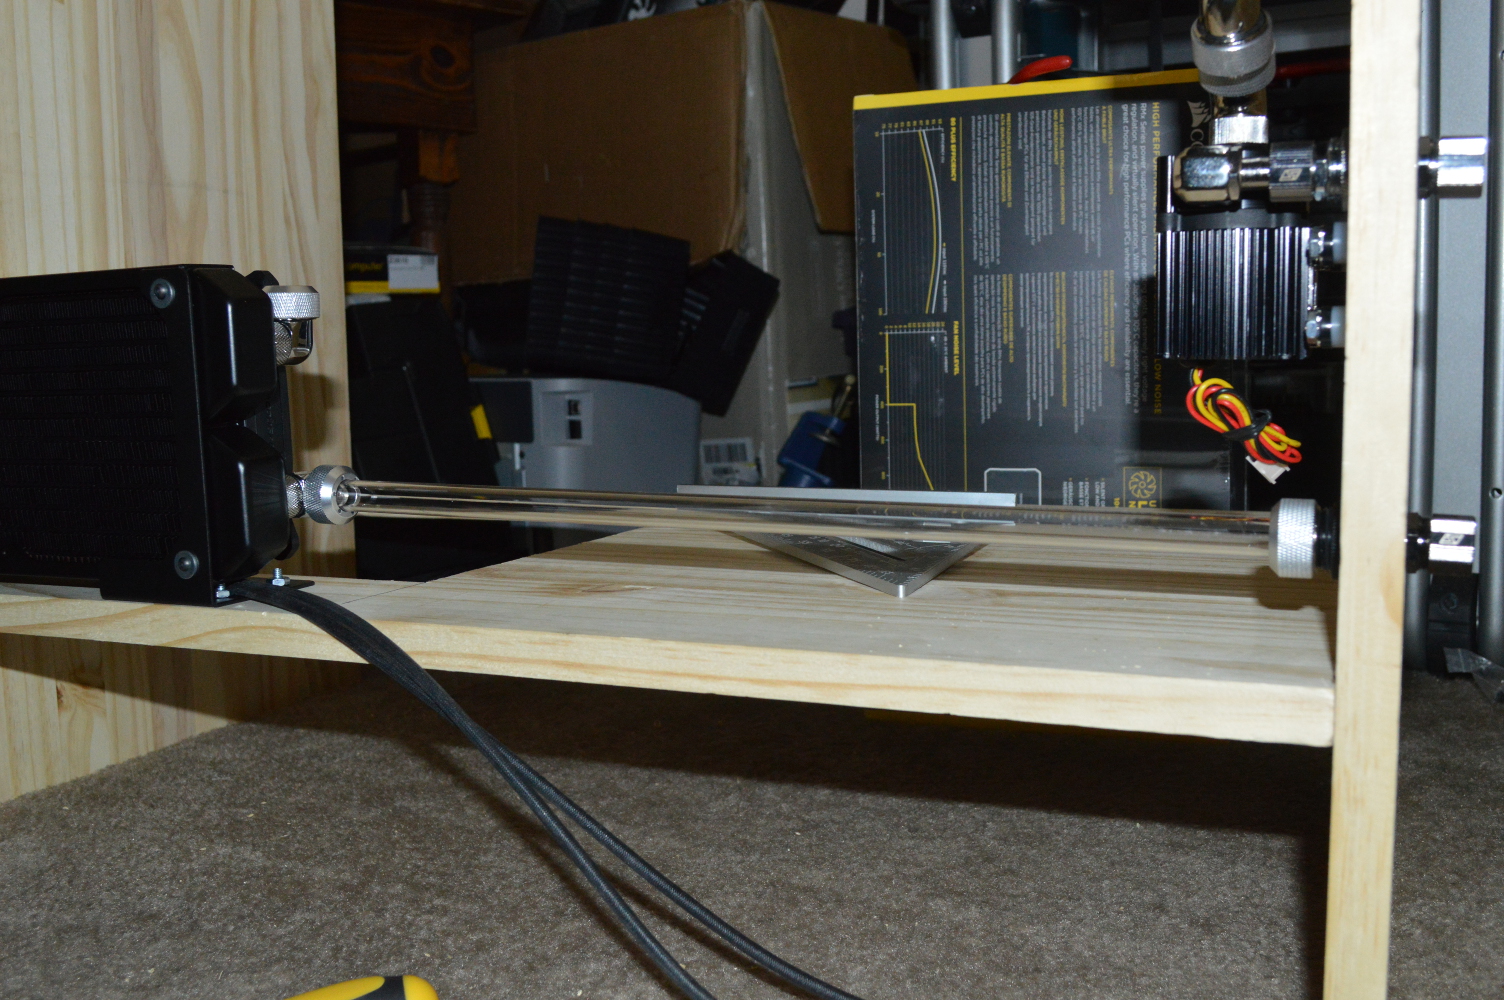
And the aluminum piece I mentioned earlier worked like a charm. Remember, though, how I said I had a longer strip of aluminum on order from Grainger? Yeah it didn’t arrive in time… So instead I had no choice but to stick with the piece of aluminum because of the looming delivery date. But it worked exactly as expected and, again, validated all my measurements and math.

cabinet

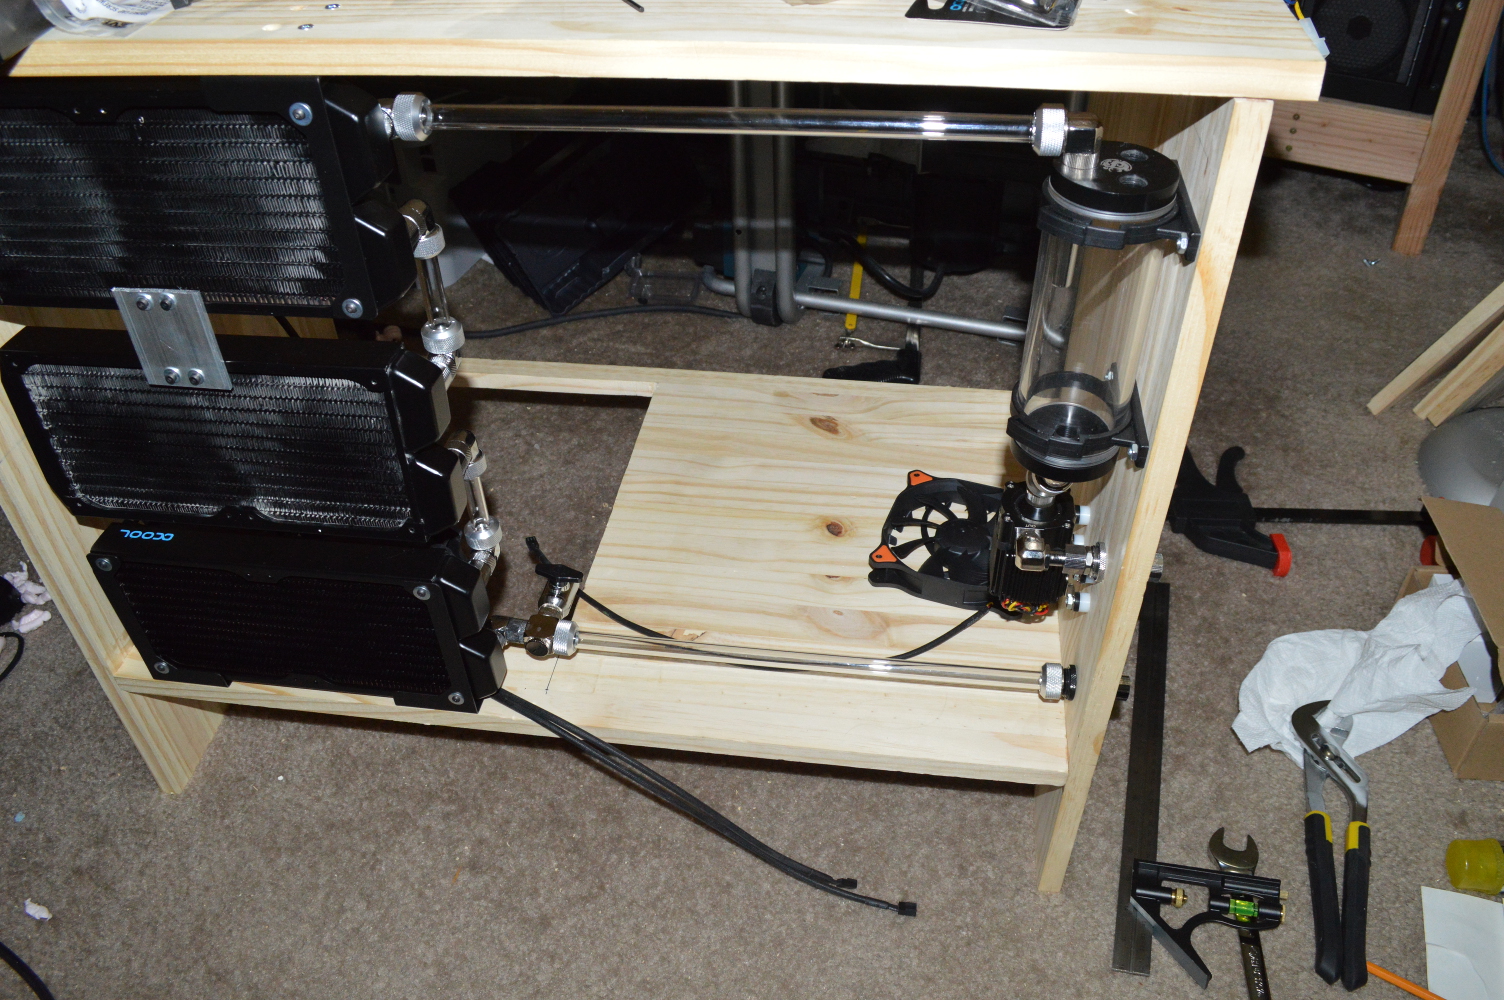
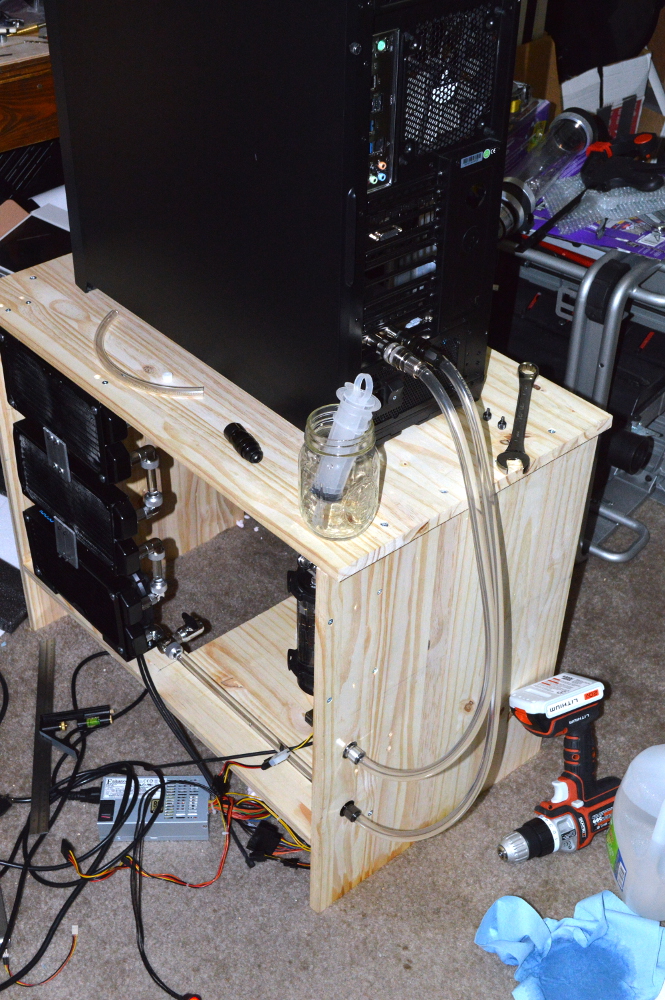
This gave me the chance to cut the rest of the tubing, validating the rest of my math and giving me a small loop I could leak test. While it was leak testing, I turned my attention to the second aluminum bracket and got it into place. With that, I turned my attention to the CPU and graphics card and tubing up the chassis.

cabinet2

Then it was a matter of cutting the tubing for the quick disconnects and connecting the computer system to its cooling system for a full leak test and some initial temperature testing with straight distilled water. The temperatures were quite phenomenal. Recall that there is an i7-5820k and a GTX 980 connected to 6x120mm of radiator capacity. This is the GPU temperature after Heaven had been running for at least 20 minutes. And no, I’m not making this up.

leaktest

temps

Unsurprisingly the CPU ran hotter when I had Folding@Home’s StressCPU utility running on all 12 threads, but still struggled to get even into the 40s. The temperatures were a little higher doing the final stress testing in my hotel room in the client’s home town, but not by much.

Retrospective

There are so many things about this project that could’ve gone better to allow more time for the build. For starters, once I discovered that there weren’t really any pre-built cabinet options, I should’ve started on the cabinet sooner. Had I done that, the rest of the system may not have been rushed and all of the planned items would likely have been accomplished. As in I was also looking at kitchen cabinet options at Home Depot seeing if there was something I could adapt instead of looking at the lumber section to see what materials I could meld into a cabinet…

What helped save time on the system, though, once I had dimensions in mind was going with the laminated panels from Home Depot. It saved money as well. So much so that I’m going to be using those panels to make a couple rack cabinets, including one that will replace the rack I built for the Colony West project. You build, you learn. Again, though, I should’ve started building the cabinet sooner than I did, though the delay with the USPS cost me a day as well.

But easily this shows that cooling a system in this fashion is doable, provided you’re willing to expend a little effort. If you can modify a pre-fab cabinet to mount the radiators, then that will probably be the better option. Or you can build something like I did here.

In hindsight, a more impressive demonstration would’ve been using the Zalman Z12 that’s been featured on this blog before. It has virtually no radiator capacity, so seeing that chassis connected up to the cabinet would show quite well that you don’t need a large fucking case to get good radiator capacity.

Instead all you need is just a little ingenuity and imagination.

Desert Sapphire – Part IV

Build Log:

So the build continues…

The day after Christmas, my wife and I drove out into Kansas to visit family. Given the weather forecast for the next day compared to the weather while we were driving back, I decided to run to Micro Center instead of going directly home. This was to pick up the SLI fitting plus a couple other things to finish the build.

When I got home, after unloading from Christmas, I took the SLI fitting and put it into place. This basically demonstrated conclusively that all of my measurements regarding the pump were spot in.

pump7

With almost every fit confirmed, the only other thing to do was glue and screw the cabinet together. The glue is Titebond No-Run No-Drip, which is perfect for end grain applications such as what I’m doing here, but requires that I leave everything for about 24 hours to cure. Since I was doing this on a Sunday afternoon, that would mean I couldn’t touch it till I got home from work the next day. Even though I also screwed the boards into the end, I decided to leave it all clamped overnight.

cabinet2

One thing I will say about this: nothing really prepares you for assembling it all together. When everything you’re seeing in your head or on paper actually meets the wood to demonstrate whether your idea has merit. So seeing this all come together seeing everything line up… it was such a relief to see it all work out.

Revisiting the pump

The noise level on the pump was not promising. The initial testing with the pump doing a 2-gallon push flush on the new radiator showed the noise to be concerning. I’m not sure if it was noise from air — wherein if I had it mounted in some fashion and let all air bleed the noise would’ve died away — or just the noise to expect from the pump.

I preemptively purchased a DDC pump from my local Micro Center — specifically the Swiftech MCP35X. They also had the MCP355, but I chose the MCP35X to hopefully retain fitting options. We’ll see if I will need it. I won’t know until I have at least the radiators mounted so I can do an isolated leak test on just those.

Swapping the pump isn’t out of the question — though it’ll be interesting given the cabinet is already prepared for the PMP-420. So if I can adapt for the noise, that’ll be great. Perhaps it’ll run quiet when the pump is mounted to the cabinet on vibration isolation with it pushing fluid for a while.

The power supply I was considering, however, will work just fine. It’s just a matter now of where to mount it.

Mounting and joining the radiators

You know the old saying of “measure twice, cut once”. Well sometimes it doesn’t keep you getting something wrong. In my case it was the holes in the table top for holding the radiator.

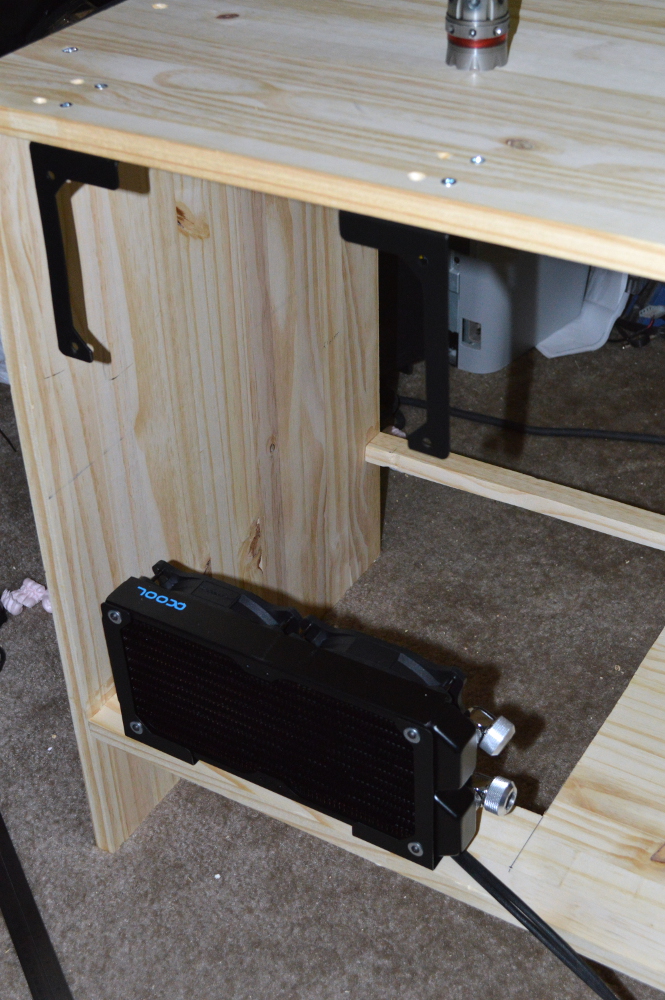
So after leaving the cabinet clamped and upside down all night, I took off the clamps…. and it promptly fell apart. Just kidding… I re-measured for the holes on the top and drilled and counter-sunk new holes. Then I mounted the bottom radiator and the top brackets.

cabinet3

One of the radiators would be hanging from the cabinet top directly above and — hopefully — directly lined up with the one mounted to the floor. The one in the middle would require a little ingenuity in the form of 1/8″ aluminum from Home Depot and a jigsaw. To figure out where to hang it, I needed to do a little math. Feel free to check this if you think it’s wrong. I based these numbers off the diagrams for the XS-PC bracket and AlphaCool radiator.

The AlphaCool radiator is 124mm wide, with a 9.5mm distance between the center of the fan screw and the edge. Hanging on the bracket gives a total radiator height of about 132mm for the top and bottom radiators, 264mm between. The third radiator is out in the open for another 124mm. This gives a total radiator width of 388mm. The gap between the top and bottom boards on the cabinet is 450mm.

This leaves a total space of 62mm around the middle radiator, or 31mm between the radiators. Adding 19mm to this means it will be 50mm between the screws. This is just shy of 2″. The widest piece of aluminum that Home Depot sells in any store near me is 2″.

But all is not lost. I ordered a couple pieces of 3″ wide 6061 aluminum from Grainger (item no. 2EYU9) for pickup… the day before we leave for delivery. In the mean time I can use the 2″x36″ aluminum I did buy to make a temporary solution for holding the radiator.

I cut a 2-1/2″ long piece of aluminum and drilled four 1/8″ holes that formed a rectangle about 2″ long and 15mm wide. Two of these should be enough to hold the center radiator and allow me to finish the loop.

bracket

My jigsaw is actually the MATRIX Jigsaw attachment from Black and Decker for the 20V MATRIX cordless drill. The blades are I used are Bosch T121AF3 jigsaw blades. This combination could make it through the 1/8″ aluminum. For drilling the holes, I used a 1/8″ cobalt drill bit. Make sure to keep your vacuum handy for the aluminum shards.

I wanted to get as far as I could before I had no choice but to take down Beta Orionis to get the other two radiators from that system. I mentioned in the first segment of the build log that the chassis for this build will be the Corsair 750D that I used for β Ori. I think what I failed to mention was that the other two double-120mm radiators, along with some of the fittings, would also be coming out of that build.

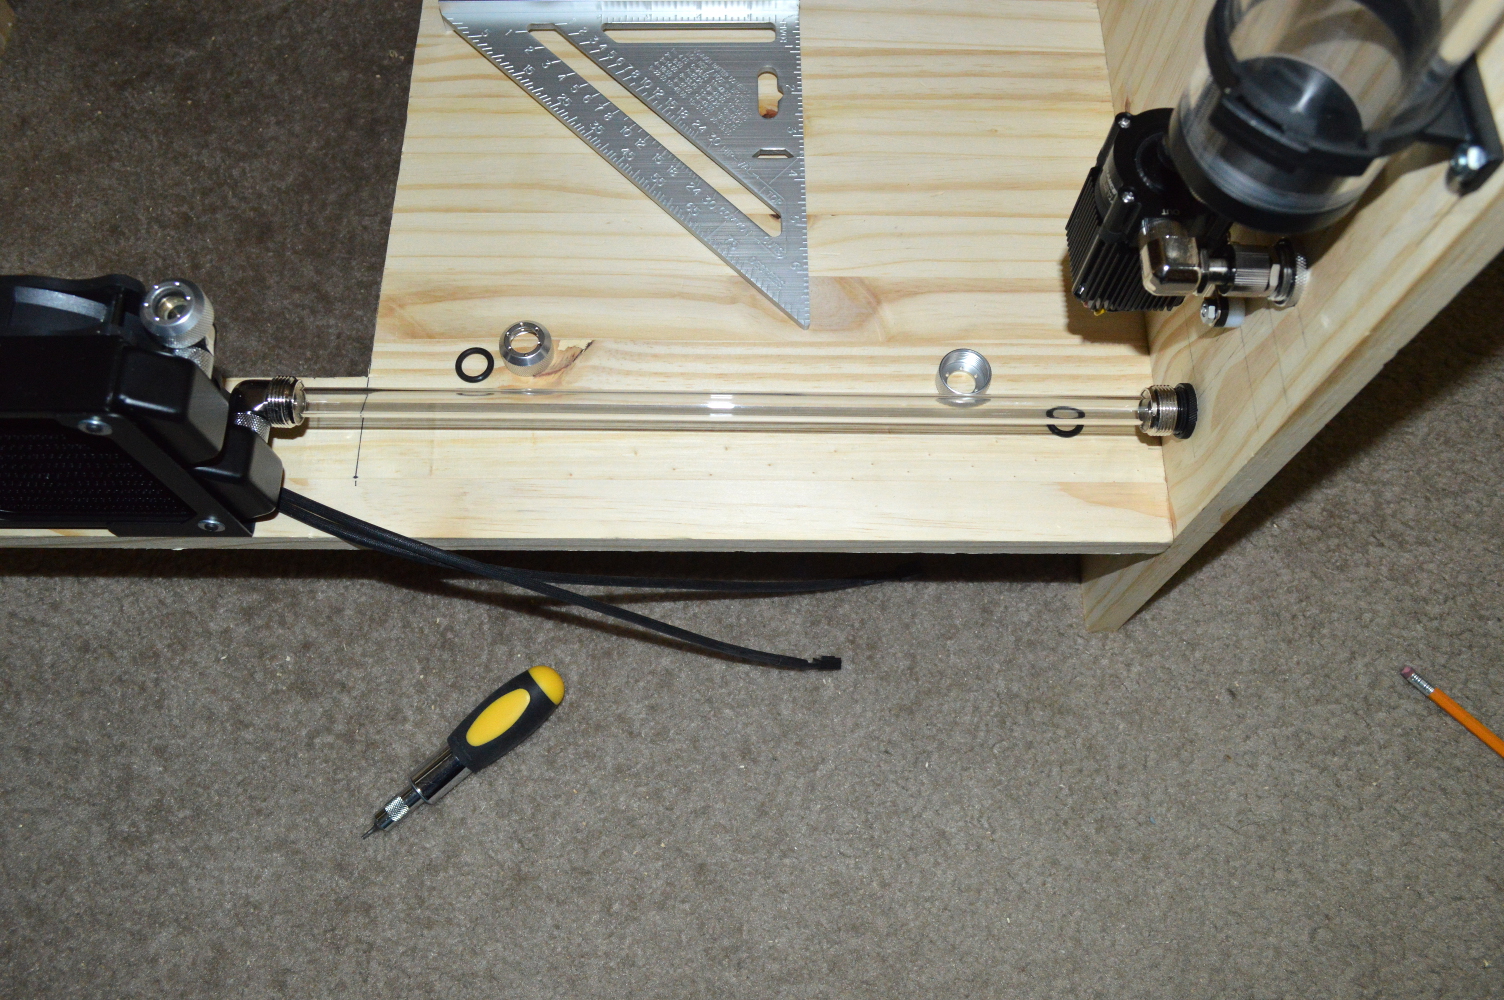
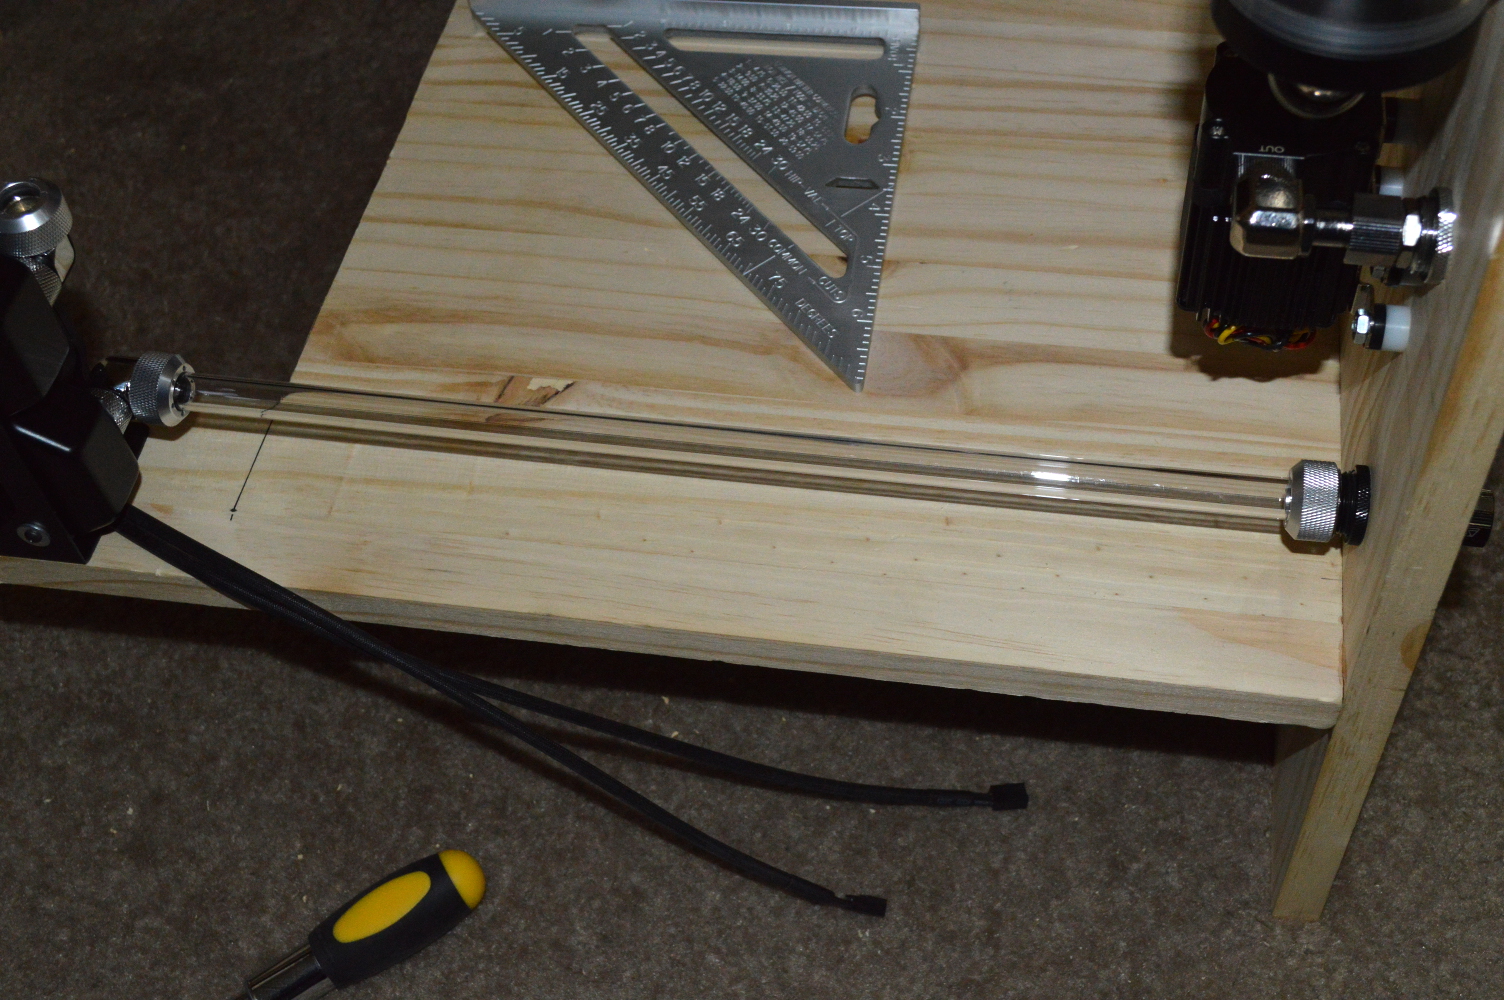
But first, I started laying some pipe in the cabinet. And the first run was mildly nerve-wracking since it, again, would tell me if I was spot-on with my measurements and mathematics. The first tubing ran from the cabinet’s inlet to the bottom radiator. It’s a straight run, straight line to the radiator from the bulkhead fitting. Or that’s how I measured it.

pipe1

pipe2

pipe3

And that’s how it turned out. About 14-1/2″. I love it when things come together like this. This also tells me that the line going from the top radiator back to the reservoir should work as I expect. The next piece of pipe was from the reservoir to the pump. Straight line again, but this one much shorter.

pipe4

By the way, one little trick about cutting PETG: use the same kind of cutters you would for soft tubing. You’ll get a very clean cut.

With this piece in place, it was time.

Desert Sapphire – Part III

Build Log:

Ah I love international orders…

package1

package2

gpublock

Thankfully everything in the box was unharmed. The only casualty was a corner of the thermal pad for the passive backplate. Not anything that’s concerning, though. The package from Performance-PCs came later in the week. That was the interesting one: fittings, pump, CPU block, tubing, fittings, fittings, and more fittings…

One thing I need to say about the pump: how in the hell is it capable of the specifications Koolance declares? And I mean that will all sincerity. If you look at the specification drawing, it’s about 47mm square. I was expecting this to be almost as large as a D5. 47mm, for those in the US who don’t want to pull out a calculator, is just under 2″. And no I didn’t look at the dimensions ahead of buying it.

On the plus side, it uses just 1.8A and runs off a 3-pin fan header, meaning it can be powered by the fan controller, if I decided to do that. The maximum flow rate is about 25% less than the D5 at max speed, but I bought this for the head pressure. So when the cabinet is built we’ll see how well it’ll perform.

Next step, though, was Home Depot to pick up some of their “random length” oak boards for making the cabinet.

Building the cabinet

I’ll have plans available toward the end of the build log for those who may want to build one of your own. The design here is for three double-120mm radiators on one side with everything else on the other and one side of the cabinet being bottomless to allow for airflow while the cabinet still looks like a cabinet.

As I mentioned, initially I thought about making it out of red oak, until I looked again at the price of it and decided to go with yellow pine, which cuts the cost of the cabinet in half. I bought two 18″x48″ laminated pine panels along with a 6′ length of 1″x3″ pine. Nominal width is 17.25″, which puts it a little wider than what I was aiming for. This would provide most of what I’d need to build the cabinet.

I started by ripping 18″ off one of the panels to give the 30″ long tabletop. The second panel was ripped in half to make two 24″x18″ pieces for the sides panels. This will allow for a 6″ clearance under the cabinet for airflow into the bottomless side of the cabinet. I’m sure my neighbors didn’t hugely appreciate the table saw (read a review of it here), but I can say that at least it’s not nearly as ear-piercing of a sound as my circular saw. And easier to clean up.

Though ripping the piece in half down to two approximate 24″ side panels required a little ingenuity, and a little cleanup of the cut afterward to ensure the boards were about as square as I could make them. The table saw has a maximum rip fence distance of only 18″, which was good for the first cut, but not so much for the second. Basically the clean-up involved clamping an adjustable T-square I bought at Harbor Freight at the right spot to guide my circular saw, then using an aluminum compound square from Home Depot for the little bit at the end the T-square blocked.

I initially thought of using dowels for this as well, but opted instead for #10 wood screws. To avoid problems, I wanted to also drill pilot holes in the end grain of the side panels, and #10 screws use a ⅛” pilot hole, the smallest size supported by my V-Drillguide. Through holes on the panels were 3/16″, which I would later discover is too skinny for the #10 screws to glide through cleanly. Not a problem as it means I can start the screws to line up and glue the panels before driving them home.

The holes are spaced every 3.5″. The downside was I didn’t have a self-centering dowel jig that could go down to 1/8″ — I don’t even think anyone makes one — so I had to improvise a little.

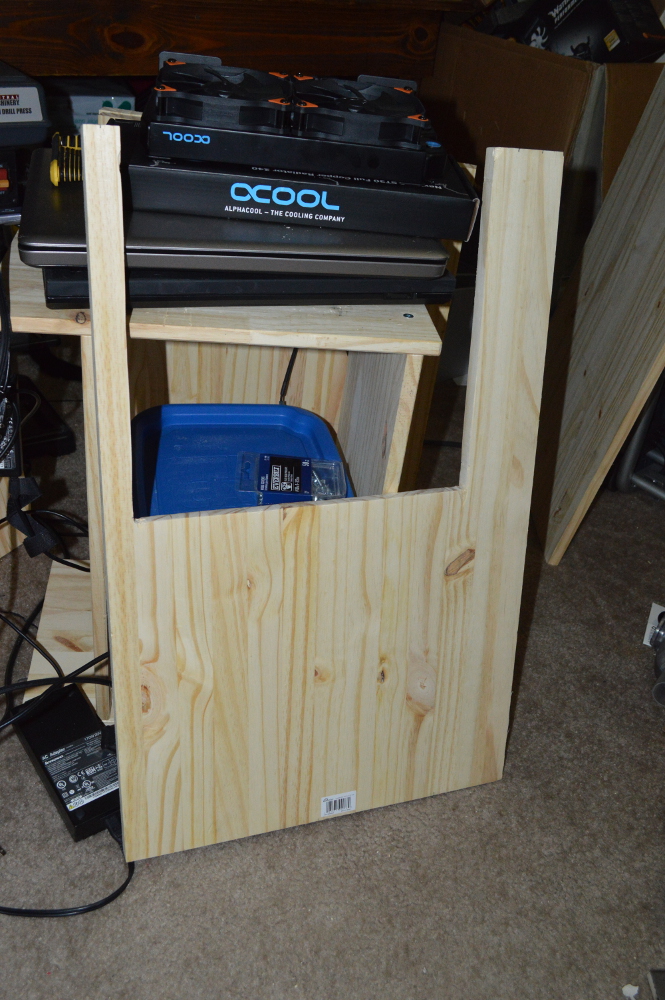
In cutting the bottom for the cabinet, I hit a little snag. I initially tried to cut a hole about 1″ in from the front and side and 3″ in from the back. Unfortunately in cutting out the hole using a jigsaw, I forgot to account for the weight of the board in the middle and when it got loose enough, it took out much of the side of the board. So instead of having a clean hole, I have a U. Oh well. It’ll still look good either way, and there will be plenty of support in the 3″ section for the radiators, especially since the radiators the radiators will be supported using brackets at the top and bottom.

cabinet1

So while waiting for the brackets to arrive from Performance-PCs, I tried to get the cabinet pieces to a point where all that would be left to drill were the holes for everything to be mounted. This also meant needing to figure out how and where to mount the pump and reservoir. My back made sure to complain later from being bent over the boards cutting and sanding.

Radiator brackets

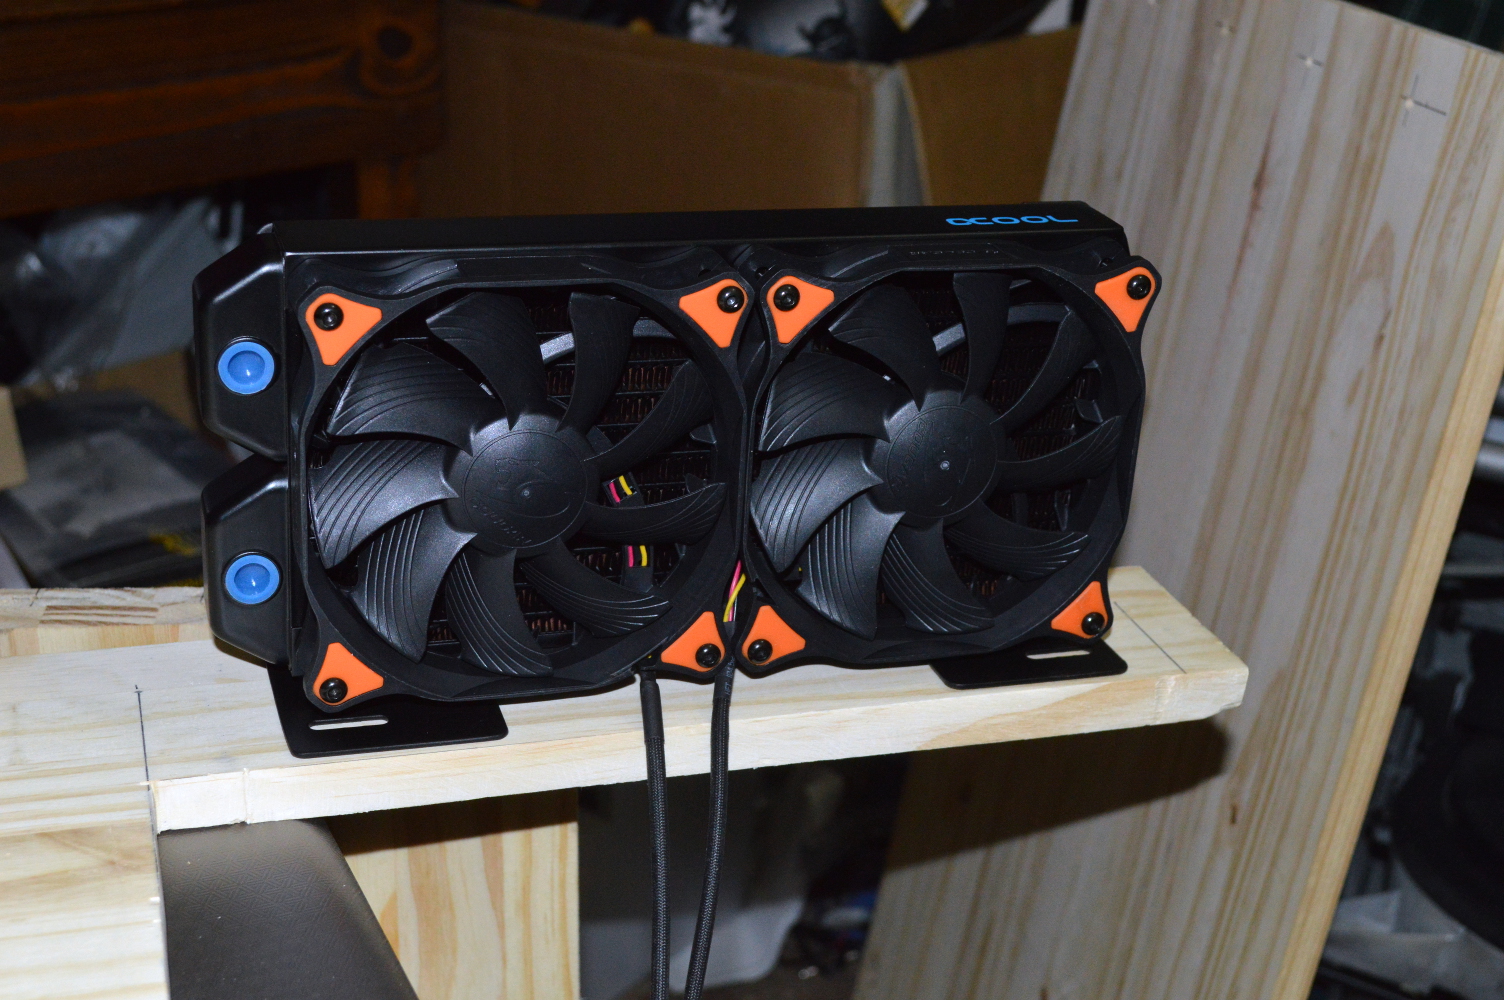
Before finishing the cabinet, structurally at least, I needed to get the XS-PC brackets in hand and mounted to a radiator for a visual test for marking the screws. I surmised looking at the brackets that the screws would be best spaced about where the fan screws are, which would put them about 225mm apart, but as much as 240mm apart. The radiators themselves will be positioned such that the fans are centered on the “ledge”.

radtest1

To mount the brackets, I drilled holes for 1″ long #8 countersunk machine screws. I needed the holes on the cabinet top and bottom. Then I turned my attention to drilling the holes for the bulkhead fittings. Here is where things got a little interesting.

With how the bracket is positioned and using an AlphaCool 90-degree rotary fitting, the intake for the radiator measured to about 1.75″ from the back. Measuring using diagrams for the bracket and radiator puts the center of the fitting at about 1.5″ up from the bottom (1.54″ when converting mm to in, so close enough). So I measured and drilled the side panel for that.

Only there were a couple minor hitches I ran into. I initially tried to drill with a 3/4″ spade bit, thinking that would be wide enough. Not quite. If I knew that was going to be a concern, I would’ve picked up a set of spade bits from Home Depot or Harbor Freight since I only have a 1/2″, 3/4″, and 1″ spade bit — something I’ll likely do in the near future anyway.

But I did have step bits, one that went to 7/8″. That allowed for the bulkhead fitting to sit, but not completely the way I wanted. It was just barely long enough, so I needed to sink it. That’s where another step bit came in handy, drilling a 1″ sink around the outside, allowing the fitting to sit flush with with the side panel.

bulkhead1

The fitting’s position should allow the return line to go straight to the bottom radiator. Unfortunately I was not going to know until the cabinet is put together whether that is how it turned out.

With the bulkhead fitting set, though, I didn’t turn my attention to the second bulkhead fitting. Not immediately at least. I planned to place it immediately above the return fitting, though. But first I’d need to mount the pump and reservoir to know where it would go.

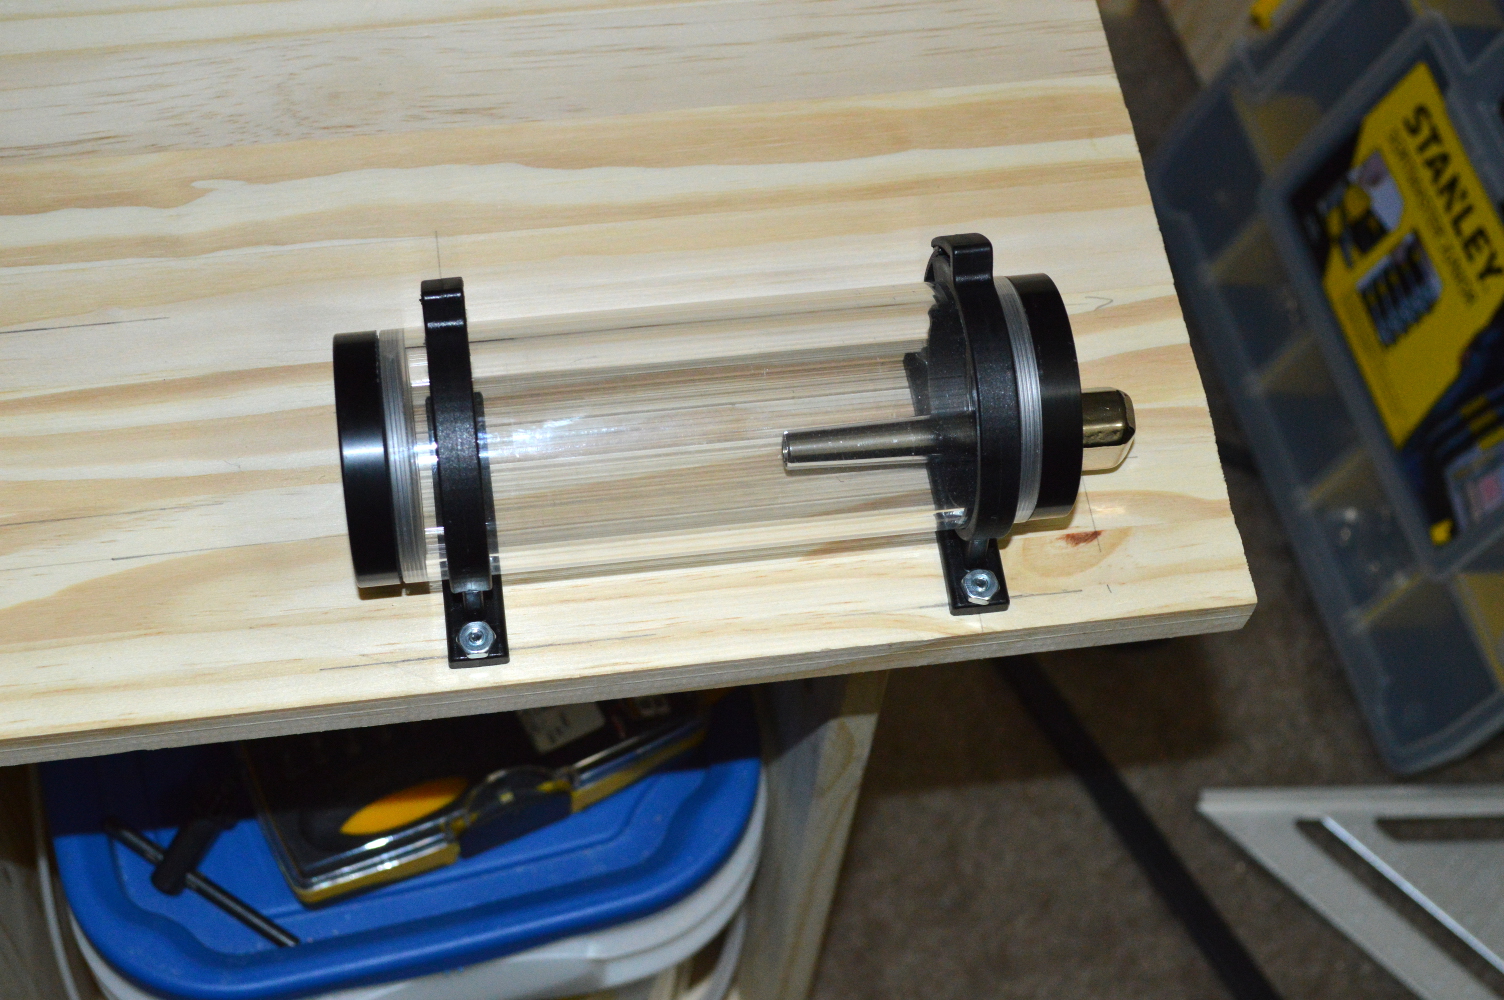
Knowing where the bulkhead fitting would sit made measuring for most of that significantly easier. I chose to line the reservoir up so it would be centered along the same line as the bulkhead fittings. It would just make it much easier and leave the pump as the only complication.

And my thanks to Koolance and Bitspower for accurate drawings on their website. And thanks to my primary and secondary school teachers for the math education I received. No joke on that either. Let me show you what I mean.

reservoir

I was able to determine from Bitspower’s website that the reservoir mount I’m using was designed to fit onto an 80mm fan mount. And when mounts are designed to fit onto a standard layout such as that, it always makes measuring layouts so much easier.

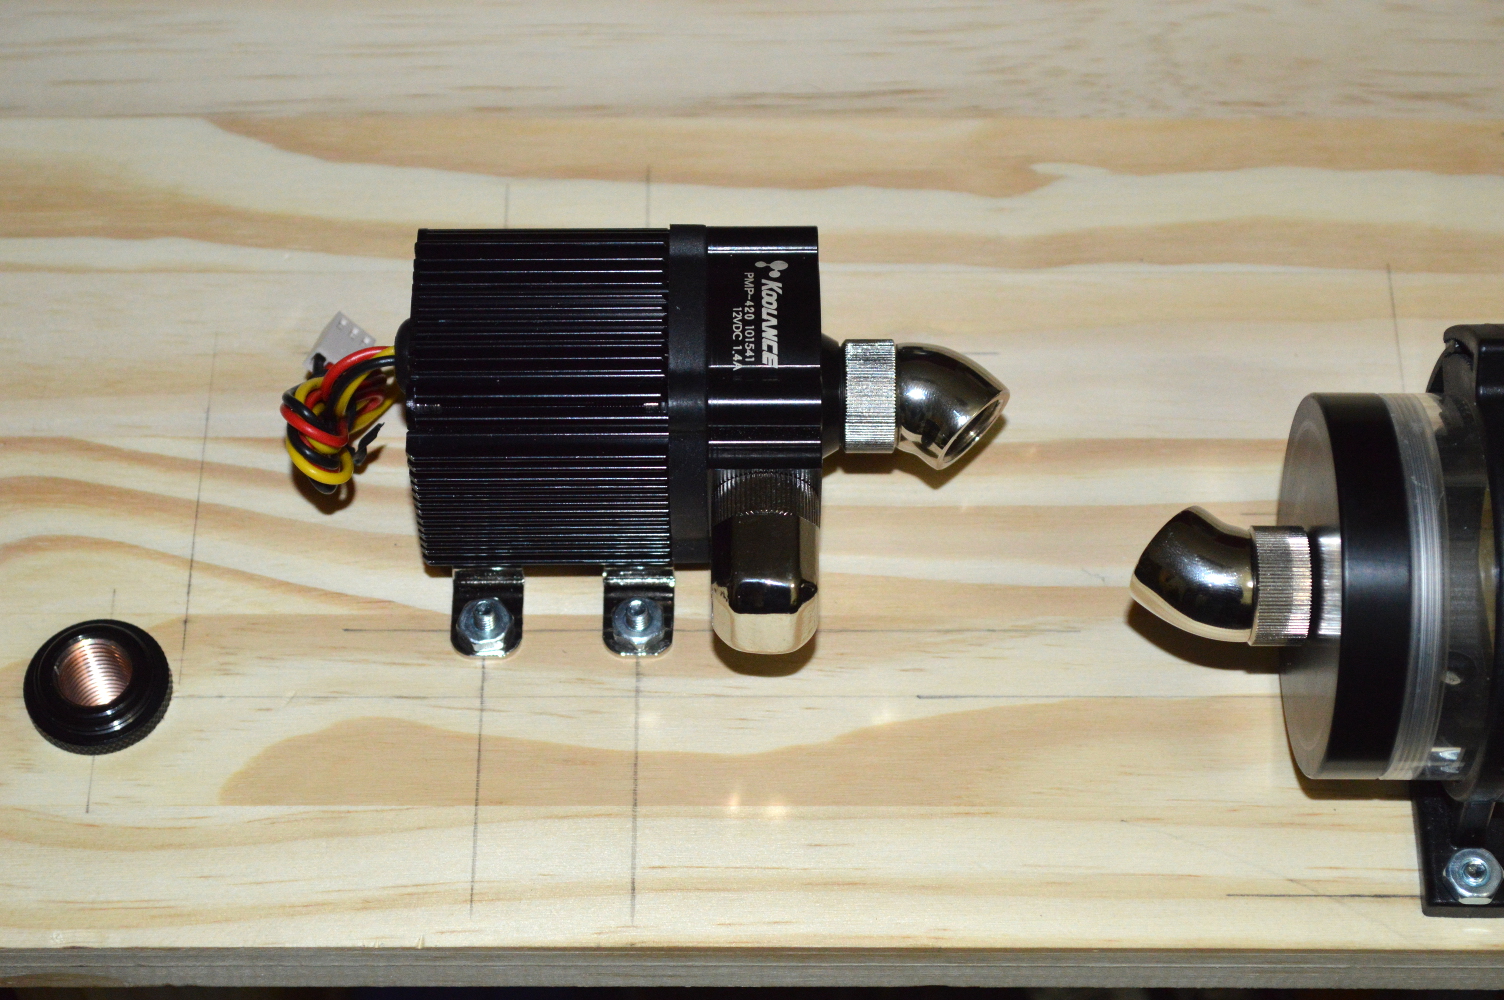
Koolance’s diagram of the pump and 90-degree fitting allowed me to determine how far off the center line I’d be mounting the pump: about 40mm from the center of the bulkhead to the center of the pump, and shy of 1/2″ from the bulkhead center to the center on the closest mounting screws.

To figure out where on the board I’d be mounting it, I needed to know some details about the two EK 45-degree fittings I’d be using to connect the pump to the reservoir. Except there wasn’t any documentation available showing any kind of dimensions on the fittings, a situation that EK should rectify since everyone else from what I’ve seen makes such diagrams available. The diagrams are invaluable when making a custom project like this one. So I had no choice but to eyeball it.

pump1

pump2

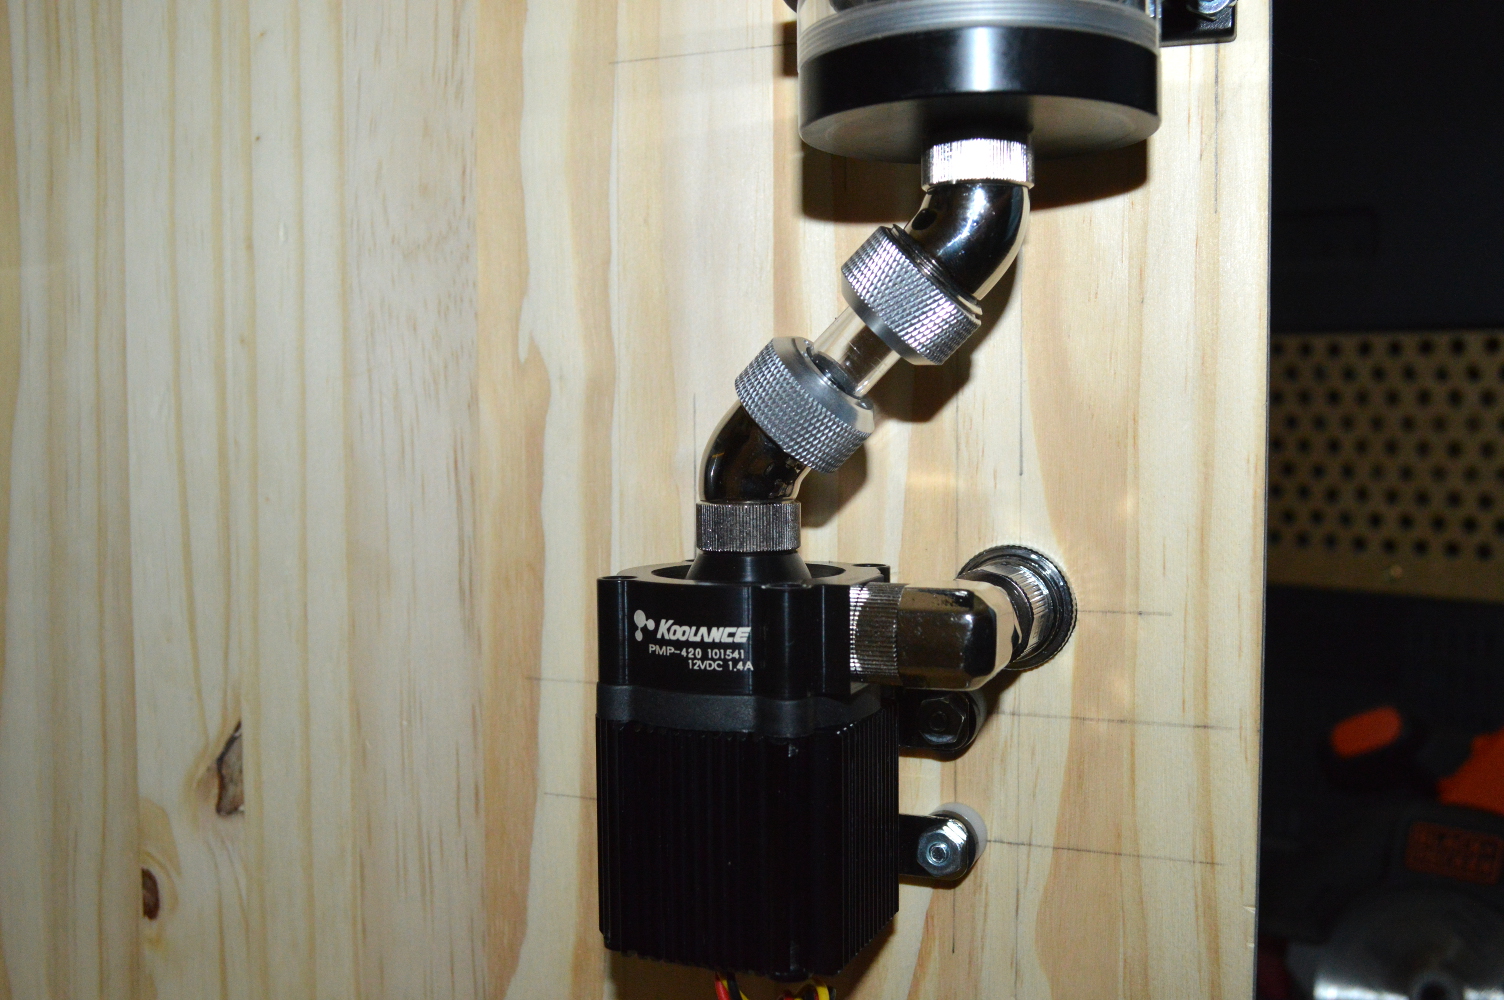
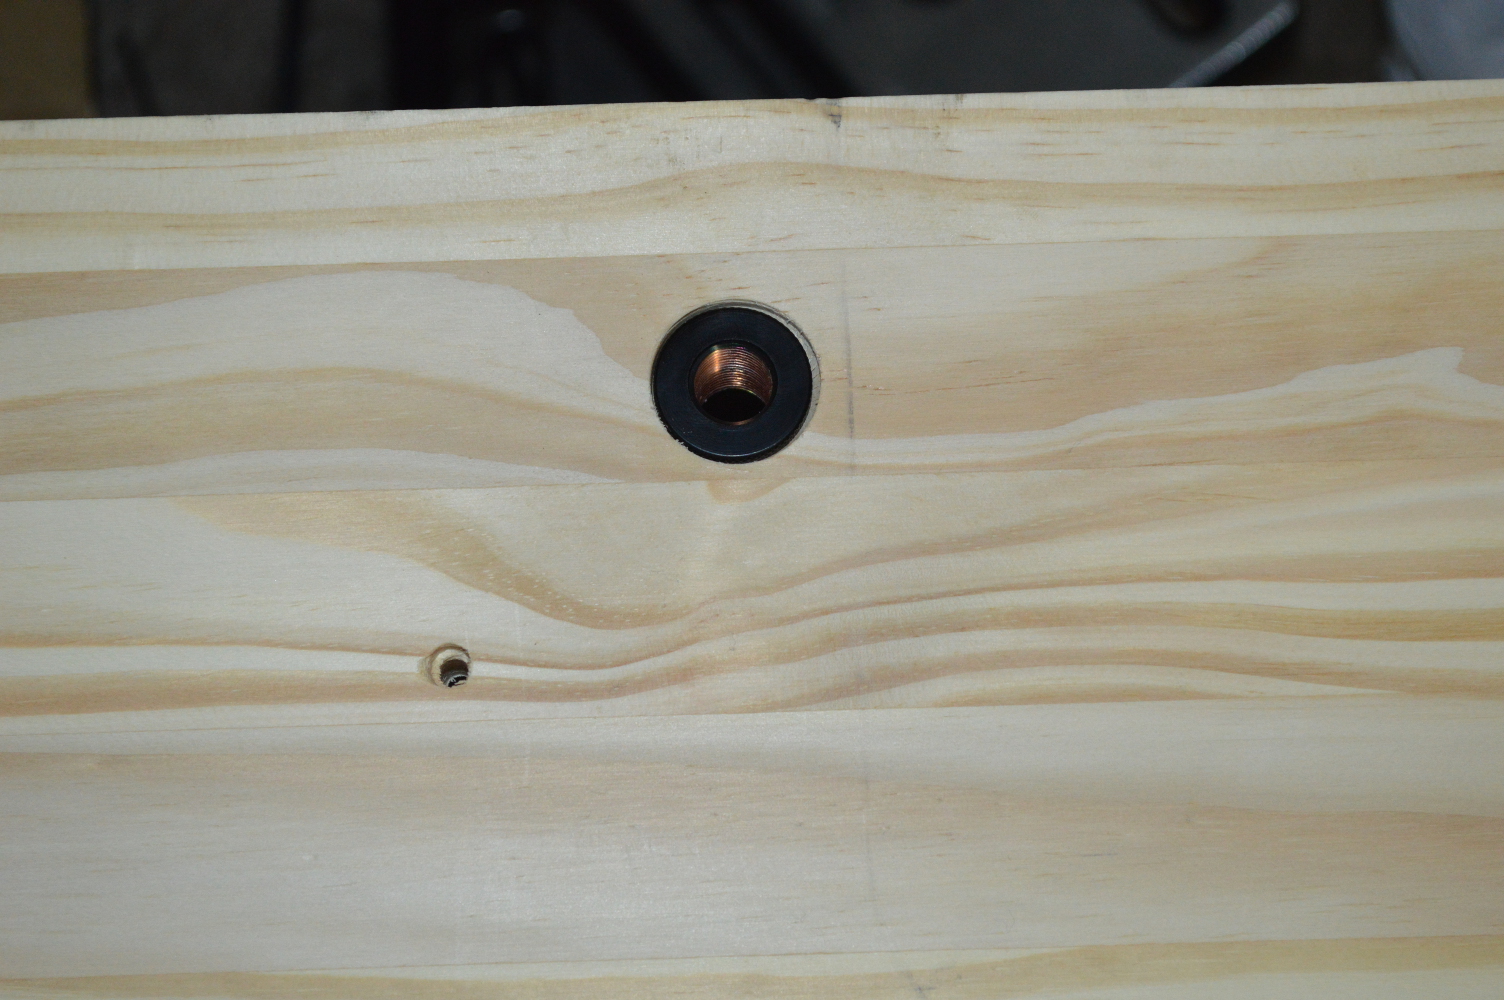
Once I had the pump mounted, I needed some ingenuity to figure out where to put the bulkhead fitting. Sure I could’ve just tried to line my square up under it, but I wanted to be a little more precise. From what I could gather, the pump top is about 18mm long, and the G1/4″ port appears to be middle-aligned, putting the center about 9mm in from the edge. This means that from the center of the lower screw hole to the center of the fitting port is about 46mm.

So I measured and drilled, following a procedure similar to what I did for the first bulkhead fitting.

bulkhead2

pump3

pump4

pump5

pump6

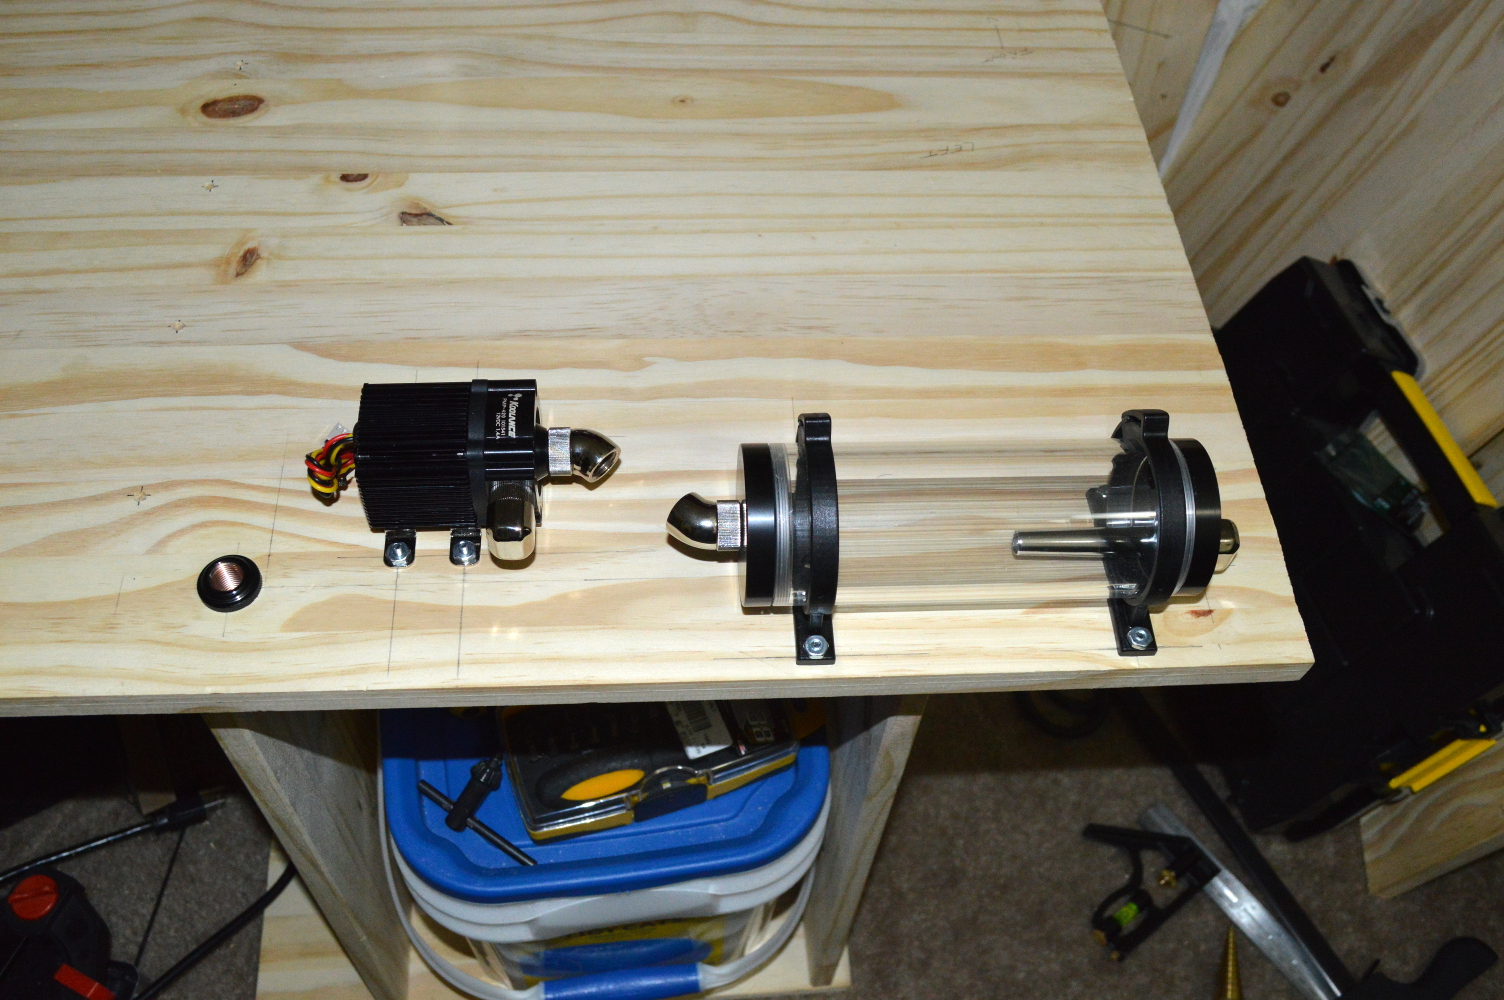
So it should be clear how this is going to run. The pump outlet is going right to the bulkhead fitting that will feed to the system. And the inlet to the box will go straight to the radiators. And the radiator will feed straight to the reservoir.

Unfortunately, though, this is much too close to make use of hard tubing fittings. So instead I’m going to use a Swiftech SLI fitting. I just need to get one from my local Micro Center when they’re next open.

The only question really still up in the air is how I’m going to power all of this. Current plan is to use a small FlexATX power supply I have laying around, provided it is quiet enough for the job. We’ll see when I flush the radiators and blocks later in the week. And I have an Add2PSU for synchronizing it with the main system, if I decide to do that.

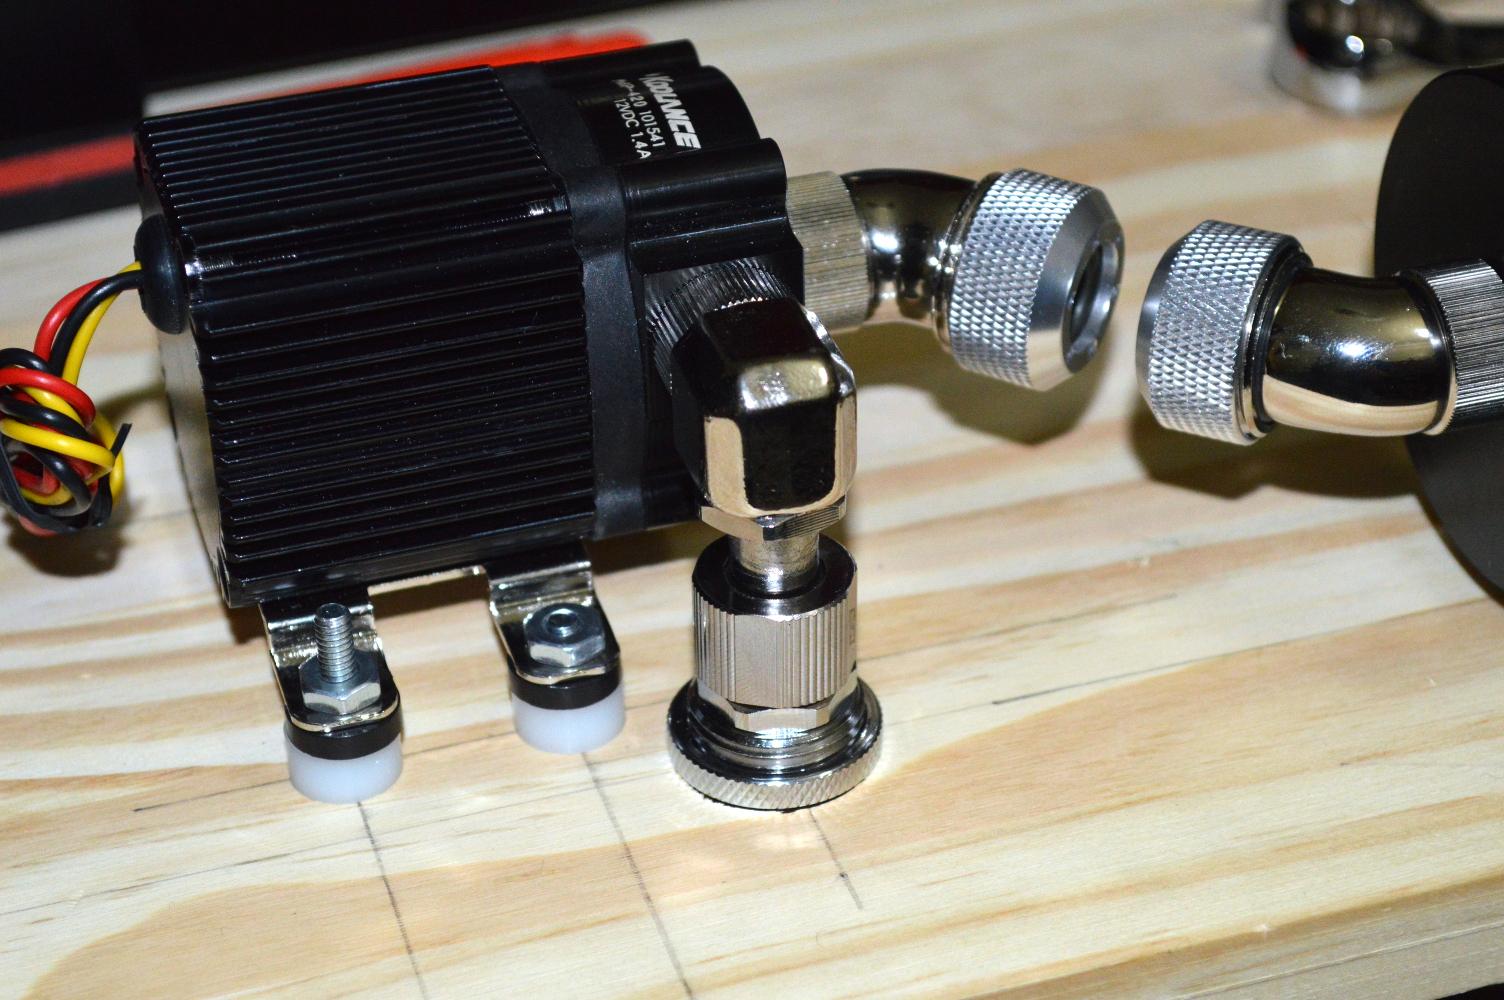
But what you see above isn’t how the pump is going to be mounted in the final configuration, as I plan to use some 00 rubber washers for vibration isolation plus a couple 1/4″ nylon spacers. That should get the pump’s inlet lined up with the reservoir, and I’ll use PETG tubing as a short channel between them. But the 1″ screws I have are too short for that. And given a lot of this was all done on Christmas Eve night, I couldn’t just run to Home Depot to get the screws I needed. That will have to wait till Sunday after all of the Christmas festivities with mine and my wife’s families.

So until then, Merry Christmas.

Proposing an alternative

With Christmas and New Year’s around the corner, there’s something we all need to discuss. Proposals. Engagements. Casting your bachelorhood and bachelorettehood to the wind. Whatever you want to call it.
Do not propose on New Year’s or Christmas. It’s as cliche as proposing on Valentine’s Day or her birthday. And if your girlfriend is expecting you to propose on one of these days, then walk away. She values the idea of being engaged more than you and your relationship, or she values the ring more than you. If she breaks it off with you because you didn’t propose on Christmas, New Year’s, Valentine’s Day, or her birthday, it was for the best.

And when you do propose, do not go for the showy, public proposals either. I think you’re only setting yourself up for failure doing that as you won’t know if her “yes” is a genuine “yes” or one that was implicitly coerced from the public nature of the proposal. The eyes watching her in eager anticipation of whether she’ll say yes or not. And worse, the backlash that’ll come against her if she doesn’t.

Here’s how I proposed to my wife. In short, I didn’t. Not in what would be thought of as the traditional sense, that is. No ring. No elaborate setup. Nothing romantic about it. I just asked her. Completely out of the blue. We’d been together about a year at that point, but I was moving on with my life and wanted her to come along for the ride. That was a little over 10 years ago, as of when I write this, and we got married in December 2011.

My father was in the Navy when he proposed to my mother. By letter. That was in 1977.

By these standards, my father and I should be considered heartless people who have no idea what commitment actually means. Actually we both know what it means. It means we don’t need to use a ring with a huge diamond to wow a woman into marrying us. Instead we used the time preceding the proposal to wow them such that when we asked there was no need to worry about whether they’d say yes.

Yet all the time I see mentioned online how guys are going to propose to their significant others and they seem genuinely worried whether she will actually say yes. Which tells me there’s a major deficiency in the relationship, typically with regard to communication.

A friend on Facebook shared a video in which a guy was proposing to his girlfriend at, of all places, Times Square in New York City on New Year’s Eve. She instead runs away. One of my friend’s friends commented: “I would say she is really scared of commitment!” I didn’t agree:

I wouldn’t say she’s afraid of commitment, more like they weren’t on the same plane. But then I could never exactly understand why so many guys do the showy, very public marriage proposals…

My friend agreed:

Well, I can see that point. I think he should have hinted a little to her before he went all out. Definitely they were on two different wave lengths.

Basically before you propose, you should have already been talking about marriage and a future. You should already know before you propose that she has a high likelihood of saying yes. While the proposal itself might be “unexpected” in terms of timing, it shouldn’t be an event that catches her completely off guard.

If you feel you need to be wished “good luck” when proposing, don’t propose. If you feel you need to make the event around the proposal an elaborate display, a romantic dinner or huge getaway in an attempt to just wow her, then don’t propose. If you’re nervous about the possibility she might say No, don’t propose.

Don’t use an elaborate show to guilt her into saying yes. Don’t try for a public spectacle, such as Times Square at New Year’s Eve, to guilt her into saying yes. Don’t go for one of the cliche holidays or times of year either like the anniversary of your first date, or her birthday, or something like that. Your relationship should be unique enough and work well enough that you should be able to propose at any time of year without fearing she’ll say No. Which means you shouldn’t go along with the herd of guys who are going to propose to their girlfriends — likely in front of family and friends — at Christmas or New Year’s.

Instead just do what I did and ask out of the blue. If you feel your proposal needs to be a surprise, then don’t do the predictable, and don’t corner her either. Again, before the proposal even comes, both of you should be talking about a future with each other. If you’re not already doing that, don’t propose.