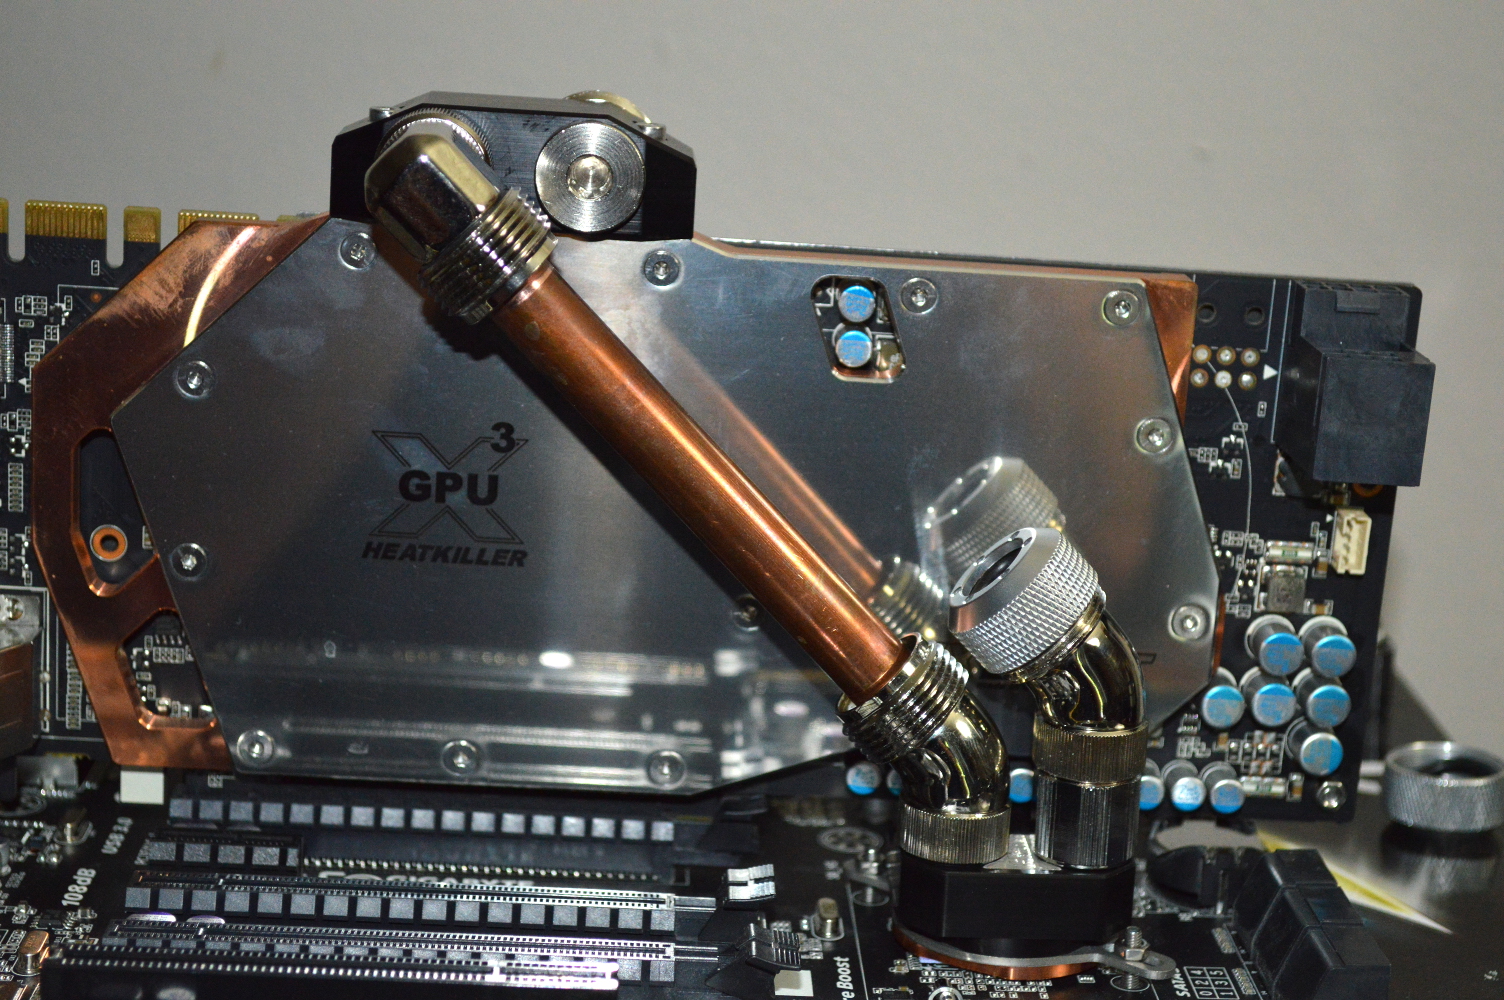
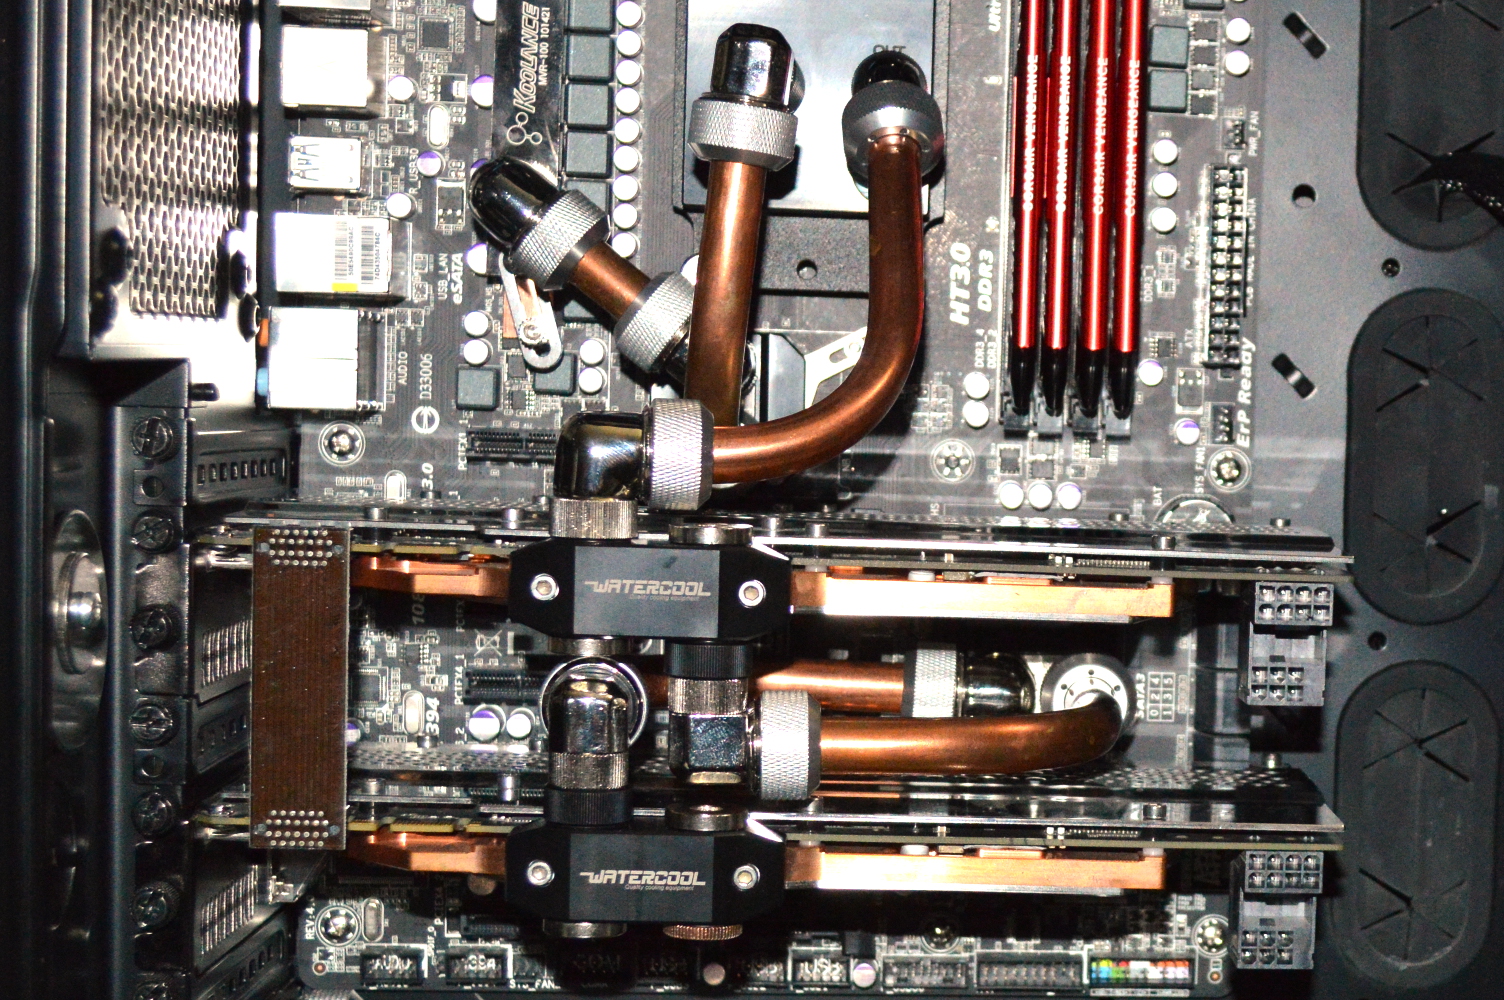
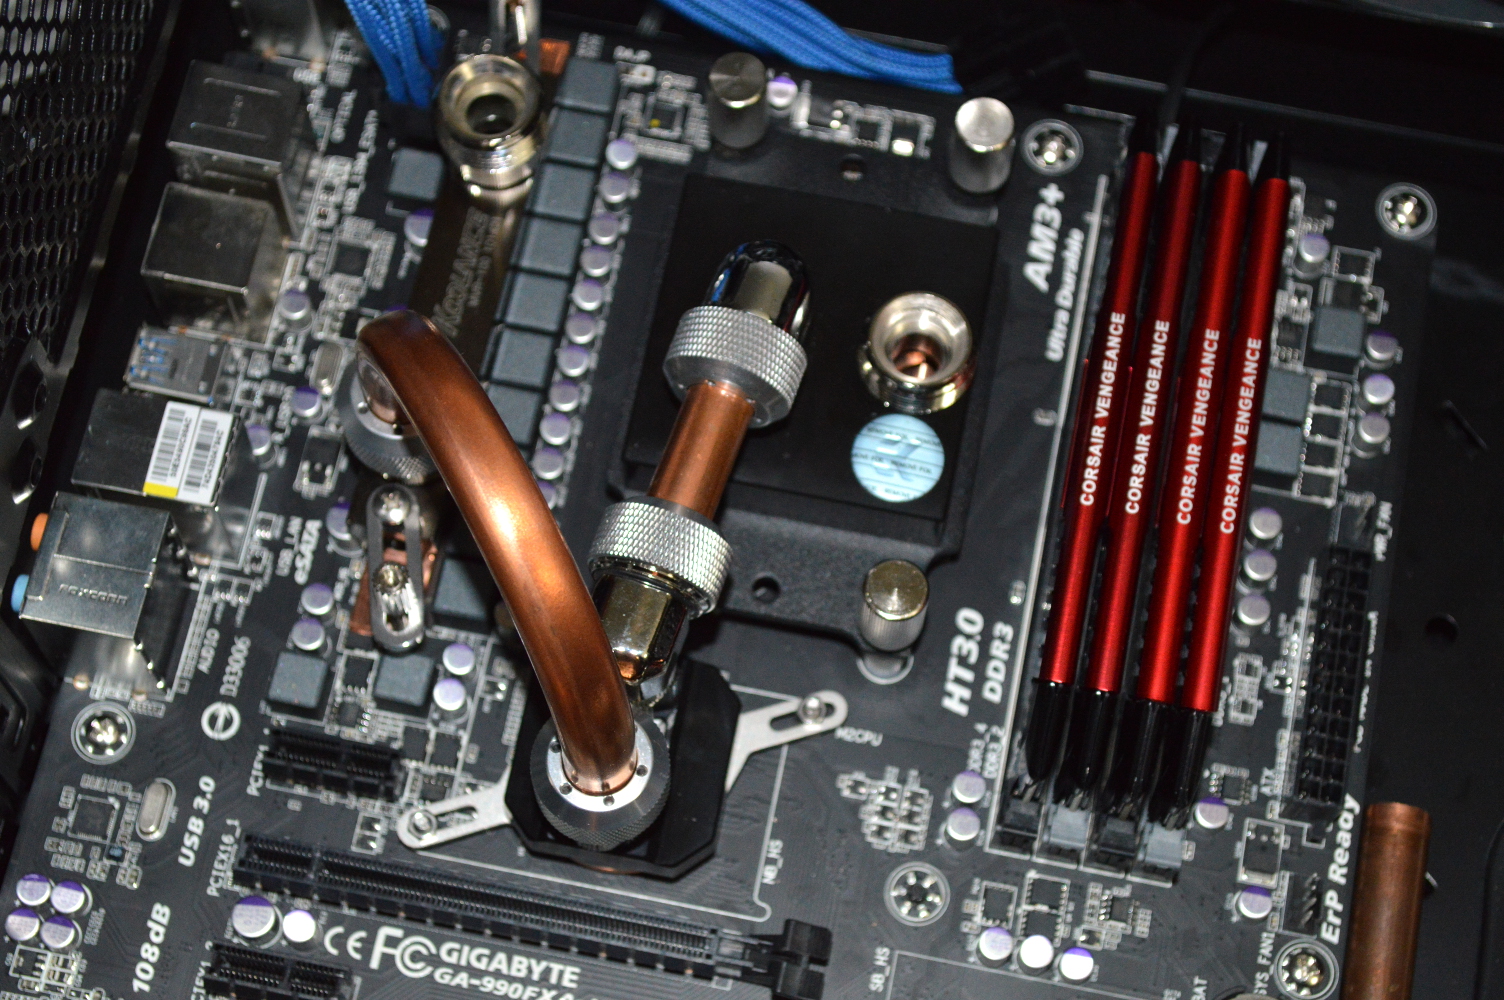
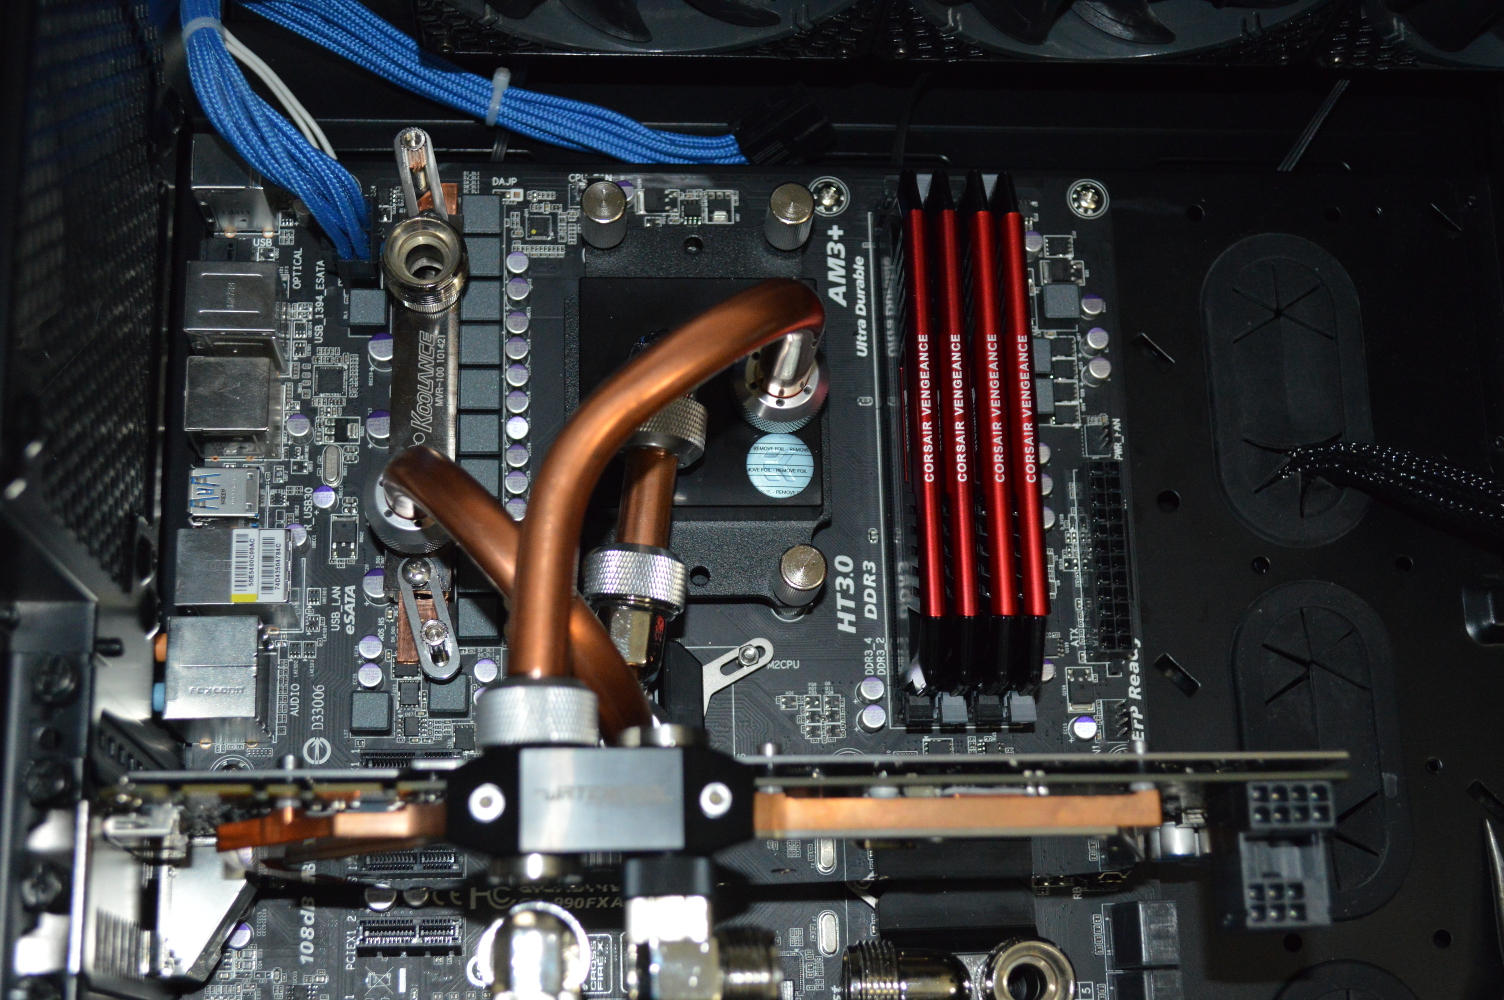
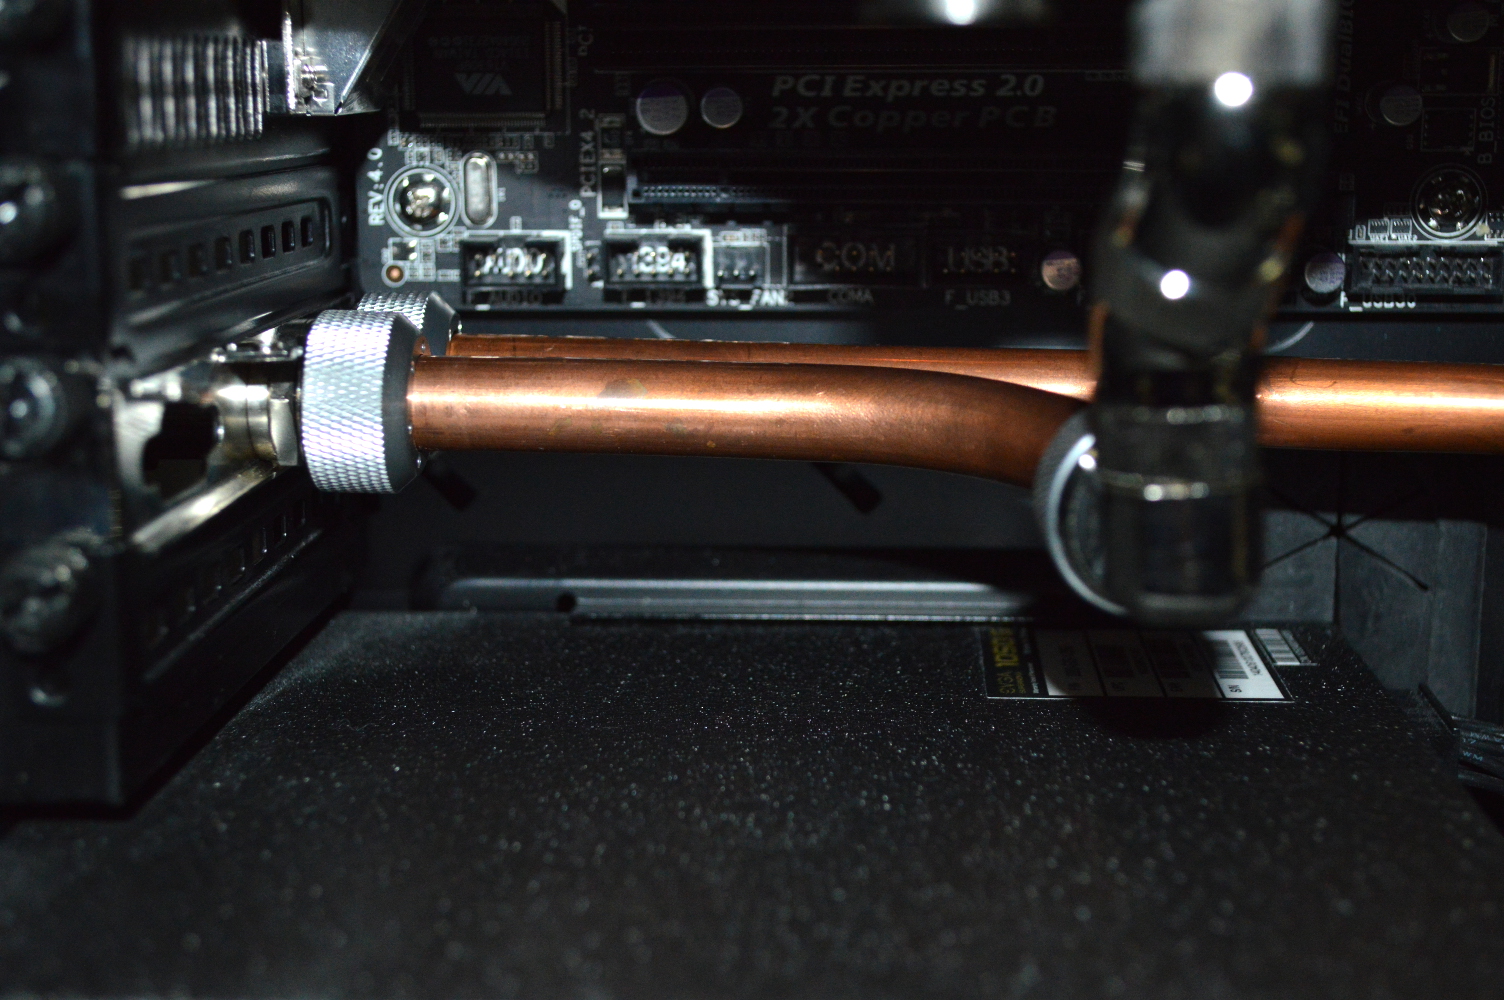
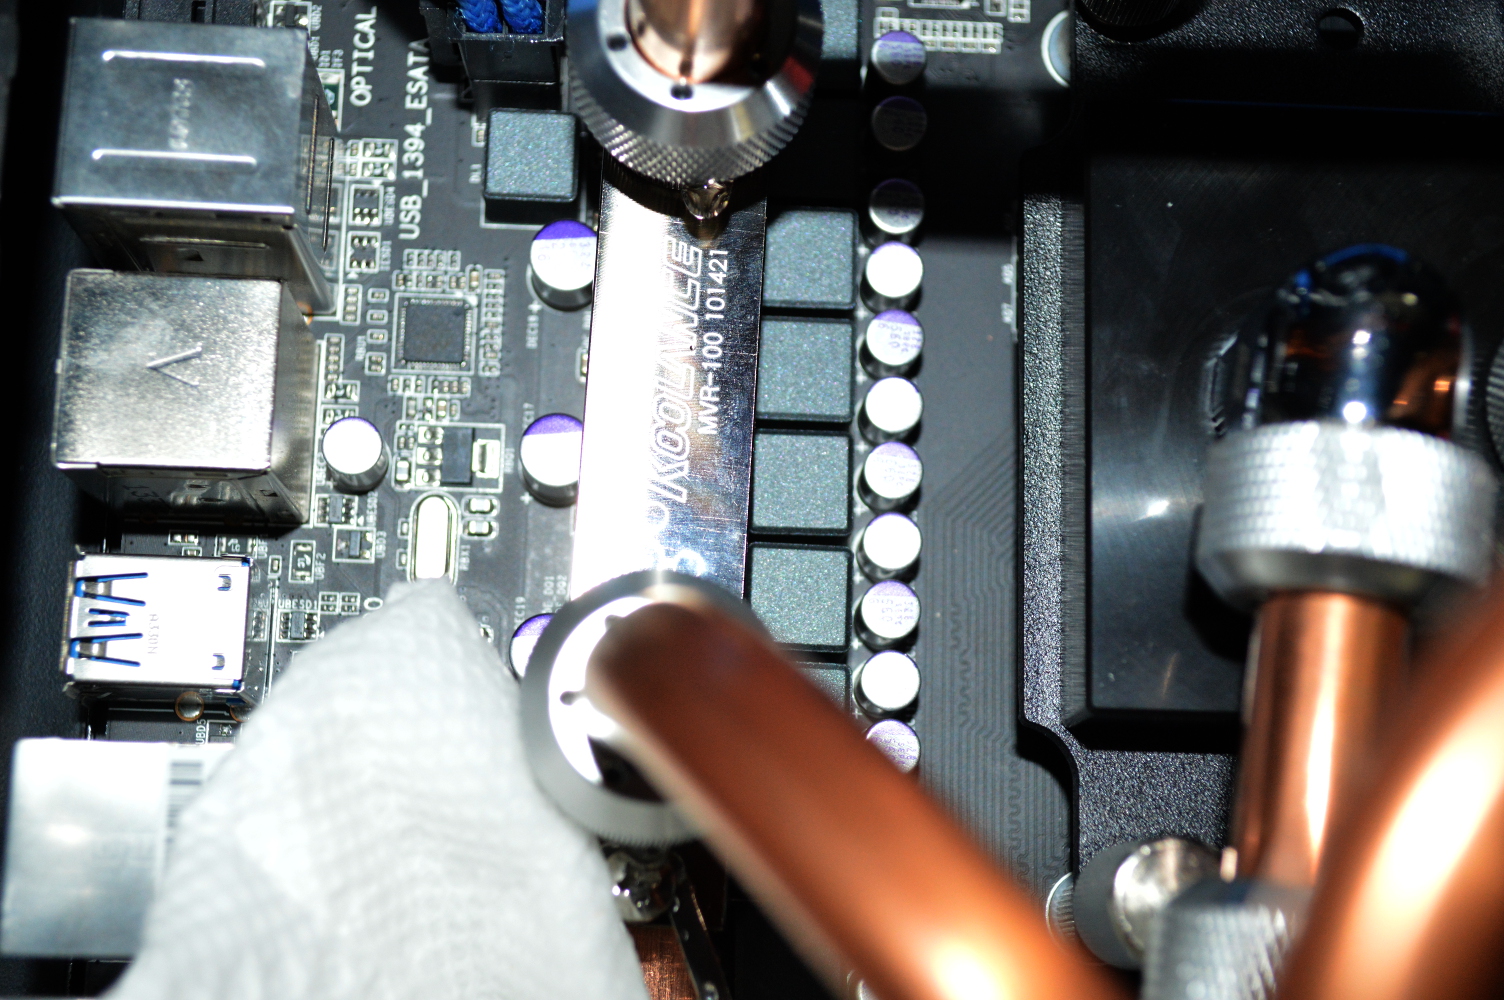
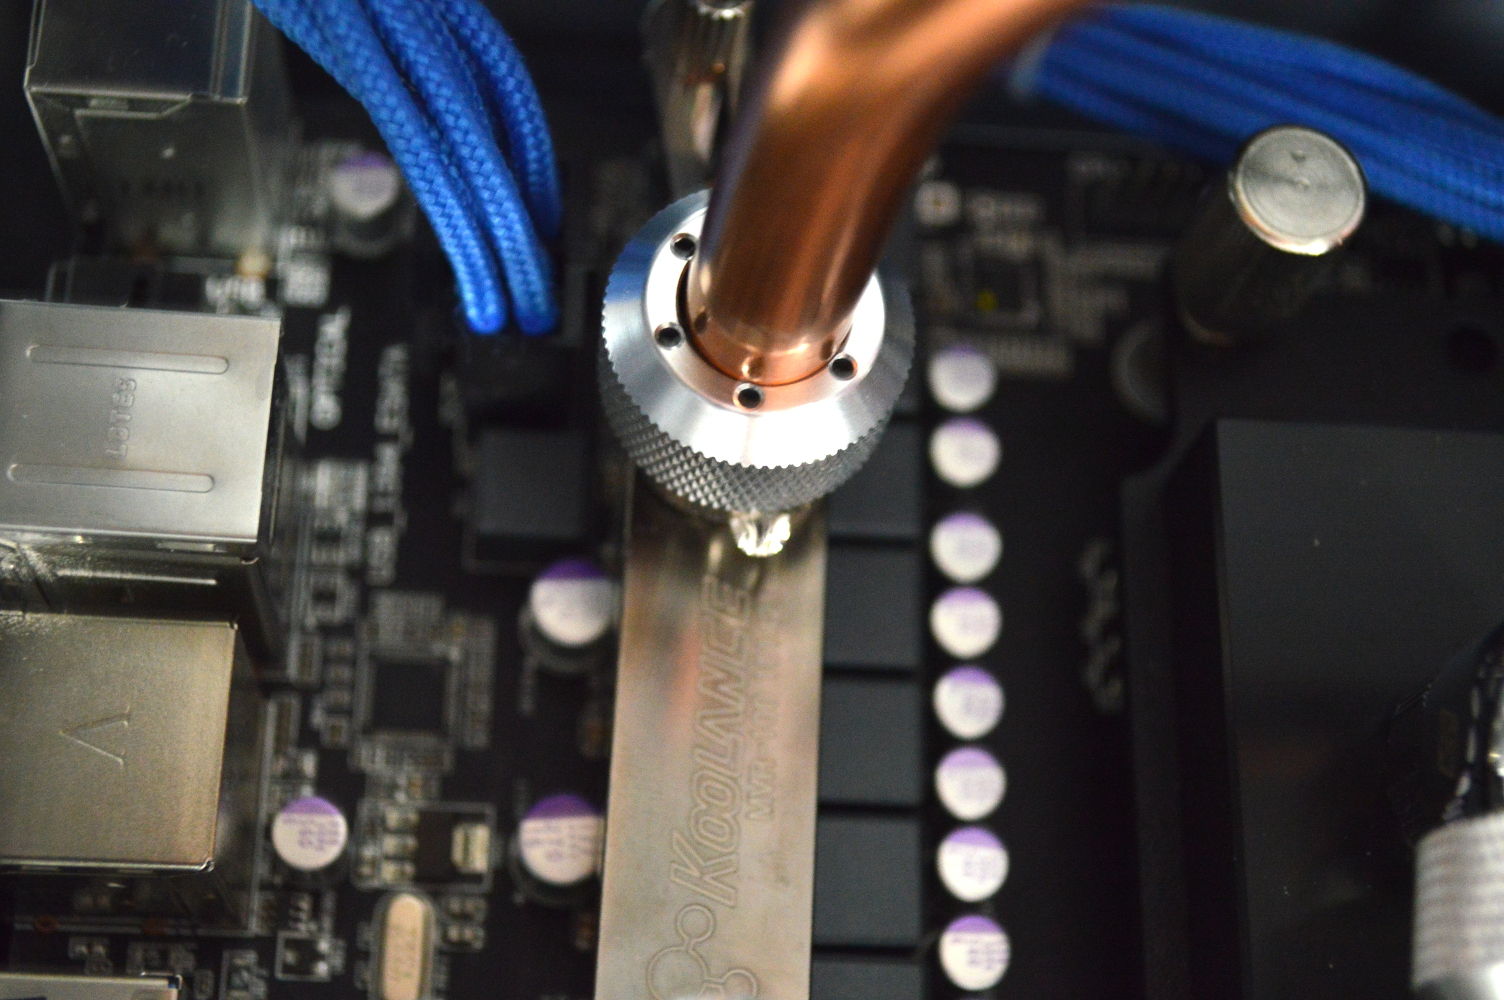
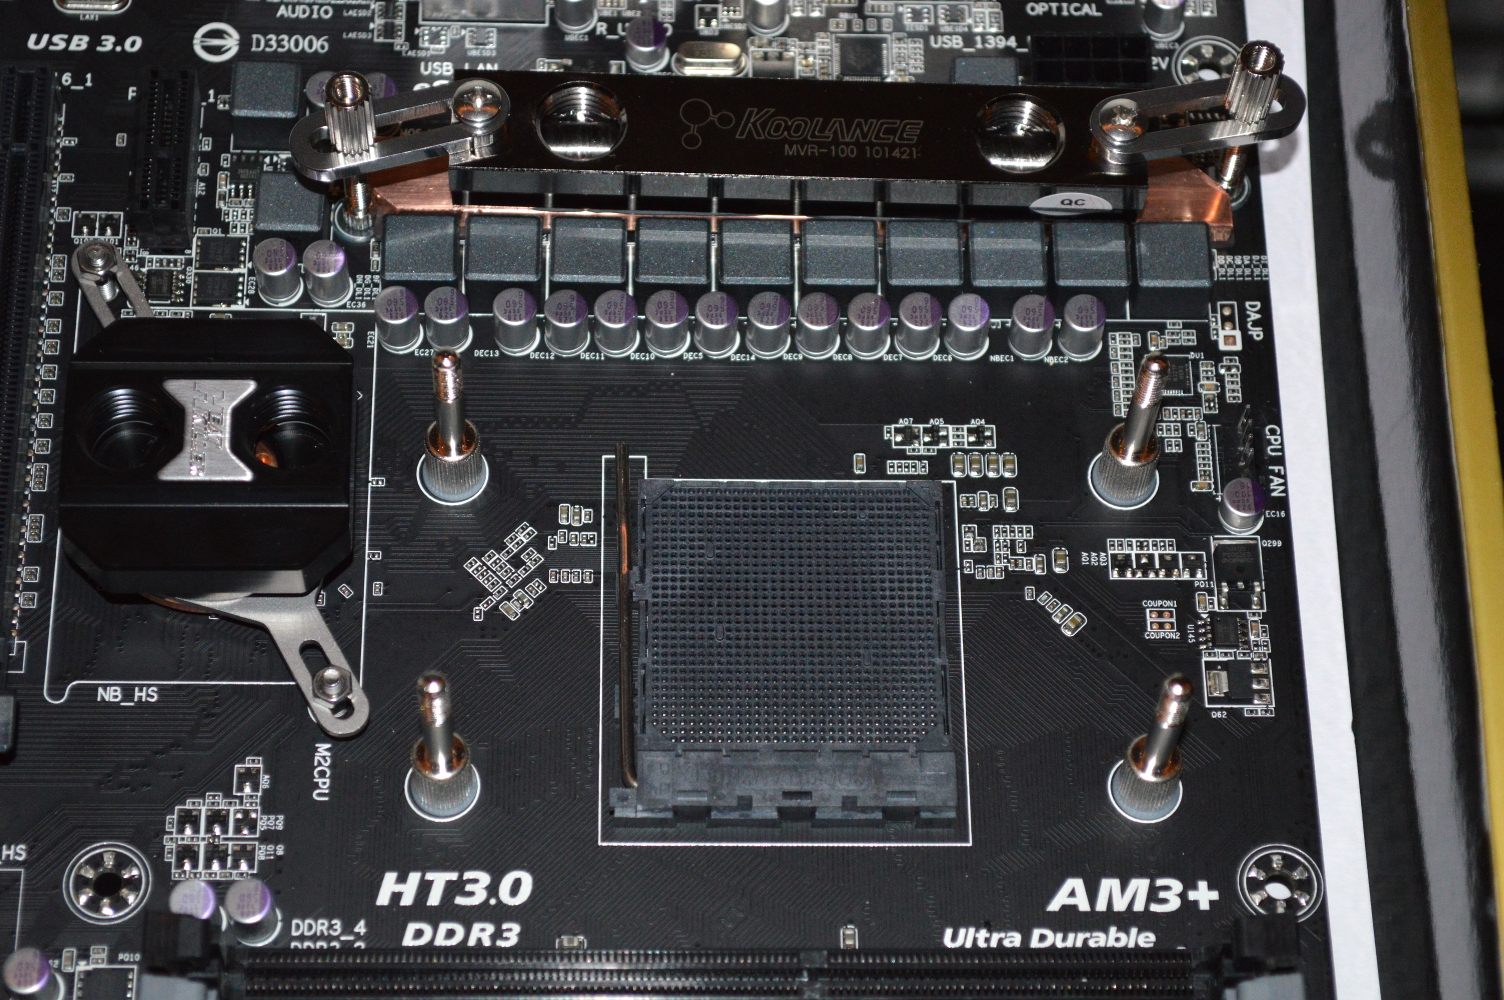
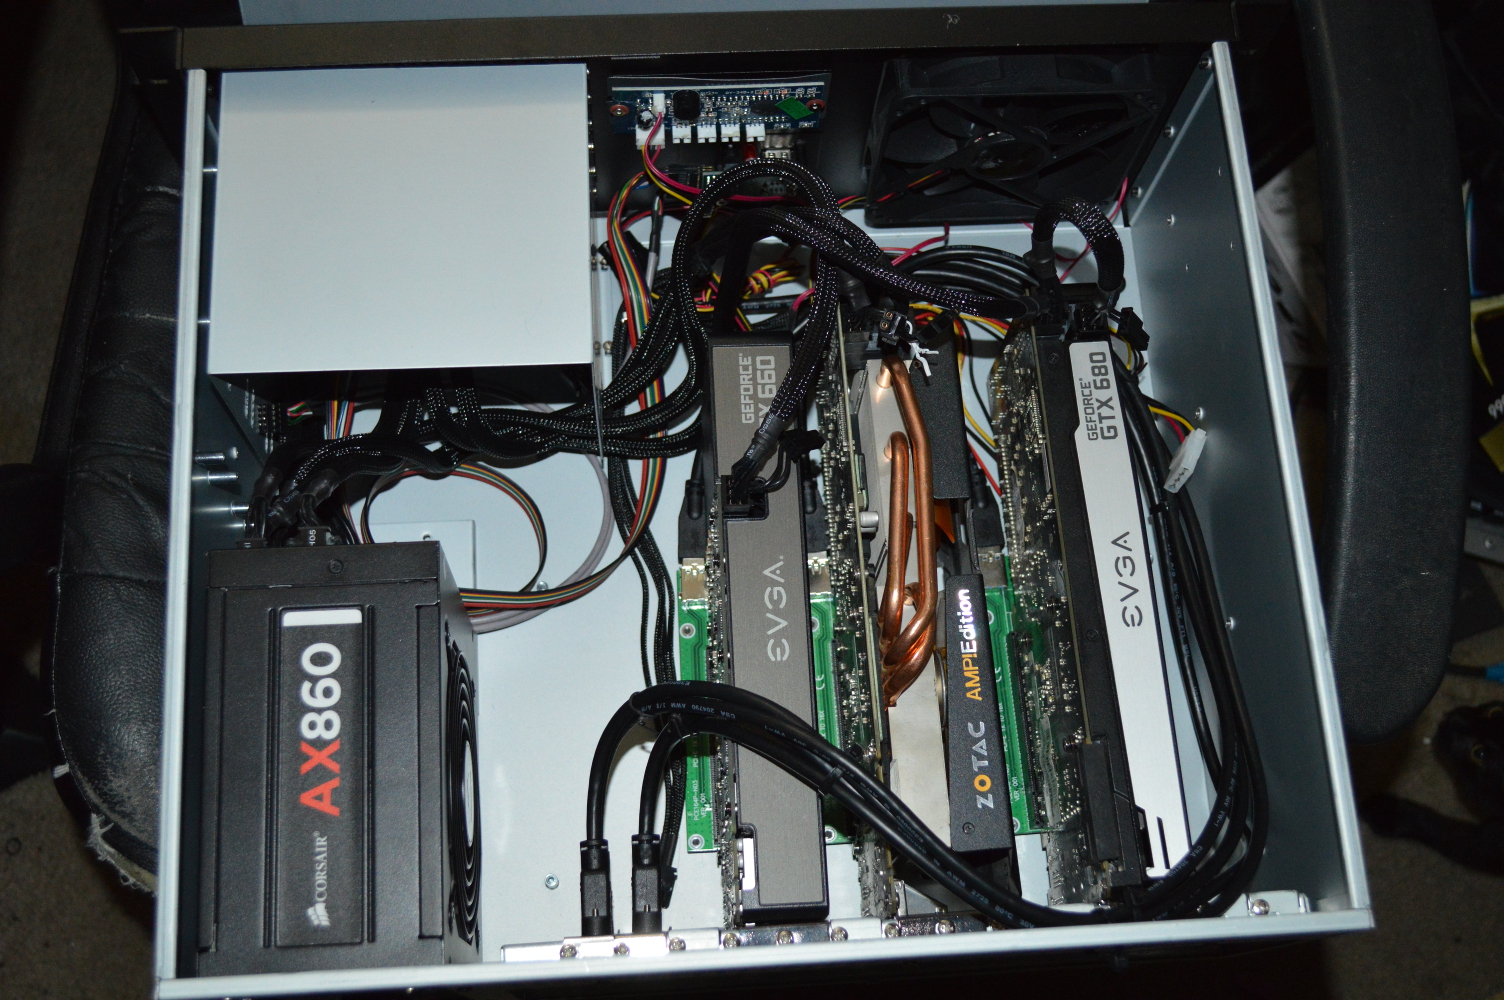
Finally a cabinet!… frame

Build Log:

First I’ll say up front that I love quiet fans. They tend to not move the greatest amount of air, but quiet is always a nice compromise in my opinion.

I mentioned previously that the graphics box came with a Yate Loon 120mm fan. It was rated at about 70CFM and 1650RPM, but has a noise rating of 33dB/A. In the triple 5¼” drive bays, I had a Mountain Mods fan mount (I didn’t realize I had a spare) holding a Power Logic PLA12025S12HH-LV. That fan was rated at 2000 RPM, able to move over 80 CFM, and rated at 27 dB/A. Needless to say: loud!

Well in a trip to pick up fittings for Beta Orionis, I looked at fans at the same time. I didn’t really have many spare 120mm fans around, and the ones I did have were largely cheap case fans — read: loud — or Corsair SP120s — again, read: loud. So in looking at what Micro Center had, I looked at fans by Cougar and bought two CF-V12HB fans to replace both of the 120mm fans I had installed. I’d read about these fans before but never tried them.

They’re rated at 60CFM, so they’re moving less air, but given the chassis doesn’t have any active exhaust except the power supply, this isn’t a major concern, but they do have a higher static pressure — 1.75 mmH2O. Temperatures on the graphics cards are a little higher. But they’re rated at 17 dB/A, and that is what I wanted. The difference is fantastic.

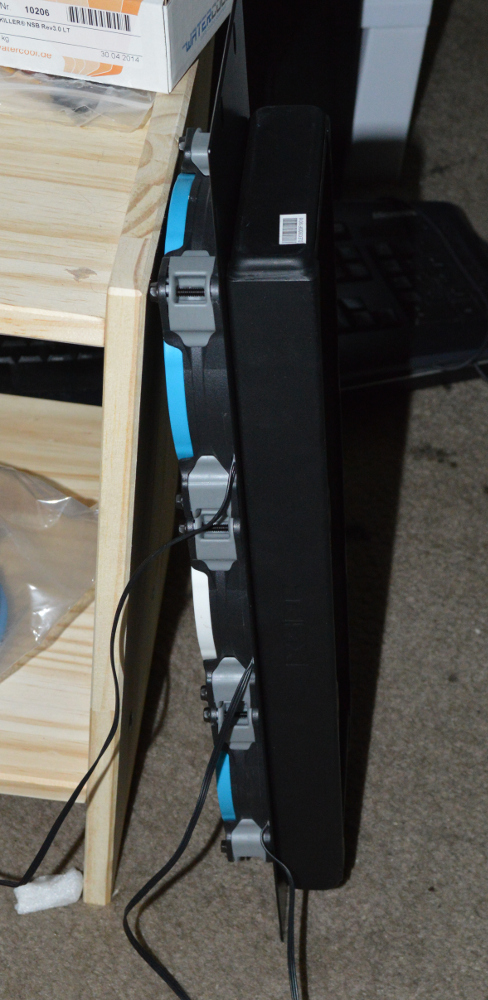
Just as a test, I wanted to find out what six SP120s sound like attached to the radiators. They look good on the radiators, but how do they sound? It overtakes the central HVAC unit in my apartment sitting only a few feet from it.
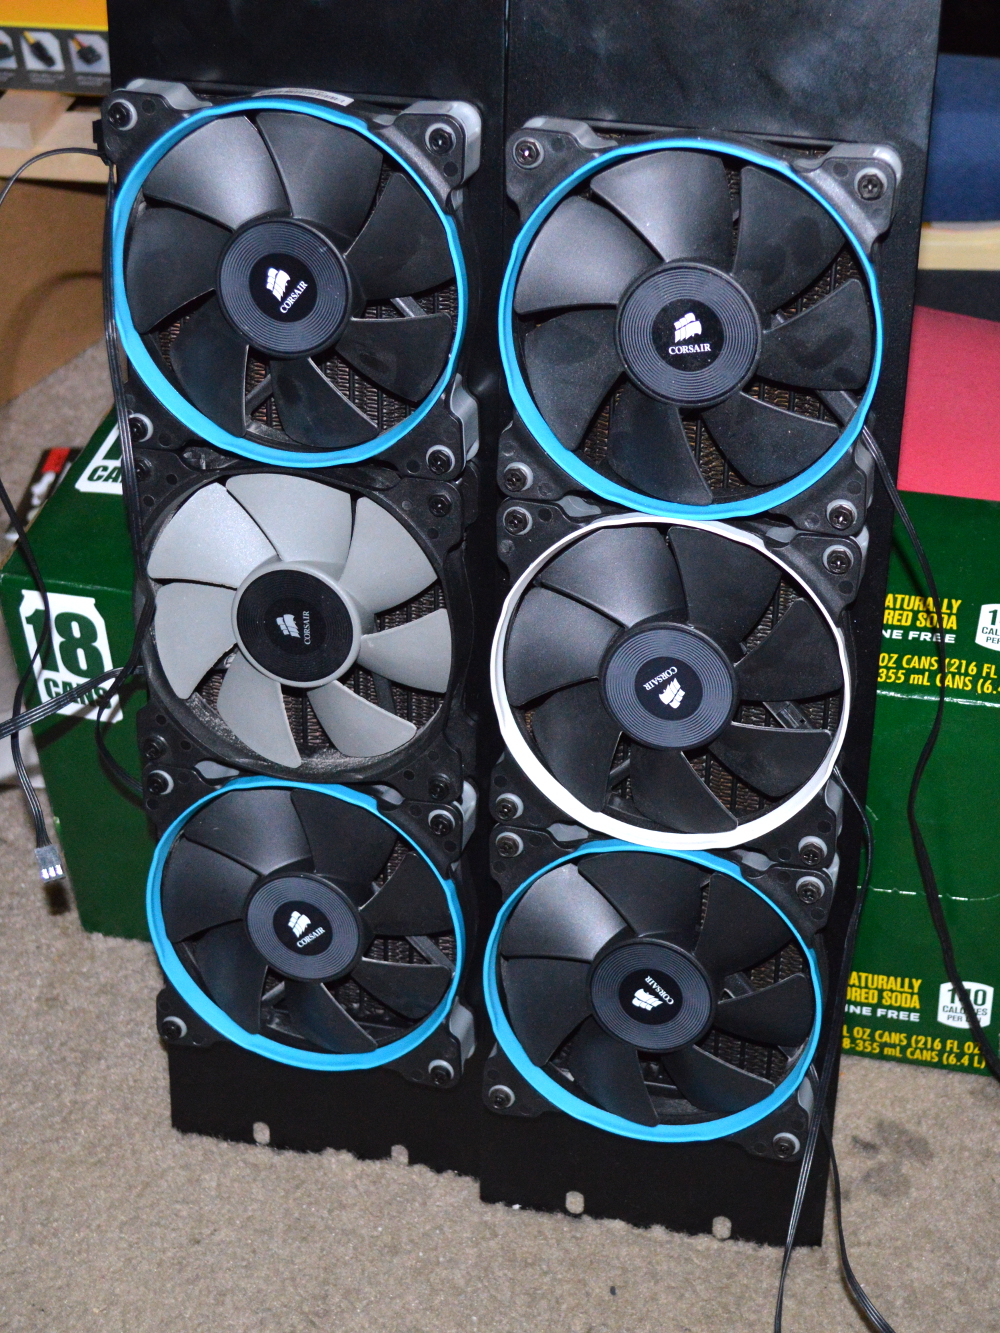
2rads

https://youtu.be/Av9v_LolLk4

I found a listing on OutletPC for the Cougar CF-V12HB fans for significantly less than Micro Center’s price, so ordered six of them, and they arrived before I was finished with the cabinet. What do six of those sound like?

https://youtu.be/_31IFDzkGTI

Watch the two videos again. The camera in both instances was about the same distance away from the fans. Again in the first, the fans were overpowering the central HVAC running just behind my shoulder. In the second, you could hear the hum of the fans, but anything else could drown them out. Put them in a computer case and you’d likely not hear them. Undervolt them and they’ll be completely silent, which is likely what I’ll do with these.

The cat you can see in the videos is Alice.
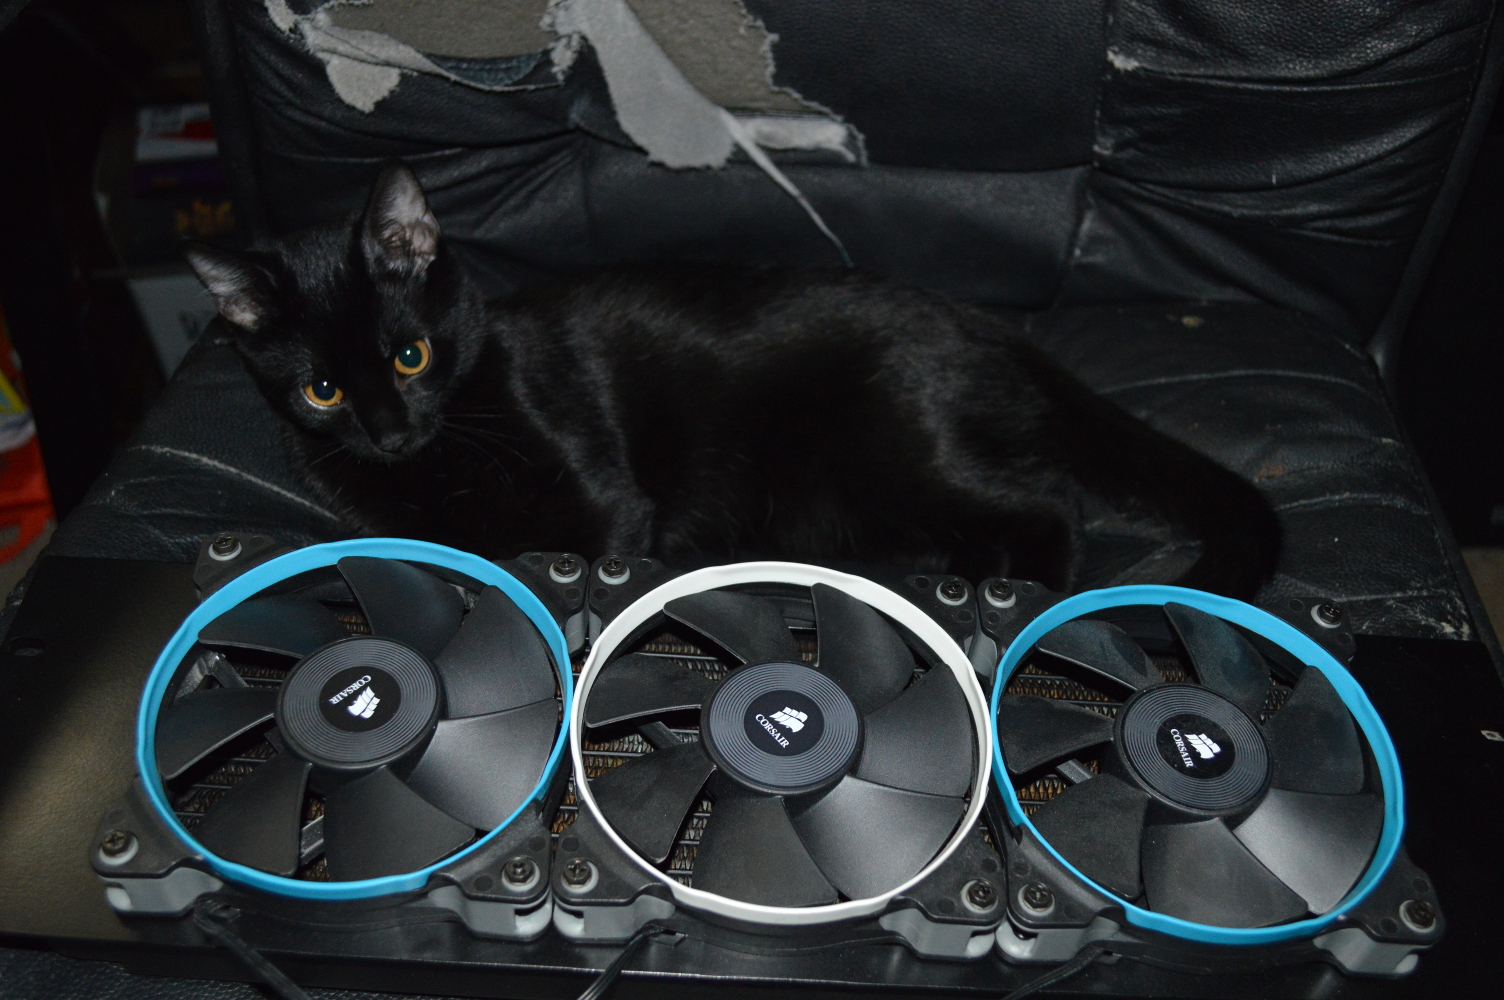
alice_rads

* * * * *

Building the cabinet

I was at the point in the project where I had to build the cabinet if I wanted to progress.

One thing I’ll say up front: this would’ve been a hell of a lot easier and quicker if I’d opted to go with pocket screws, following the instructions and design given in the plans I referenced earlier. But I didn’t want to do that. I wanted a cabinet that would be a hell of a lot stronger, given some of what it would be holding, so I opted mortise and tenon joints for the side panels.

And I’ll say up front that I don’t have a lot of experience with woodworking, and I’m starting to wonder if I have a masochistic streak that is making itself known.

I knew going into this that I’d likely need a drill press, but I held off on buying one to see how far I could get with a hand drill and a standard V-Drillguide to keep the drill holes perpendicular. And I wasn’t able to get very far. Namely because the V-Drillguide wasn’t going to hold still (and yes, I was trying to clamp it). So I bought a drill press from Harbor Freight — only the 8″ model as I didn’t need anything bigger (keep your mind out of the gutter).

Except I didn’t do mortise and tenon joints for the cabinet. I started drilling for it with the press, but it would prove too much for my limited capacity. I had the tools for it — the press to drill out most of the material, and the chisels to hone them square — but I knew after getting through a couple of the corners that this wasn’t going to work for me and I’d end up going through a lot more wood trying to make it work.

I looked for alternatives, and the one alternative that kept popping up in my search was a dowel joint. Not only would it be a hell of a lot easier to implement, but, depending on the wood you’re trying to join, it could possibly be stronger than a mortise and tenon. Let’s also not forget the fact that a dowel joint involves just drilling holes.

Now since the dowel joint is basically an enhanced butt joint — again, keep your mind clean — I would need a jig to drill the necessary pilot holes in the ends of the pieces being joined. Again, Harbor Freight to the rescue. While I was there, I made sure to pick up some 36″ I-bar clamps. Then it was off to Home Depot after that to pick up some ½” dowel rods.

A note of caution: as reviews to the doweling jig point out, it comes nicely coated with oil, so have paper towels handy when you first open it. This also means that parts of it can get nicely coated with sawdust as if you were breading chicken, so expect to have to really clean it. The centerline for the holes was also a little off. In my case the center mark for the ½” guide looked to be about 1/16″ off, compared to the center brad on the drill bit. Not a significant amount and something relatively easy to account for in making your marks.

Also make sure you have a good 1/2″ drill bit for cutting the wood, and know that you’re going to have to alternate between drilling and pulling out (again, keep your mind clean) as you try to reach the depth you need…. (okay, I give up). The ½” brad-tipped drill bit that Harbor Freight sells as part of a kit wasn’t working out for me. It kept binding in the jig. The Dewalt Titanium-coated ½” pilot-point bit, however, worked perfectly.

Dowel joints would not be complete without dowel pins. But since it doesn’t appear anyone in Kansas City supplies ½”x3″ fluted dowel pins, the recommended size for this application, I had to order those in online. For that I turned to California Dowel and Turnings, Inc. I had to order 500 of them to meet their minimum order requirement, but since I have multiple cabinets planned, along with the potential to use them in other projects (or just giving them to my dad), I suppose it’s worth the $50 I paid to buy and ship them.

In keeping somewhat with the original plans, I used 2×4 Douglas Fir studs all the way around. The side panels have 2x4s spaced along the side to ensure there will be plenty of weight distribution and strength. The reinforcement is centered at 11⅔” intervals (20U = 35″) between the top and bottom. The original plans called for just one support on the side, but I opted for two. Each horizontal support is secured to the corner beams with three dowel pins on each end.

For glue, I used Titebond III for the pins and in the holes, and Titebond No-Run No-Drip glue, which is made for end-grain applications and doesn’t set nearly as quickly as the Instant Bond glue. Both I found at the Woodcraft Store in Lenexa. Additional support joists run across the top and bottom, secured with wood screws and glue — Titebond No-Run No-Drip.

Overall the cabinet is about 46″ tall with a 3½” clearance underneath, about 31″ deep, and a hair over 22″ wide. It’s not a perfect frame-up, not completely square all around, and the supports aren’t completely flush with the corners, but it should still hold. I went with the extra supports knowing it wasn’t going to be a perfect job.

With the framing done, it was time to turn attention to enclosing the cabinet and adding doors. I’ll cover that in the next section, though, along with pictures of the finished cabinet. For now, though, it was a matter of moving things into the rack frame to get weight on it and make sure it’s going to hold up.
Reply to Lonnie and Sandy Phillips regarding your lawsuit against Lucky Gunner

Mr and Mrs Philips,

In your op-ed posted to Huffington Post, you make quite a few troubling statements:

We brought our lawsuit because we thought it was outrageous that companies could sell a dangerous man an arsenal without getting any information about him, and without making any effort to see if he was a dangerous killer.

This is about the same as suing the gas station at which Eliot Roger filled his gas tank before going on his rampage. Or suing the shop that sold him the knife he used to kill his roommates. Or suing the liquor store that sold a bottle of whiskey to a guy who downed half of it before killing his wife on a drunken rampage. Or suing the liquor store that sold a woman a bottle of whiskey who downed half of it before killing her husband or significant other in a drunken rampage.

What effort could Lucky Gunner make “to see if [James Holmes] was a dangerous killer”? That is the question you need to answer. And any effort would fail anyway since Holmes was not a “killer” until he committed the rampage. Someone who has never killed is not a killer. Planning to kill does not make someone a killer, just as planning to steal does not make someone a thief.

Under Federal health care privacy laws, Lucky Gunner would not have had access to information that might have disqualified Holmes from purchasing firearms. And given Holmes was able to purchase firearms, an NICS check for an ammunition purchase (required by some States such as New York, but not required by Federal law) would’ve come up empty as well.

I know you don’t like the fact that people can and do buy significant quantities of ammunition for peaceful purposes. At a gun range, you can easily burn through several hundred rounds of ammunition. My wife and I have done just that. Here in Kansas City, to walk up to the counter at Bass Pro or Cabela’s with several hundred rounds or more of ammunition is not exactly unusual and won’t get you any odd looks or questions from the cashiers.

But then it is no one’s business why you are purchasing such quantities of ammunition.

In the United States I do have a right to be presumed innocent, and I do have the right to due process. This also means that no person has the right to state a presumption that my purchase of a few hundred rounds of ammunition means I’m planning to commit mass murder.

You are also looking at this situation entirely from hindsight. Virtually every analysis of events like Aurora is entirely from hindsight. The problem, however, is that lawsuits originating from a hindsight analysis have questionable success, because essentially what you are demanding is that Lucky Gunner should have been able to predict Holmes’s actions. That is one hell of a high bar to reach.

In a lawsuit against an ammunition dealer, the Court will ask whether the seller had reason to know or should have had reason to know that the person to whom they were selling ammunition would turn around and use it to commit crimes. In legal parlance, this is called vicarious liability or contributory liability depending on the facts you are attempting to prove.

And the legal hypothesis that ammo dealers and gun manufacturers should be held as contributory or vicariously liable whenever a firearm is used to commit a crime has a long history of attempt, but virtually no history of success. It’s quite easy to see why such lawsuits fail. The reasons start with what I’ve provided above.

If Lucky Gunner had information saying that Holmes intended to shoot up the movie theater and did not act on that information to prevent it from occurring, your lawsuit would’ve been unnecessary as Lucky Gunner would’ve been shut down and their proprietors arrested on accessories charges. Since that has not occurred, they not only did not have such information, but also had no reason to believe that to be Holmes’ intent in purchasing the ammunition.

But your success only goes downhill from there courtesy of your mindset.

When the killer had left a voicemail with a shooting range, the range operator knew that he was bad news and shouldn’t be given access to guns.

And do you have direct quotes from the range operator to back up this statement? If you do not, then you have no right to make such a statement. If you do, you should’ve provided a direct quote in your op-ed to back up that statement.

Your next statements with regard to firearms and ammunition sellers, however, tell me that libel and slander are tools in your arsenal.

But these companies set up their business so people just like this killer can arm themselves at the click of a mouse.

Like a lot of other markets, it should not be a surprise that firearms and ammunition dealers would take their business online in order to expand their reach. Federal law still controls on this, as do State laws for the buyers and sellers. For example, do not think that a person can purchase a firearm online from any dealer and have that firearm shipped to their house. It cannot happen legally.

Ammunition sales require an age verification. This can be handled by the seller by requiring buyers to provide a copy of a government-issued identification. However no ammunition seller with whom I’ve done business has required this, but I know of some who have. The courier can enforce this as well by refusing to give the package to the recipient unless the recipient shows identification proving they are at least 21 years of age with signature capture as well.

There are significant regulations governing the shipment of ammunition, whether in small or large quantities. These regulations apply to the couriers and sellers alike.

Again, though, why someone is purchasing a significant quantity of ammunition is not any of your concern, nor is it the seller’s concern. A lot of people purchase significant ammunition quantities for legitimate, peaceful purposes.

You appear to act as if the legitimate reasons don’t exist, that everyone who purchases significant ammunition quantities must be treated as if their motives are anything but benign, and that is certainly not fair to the law abiding, which comprise the population of those who purchase significant quantities of ammunition shy of unanimously.

After all, do you want to be treated as if you’re going to maximize a Grand Theft Auto-style body count whenever you top off your tank or if you purchase, lease, or rent a high-performance vehicle? No? Then why do you want gun owners treated as if all we intend to do is shoot up a school like Adam Lanza or a movie theatre like James Holmes?

Your op-ed, again, shows this to be your mindset.

Everyone else in society has a duty to use reasonable care to not injure others — except gun and ammunition sellers.

This implies that injury occurs every time ammunition is sold to someone. Or that ammunition and firearms sellers bear contributory or vicarious liability for anything someone does with firearms or ammunition. Which, again, is like saying that alcohol sellers bear contributory or vicarious liability for the actions someone commits while drunk. Or saying that car dealers bear vicarious or contributory liability when someone intentionally commits vehicular homicide.

If a lawsuit is successful against the BMW dealer that sold Eliot Roger’s car, then I might be willing to side with the hypothesis — provided the legal reasoning on it is sound. Until that day occurs, or until a liquor store or car dealer is successfully held to such liability, your lawsuit against Lucky Gunner is nothing more than a frivolous attack not just on Lucky Gunner, but on the entire firearms and ammunition market, and firearms owners in general.

When the bell tolls One

One common feature of a clock is that it isn’t built into a briefcase or anything resembling one. So in building a clock, the one question that needs to be asked is why Ahmed Mohammed chose to do such a thing.

What is typically built into a briefcase with a circuit board and a digital display? Anyone who has watched movies — unless Disney and rom-coms are the extent of your cinema exposure (in which case, I pity you) — can readily presume such an item to be a time bomb, or at least the timer component to such a bomb if no explosive agent is readily visible.

Now true that the clock wasn’t built into a briefcase, but a small pencil box. It is still extremely atypical, though. And in building his clock — which actually appears to be merely a transplant of the internals of a digital alarm clock — he could’ve made a wiser choice as to how to contain it.

Let’s put some brain cells to this, shall we?

Dzhokhar Tsarnaev was recently sentenced to death for killing several others with bombs made from pressure cookers. Our military personnel in the Middle East routinely have to be on guard for improvised explosive devices. Time bombs have seen a lot of action in real life, along with imparting drama into an action flick. And so when a teenager disassembles a digital clock and transfers it into a pencil case and takes that to school — an overly-paranoid, hyper-aware, zero-tolerance environment — how is the response he garnered unpredictable?

We can debate the appropriateness of it all we want, but whether it’s appropriate doesn’t set aside the question of whether it was avoidable.

Instead, all that Ahmed has received is nothing but praise in social media and the press. And he recently received several thousand dollars worth of merchandise from Microsoft — along with an invitation from the President to the White House. It seems his little $10 project has been quite profitable. I highly doubt that was his motive, as it’s an outcome that would’ve been impossible to anticipate.

But that doesn’t excuse the fact that he could’ve made a wiser choice in how to enclose his clock so as to avoid it being mistaken for the timer component of a bomb. With today’s zero-tolerance policies that have seen school kids suspended, expelled, or arrested for trivial crap, a simple box or one of the many craft boxes available at Wal-Mart and places like Michael’s would’ve been a much wiser choice.

While we should encourage Ahmed’s curiosities with electronics, and the same with all teenagers, we should also not overlook their unwise decisions or act like they’re not material to the discussion. Given how much people are erroneously informed about various things from movies, especially firearms and explosives, transferring the guts of a clock to something that resembles a briefcase should not have made the response he received all that unpredictable, regardless of how inappropriate it was.

Given this, I hope that Ahmed has at least learned to be a little more wise in how he designs the enclosures to his projects. Unfortunately I don’t think he’s really learned anything from this experience — and neither has anyone else, for that matter.

Cleaning a steam wand

One of the more easily overlooked maintenance items in an espresso maker is the steam wand. Milk can easily gunk up a steam wand and lead to poor steam performance over time. So what do you do?

Well there are a couple options. First is to use a product like Rinza, which is made to actually dissolve the milk proteins to clean that stuff away. Seattle Coffee Gear has a couple videos on their website showing just how well this stuff works by using it on small parts that hopefully don’t resemble yours, so search their channel for “Rinza” to find them.

If you have OxyClean, though, it will work just as well at cleaning out the milk solids from the steam wand. Yep, the stuff in the laundry aisle. Just about a tablespoon dissolved into about 8oz of hot water will clean the stuff off your steam wand in about 10 to 15 minutes. Just let the wand soak for about that long before rinsing with clean water rag. Then make sure to run water through the steam wand to rinse out the inside — if you have a dual boiler or heat exchanger machine, you’ll want to purge steam through it.

After that 10 minute soak, it should open up your steam wand to have it performing like new.

Specifically to the Breville Infuser, which is what I have, and comparable machines, the symptoms that tell you the steam wand will need cleaned are pretty telling:

  • Steam won’t have much pressure behind it, and it’ll seem like it’s struggling to push steam out or come up to full steam pressure, if it ever reaches full steam pressure
  • Milk takes longer to steam
  • It will struggle to swirl milk in the pitcher — particularly noticeable if you’re using half and half (caffé breve), but may not be as noticeable with smaller quantities
  • Turning off the steam doesn’t completely cut off the steam pressure, and steam will continue to leak through the steam wand as the machine auto-fills

So if you have those symptoms with your espresso machine, chances are the steam wand needs to be cleaned. OxyClean will also clean off any milk solids stuck to the outside of the steam wand that can build up and interfere with the milk swirling in the pitcher. So do this about the same time you descale your machine or run its clean cycle to keep it cleaned out.

Talking about rape

Let’s talk about rape.

Rape is forced sexual performance or sexual performance that occurs while the person — the victim — has been coerced, is under duress, or is otherwise unable to give consent, or has indicated that they do not consent. And the term applies to both men and women.

Consent is approval to what is occurring or will occur. It can be expressed or implied. Consent is implied when the person has the ability to withdraw consent and does not give any indication or implication that consent is withdrawn. If a person acts under duress, they are not acting of their own will and cannot be said to have consented.

A person who is “unable to give consent”, and by extension unable to withdraw consent, is one who, it can be demonstrated, does not understand what is going on around them or what is about to occur, a concept known as incapacitation. A person can be legally incapacitated without being physically incapacitated — i.e. they can be conscious but not have legal capacity. A person also can be considered unable to give or withdraw consent if they never have the opportunity to do so.

However a person who is hesitant in giving consent is not acting under duress, and a person who was persuaded into doing a particular act was not coerced. There are clear indicators of what constitutes duress and coercion, as well as clear indicators of legal incapacitation.

The problem with trying to talk about rape, and I mean talk about it in real terms such as above, is the narrative that has formed around it. By that, of course, I mean “rape culture”.

For those unfamiliar, the term “rape culture” means a society in which rape — i.e. forced sexual performance — is accepted as a normal, even expected part of that society. And according to a lot of feminists, virtually the entire Western world is one giant rape-enabling culture where women are afraid to step out on their own, sometimes even with a friend, for fear that the guy who is standing next to her in the check out line at the grocery store is going to rape her.

Or the guy who glances in her direction walking down the sidewalk.

Or the guy who has the audacity to wish her a nice day.

Apparently women have to constantly fear being a rape victim. You’ve probably seen this feminist tweet:

This despite the fact that any person is more likely to be victimized by someone they know. “Stranger danger” has been overblown for so long that the minds infected by the concept, grew up with it, are now adults influencing public policy. The word “rape” also has a much, much farther reach than it ever had, and it is a reach it has attained only in recent years. And I mean much farther. As in if the previous scope was just our solar system, it has enveloped the galaxy and is encroaching on Andromeda.

Once the word started being applied — and legitimately accepted — to concepts beyond forced sexual performance, sanity left the building. “He’s raping me with his eyes.” “Stare rape“. “Psychological rape“. “Men can still rape even without laying a hand on a woman.” And then there’s the woman who alleged that every transgression against any woman anywhere means she is getting raped — she’s since taken down the video — saying that she’s been getting raped all the time, multiple times per day.

Anything less than complete acceptance and belief of a woman’s claim to have been raped — e.g. Emma Sulkowicz from Columbia University and “Jackie” from the University of Virginia (tear down of that narrative courtesy of Columbia’s Journalism Review) — is victim blaming, misogyny, rape apology, and the continued perpetuation of rape culture. “Listen and believe.” Not just when evidence does not exist (again, Sulkowicz and the UVA rape case, and also the accusations levied against Michael Shermer by PZ Myers), but even when evidence surfaces proving the allegations false — e.g. the 2006 Duke Lacrosse case (the accuser in which is now in jail for murder).

If you point out that there are steps that a woman can take to lessen the likelihood of being raped, or victimized in general, you’re blaming rape victims for getting raped. Self defense classes and firearms training perpetuate rape culture by placing the onus on women to actually defend themselves against rapists. Screaming at the top of your lungs increases your chances of getting away from an alleged rapist to 1 in 2, but pointing that out is also rape apology and victim blaming. Brandishing any kind of weapon, up to and including a firearm, increases that chance to nearly every fucking time (same study as linked before), but, again, actually saying that is blaming past rape victims for getting raped and apologizing for rape. The same if you tell women to not get drunk off their asses to the point where they can barely control their motor functions, pubococcygeus muscle, and voluntary digestion functions, let alone remain fully conscious and coherent. And the same if you tell women to never abandon their drink at a bar or party.

“Don’t tell me how I can avoid getting raped. Teach men to not rape.” How that has been said with any seriousness is beyond me. What this really says is “I should be able to do what I want without having to worry about being victimized in any way.” Except that has never been how any society has ever functioned.

But it gets worse.

I have made it no secret about being a staunch defender of due process and the rights that go with it, including the presumption of innocence. The single largest erosion of those rights comes through what is called the “court of public opinion”, wherein sparse facts and details are used to declare a person guilty of a crime, or to at the least place the burden of proof on the accused to prove their innocence, and in many cases, only on the word of an alleged victim. We’ve seen this with Casey Anthony and George Zimmerman — both of which I’ve covered on this blog — along with former Ferguson, Missouri, police officer Darren Wilson. To be logically consistent with the concept that the burden of proof rests on the person who asserts — a burden of proof that is enforced by a Court of Law in the United States, as we saw with the Casey Anthony and George Zimmerman trials — that burden must be applied to all persons making an allegation that a crime has been committed and that a particular person was the perpetrator.

Including those asserting they were raped.

Mention that those accused of rape have the right to due process and point out that those due process rights are seeing significant erosion, especially on college campuses, and you are, once again, perpetuating rape culture, blaming victims, and engaging in rape apology. Steve Shives asked in a YouTube video, “Why are we so deferential to [rapists] and their needs? Why are we so protective of them?” and in another accused mens’ rights activists (MRAs) of having the “primary goal” of making rape “an easier crime for men to get away with”, among other slanderous statements.

What Shives and others like him don’t realize is simply this: the actions of the rape victim determine the ease or difficulty of getting away with a particular rape incident. Yet pointing that out is somehow also blaming victims and apologizing for rape. No crime can be prosecuted without it first being reported. And no reported crime can be prosecuted without evidence. Yet many times alleged victims demand their story be believed in whole cloth without evidence because they waited to report the incident till long after there is no longer any viable evidence to collect. Rape becoming easier to prosecute requires victims to cooperate, report the crime, and allow evidence to be collected from them within what is a relatively short window.

A woman can report she was raped and still avoid destroying a her rapist’s due process rights. It happens all the time. Men are prosecuted and successfully convicted only because their victims cooperate fully in the investigation and subsequent prosecution within the requisite time frame — this isn’t a time frame established by law, the “patriarchy” or “rape culture”, but by the mere fact that biological evidence has a short window of viability.

And then there’s consent, the concept of which has been narrowed to the point where it is becoming increasingly difficult to meet its ever constricting definition.

From the concept of “enthusiastic consent” — wherein the woman must give a verbal, enthusiastic yes to virtually every action and transition that occurs during a sexual encounter — and “If you have sex w/ someone who is drunk, they are unable to consent & that is rape“, we now have the concept wherein “too drunk to drive is too drunk to give consent“. That’s right, a .08 blood-alcohol concentration now means she (and it is almost exclusively applied to women) cannot legally consent to sex, and if sex happens, he is the rapist, regardless of how sober or otherwise he was at the time. You know, “don’t be that guy”.

And let’s also not forget about the push for a guy to literally ask “Is it okay if I do [certain sexual action]?” or “Can I do [certain sexual action]?” before each thing he is going to do during sex — from kissing parts of her body and removing pieces of clothing, to… well… Given that spontaneity can be one of the most exciting things about sex, that certainly has a way of killing the excitement.

As such it is now impossible to have a meaningful conversation about rape, and sexual consent by extension. It is easier to talk about gun control with an NRA member than to talk about rape with a feminist. They want to control the narrative, because in controlling the narrative, you control policy. This is already seen in the policy changes feminists have achieved, predominantly on college campuses and, in the State of California, across entire university systems.

In controlling policy, you gain power. Feminists are demonstrating this.

They perpetuate the idea that if we just teach men to not rape, then women wouldn’t fear walking down the sidewalk. Everyone who doesn’t accept their narrative is a misogynist or rape apologist. And they might even be a rapist.

As such, where is there room for a meaningful discussion about rape? There is none. Because feminists don’t want a meaningful discussion about rape and sexual consent. They want acceptance of their narrative and compliance with their vague demands. Through an increasingly narrow window of consent and the demand that all rape accusations from women be believed outright, regardless of the evidence behind it, they seek to control men through fear, the fear of being accused of rape, sexual assault, or sexual harassment. The damage from a false or unsubstantiated accusation (there is a difference) can be long-term even after it has been shown to be false or the allegation is never substantiated — the “well it might be true” syndrome strikes at the very heart of due process.

So again, where is there room for a meaningful discussion about rape? How can we talk about the real risks that women face when first-world feminists play this charade of the Western world being so dangerous for women that they can’t walk out of their home without fear of being raped or sexually assaulted? How can we discuss rape when the definition of it has become more fluid than water? How can we have meaningful discussions about sexual consent when the definition of what constitutes consent has narrowed significantly in recent years?

And how can we train women in self defense and situational awareness when the response to that idea has become “teach men to not rape”?

If you want to have a meaningful discussion, we can have a meaningful discussion about rape and consent and sexual harassment. But first you need to stop acting like the world is just falling apart around you and that men are just waiting around the corner to pounce and rape you.

Get your head out of your narrative and back into reality, and then we can have a meaningful discussion. But at the same time, you need to be willing to acknowledge that women are also sexual aggressors and have committed and do commit acts of sexual aggression, including sexual harassment and assault, against men and other women.

Beta Orionis – Part XXIV

Build Log:

In going to Micro Center, I picked up a pair of Swiftech extension fittings and seated them. While a little tight, I was actually able to seat the tubing without modifying it as well. But this didn’t completely end the leaks. One of the fittings on the pass-through bracket just would not stop leaking regardless of what I did, so I just ended up replacing it. And finally I got a leak test that didn’t result in a leak.

It almost looks like it’s connected to an IV now.

leaktest

leaktest2

plugs

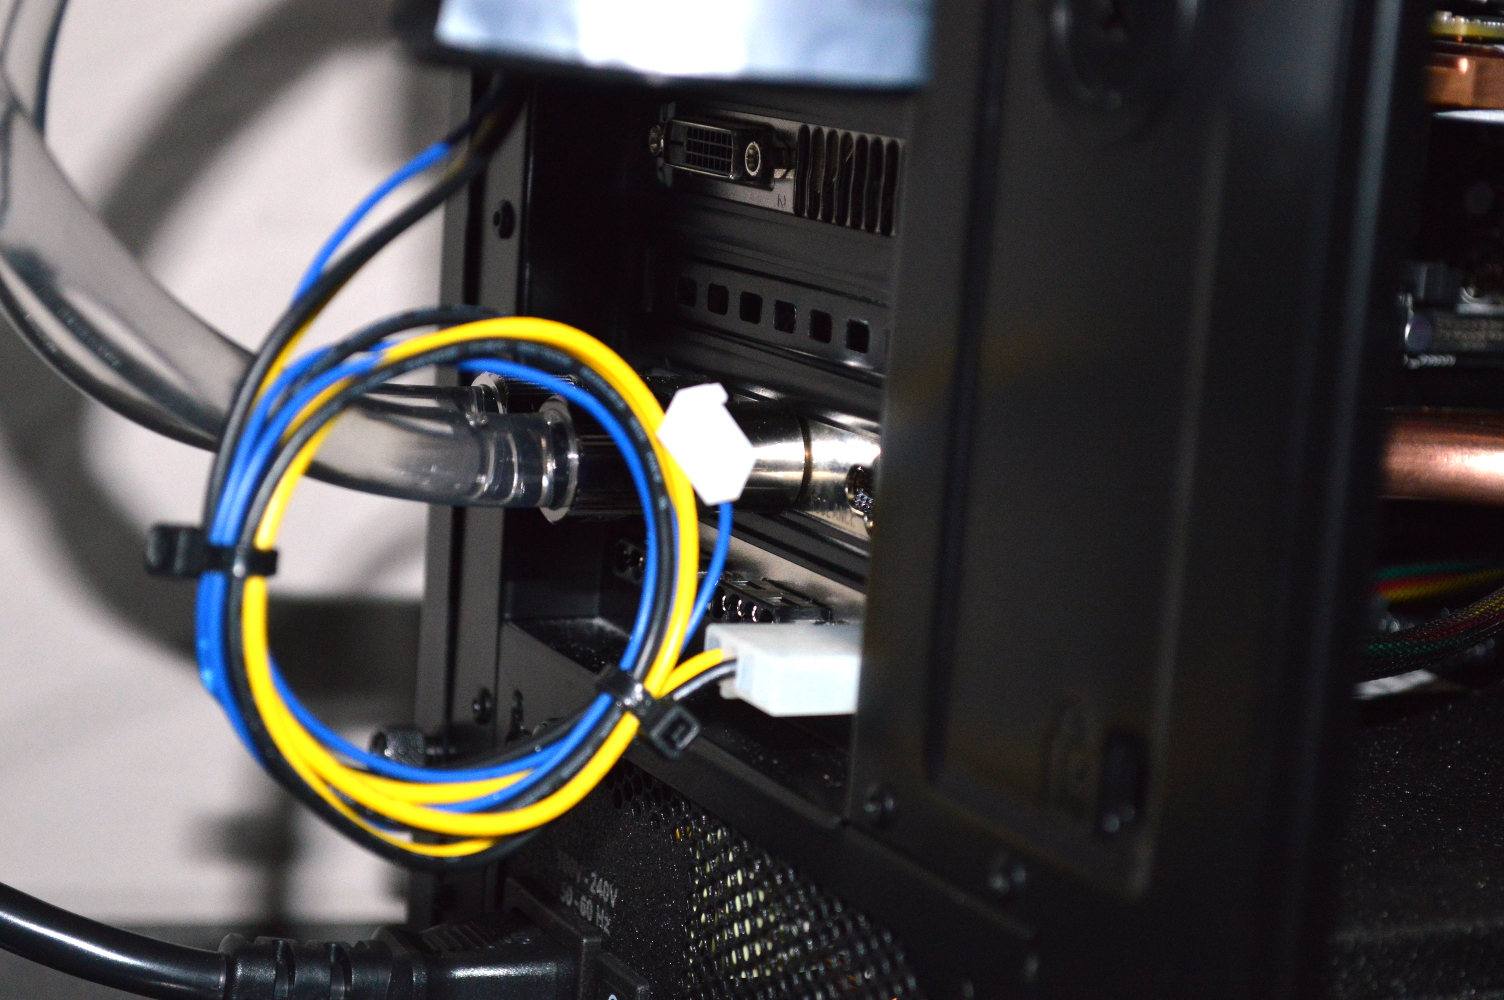
Being lazy it would be a couple more nights before I finished up the system, getting the cables tied up and everything. I accidentally forgot to plug in both CCFLs, so only the top one is lit, but it provides a nice contrast.

finished

* * * * *

So why did I do this? In short to show that water cooling doesn’t have to be restricted to the inside of the case. Several other external water-cooling projects have occurred with others. For example, a guy going by the name AntVenom has his water cooling system — except the blocks, of course — entirely external to his system. The coolant travels through pipes going through his floor and into his basement, where it passes through the radiators and is circulated using a high powered pump.

I’m also planning something similar for both Beta Orionis and Absinthe. Similar to what I have planned for water cooling graphics cards with the Colony West project, it’ll be two triple-120mm radiators instead of the triple and two dual-120mm radiators currently in both setups. The fact all radiators will be external to the system should provide for much better cooling. Plus with Absinthe, the system will be moved back into a case that is far, far from ideal for water cooling:

X-CRUISER-BL-1_500

This chassis has only four fan slots, three of which are for 80mm fans. I’ll be adding another front intake for a 120mm fan similar to how I already have Absinthe. And all the fans will be replaced with silent fans. The 120mm fans will likely be two of the Bitfenix Spectre Pros currently in Absinthe since they are relatively quiet.

For the radiators, I’m leaning toward Cougar Vortex HDB fans. I have two of them in the graphics box for Colony West and love how silent they are. Compared to the Spectre Pro, they have 4 CFM greater airflow, 40% greater static pressure, and a lower noise rating. They’re also focus-flow fans like Noctua, but for a much less price. Having six in close proximity, however, could still prove interesting as far as noise is concerned. I’ll be finding out how well that’ll work first with Colony West, as I’m not using SP120s on the two radiators in that project.

This is the one part that I feel the need to explain why it’s happening. My wife picked out that case back in 2007 to match a Mustang that her friend drove. The lack of fan capacity is why her system was moved into a Corsair 750D when she upgraded to the AMD FX-8350. More airflow was needed. Now that the system is water cooled, airflow isn’t nearly as important. Don’t get me wrong. It’s still important, but since the majority of the heat can be carried out of the chassis through a coolant line, it becomes much less important for cooling and system stability.

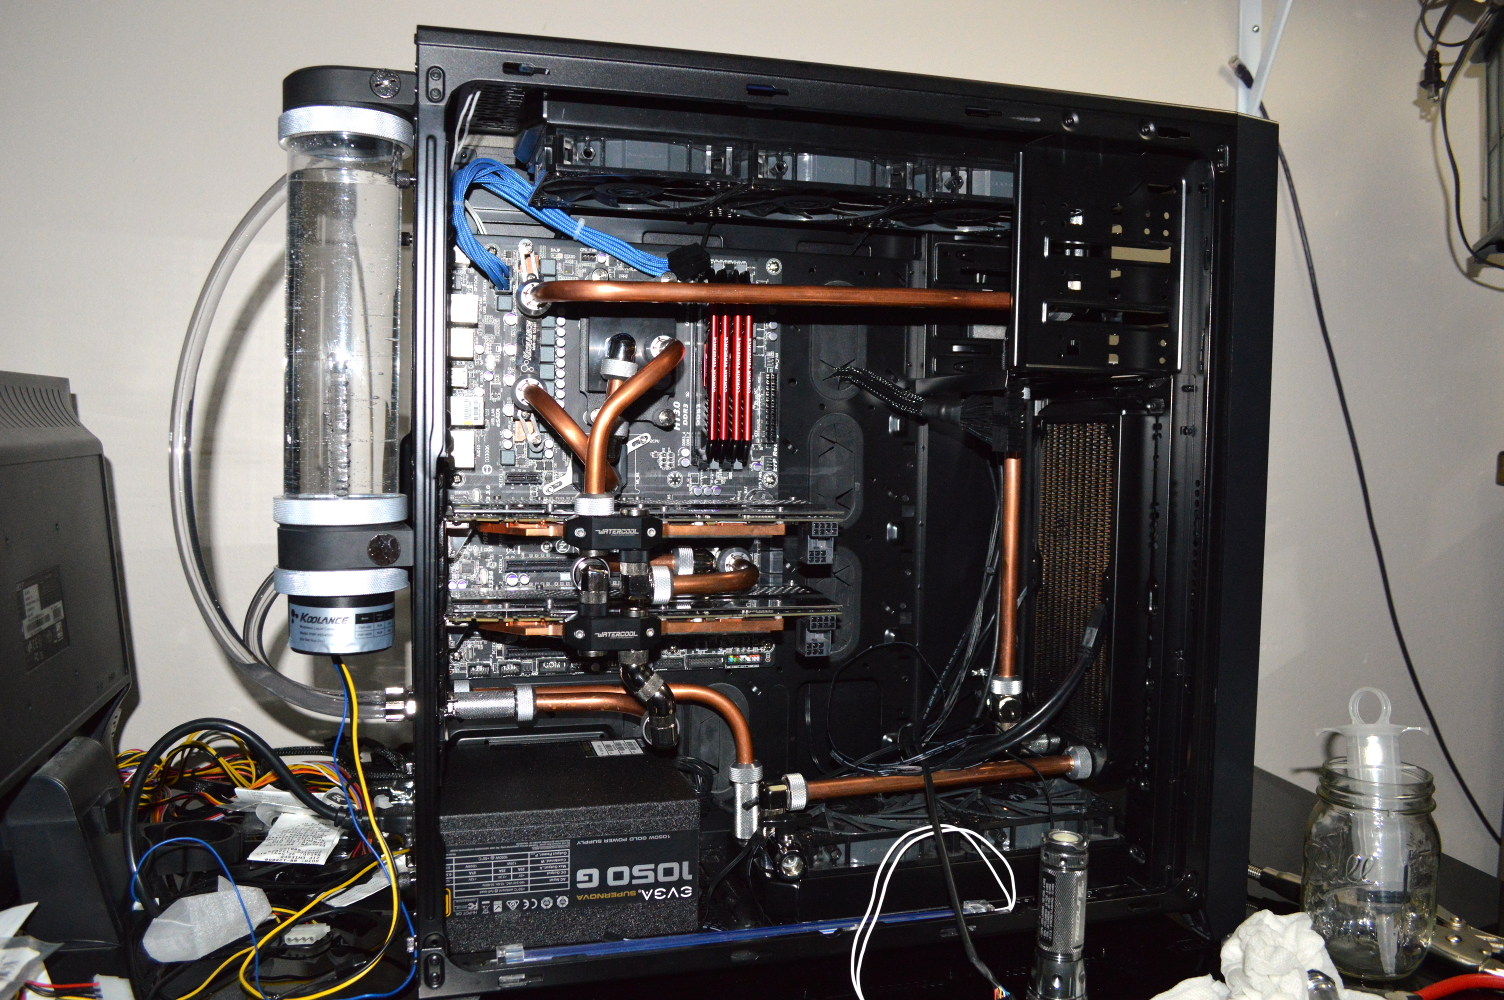
So in talking about the plans for Colony West during a drive, I talked about how this project could demonstrate that you don’t need to upgrade your case to have a well-performing water cooling system. This spawned the idea in my wife’s mind to demonstrate that with her case. Move Absinthe back into her blue Apevia case with it all being externally water cooled. A Koolance bracket would provide the coolant lines into and out of the chassis — likely still using copper for most everything inside — and having radiators mounted to an external setup.

The Koolance bracket can be used with most any chassis to provide a coolant line into a system, and while miniITX cases can be an exception to that, other options exist. The radiators need not be mounted internally, as AntVenom demonstrated and as I’ll be demonstrating with Colony West. Instead the radiators will be mounted into an external box of some kind — probably adapted from the IKEA RAST night stand with another wood panel with fan holes to hold the radiators unless I build something up from scratch. The pump and reservoir will be mounted in that box as well such that the coolant basically goes to the box and back, though in my setup I can use just a standard D5 pump, or any quiet pump for which I can adapt fittings and get enough flow and pressure.

Now this kind of setup does require some ingenuity, which is why I don’t see most people who are getting into water cooling doing something like this. Many of the threads I see asking about water cooling boil down to “what should I buy?” or “is this a good setup?”. No attempt to think outside the box — err… chassis.

On that I actually lay fault with the water cooling and modding communities. I know much of the emphasis on water cooling has been with getting everything into the computer case. To this end, computer cases have been designed to allow for more radiator space. But what if you could have any size radiators you want with any chassis you want? That is what I aim to demonstrate.

I could even go further. Instead of two triple-120mm radiators, I could have two triple-140mm radiators. Or quad-120mm or quad-140mm radiators. Or however many radiators I want. AntVenom used just one quad-120mm radiator. And it’s a cooling setup that isn’t tied to your case.

You can even have dual loops if you still want with it all still being external to your case! Once the chassis is removed from the consideration, the possibilities become pretty endless. All you’d need to ensure is that the pump you select can push through it. And I’d highly recommend using quick disconnects on the lines running external between the cooling box and the chassis.

So that’s it for the rant on this for now, I guess. Next iteration of this will probably feature me mostly disassembling this again for moving the radiators external. That should allow me to seriously undervolt these fans — possibly all the way down to 7V or even 6V — and still keep good airflow in the case. And I should be able to use quiet fans on the external radiators allowing for a very quiet setup overall.

Beta Orionis – Part XXIII

Build Log:

In figuring out how to tube up the mainboard, I half felt like I didn’t know what I was doing given how much I tried to change up things.

Friday night I stopped by Micro Center on my way home from work with the intent of buying fittings. Specifically I was there for some 8mm EK extension fittings to use on the VRMs instead of the 15mm Swiftech extension fittings. I also picked up a pair of 45-degree EK fittings with the intent of using those on the southbridge.

southbridge1

On that there would be some changes of plans that would require that I go back to Micro Center on Saturday to acquire another pair of 8mm EK extension fittings, and I picked up a pair of 90-degree fittings as well. More on that in a bit.

But the intention, going off the previous entry in the log, was to see about using 180-degree bends between the northbridge, VRMs, and CPU. Unfortunately that wasn’t possible. Recall from the previous article that I said the minimum distance between the fittings had to be 3″. The tubing bender I own has a CLR — center-line radius — of 1½”, meaning for a 180-degree bend, the fittings had to be a minimum of 3″ on center.

Ideally it should be exactly 3″ on center so I didn’t have to do anything odd to get a tube bent.

And none of the distances between fittings met that requirement. Only one of the distances exceeded 3″: from the lower fitting on the northbridge to the inlet on the CPU, which came in at 3½”. Getting that kind of 180-degree bend would’ve required doing a 90-degree bend, then finding a way to get a ½” offset in the tubing before doing another 90-degree bend. My initial attempt failed and I decided against trying for it. There might be a way to get it to work, but for now I’m not going to consider it.

So to go from the northbridge to the CPU, I instead used a 40mm extension fitting off the CPU inlet with a 90-degree fitting. I didn’t like the result. And to go from the CPU to the first graphics card, I took kind of a cheap shortcut that I also didn’t like: a 45-degree fitting with a 90-degree bend to a 90-degree fitting. Again, I don’t like the look.

cpu_north_gpu

On the plus side, for the VRM to the northbridge, I did somehow manage to get that lined up about perfectly straight. That’s a Swiftech 90-degree fitting sitting on an 8mm EK extension going to a Koolance 90-degree fitting sitting on a 15mm Swiftech extension.

vrm_north

The graphics cards were a little more complicated. One thing I discovered up front was that the lower 45-degree fitting in the above picture lined up straight with a 90-degree fitting coming off the left-side of the graphics card.

gpu_south

Unfortunately that setup would interfere when trying to use a 90-degree fitting with a 90-degree bend going to the other southbridge fitting, and I wouldn’t be able to use the two 45-degree fittings together on the southbridge. Oh well. What I managed to figure out in the end does work, though.

gpu_south2

From the top card it goes out of a 90-degree Koolance fitting through a 90-degree bend into the southbridge, then out through a 90-degree fitting through another 90-degree bend into a 90-degree fitting on the second card. I’m not sure yet if I’m going to keep this setup or try to figure out something else.

So the CPU, VRM, northbridge setup will be getting redone. I don’t like it, and I’ve been considering my options, including going back to the 90-degree setup in the previous section. But to get from the pass-through bracket to the lower radiator, that required just a straight run of tubing with a 90-degree bend and just a slight offset to get it lined up.

Still left to figure out is the top radiator to the VRMs and lower graphics card to the outlet, once I have the upper mainboard area redone.

* * * * *

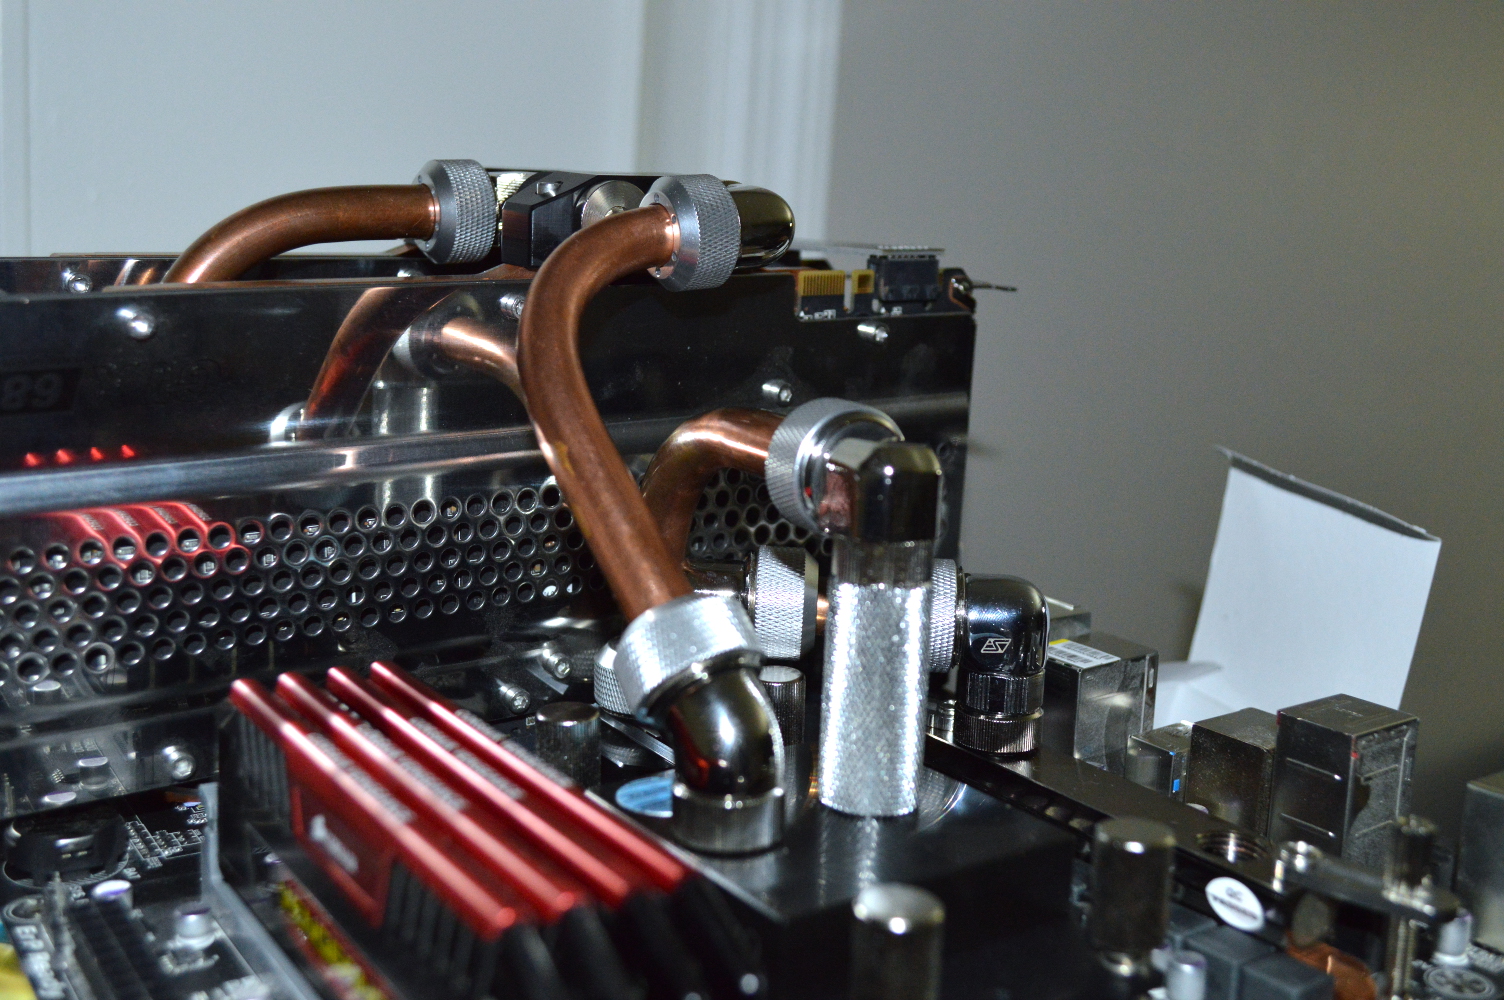
Reworking the loop was definitely worth the time. I managed to figure out that I could do a 180-degree bend between the VRMs and the northbridge. And a Koolance 90-degree fitting on a 15mm Swiftech extension fitting lined up perfectly with a Swiftech 90-degree fitting on the CPU’s inlet. The line from the CPU to the graphics card was fun to figure out, but I managed to do so in just one try. It’s not perfect, but it’ll get the job done.

vrm_180

gpu_cpu

For the line from the lower graphics card the outlet, I took a half-assed approach simply because it was the last thing to figure out and I wanted this done. I used two 45-degree fittings to create a makeshift dual-rotary fitting along with a 90-degree fitting to line up with the outlet with a piece of copper I had left over.

gpu_outlet

So that was it for that. The line going from the top radiator to the VRMs was a simple 90-degree bend. Nothing fancy. I connected some 3/8″x1/2″ tubing to the compression fittings on the reservoir and started a leak test.

And it leaked. A lot.

The reason is the 8mm EK extension fittings on the VRM block. In trying to install them I noticed how they weren’t seating completely flat, but it still looked like the O-rings would seal. Even wrenching them didn’t get them completely flat. So since I’m out of other extension fittings, I’ll have to run to Micro Center to get another pair. This will also mean some slight modifications to the two copper tubes involved, but if it results in that not leaking, it’ll be worth it.

leak1

leak2

So lesson learned: do not use EK fittings with the Koolance MVR-100 or MVR-40. Hopefully the Swiftech extension fittings will have better luck.

Beta Orionis – Part XXII

Build Log:

I wasn’t done with the mainboard yet. After the last segment, I started with preparing the EK Supremacy EVO block. The backplate was first, then I made the needed adjustments to the block’s jet plate and mounting bracket. That’s pretty much as far as I can get before draining and tearing down the loop.

mainboard

Let’s go over the plan for the loop first — as in the order of operation.

Inflow and outflow will be in the lowest expansion slot right above the power supply. The inflow will go to to the radiators — bottom, front, then top — before getting to the VRMs. It’ll be one long piece of tubing from the front to the back. Currently I’m planning to go from the VRMs to the northbridge, then the CPU, because it looks like that’ll be easier to tube up, but I might go from the VRMs to the CPU, then the northbridge. Either way, the next path is to the top graphics card, then southbridge, then bottom graphics card and to the outflow.

This will require replacing virtually all of the tubing, so good thing I’ve got about 10′ of it waiting. I’m not sure yet if I’ll need any additional fittings, but I’m going to see what I can accomplish with what I have. If push comes to shove, my local Micro Center has started stocking EK’s fittings.

Tearing down the computer

First order of business with trying this was to get the system torn down as much as possible before I either passed out, my back gave out, or I gave up and threw the thing out the window.

The three drain ports I’ve mentioned come in quite handy for draining as much out of the loop as possible. A syringe helps take care of some areas where it still gets trapped, such as the bottom radiator. I had earlier picked up several gallons of distilled water from my local HyVee to flush out everything. What I should also have picked up was an industrial-sized duster — seriously after six months this system picked up some serious dust. The fact it was running without a back cover for a couple months probably didn’t help, but most of the dust was on the top and front radiators.

Well, enough about that.

I flushed the graphics cards and the radiators, and then reinstalled them into the system. Given the pump and reservoir will be moved externally, the front and bottom radiators are directly connected by a straight line of tubing, such as what I used in Absinthe. That piece was cut from another piece of tubing I know I won’t be reusing.

After re-installing the radiators and connecting a couple pieces of tubing, I tucked all the cables in, remounted the graphics cards, and closed up the case for the night. I have a 11-week old kitten now, meaning curious beyond the point of frustration, and I can’t have her risking the system. But then she’s also the reason I’ve had the power supply plugged into the wall virtually the entire time I’ve been working on this system.

I didn’t get far the next day, in part because of my back. Above anything else, the reservoir needed to be mounted where I planned, and that is what I managed to get. I discovered a couple things as well.

I assumed the pump outlet would likely interfere with the top graphics card, and that was confirmed. There is, unfortunately, no way around that. The HDMI port is directly blocked, but whether the DVI-D ports are blocked will depend on how I run the tubing from the pump to the inlet, so for my television, I might have to use a DVI-D to HDMI converter, depending on how it’s blocked.

For the outlet back to the reservoir, I initially wanted to run that back to the far side of the reservoir, where the coolant would come back in from the bottom. Unfortunately that fitting is going to interfere with the side panel, so I’ll have to run the tubing back up to the fitting on the top of the reservoir on the same side as the pump’s outlet. I’ll figure out the specifics on that later.

It would be a couple days from that before I got back to the system, in part because I wanted to get to Micro Center to buy some more fittings. In particular I wanted Swiftech 3/8″x1/2″ fittings for the pump and reservoir. Yes, I’ll be using soft tubing externally and copper internally.

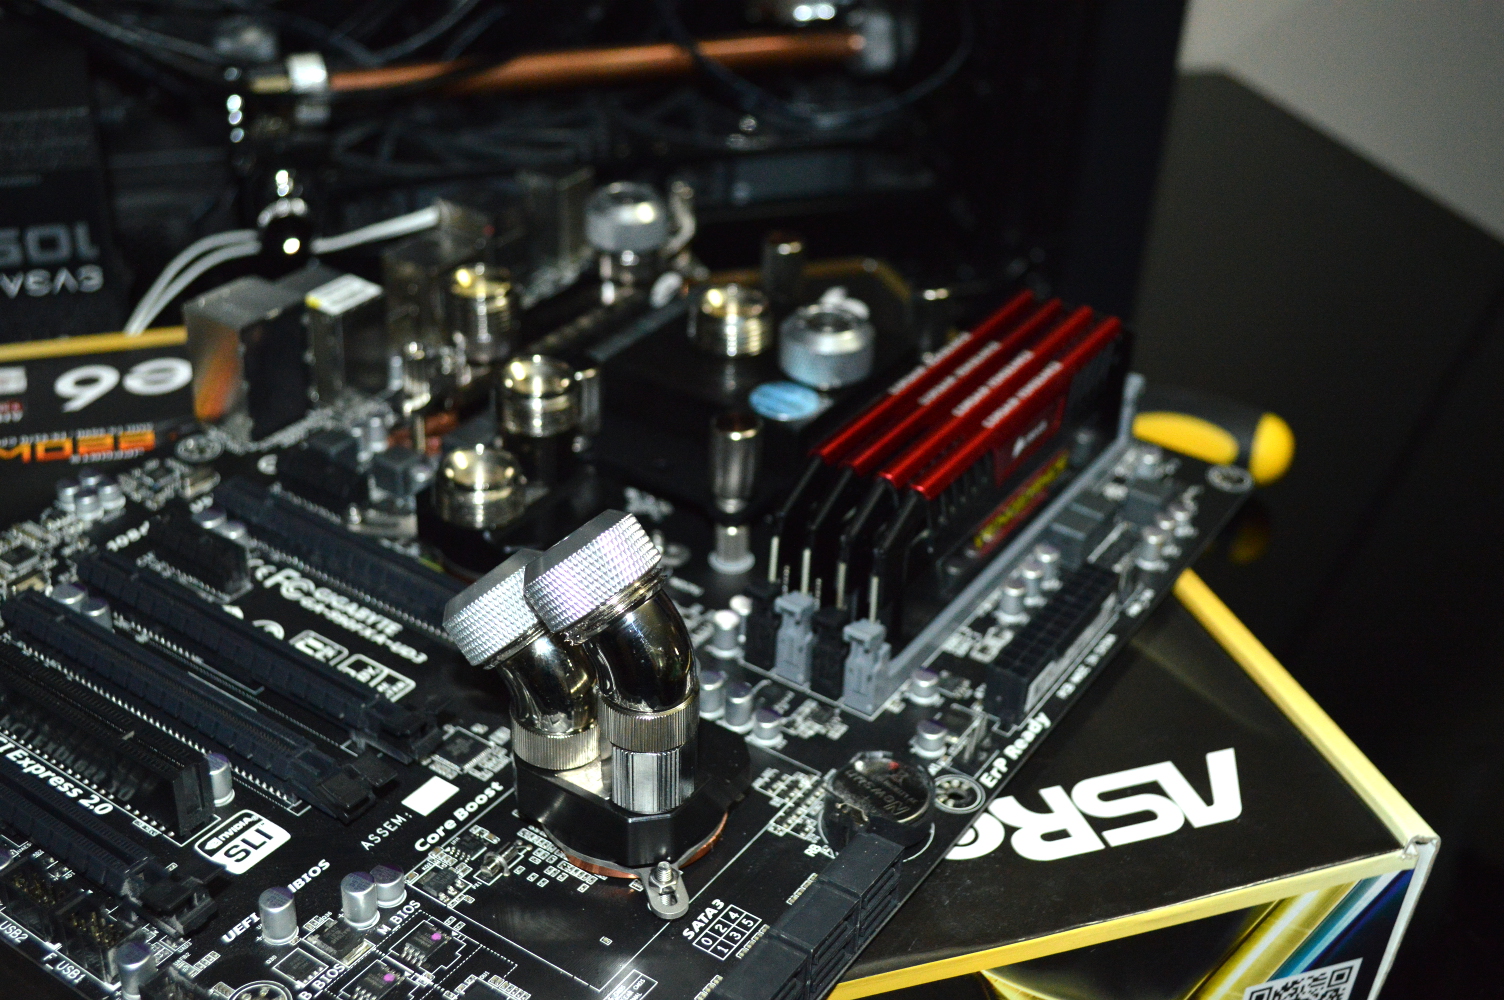
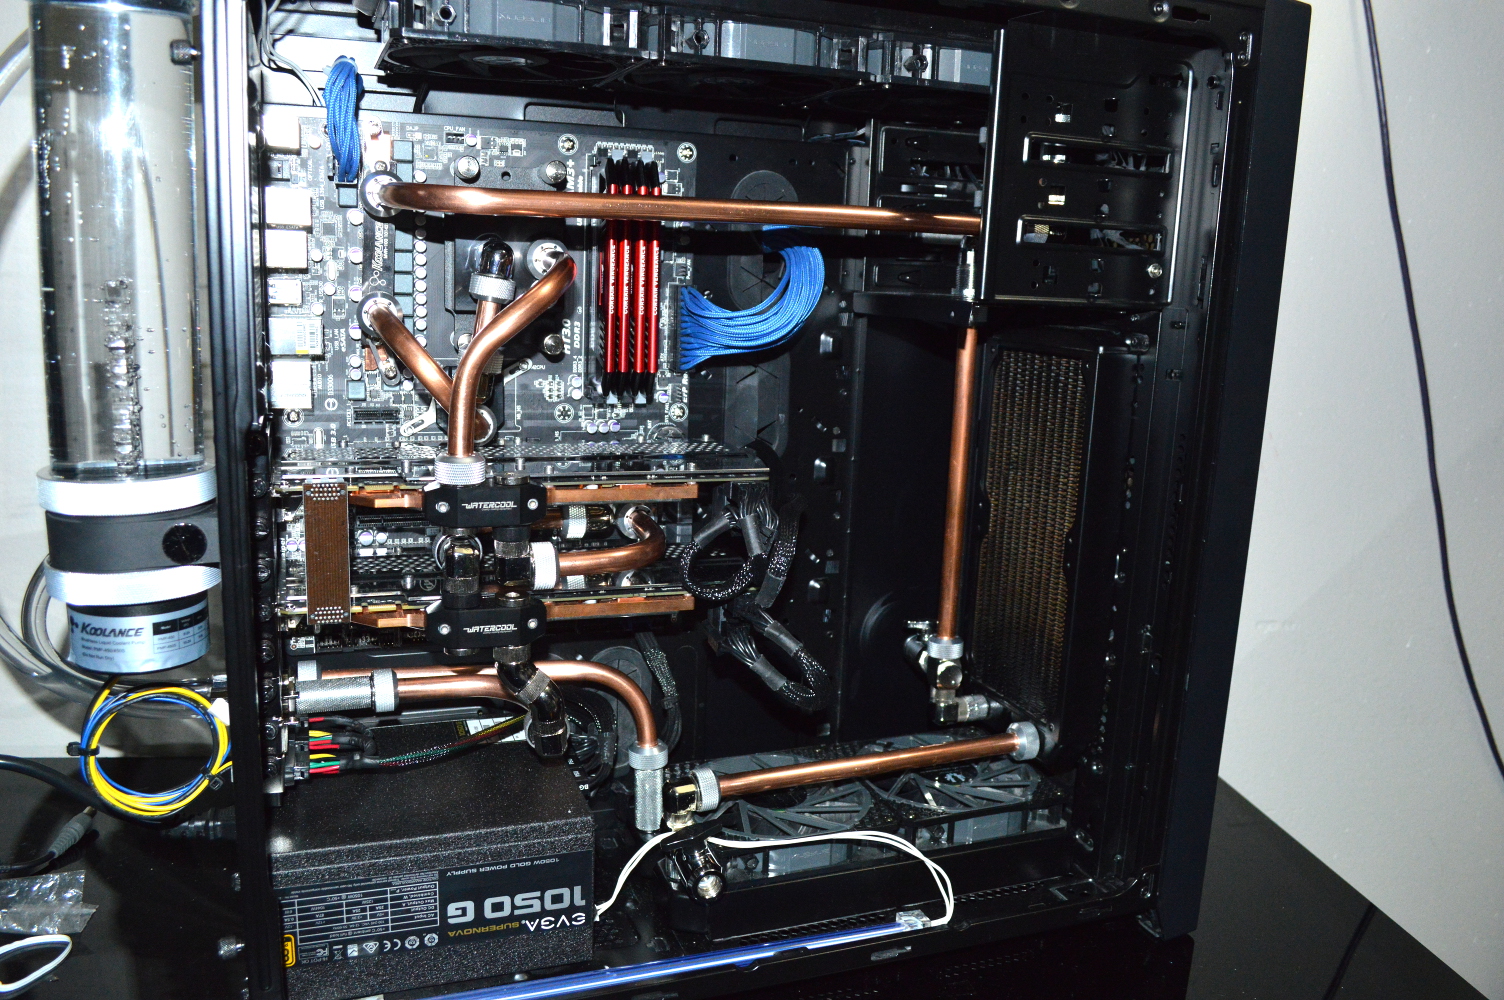
And that night I went about pulling off the Koolance block so I could get to the CPU and clean it. I installed it into the Gigabyte board, flushed the EK block, and started adding fittings into the mix, making sure to have the graphics cards in the board as well to make sure clearance is fully tested. A few things are worth noting on this. First, a Koolance 90-degree fittingin a 15mm extension fitting on the MVR-100 was level with a Swiftech 90° fitting in the EK block. How that worked out I have no idea, but I’m not going to question it.

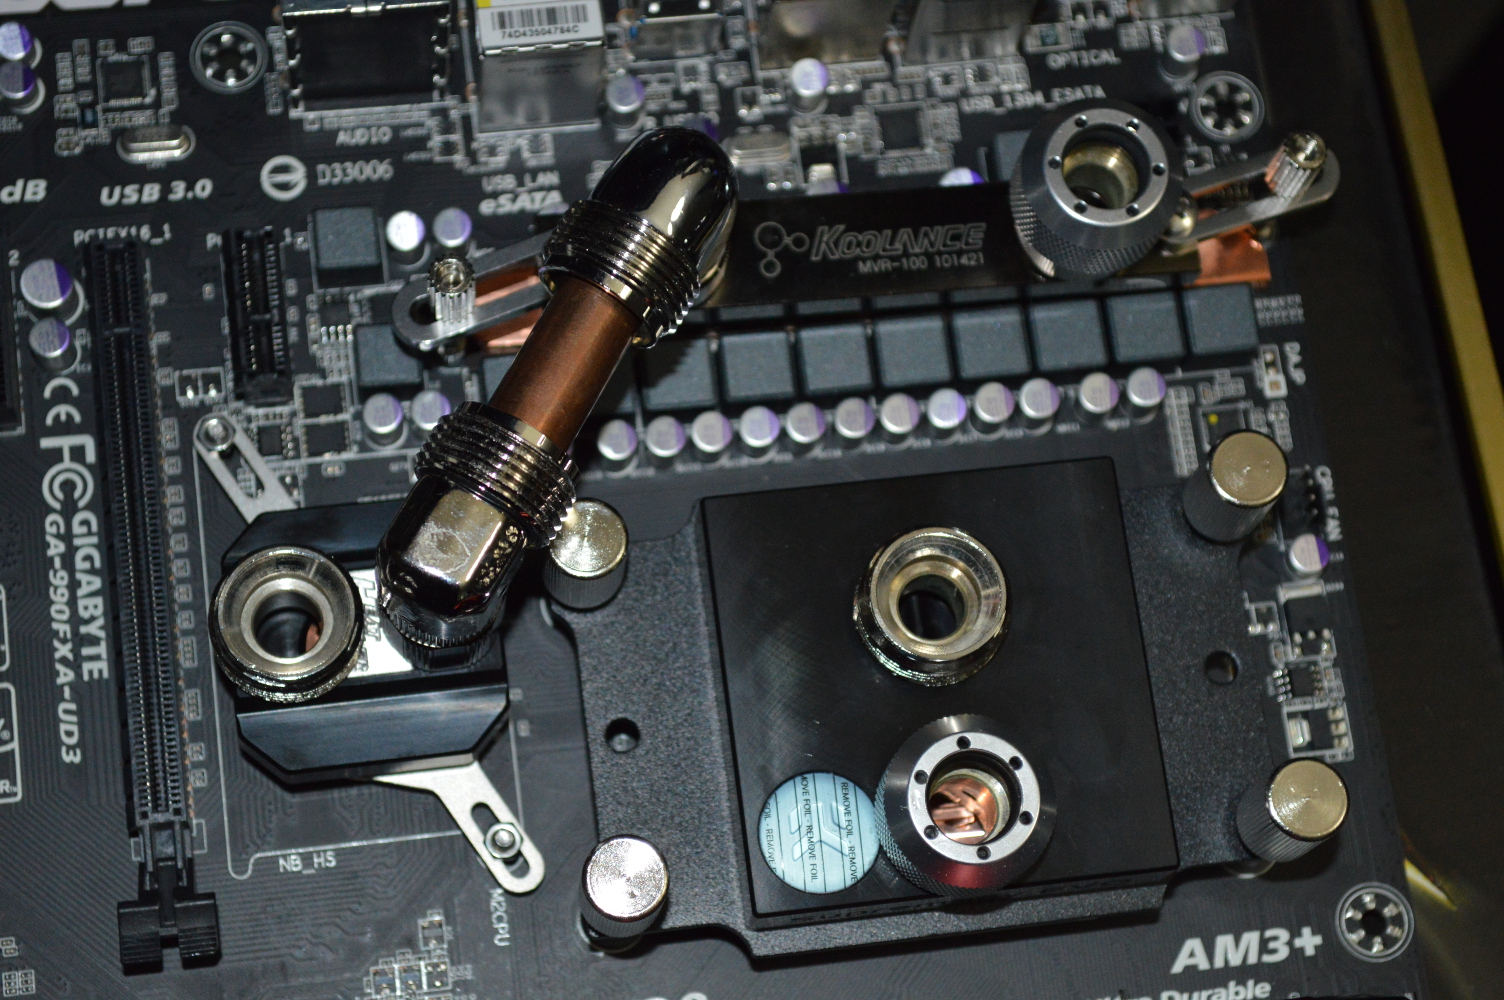
Now going from the Supremacy EVO’s outlet to the inlet on the northbridge is a little more difficult to line up. The 15mm extension fitting puts it too high, and it appears to be by only a few millimeters. I’m wondering if lowering that to a 10mm extension would line that up. Needless to say I’ve got orders to place, especially since I’m out of 90° fittings and I’m short a couple to finish the loop. There are some parts I can tube up in the interim, and I’ll handle that later.

Depending on distance, I may just loop from the CPU to the northbridge with a 180° bend to the fitting closest to the graphics cards, which would make it easier to tube up from the northbridge to the top graphics card. I could even see about doing that to get from the VRMs to the CPU as well to eliminate the need for the 90-degree fittings. That would free up four of them. Options abound, and the only requirement for the 180 bends is that the fittings be 3″ apart on center. I don’t think I’ll have any concerns on that.

The clearance between the northbridge and the graphics cards was also only just enough. As in it looks to be a millimeter. And the northbridge is also off alignment from the graphics card by only a few millimeters as well, so lining that up is going to be an interesting exercise. I might just look into that alternative I mentioned as well.

After figuring that out, I mounted the mainboard into the case along with the graphics cards and shut everything in to keep it away from the kitten.

mainboard1

mainboard2

mainboard3

mainboard4

mainboard5

No cabinet, yet…

Build Log:

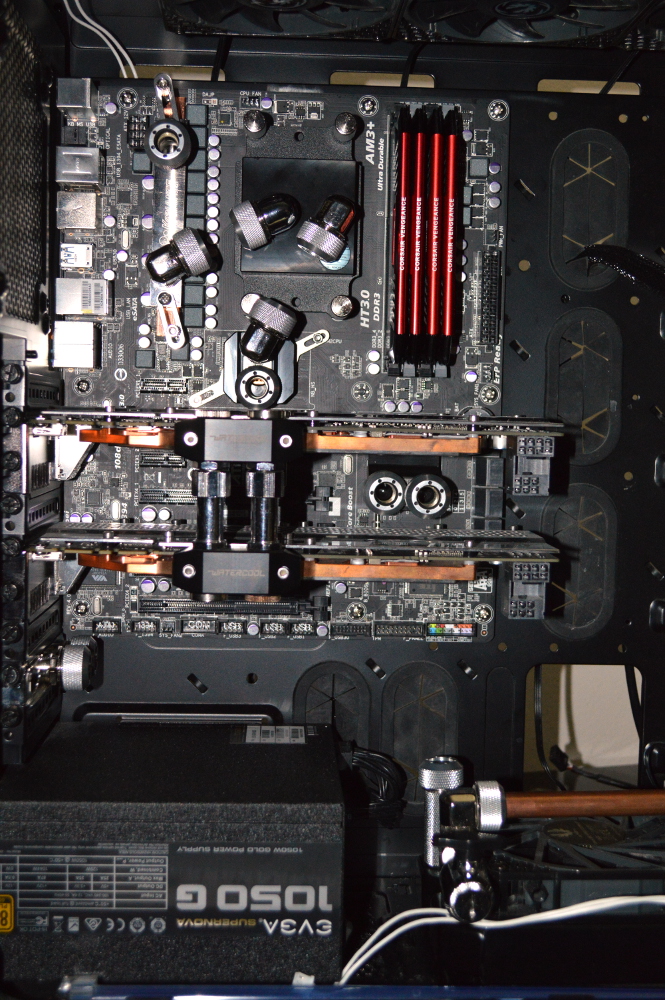
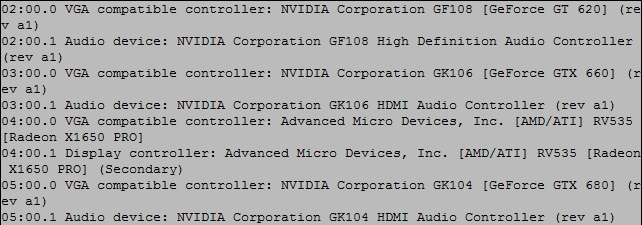
Not long after publishing the last part to this series, I decided to test whether I could get four graphics cards recognized through the USB plugs. The fourth card is a Radeon X1650. And it was detected.

4gpus

Four graphics cards: GT 620, GTX 660, Radeon X1650, and GTX 680. I could only leave it connected for a short while because the fan on this card is rather noisy — plus it can’t be used for Berkeley — but it was a good proof of concept. With that behind me, I ordered another GTX 680 off eBay — this time a Zotac GTX 680 2GB Amp! Edition (ZT-60102-10P, which EK’s Cooling Configurator confirms is a reference card). Interestingly the Zotac GTX 680 uses two 6-pin PCI-Express connectors instead of one 6-pin and one 8-pin like the EVGA.

But now things will get a little interesting, mainly because of the power connector requirements for all of these cards. The GTX 680s both take two power connectors while the GTX 660 takes only 1. Plus all 4 of the cards will still need to be powered by 4-pin Molex connectors. I think I’m going to need some more 3M Commander clips to keep things in order.

This is also where trying to power all of this might become an interesting problem and something I’ll need to keep in mind for the future. A while back I ordered a couple ATX breakout boards that were built for Bitcoin miners. This style of breakout is intended to be used with bare wire 6-pin PCI-Express connectors with all of the 12V lines lit to power mining hardware. And I’m thinking it can be similarly used to power graphics cards, when a few things are taken into account.

In a standard 6-pin PCI-Express connector, only 2 of the 12V lines are used (look at a dual 4-pin Molex to 6-pin PCI-Express dongle), even though in modern power supplies all three of the 12V lines will be lit — this is how a 6+2 connector is supported. On cards requiring an 8-pin connector, however, such as the EVGA GTX 680 in the setup, all 3 of the 12V lines must be lit.

For now, though, I’m going to rely just on the connectors on the power supply. There are enough to power two GTX 680s and two GTX 660s. The break-out board with the extra 6-pin PCI-Express connectors (with 8-pin adapters where necessary) will allow for connecting more than is typically supported since it’ll be drawing from other 12V connectors available on the power supply.

The only other thing I’ll need to figure out is just how to power it all on once it’s in the chassis, and there are a couple directions I can go with that.

Speaking of the chassis…

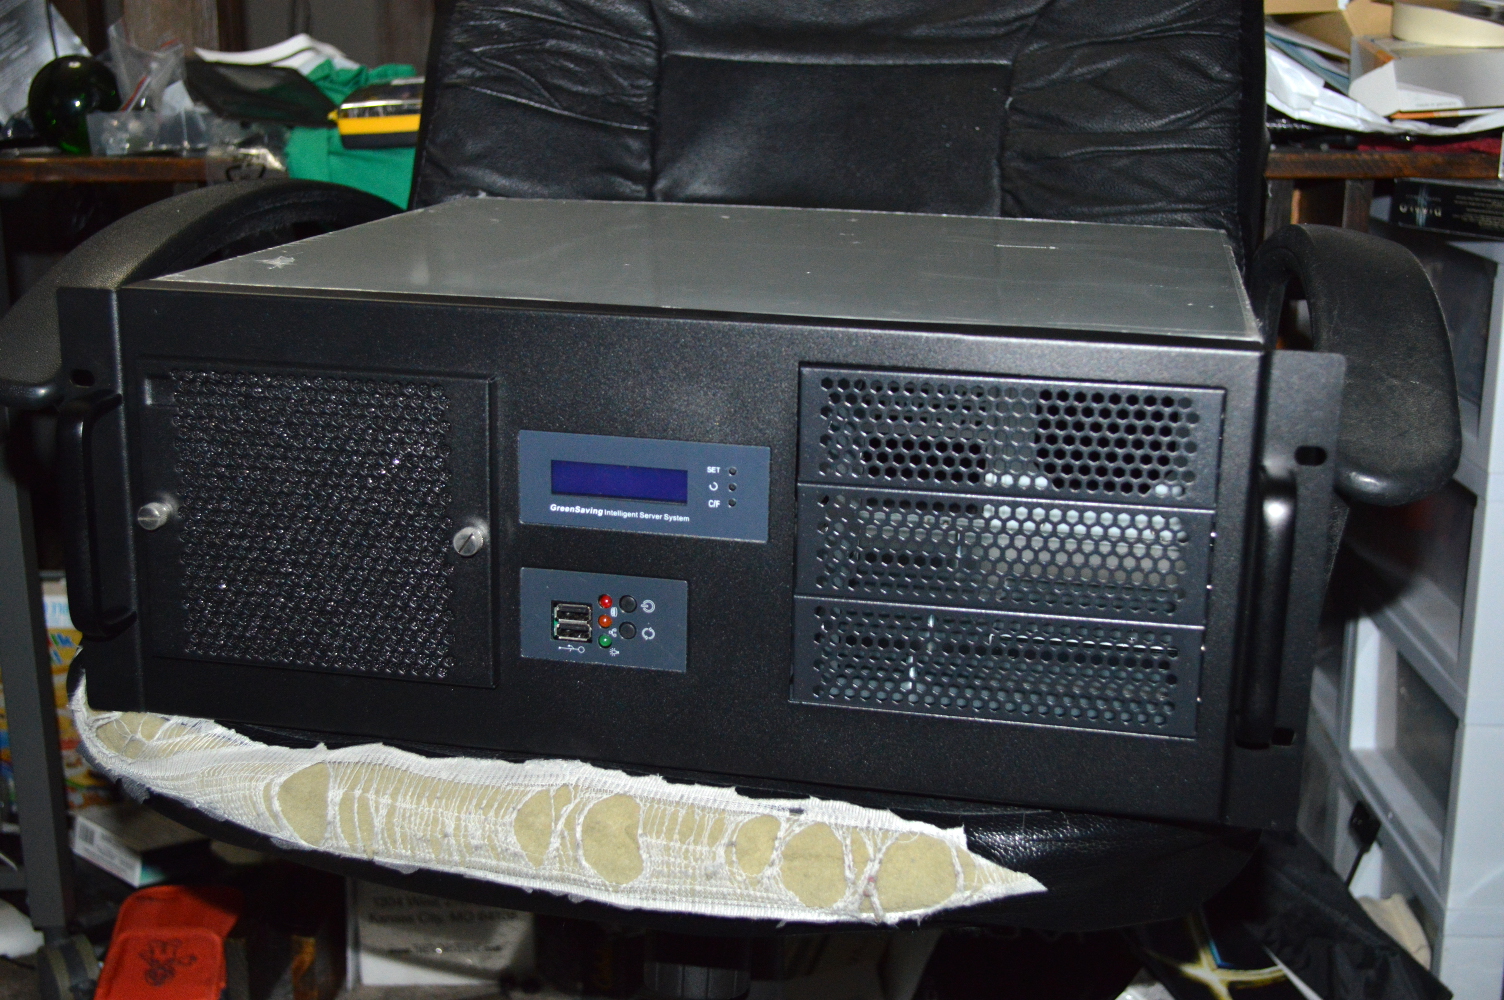
4U chassis for the graphics cards

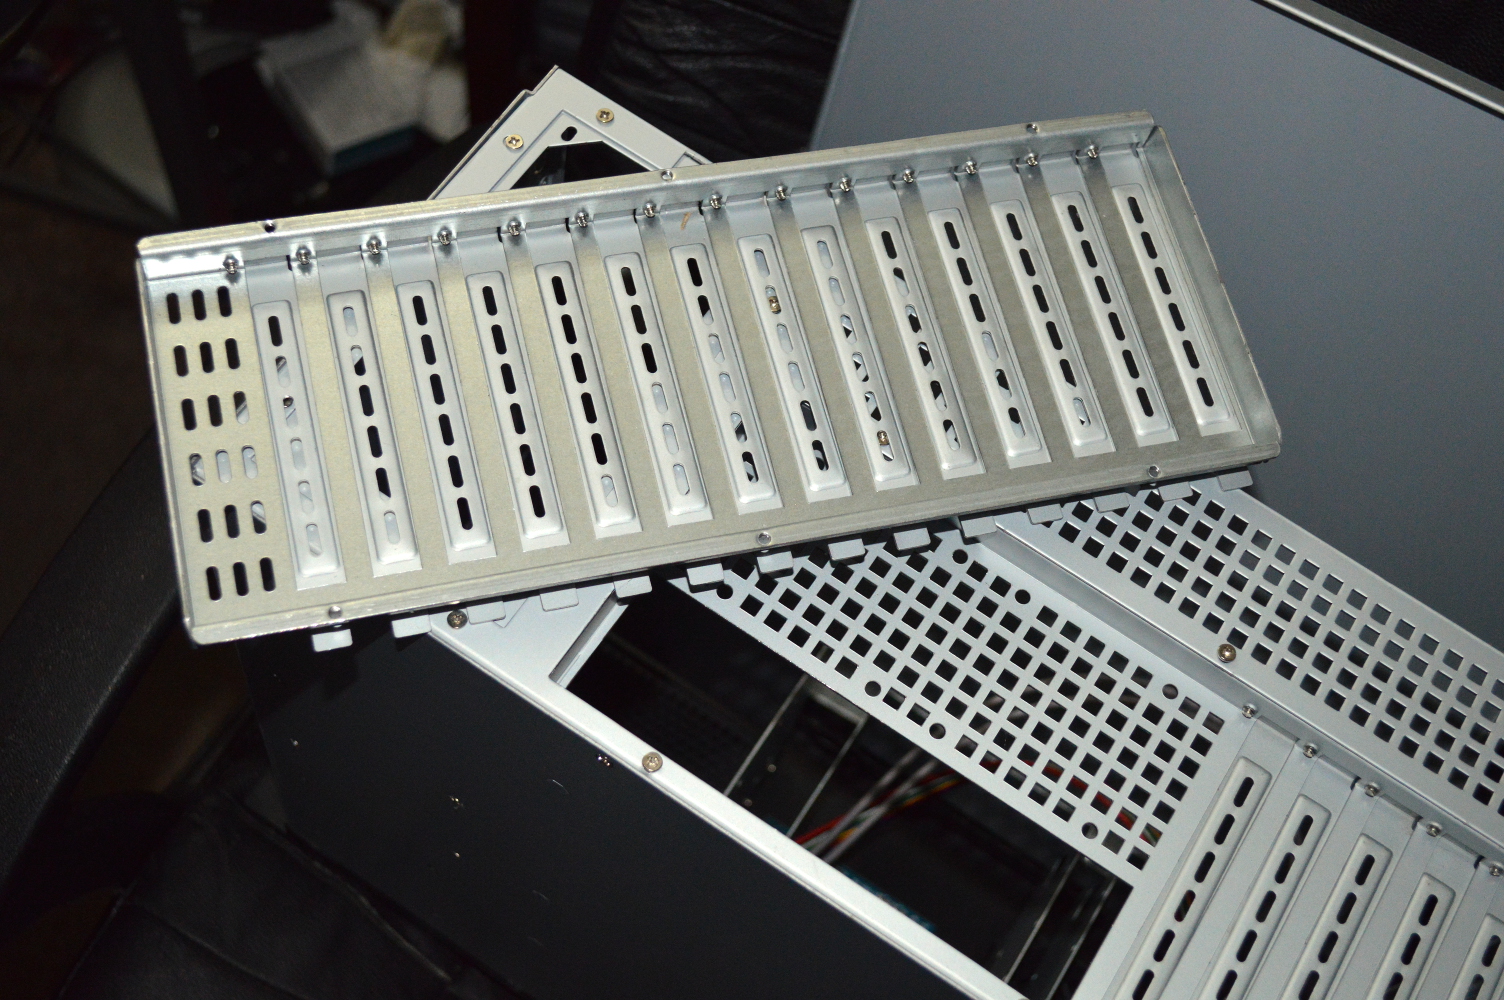
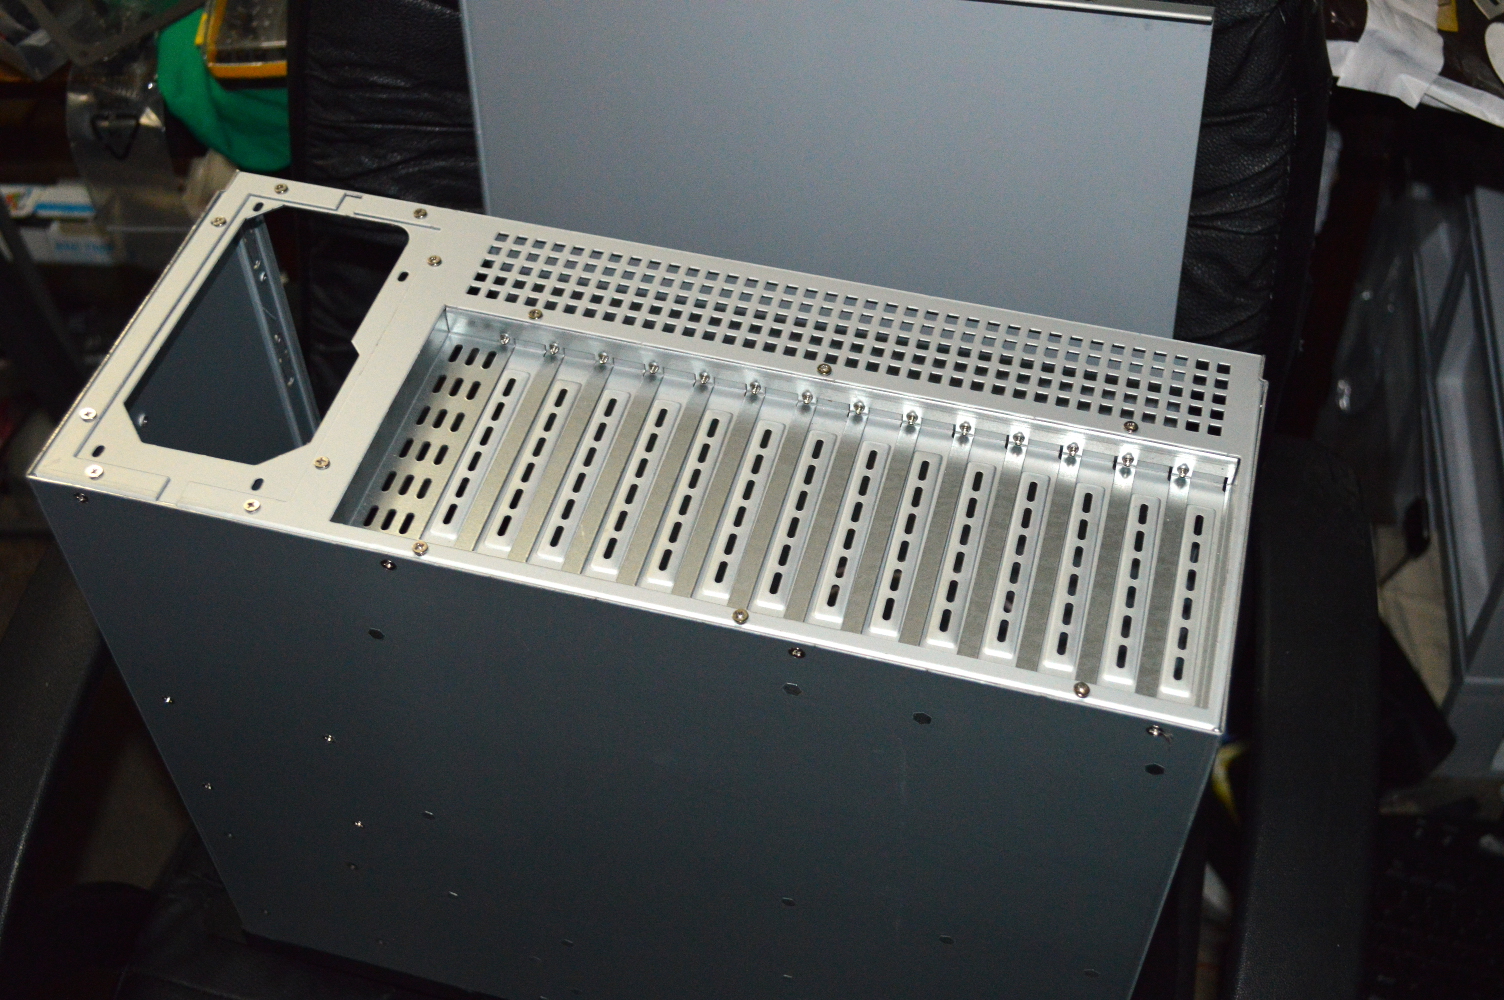
I mentioned in an early article that the graphics cards would be going into a 4U chassis with a 14-slot rear panel. This kind of chassis is typically made for PICMG 1.3 backplanes and SBCs. I won’t go into detail on that other than to say it’s a very interesting topic. Some even support Intel “Haswell” processors.

But the existence of these chassis is great when you’ve got a lot of discrete hardware to support in some fashion. In this instance, it’s multiple graphics cards that need to be housed with USB connectors, powered, and, eventually, water cooled. Initially when I mentioned the chassis, I linked to an option by iStarUSA that was, frankly, ugly. Some searching around found other options, but in looking at PlinkUSA, I noticed that for some of their 4U chassis they have a 14-slot back plate for just $20, item 4U-14S-BP (I wonder what that stands for). So with that pretty much making up my mind, I ordered item IPC-G4380S, another “intelligent” chassis with a temperature display, with the optional 14-slot back plate.

Eventually I’ll order another fan mount bracket from Mountain Mods, but for now I’ll monitor temperatures with a single 120mm fan to see how well things work. I can always use double-sided tape to attach a second 120mm fan into the 5¼” drive bays if necessary.

Radiator panels

The radiator panels arrived from the United Kingdom a little earlier than expected. And I picked up an EX360 radiator from my local Micro Center. The second radiator I’ll order from Performance-PCs along with another D5 pump when I’m actually ready to build out everything.

The panels do flex a little — they’re made of only 1.5mm steel with a lot of mass cut away — but sandwiching it between fans and the radiator makes it perfectly rigid. I’ll just need to figure out how to get the fan cables behind the panel for wiring up for power — either drill a hole through the panel or use a 1U panel between the radiators panels for that. I considered doing pull on these as well, but this configuration I think provides the best strength.

panel1

panel2

panel3

Boxing up the graphics cards

I’ll say up front that the 120mm fan that comes with this chassis will be getting replaced with something better. It comes with a Yate Loon 120mm fan — cheap and effective, but loud (rated at 28.8 dB/A), and I want quiet. And the 5¼” drive bays will get swapped out for another 120mm fan mount, or I might use double-sided tape to secure the fan.

The only thing I don’t like about PlinkUSA’s chassis is the fact they come with all of the bare panels covered in plastic. I understand why the do this, but I still reserve the right to voice complaint about it. It just reminds me of the aftermath of some really, really bad sunburns when I was 8.

4uchassis1

14slot1

14slot2

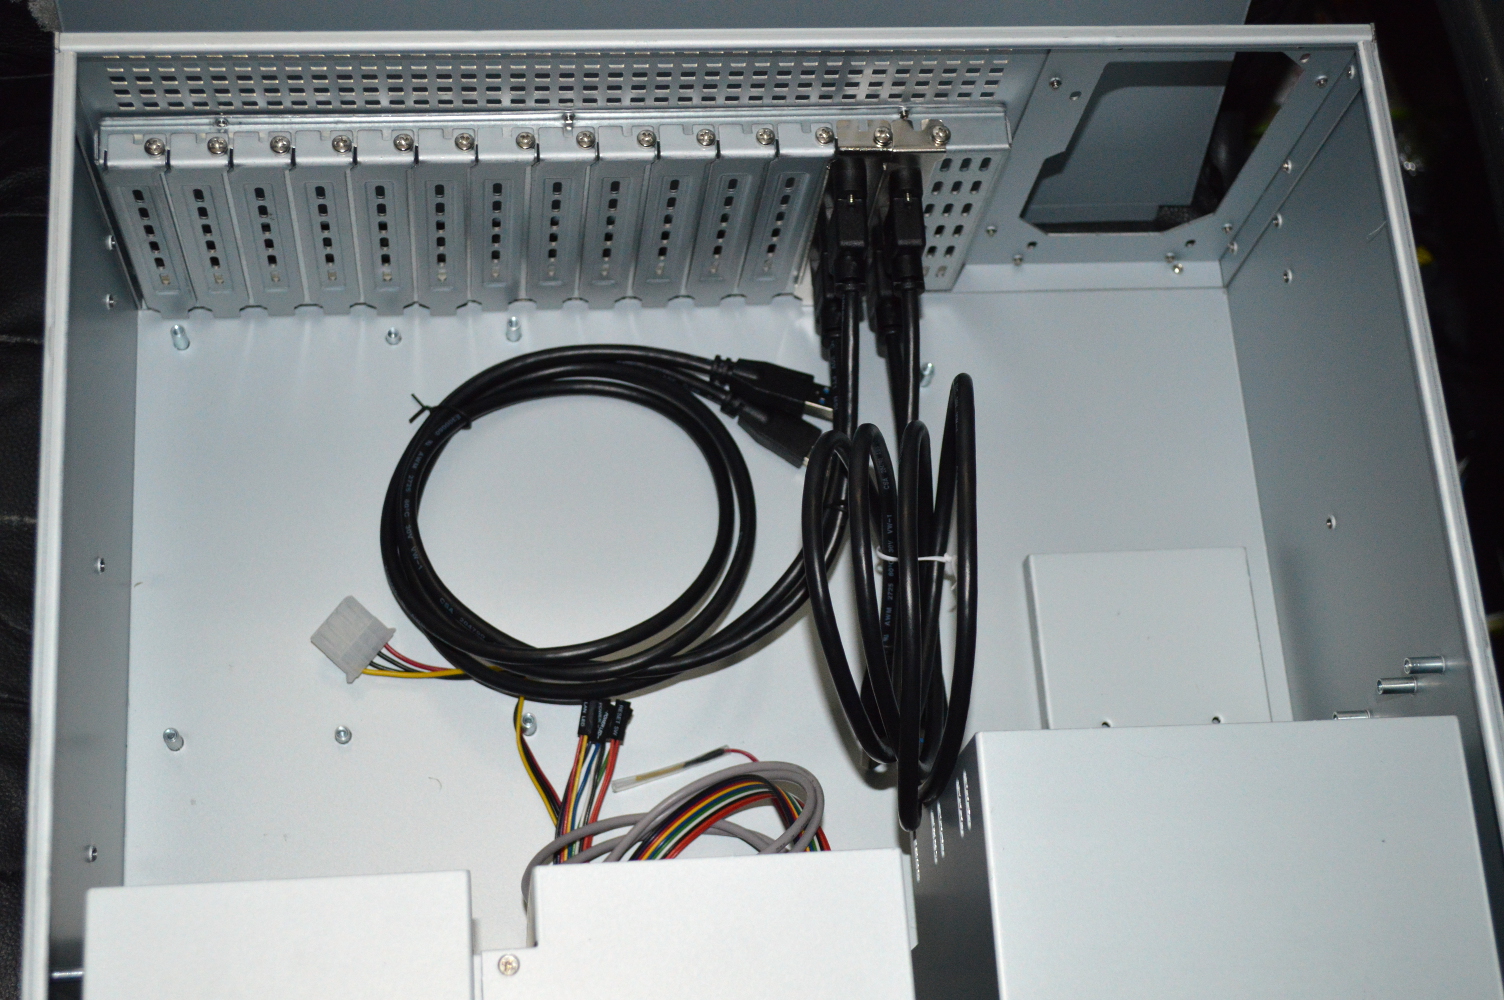
The 14-slot back plate was easy to install — just six screws at the back to take out the original ATX back plate and insert the 14-slot option. I assembled the USB panels as well. The USB 3.0 cables came from Cable Leader. I ordered the 3′ options on all of them because I’m considering mounting those above the graphics cards eventually instead of using back plates. That’ll depend on a couple factors, though.

usbpanels

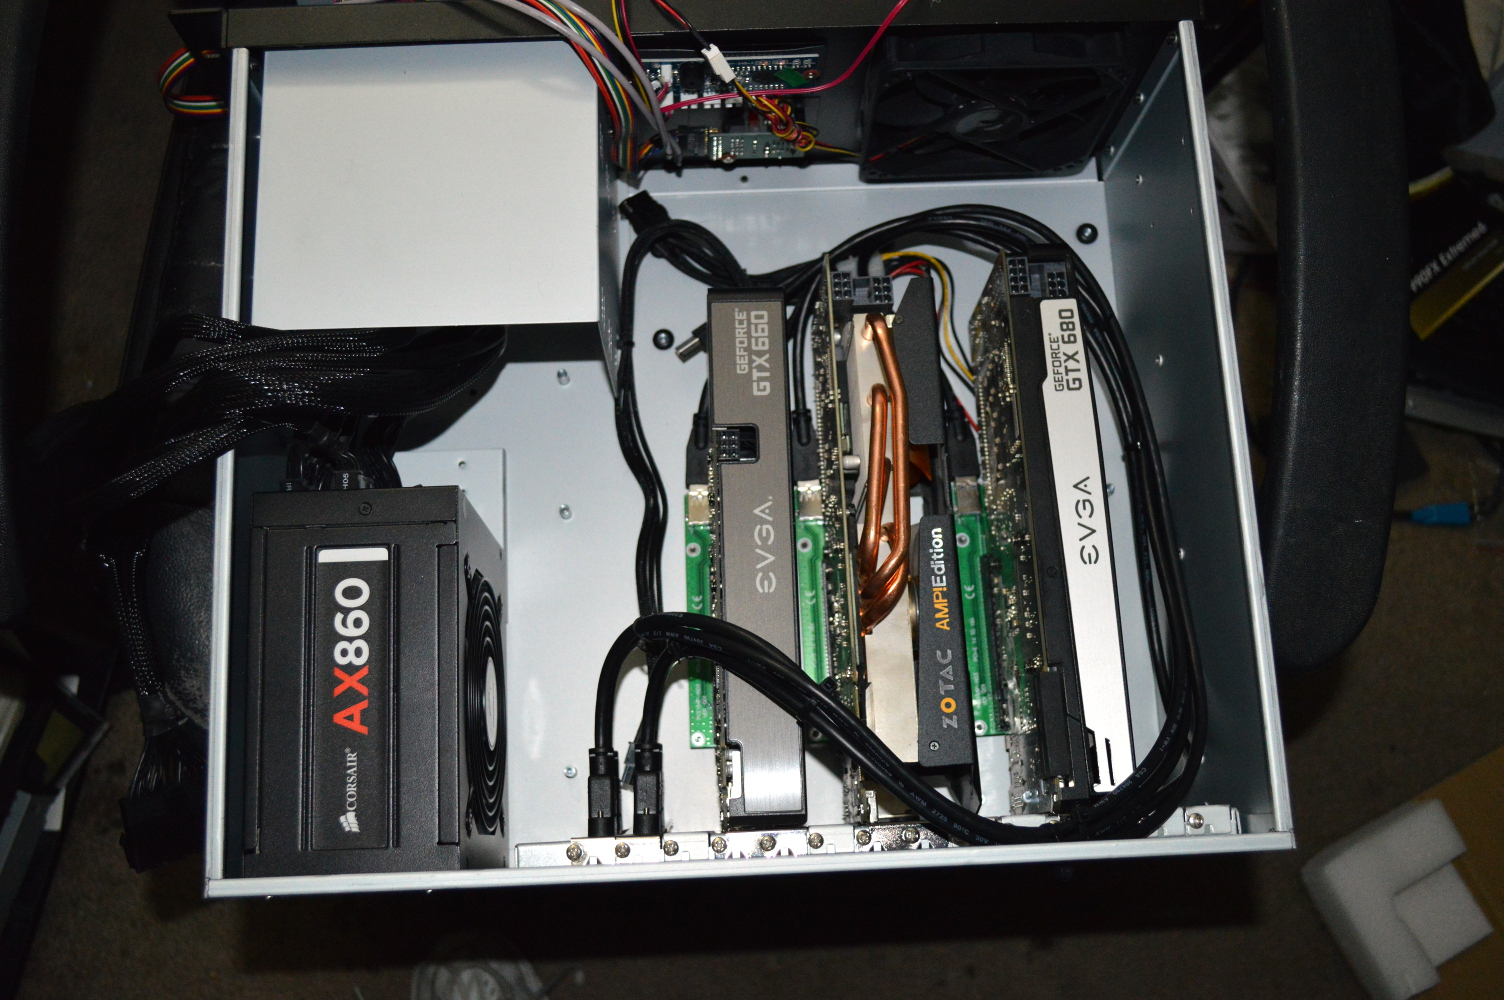
Before I started preparing the case, I set the MilkyWay project to not load new tasks — it was the only one I had running right now — before disassembling everything. This is where the fun starts because the bottoms of the slot panels aren’t held in by anything. Only the screw will be securing the graphics card to the chassis, so I needed to think of something for securing the PCI-Express expansion board to the chassis as well so the graphics cards don’t go everywhere.

The Zotac card also gave me some cause for concern given the copper heat pipes that stick up off the top of it.

installed1

installed2

rack

For powering this, I’m relying on a jumper plug on the 24-pin cable. I’m intending on using an Arduino Nano to try to use the case power switch to control the power supply — instructions for what I’m intending can be found over at Instructables.

As with the previous two systems, the fan controller on this isn’t connected to anything, but I’m still using the temperature sensor to show the internal temperature of the chassis — something rather important with these graphics cards. As was expected, the temperatures on the cards was higher than when they were exposed. I don’t know if a second fan would help that, or perhaps changing the installed 120mm to an SP120.

It’ll be interesting getting these hooked up for water cooling. At least going that route I can have the cards right next to each other instead of spaced out, so hopefully the system won’t look nearly as cramped. Some 3M Commander clips will help as well.

And now it’s collarbones

In Woodford County, Kentucky, a young woman named Stephanie Hughes was allegedly released from school for a dress code violation. Here’s what she wore:

The story says she was released because the shirt showed her collarbones. Except she’s not wearing a shirt. She’s wearing a tank top with a sweater-like garment over top — pardon my lack of knowledge of female fashion.

Here’s the dress code for the school in question regarding shirts (emphasis mine):

Rounded crewneck shirts are to be worn by all students. The only exception is when they wear a button down shirt (polo style or dress shirt) which may only have the top button open. A crewneck is defined as a rounded neck t-shirt that does not extend below the collarbone. Turtlenecks and mock turtlenecks may be worn in place of a crewneck shirt. All scoop neck, v-neck and tank tops are prohibited unless worn with a crewneck shirt. Other shirts may be worn in addition to the crewneck shirt. All shirts must meet the following criteria:

  • Sleeve must have a measurable underarm seam
  • Must be able to be tucked in even during movement (although does not have to be tucked in)
  • Midriff should remain covered at all times
  • Must not extend below the collarbone

As emphasized above, the dress code applies to all students. And it’s clear that Stephanie violated it, willingly and, I’m willing to bet, knowingly. And her mother is complaining when it’s both hers and her daughter’s combined responsibility to ensure she is compliant with the dress code.

Hey look, mothers and fathers, dress codes exist in schools for a reason: they exist in the professional world as well. The best time for them to get used to these dress codes is while they’re still in school. About 1 in 5 public schools have even gone so far as to require a uniform.

Yet these dress codes are routinely criticized as being misogynistic and biased against girls and young women. Or at the least disproportionately enforced against girls and young women. But if that’s the case, it’s likely because young women are more likely to violate the dress code. Given how much of young women’s fashion has clashed with dress codes, I’d say it’s a reasonable hypothesis. While men also wear flip flops, women seem more inclined to do so, along with wearing shorts that don’t extend far enough to satisfy a number of dress codes.

The dress code, as quoted above, is pretty clear as to what is not allowed, and what Stephanie chose to wear to school qualifies on that mark. Did she actually read the dress code?

The above image was also posted to Imgur (from where I’m embedding it), and a follow-up to it was posted on August 15:

Our dress code states that all students must wear a crewneck shirt. This was instituted to remove any subjectivity from the dress code (because really how does one measure cleavage appropriately?). Of course, students began to push the boundaries and administrators were forced to define what a crewneck shirt meant. They stated that it must cover your collarbones.

No one ever said that collarbones were too sexy or distracting to be in a learning environment. Our school just wanted a simple way to enforce the dress code. And, yes, I think appropriate dress is a reasonable expectation at school. It’s not about whether boys are distracted by girls, it’s about professionalism.

Lastly, this girl wasn’t suddenly sent home witout [sic] warning. Everyone in our county knows the crewneck rule, it’s been around forever. So don’t give me that crap about parents being burdened by having to leave work to come pick up their kids. Everyone involved consciously chose to break the rule.

So a dress code has been around a long time, everyone knows about it, it’s worded in such a way as to remove subjectivity — making it enforceable against everyone in a consistent manner — and school dress codes are misogynistic? Give me a fucking break.