Project Absinthe – Part XI

Build Log:

Finally we come to the part of the build that I have been looking forward to for weeks: connecting the dots.

The first order of business, though, wasn’t running tubing, but testing the drainage system I had earlier worked up with fittings. I wanted to make sure everything was tight and wasn’t going to leak. More importantly I wanted to make sure it was going to work the way I was seeing it in my head.

I just used distilled water for this. As you can see, it drains as I said: like draining the coolant from a car. I think that vase is about a half gallon volume (about 1.9L) as well, so when it comes time for the real leak and drainage testing, it’ll hold volume without a problem.

Down to business.

I started running the tubing on Friday night. Living in an apartment, that meant that cutting and straightening tubing more than what I originally had during my earlier experiments would have to wait till the next day. I had some tubing already pulled that I could use, and I was able to make the first run from the pump to the SLI bridge.

You can probably tell that piece of tubing isn’t entirely straight on the fittings. That’s actually one of the beauties of the Primochill fittings and one of the key points where they beat the Bitspower fittings: the tubing doesn’t need to perfectly line up. With the Bitspower fittings, a slight deviation could mean leaks. With the Primochill fittings, so long as you can get the compression ring down and tight on the fitting, all should be good. Sure the cockeyed lineup might impact flow a little, but it shouldn’t leak.

But I left it for the next day to fix as I didn’t have any lengths of straight tubing long enough to handle it.

* * * * *

Yet another Saturday in this long journey for Absinthe.

Straightening and bending copper tubing is certainly an exercise in patience. Even tubing with single 90-degree bends will probably take a half hour of adjustments to the tubing length. Whether you’re taking 2″ or 1/4″ inch off the end of the tube, both cuts take the same amount of time. And as you get the tubing dialed in to the proper lengths, your cuts are going to get shorter and shorter.

And let’s not discount mistakes as well, which will also eat your time.

Initially I started by looking at connecting the SLI bridge to the top radiator. It was a single 90-degree bend followed by cutting down the tubing little by little until I had it right.

Afterward I turned my attention to attempting to redo the front connection, the one that was a little off-angle, but ended up messing up the tubing trying to cut it down. So instead I tried to use it as a guide to measure up the top radiator to CPU connection. That allowed me to discover that a 90-degree single rotary fitting plus the bent tubing lined up perfectly. So the top radiator ended up tubed up sooner than I had originally planned.

I was certainly pleased because it meant some of the bends would be significantly less complicated than I originally imagined.

With another piece of a screwed up bend and a 45-degree single-rotary fitting, I was able to tube up the flow from the front radiator back to the reservoir.

This was a very tight fit on the fittings too, so I’m not sure if I’m going to leave this like that.

Now with both my 90-degree single-rotary fittings used on the radiator connections, I turned to Microcenter to find another one. Their web site said they had one Bitspower matte-black fitting in stock, but unfortunately I couldn’t find it once I got there. It was either sold and their online inventory hasn’t adjusted  yet – given they don’t have their nice current stock of 45-degree single rotary and 90-degree dual rotary fittings listed, this is likely – or the fitting was lifted – which is also likely given I found open and empty packets for a Bitspower valve and stop fitting.

So I tried to tube up the rest of the loop with what fittings I still had.

There are paper towels placed because I initially tried to do a leak test on this, which worked out somewhat well, but not nearly as well as I would’ve liked.

The 45-degree connection going from the pump to SLI bridge leaks if it’s jostled. And I don’t like how the tubing from the CPU to the front radiator looks a little cock-eyed as well. At the least that needs to be re-done. And the initial flow line out of the pump is also going to get replaced. I’ve got an order for a few more single-rotary fittings on an overnight order from Performance-PCs, so those should be here Tuesday.

The 45-degree connection will be replaced with a 90-degree connection similar to what is leading from the SLI bridge to the top radiator. I’m going to also replace the connection going from the front radiator to to the reservoir using another 90-degree single-rotary fitting coming off the port that currently has the temperature probe, alleviating the tight fit on the compression fittings. As for the CPU to front radiator, I’m not entirely sure what I’m going to do with that yet. I’m also considering figuring out how to redo the drainage system using copper tubing as opposed to fittings.

Unfortunately it means more waiting, but everything should be better in the end.

And once the fittings arrive and the connections are re-done, I’ll be doing another leak test. If everything goes well, the tubing will be taken out of the system to be polished and re-installed for another leak test. Once that leak test is done, the distilled water will be changed out for the coolant.

Project Absinthe – Part X

Build Log:

Wednesday didn’t see much action on Absinthe due to some thunderstorms that rolled through the KC area, so I took the time to plan out what was going to happen next. Obviously the graphics cards needed to go in before any tubing could be run, and I needed to see how they would relate to the rest of the build to see about finalizing my plans on that mark.

So that was the focus for tonight after I got home from work. As the original thermal pads that came with the water blocks are basically gone, I made sure to order new thermal pad material a while back. The material is Fujipoly’s SARCON X-E, both the 1.0mm and 0.5mm thicknesses since that is what the water block instructions call out the thicknesses to be. It was expensive, but it’s supposed to be pretty high performance.

Of course ArctiClean was used to clean the stock thermal compound from the GPU. Then it was a matter of lining up the block to the card and screwing it down into place. I described how I did this originally in the original build log. For the SLI bridge, I misplaced the screws that were supposed to go with it. Thankfully Home Depot carried M4 screws with the right sized heads to fit inside the recessed mounting hole. For those curious, the instructions call out 25mm screws.

Now with the graphics cards installed, a few things became apparent that would relate to tubing things up. For one, the face of the SLI bridge lines up near perfectly with the edge of the power supply. For much of the tubing, I had in mind trying to maintain 90-degree bends all over, with any bends in the tubing to keep it running parallel to a side of the case.

That however was going to get complicated in a hurry.

Albert_Maignan_-_La_muse_verte

In the picture above, you can see single-rotary fittings on the inlet and outlet for the SLI bridge. In both cases, that will allow me to use 90-degree pieces of copper tubing to connect the pump to the SLI bridge, and the SLI bridge to the top radiator. One bend. No complications. It won’t have the tubing running parallel with the sides of the case, but the tubing looking a little off-sided is about in line with some descriptions of what absinthe does to your mind, the kind of distortion that can result from being a regular drinker of it, such as the poet in the painting to the right.

Come to think of it, a long gaming session can probably do the same to a gamer as the Hemingway to a typical person. The cocktail is described thusly: “Pour one jigger absinthe into a Champagne glass. Add iced Champagne until it attains the proper opalescent milkiness. Drink three to five of these slowly.”

But I digress.

The tubing not being square to the case reduces the complication and potential waste of trying to make it square to the case and allows me to instead focus on how to make it all work well. It should all still look pretty good in the end.

As tubing up the loop will require potentially making a lot of noise as I try to straighten lengths of it – hopefully not using more than what I bought in the process – that will likely have to wait till the weekend, though I’ll probably try to do some of the tubing Friday night, or I’ll just focus on the rest of the cabling first.

We’ll see.

Project Absinthe – Part IX

Build Log:

Monday was a night off from working on Absinthe. Tuesday I ended up staying home from work due to some dizzy spells that greeted me when I woke up. And anyone who has had those along with their stronger counterpart we refer to as Vertigo (thankfully he responded to my demands to stay away) likely knows the kind of morning I had. Thankfully the dizziness managed to die off enough later in the day that I was able to make some headway.

And first order of business on the build was making a backup of my wife’s hard drive using Macrium Reflect. I have her drives configured in a RAID 1 setup, and I’ll eventually get a hardware RAID card as well. The difference between a hardware RAID card and the onboard RAID on her mainboard, for those curious, is the same difference between the old “Winmodems” and hardware external modems that were used via a 9-pin COM port.

When the backup was done, I needed to let the computer cool off before pulling everything apart. Having a fan blowing onto the components helped it cool off faster. It’s always recommended you let everything cool off for at least an hour before you start taking things apart. I’ve violated that rule numerous times, depending on what I was doing, but the rule absolutely applies if you’re going to be doing any kind of dusting using a compressed air canister because of the extremely low temperature. It’s about the same as putting cold water into a hot glass.

Disassembling the Zalman

While waiting for the computer to cool down, I disconnected everything except the power supply. This leaves the case grounded for when I actually get in and start removing components. Since I’m touching the case, touching screws and other things that also touch the case, I can instantly ground myself. If I was using an anti-static wrist strap (I’ve never used one of these, by the way), then I’d be able to clip it directly to the case at a point near the power supply and be completely grounded because the case would be connected to my apartment’s ground circuitry.

It’s one of the reasons whenever I build a computer from the ground up, I always install the power supply first, and shortly after that I plug it in. I make sure the power switch on it is off to ensure I don’t end up doing something stupid, but the power supply being in the case and plugged in grounds the case completely for when I’m installing sensitive electronics. I have the RM1000 power supply plugged in for the same reason.

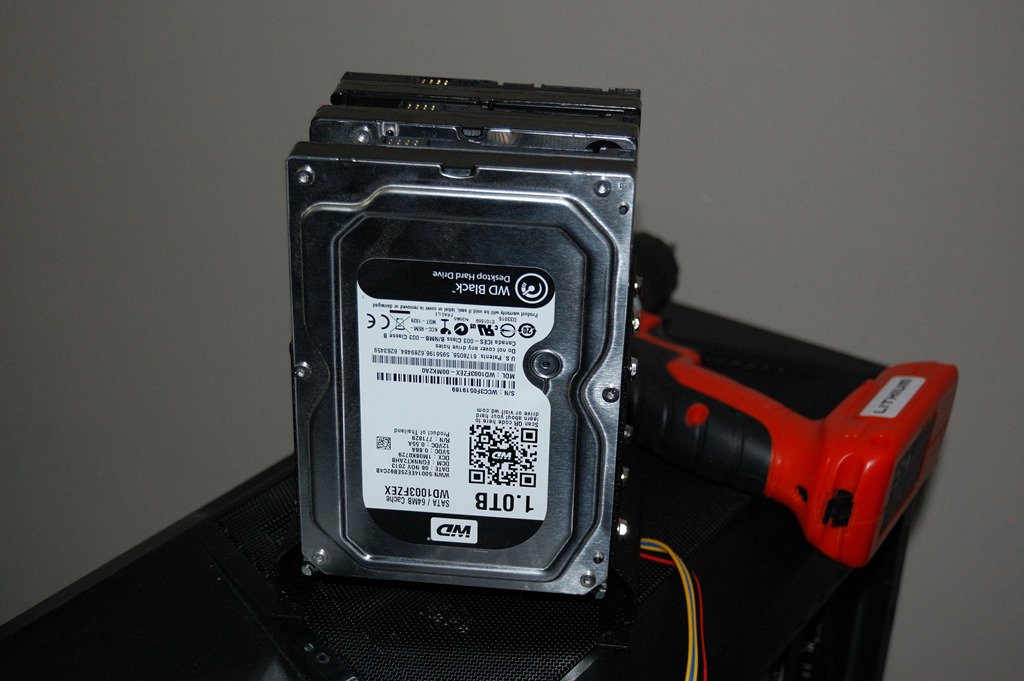
The hard drives were my first target. I needed to get those out and get the hard drive cage mounted in the case. If I didn’t do this early, it’d be difficult later on as the graphics cards were going to be close by, and the mainboard itself would also interfere a little. One thing I failed to anticipate with mounting the hard drives is that the hard drives would actually interfere slightly with the lower corner screw for the mainboard. It wasn’t impossible to reach, but it was a little blocked.

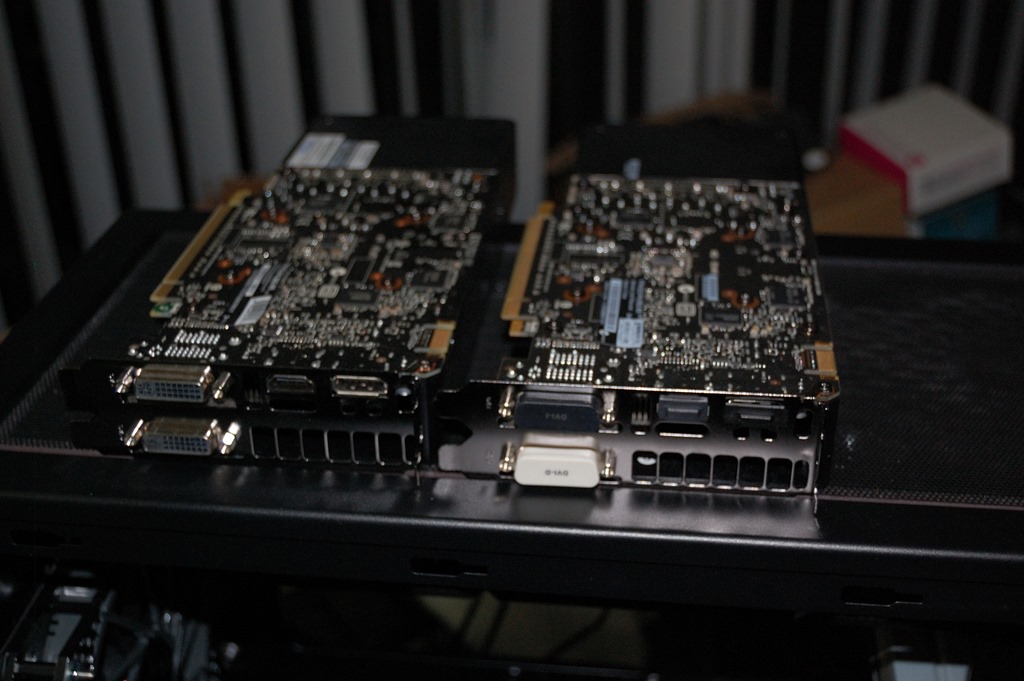
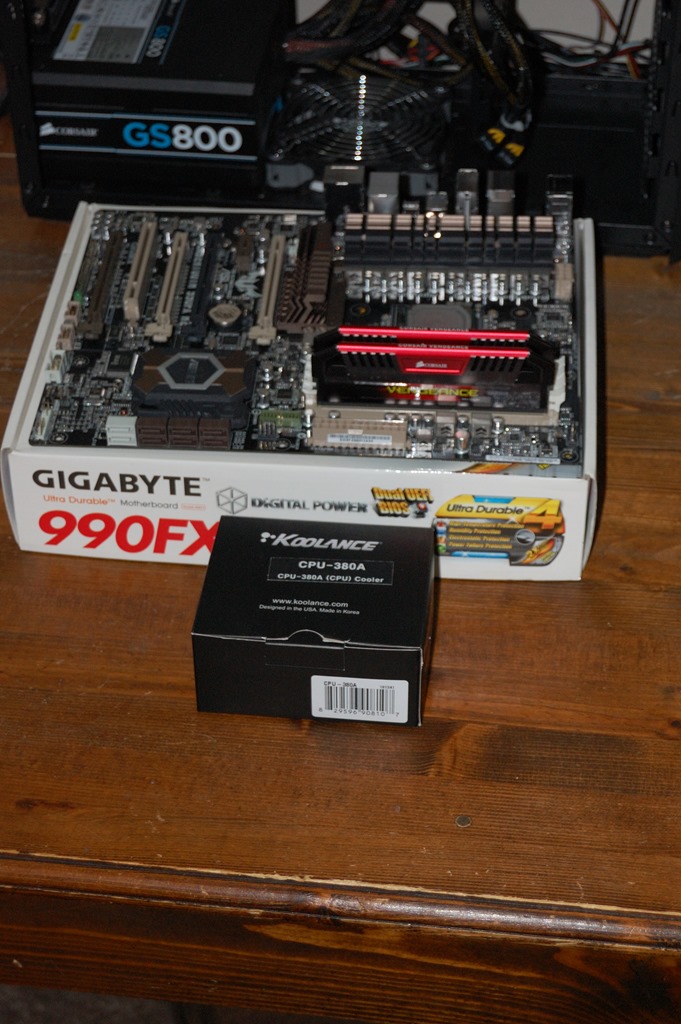
So after getting the hard drives mounted, I turned to undoing much of the cabling in the case. I wanted to get a lot of it out of the way before going after the graphics cards. Once those were out, I turned to the ThermalTake water cooler, then to the mainboard. The graphics cards I set aside on the 750D, while the mainboard I set on another mainboard box to prepare it for work.

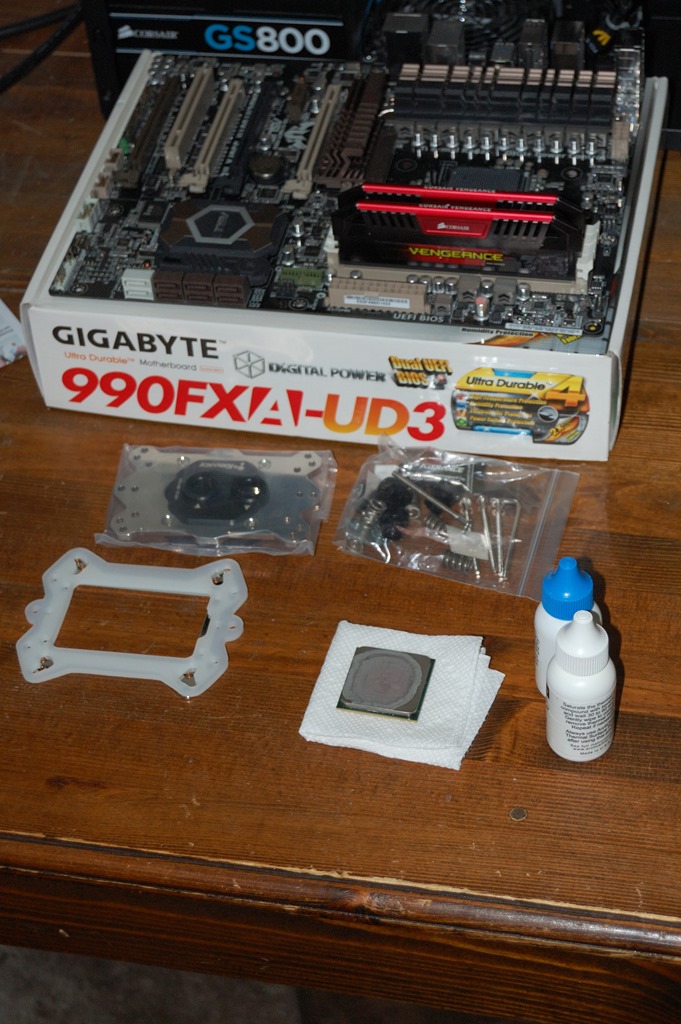
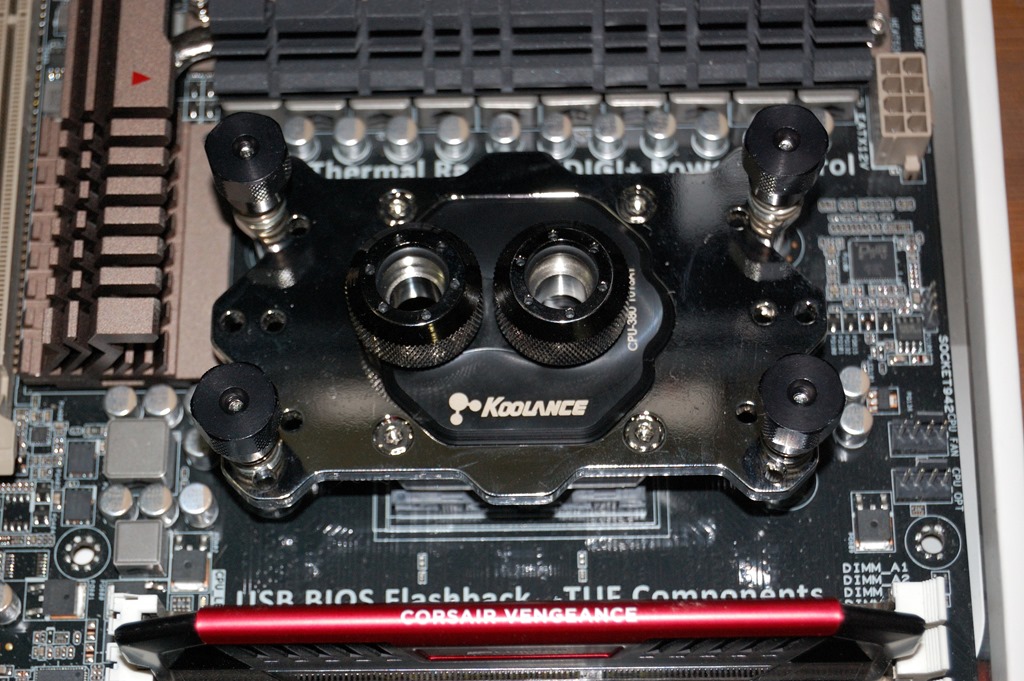
The Koolance block I new would be larger than the AlphaCool block. And it is also much heavier than the AlphaCool block. It’s probably the heaviest block on the market, now that I think about it, mainly because there is very little plastic in this. That is certainly a good thing. Plus the fitting threads are recessed into the block’s body, meaning if they crack there’s not really anywhere else for the coolant to go.

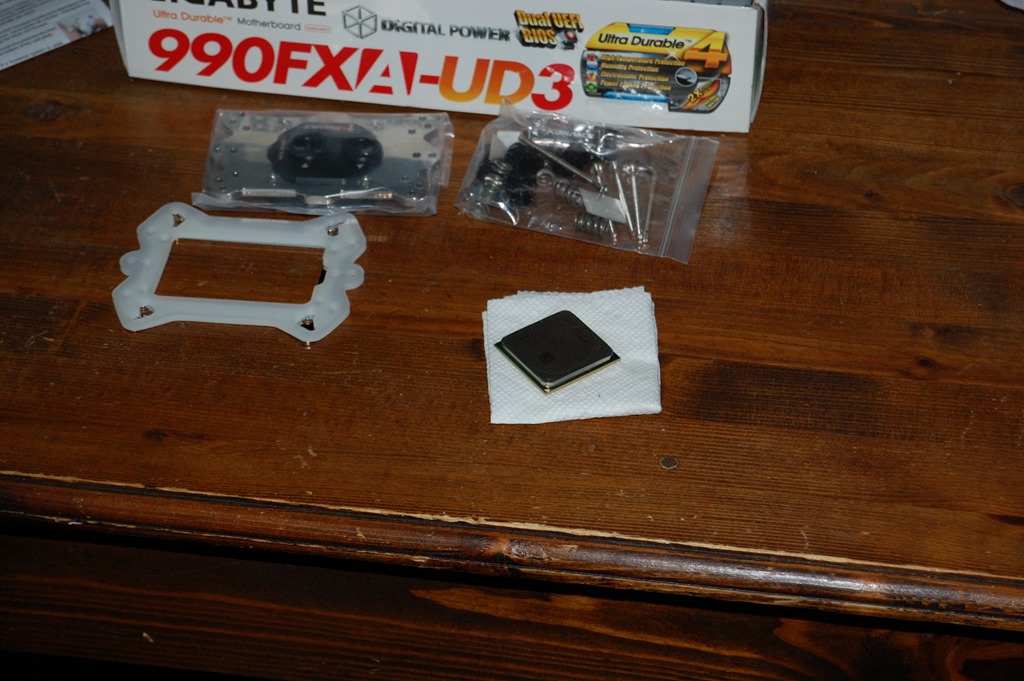
The block was relatively straightforward to install as well. The instructions were pretty easy to follow. And under the block I didn’t use Koolance’s included thermal compound, but my personal preference, IC Diamond. ArctiClean is the two white bottles next to the CPU with the old IC Diamond compound. Once the CPU was clean, it was a matter of installing it and the water block.

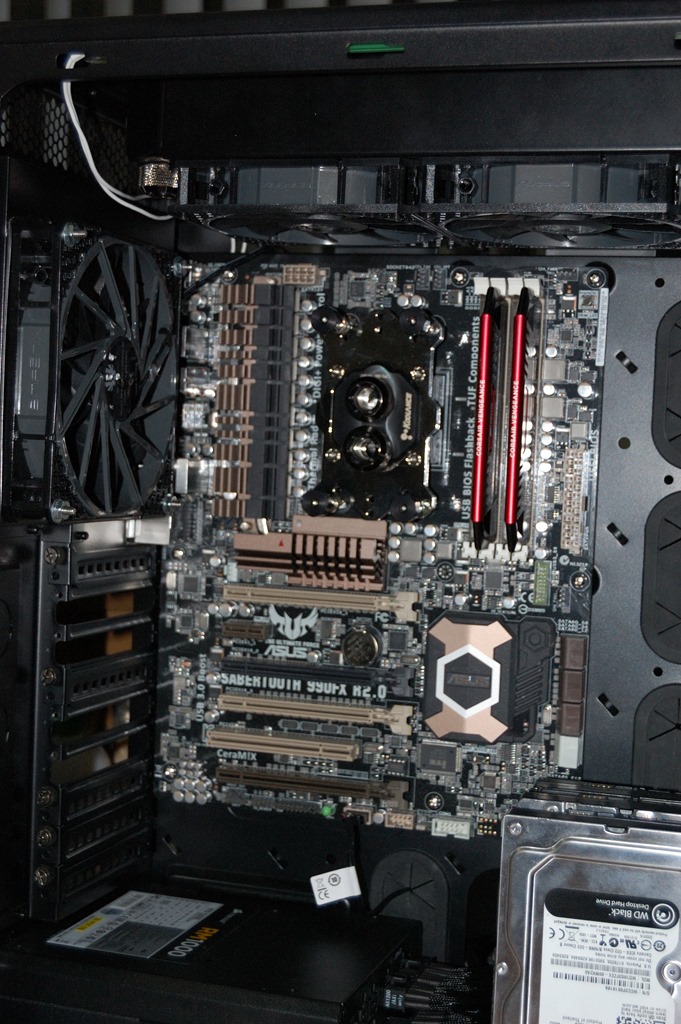
The block is installed “upside down”, so to speak, as I wanted the inlet closest to the radiator, as the path of the coolant is to go from the graphics cards to the top radiator, then to the CPU. With the block mounted, the only thing left was to install the mainboard into the case.

There was one thing I discovered about this setup that is requiring that I modify my plans, in that the water block is certainly taller than I originally thought. This isn’t a show stopper. It just means that the outlet from the SLI bridge will need to go to the port on the radiator on the mainboard side of the case as opposed to the window side of the case. Then the other port will go to the CPU.

And that is where I’ll leave this iteration, as that is where I left the work. The plan for the next day is to get the water blocks and SLI bridge on the graphics cards, which will allow me to make the last determinations for the tubing. Whether I start attempting to run tubing I will determine at that time.

Project Absinthe – Part VIII

Build Log:

Another Saturday was upon us! Time to get to work!

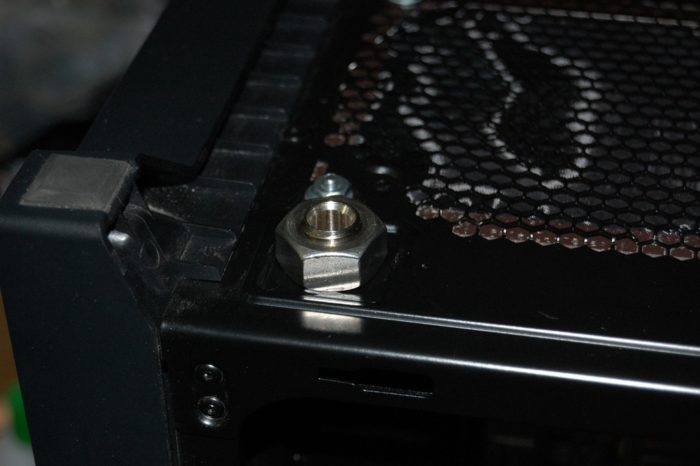
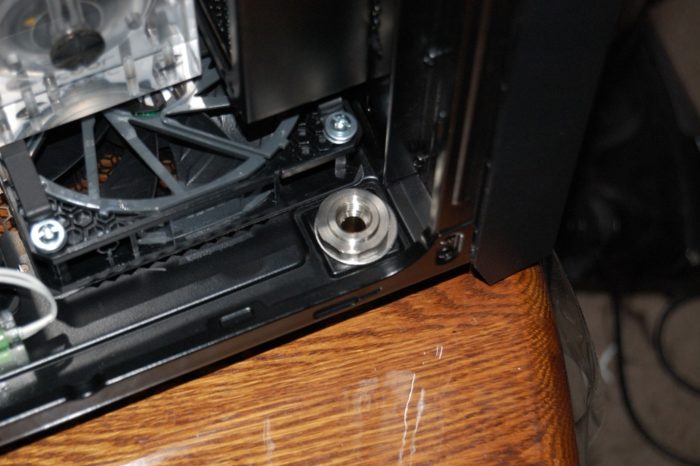
The drain port was my first move. I knew I needed to cut a hole in the bottom for it, but how was the question. I tried Dremel blades at first and they didn’t do jack on that mark. So I paid the $20 for a step bit, which did the job nicely, though it left nice little aluminum shards all over the place, but that’s what a vacuum is for. The step bit I bought only goes up to 1/2″, which is just under the 14mm that would allow a clean pass-through. But I was able to thread the fitting through till I could secure it with the nut on the other side.

Earlier in the day I visited Microcenter and decided to go with the Primochill “T” fitting. The weight of the Swiftech manifold is what turned me away from it. The next stop was to Home Depot to get more copper tubing. I only bought the 10-foot roll, so hopefully that’ll be all I need… And later in the evening while my wife was at work, I made sure to pick up the chocolate. I needed milk anyway, so it was basically just another stop.

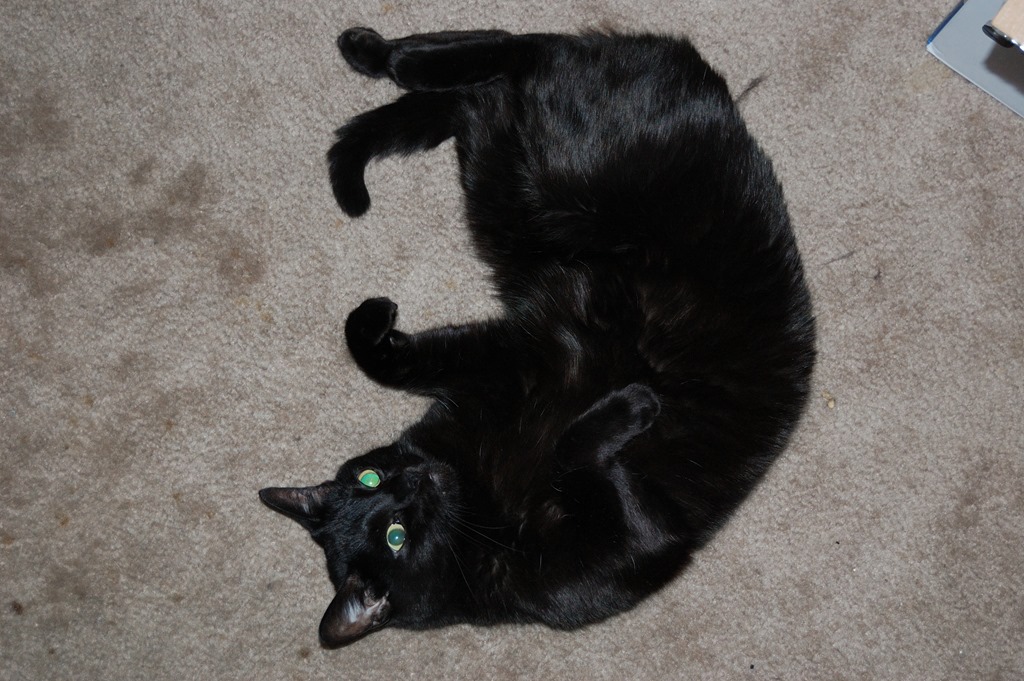
My cat didn’t seem to care, though.

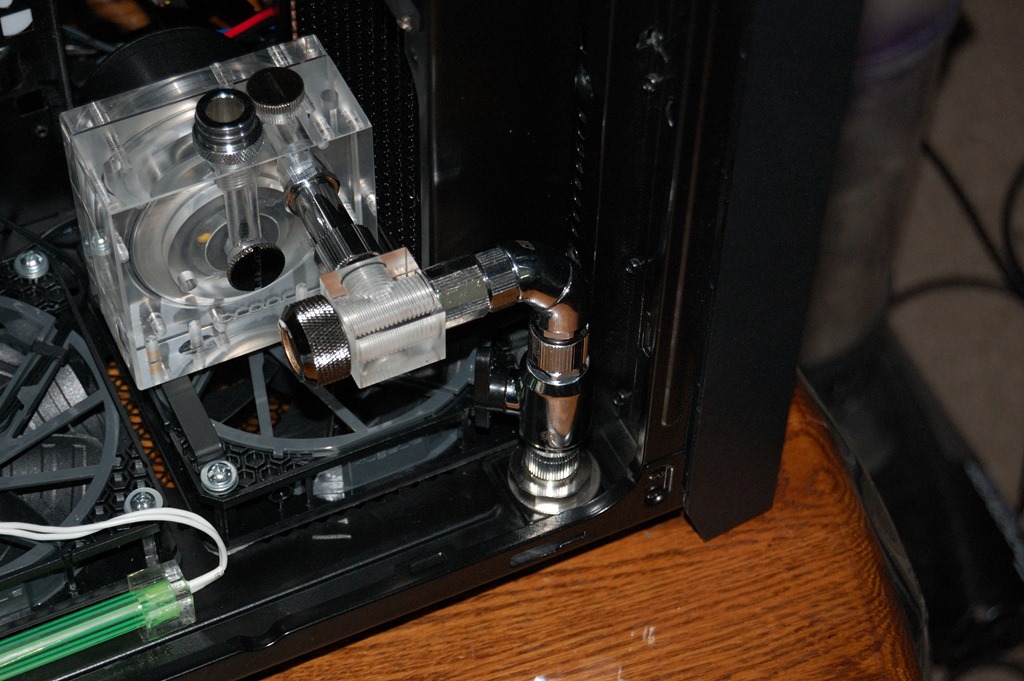
But after getting the bulkhead fitting installed, I used fittings to create the drain system off the Primochill fitting. I have a Swiftech dual SLI fitting that extends off the pump’s outlet to the Primochill fitting. To the left looking directly at it is the Primochill hardline fitting. To the right, the flow goes through a Swiftech extension fitting, Swiftech 90-degree dual rotary fitting, down to a Swiftech single-slot SLI fitting, into the Bitspower valve, which connects to the Koolance bulkhead fitting via an Alphacool male-to-male rotary fitting.

I may change that out for copper tubing between the T-fitting and the valve. I have enough fittings, but I’m not sure if it’s too tight a turn for my tubing bender. We’ll see.

As I mentioned earlier this means that draining the loop is going to be about the same as draining a car: put a container underneath, open the valve, and just let it flow out. Good thing that only has to be done every couple years.

* * * * *

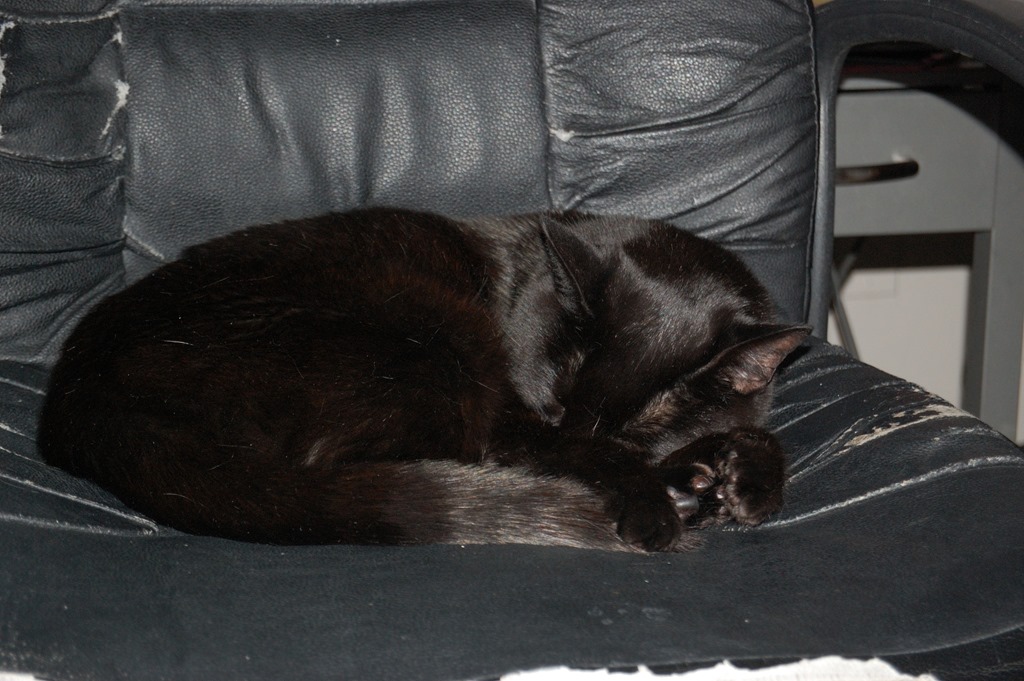
Sunday dawned with a thunderstorm, a latte, and a black cat who seemed to be complaining there weren’t any sunbeams coming in through the balcony door. Just kidding. While I was working on my wife’s build, the cat was parked someplace a little more vital…

Ah the joys of owning cats…

With my wife still sleeping, I began with the cable management. I wanted to put off tearing apart her computer till I no longer could so she has the least amount of downtime – even though this whole process was still going to take several days to complete, mainly because I do have a regular job during the week.
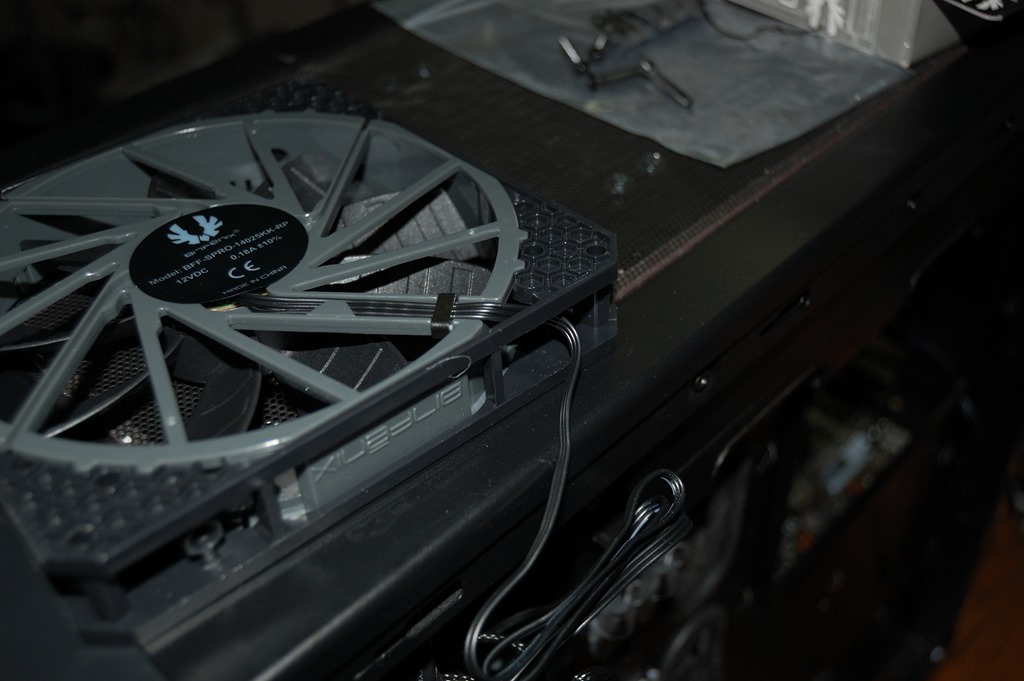
The bigger reason it will take several days is the fact I’m going to be bending copper tubing for this build. And while copper is a little more forgiving than acrylic and PETG, I have to straighten what comes off the roll first. Home Depot does sell straight sections of soft copper tubing, but only for 3/8″ OD, and it’s $4 for a 24″ length. If I wanted a 1/2″ OD, I’d be paying for copper type L pipe. It’s less expensive than copper tubing, but more difficult to work with. Bending requires a conduit bender or hydraulic tubing bender, making tight radii out of the question, so I’d have to resort to fittings, the easiest and lightest of which would require solder, flux and a blowtorch.
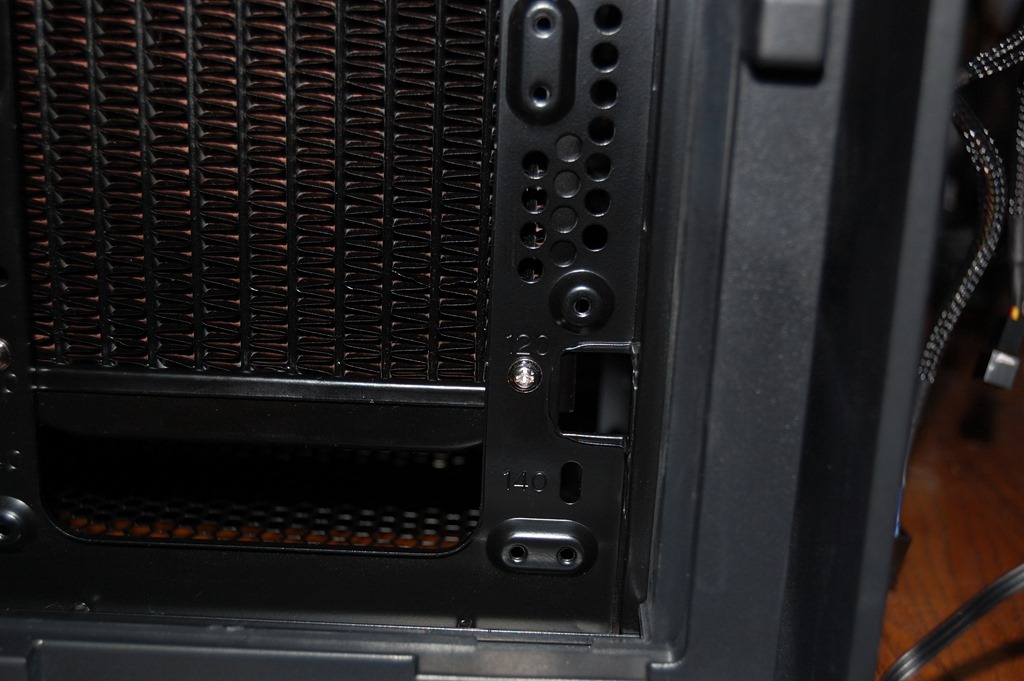
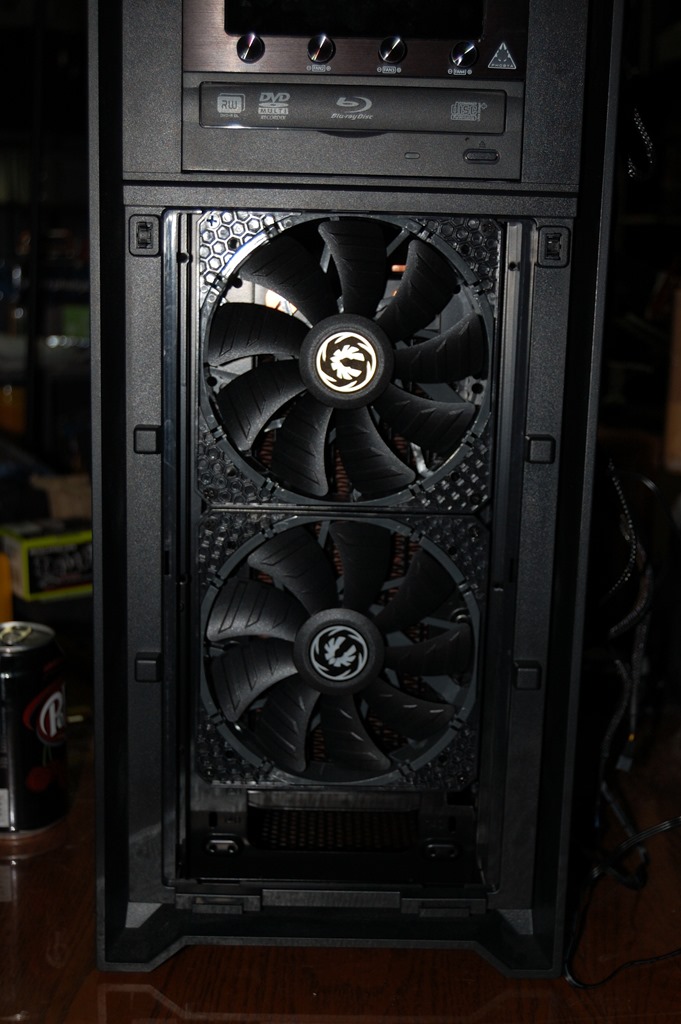
And I think my wife would rather not have flames near her machine again.

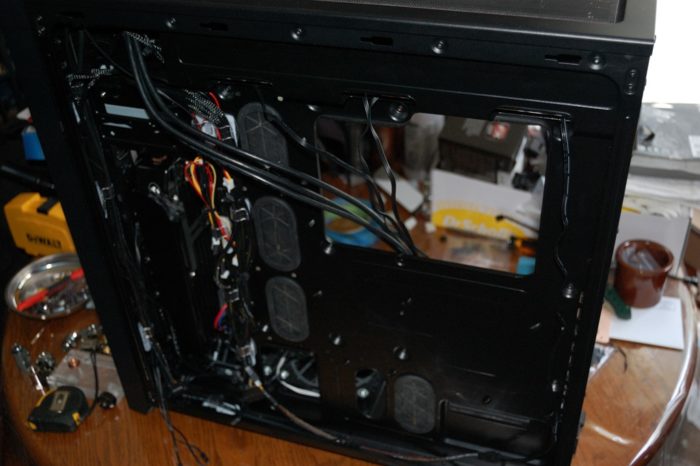
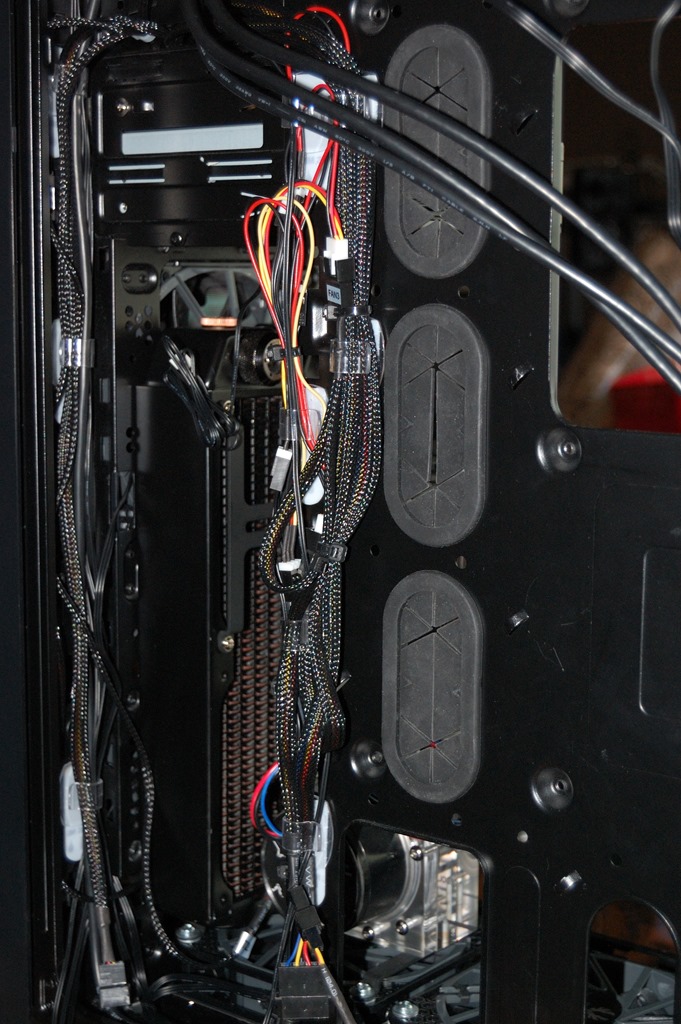
With the cable management, I started with plugging the fans into the fan controller and tying up as much of the cabling as possible into some 3M Command cable clips I’d previously installed into her case when I did the initial power supply upgrade. Zip ties helped keep everything together within the clips. Speaking of power supply, getting the power supply cables installed was the next step – I wanted them in before I started installing components just to make things a little easier. I also installed the Koolance temperature sensor in one of the ports on what will be the outflow of the radiator.

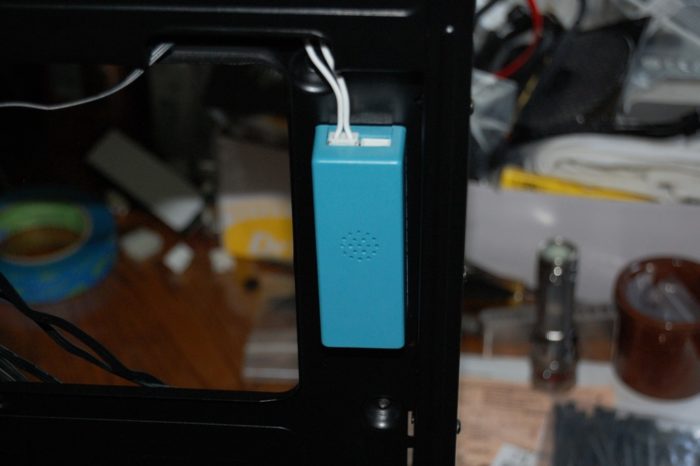
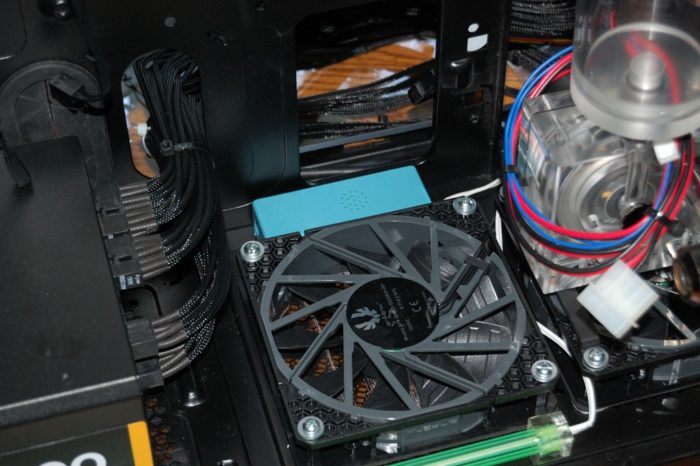
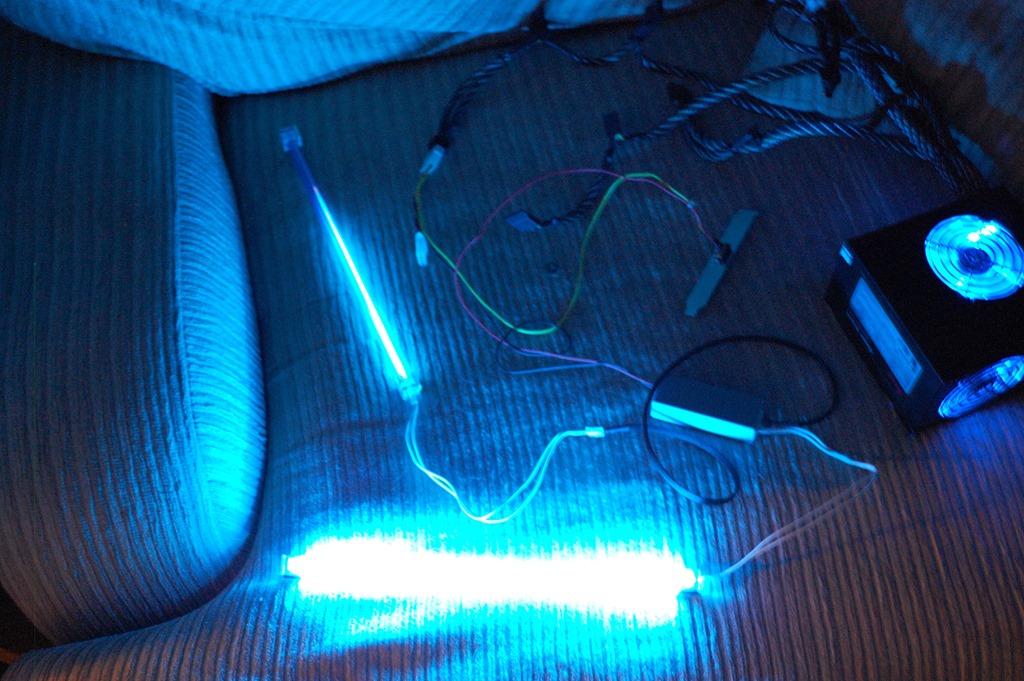
Then I turned my attention to placing the inverters for the CCFLs. One is sitting conveniently behind the mainboard tray, while the other is behind the bottom 120mm fan closest to the power supply, which will be behind the hard drive mount when that is reinstalled, meaning the inverter will be completely hidden from sight. Both are held in place by 3M VHB tape.

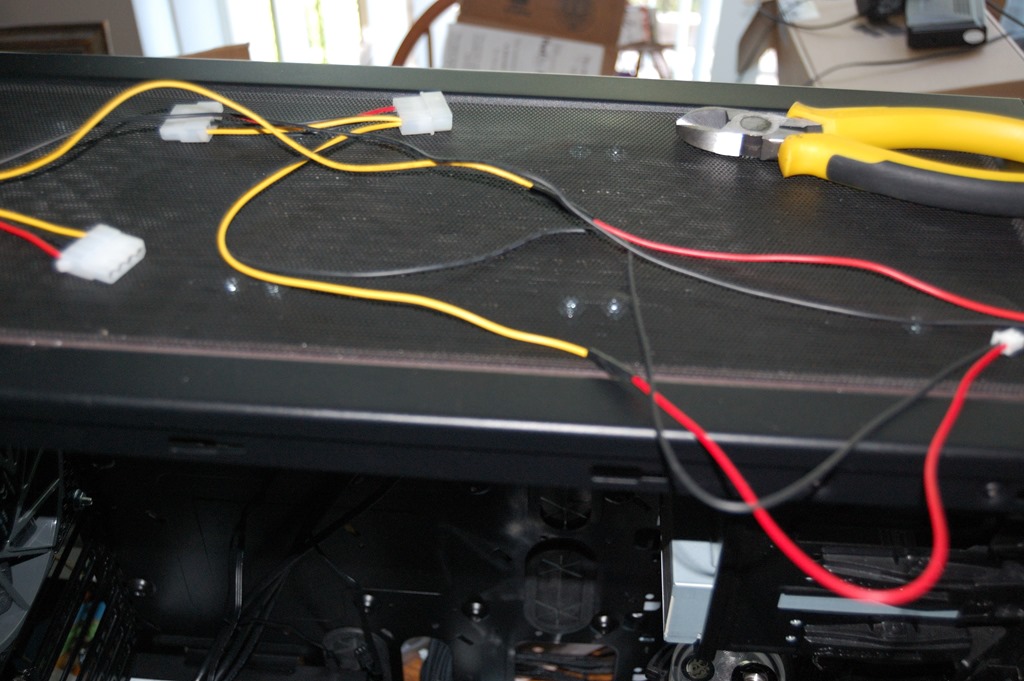
The intent is to run these without the switch, so for that I needed to modify the power cables.

Simple mod, really. Snip the red and yellow wires first about halfway between the switch and Molex power connector. This should give you red and white wires that are more or less the same length. Then strip the ends and join them together. I just hooked the ends around each other and secured with electrical tape – it looks crude but they’ll be behind the mainboard tray and out of sight anyway. If these were going to be visible in any way, I would’ve tried to find a better way to do this.

* * * * *

And that’s basically it for this iteration. My wife wants the least impact to her on this build, so she asked that I wait till Monday night to start migrating components and building out the loop since she’ll be at work. It also gives me a little more time to plan out things and make sure I’m settled on what I’ll be doing for the loop.

First order of business will be getting the water block on the CPU and getting the mainboard positioned. I need that to take some measurements and see how the CPU block will appear in relation to the upper radiator. I may also try to connect them up. I also want to get the graphics cards done tomorrow, but I’ll see how far I can get as the teardown alone is going to take probably close to two hours.

Amending the constitution, revisited again

Whenever someone calls for amending the Constitution of the United States, we need to look upon their desires with a very, very high level of scrutiny. I’ve done this previously with Governor Rick Perry in his calls for various ways to amend the Constitution, along with another proposal regarding laws and their applicability to Senators and Representatives. I also scrutinized a column by a law professor who famously calls for replacing the entirety of the Constitution, scrapping it and starting over.

I think the one thing too many overlook or outright ignore is that amending the Constitution affects the entirety of the United States, often in ways that originally were not considered by those proposing and drafting amendment resolutions. It is one of the reasons we can be thankful that the process for amending the Constitution – as outlined in Article V – is purposefully very difficult. Everyone should scrutinize the words of any proposed amendment to determine all the various ways the wording might be interpreted. This is part of keeping the focus of an amendment proposal narrowly-tailored.

After all, amending the Constitution is not something to be taken lightly, nor is it to be the go-to option when something occurs that you don’t like. Yet too many treat it as if it’s not a huge deal. “Just amend the Constitution!” people will readily say, especially when it comes to their particular pet issues.

Today’s scrutiny is directed toward Senator Tom Udall, the senior Senator for the State of New Mexico. Previously he served as the Representative for the 3rd District of New Mexico in the US House of Representatives. Recently Senator Udall proposed an amendment to the Constitution. His pet issue targeted by his proposal is campaign finance and the recent Citizens United case from the Supreme Court.

Before getting into the text of the proposal, let’s get a couple things straight.

First, I think it’s quite clear that most who talk and complain about the Citizens United case have not read the decision the Supreme Court handed down. Here’s the gist of the situation before Citizens United.

Newspapers have unlimited capability to influence elections under the guise of printing “news”.

Editorial discretion allows a newspaper to determine what gets printed, and as such newspapers have a lot of capability to influence not only public perception of certain issues and events, but change your point of view on them just by adjusting how they are presented. The media and press are hugely credited for swinging the 2008 Democratic primaries toward Obama and away from Hillary Clinton. And they do this by exercising editorial discretion.

And it should also be pointed out that most every major newspaper in the United States is a corporation or owned by a corporation. Yet because we call them “the press”, no one seems to really complain about it. Yet if other corporations tried to influence elections in the same way that newspapers seem to have unlimited ability, the full power of the Federal Election Commission would hammer down upon them. And such was the case with Citizens United and their documentary, Hillary.

It should also be pointed out that Citizens United is not a corporation in the sense that most people seem to think. Citizens United is a non-profit, conservative-leaning lobbying organization that was founded in 1988.

Typically when most think of a corporation, they think of the large corporations: Wal-Mart, General Electric, General Motors, Microsoft, the various ones owned by the Koch Bros., and the like. They don’t consider the fact that their favorite charity or non-profit is also a corporation. If you have a regular physician, their practice is most likely a corporation, whether a privately-held corporation with shared or a limited liability company. Same with your dentist’s practice and your eye doctor. Most businesses are corporations or, at the least, a limited liability company, whether it’s just one person or they have employees or partners.

Many organizations, large and small, are corporations, including organizations that were organized with regard to particular political issues.

This means that any organization, excluding the press, that makes any kind of expenditure or contribution with the intent, express or implied, of influencing an election’s outcome could run afoul of Federal laws. And that is the problem that the Citizens United decision addressed. The same kind of power to indirectly influence elections that the press has enjoyed since the First Amendment was ratified is the same kind of power that really any for-profit and non-profit corporation, limited liability company, proprietorship or partnership should have.

The First Amendment to the Constitution says this:

Congress shall make no law respecting an establishment of religion, or prohibiting the free exercise thereof; or abridging the freedom of speech, or of the press; or the right of the people peaceably to assemble, and to petition the Government for a redress of grievances.

Taking a plain reading of this, it says that Congress shall not abridge the freedom of speech. No part of the plain text of that Amendment says anything about individuals versus corporations. The reason is quite simple: the Amendment limits Congress. It does not grant rights, or extend rights to any one or any organization. Yet too many don’t see it in that fashion.

Citizens United was not trying to directly contribute to a candidacy with the production of its documentary, only engage in political speech. The Supreme Court of the United States said plainly that corporations who wish to engage in political speech – as opposed to directly funding a campaign – can do so, and the Constitution says the Federal government cannot prohibit or inhibit that.

So let’s get to Udall’s proposal. It contains four sections, with sections 1 and 2 being virtually identical – the first applies to the Federal government, the second to the States. Section 3 is a limitation on the interpretation of the amendment: “Nothing in this article shall be construed to grant Congress the power to abridge the freedom of the press.” Again this ensures that press organizations – which again are corporations – will still have unfettered ability to influence elections and public perception and opinion through editorial discretion.

The heart of the proposal is this:

To advance the fundamental principle of political equality for all, and to protect the integrity of the legislative and electoral processes, Congress [and each State] shall have power to regulate the raising and spending of money and in-kind equivalents with respect to Federal [or State] elections, including through setting limits on –

  1. the amount of contributions to candidates for nomination for election to, or for election to, Federal office; and
  2. the amount of funds that may be spent by, in support of, or in opposition to such candidates

Talk about very, very broad language: “Congress [and each State] shall have power to regulate the raising and spending of money and in-kind equivalents with respect to Federal [or State] elections, including through setting limits on the amount of funds that may be spent by, in support of, or in opposition to such candidates”. Read that a few more times to ensure you actually get what Udall is proposing and what many are supporting.

This basically means that any spending of money that has any intent – express, implied, or interpreted – of being “in support of, or in opposition to” any election candidate falls under Federal and State regulation. This means that personal blogs hosted on private web space paid for by the blog owner could fall under this provision – section 3 of the proposal notwithstanding, because bloggers so far have not been given the same kind of protection from government scrutiny that journalists enjoy.

So this amendment would actually grant the Federal government significantly more power to control political speech, removing from Congress the check that is provided by the First Amendment as enforced by the Supreme Court. A government rarely refuses to exercise its power. It must instead be forced to not exercise it.

But because Udall’s amendment is advertised under the guise of “corporations aren’t people and shouldn’t have the same rights” – which they don’t – people see this amendment as a good thing. And that’s mainly because no one’s bothered to read the bloody thing.

Project Absinthe – Part VII

Build Log:

Orders have arrived and some more assembly has progressed.

One concern I had with the loop at the end of the previous iteration was how I was going to add the reservoir into the pump and radiator setup at the front of the case. I didn’t really want the reservoir hanging loose given that it would have copper tubing pushing down onto it. After getting a visual of the reservoir mount with the reservoir and radiator, the answer seemed obvious: a UN Z2 bracket.

I was planning to go with the 80mm Bitspower reservoir, but decided to go with the 100mm reservoir instead to ensure it would be long enough I could secure it with the Z2. The total reservoir length will actually be 120mm with the end caps, and the 80mm reservoir would be 100mm long, and I feared it wouldn’t be long enough.

Unfortunately Bitspower doesn’t make a 100mm full-acrylic reservoir, so I had to order the caps and tube separately. It just means I’m having to use the stop fittings and Aqua-Pipe I already have – i.e. not a huge deal.

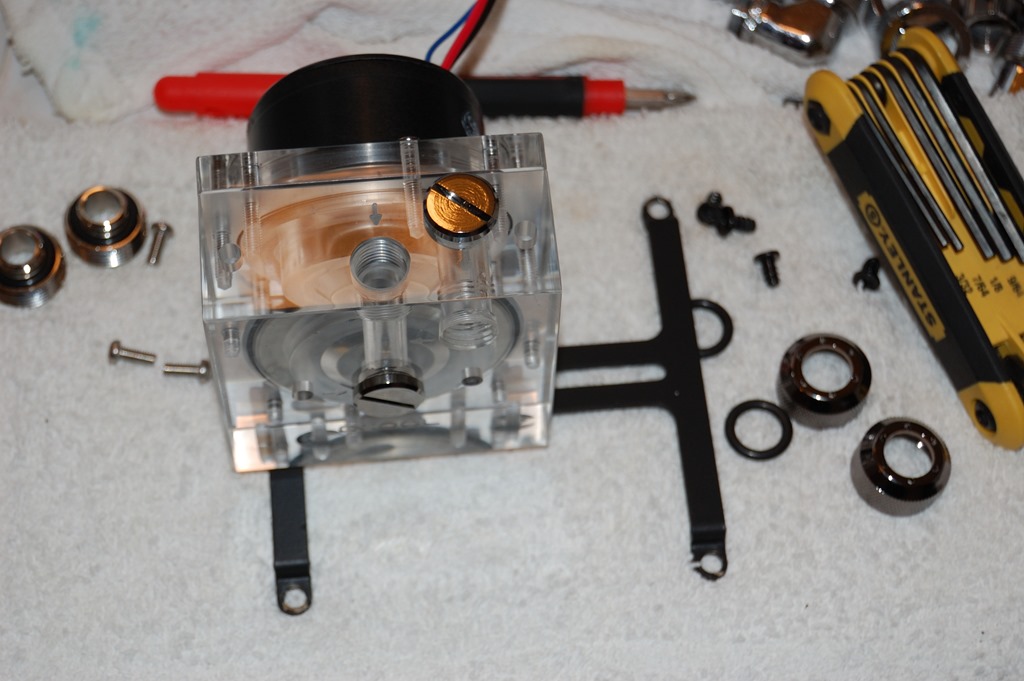
For connecting the reservoir to the pump, I opted toward the Bitspower Mini D-Plug, which is a quick-disconnect plug. I just felt it’d be a better choice over the male-to-male rotary fittings I already have. One reason is that in assembling everything I could have one end of the plug on the bottom of the reservoir, with the other on the top of the pump, allowing me to make sure I have everything lined up for securing everything in place. In short it’ll make assembly and getting things lined up significantly easier. Plus it’ll make disassembling the loop a little easier as well.

On the lighting, the green CCFLs that give Absinthe its name, I ordered a second CCFL inverter. Currently the lighting inverter sits behind the two pass-through holes on the back of the case. It’s kind of out of sight, but not entirely. The second inverter will allow me to move both inverters behind the mainboard tray without having to use extension cables – thereby avoiding the problems that can come with them. I’ll be modifying the power cables for both to remove the switch as well – she never turns off the lighting, so there’s no need to have that ability.

Come to think of it, neither do I, so I ordered two inverters, one for Absinthe and one for my computer to get rid of the extension cables I already use. I’ll definitely also be ordering another one of the Mountain Mods hard drive cages for my computer to get rid of my 750D’s drive cage as well as probably ordering Spectre Pro fans for everything else except my H60’s radiator.

Being a drain on things

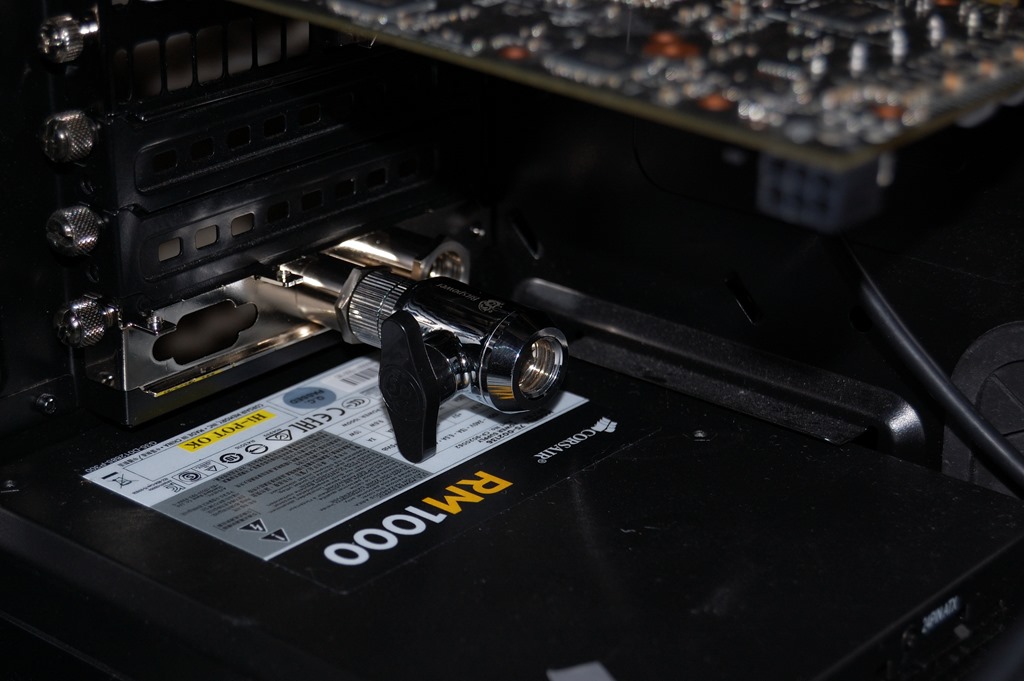
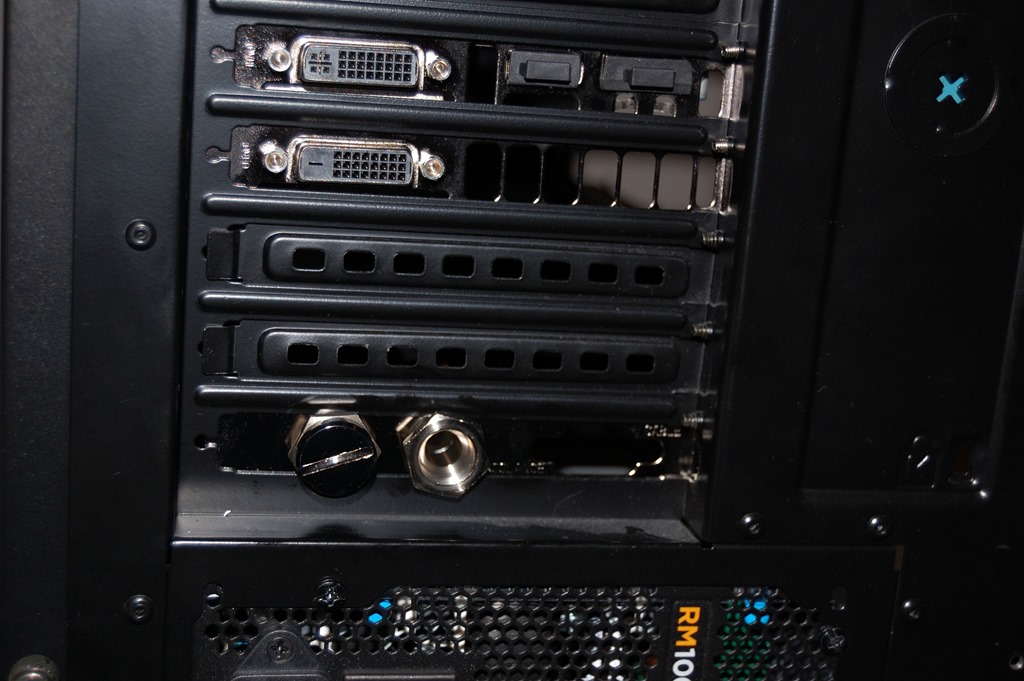
I’ve had a re-think on the drainage port. In a previous iteration I said the drain port would be going through a Koolance pass-through bracket in the lower-most expansion slot in the rear of the case. Instead I’m now considering using a pass-through fitting and dropping the drain port either through the bottom of the case or the back alongside the power supply. Regardless of which way I go on that, the valve would be attached directly to the pass-through via a rotary fitting.

This would pose a slight difficulty, as there’s not enough clearance for a fitting, meaning draining the loop would require the case to hang off the edge of table slightly or be up on a riser. But given the Koolance coolant can last over two years before you need to worry about changing it out, that’s only going to pose a problem when that time comes around and when doing the initial leak and drainage testing.

This would also mean punching and drilling a hole in the case. This wouldn’t entirely rule out the bulkhead fitting, though. It is large: about 26mm wide (a little over an inch) with a 29mm washer under it. It’s intended to be used on a water tank as well – so you can convert a larger vessel into a reservoir if you so desire – so it doesn’t have G 1/4″ threads on both sides, like what you’d find from Bitspower. So if I use that fitting, draining the loop would be like draining the coolant from a car: lift it up to put a container underneath, open the valve and let it drain out. The thread on the fitting would require a 14mm hole, just a hair over a half inch. It’s also a very heavy-duty fitting, definitely having some weight to it.

Pass-through fittings would provide the benefit of being able to attach a fitting, but with the low clearance under the case, it’d still have to be lifted up. The Bitspower fitting also requires a larger hole, if the diagram on their website is to be believed: M20 thread, meaning a 20mm hole (slightly over 3/4″).

Another option as well I considered is taking one of the pass-through fittings off the Koolance bracket and using that. It’s 5/8″ wide and would need a 9/16″ hole for the threads, perhaps a washer as well if I felt it was needed.

Finally some progress!!!

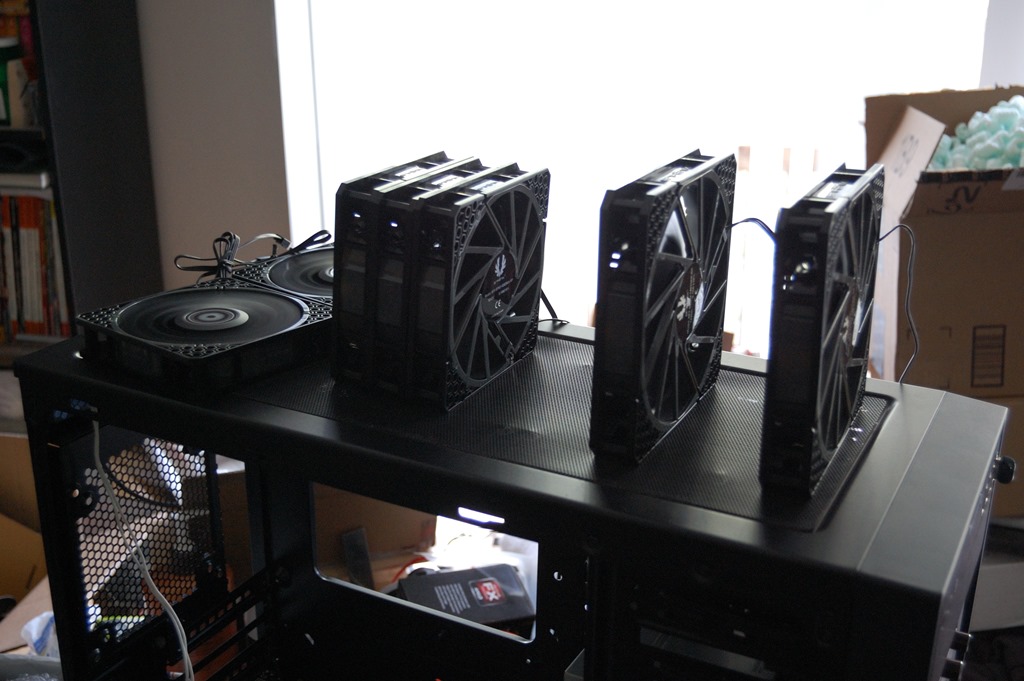
The pending arrival of the order prompted me to take apart everything I had assembled for the test fit. This was, unfortunately, unavoidable, but at least I knew before I made the order that what I had ordered would fit without any issue. The top 360mm radiator was the only thing I didn’t have to remove from the setup. The bottom fans, front radiator, the pump and hard drive cage all needed to come out. A little bit of backtracking, but making way for some progress.

First order of business was testing the fans to make sure none of them were DOA, and everything checked out.

When I filed my RMA on the 140mm Spectre Pro, Performance-PCs, unbeknownst to me and apparently everyone else, had contacted their supplier to have them ship me a replacement fan. My RMA package was delivered to Performance-PCs on Monday, July 28. In conversation with them, they said they couldn’t find anything wrong with the fan and asked what I wanted to do. This was on the same day they were shipping my new order, so I asked they just ship it back with that. That arrived on Thursday, as did the replacement fan.

The faulty fan is still faulty, but at least I had a new one to replace it that works perfectly fine. And all the other fans work perfectly fine – and they’re silent, too. After testing the fans, I mounted them where they needed to go.

The Z2 bracket I ordered from Sidewinder Computers arrived on Friday. I made the mistake of thinking that I wouldn’t need to disassemble anything to mount the bracket and reservoir mount. Unfortunately I had to disassemble the entire front section again. But it was worth it to get everything aligned properly and have the reservoir secured to a solid mount – or what will be a solid mount when I mount the reservoir completely into the system. Right now I’m leaving it out of the way as I don’t need to blocking access to the fittings on the front radiator.

Afterward, I took the time to start putting fittings where they needed to go: the SLI bridge, both radiators, and the top of the reservoir. I’ll add the fittings to the CPU block when I get the CPU block installed on the mainboard – which will come when I’m ready to migrate everything back into the 750D. I don’t have one on the pump yet because it’ll be part of a split for running the drainage I mentioned earlier. I have an XSPC T-fitting left over from the previous build, but I’m considering going with something else, perhaps the 4-way manifold fitting from Swiftech or PrimoChill’s acrylic “T” fitting.

Swiftech Lok-Seal 4-way Manifold

PrimoChill Acrylic “T” Fitting

The latter would blend in with the pump nicely and the reservoir, while the former would blend a little more with the rest of the fittings. Hmm… this’ll be an interesting choice, and might depend on what I do to tube up the drainage system: bend copper tube or try to use fittings. I think I’ll also need to see them both in person to get an idea.

But that’s the current state of things. Next stop is to Home Depot to pick up some more copper tubing. I’ll also be looking for copper polish while I’m there. If I can’t find any, I think Wal-Mart carries something. And while I’m there I’ll probably get some more distilled water to make sure I have plenty on hand for this. Plus chocolate, since my wife reminded me she was out of chocolate. And as this is her computer I’m building, the chocolate is also kind of a mandatory component of this system.

And guys, if you cannot understand why, well then you need to better study the species of the gamer girl.

Before actually installing anything, I’ll probably start focusing a little on the cabling and cable management, especially since I’m talking about another power inverter for the lights, which will add a little more cable mess to this whole thing. The first inverter will fit easily and comfortably behind the mainboard tray. The second one will be sitting on the floor behind the hard drives – where you’ve got to really look in order to see it.

As for components, the hard drives are going to go in first so I can get the bottom of the case done before I start having to worry about the mainboard and graphics cards. Then I’ll be dissecting the graphics card and getting the AIO off the CPU to add the Koolance block.

So after weeks of waiting and test fits and trying to see how things would look, I’m finally able to start building out the loop.

Project Absinthe – Part VI

Build Log:

Already to part 6 of this series and I still haven’t assembled anything resembling a water cooling loop – with the exception of getting both radiators mounted.

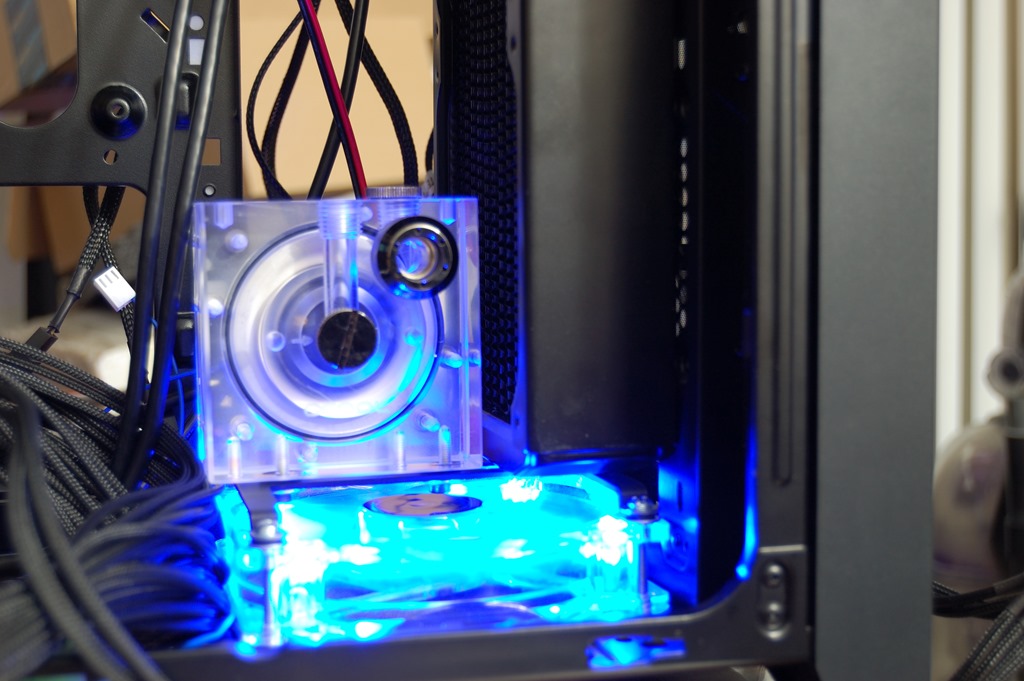
And that’s mainly because I need to do some more test fitting. This time it was putting the pump where I’d planned to mount it, using another fan to do the test fit. The fan in question is a Zalman ZM-F3 LED that came with the Z12 Plus case. It’s a 25mm thick, 1200 RPM fan that runs quite silently but doesn’t seem to move a lot of air. It does have a nice blue LED, though.

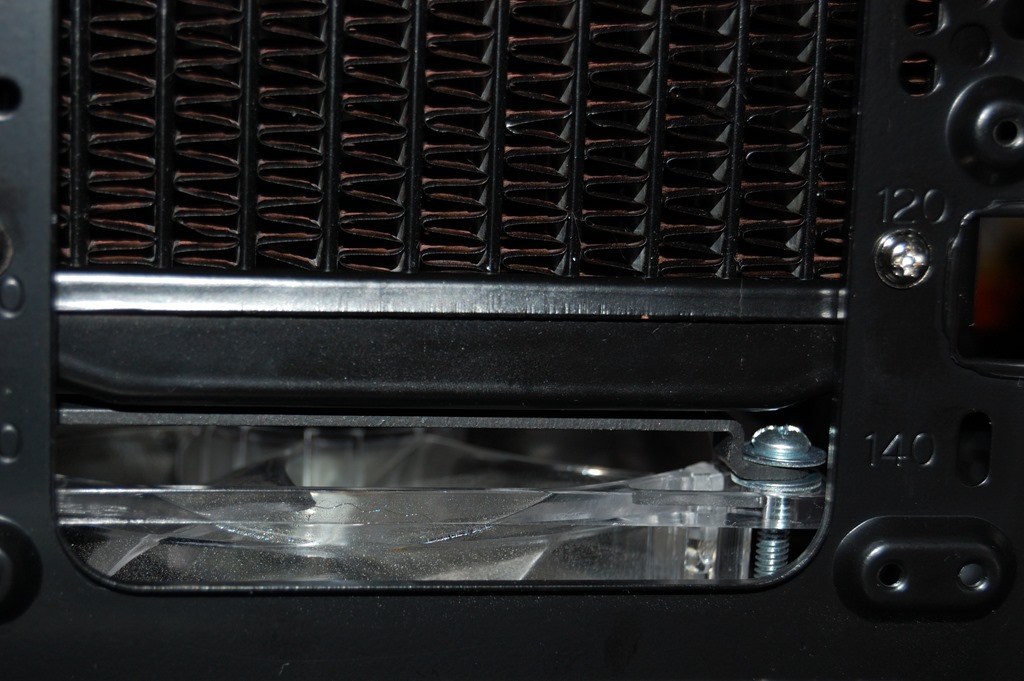
Now in attempting to mount this configuration, I did learn that the radiator will need to come out first. And with good reason as there isn’t a lot of clearance between the Z2 bracket and the radiator – as in I couldn’t fit a #8 washer between them.

Part of the tight fit is the fact I’m using two washers on the mount: one between the screw and bracket, and the other between the bracket and fan. Pulling out one of the washers won’t make much of a difference. But changing out the dust filter will. The filter I currently have on there is the SilverStone FF121, which is about 4.5mm thick. I can change those to the SilverStone FF123, which is a better filter and only 1.5mm thick. That will certainly open things up a little more.

And I’ll do that for both of the bottom 120mm fans. I already have the SilverStone FF143 on the rear 140mm intake.

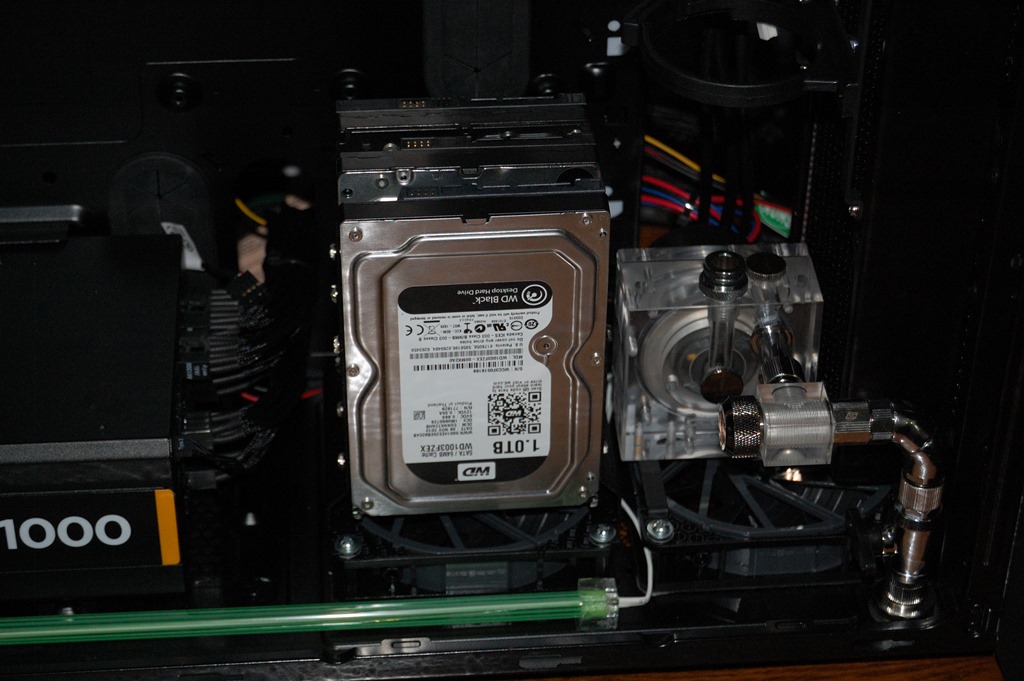
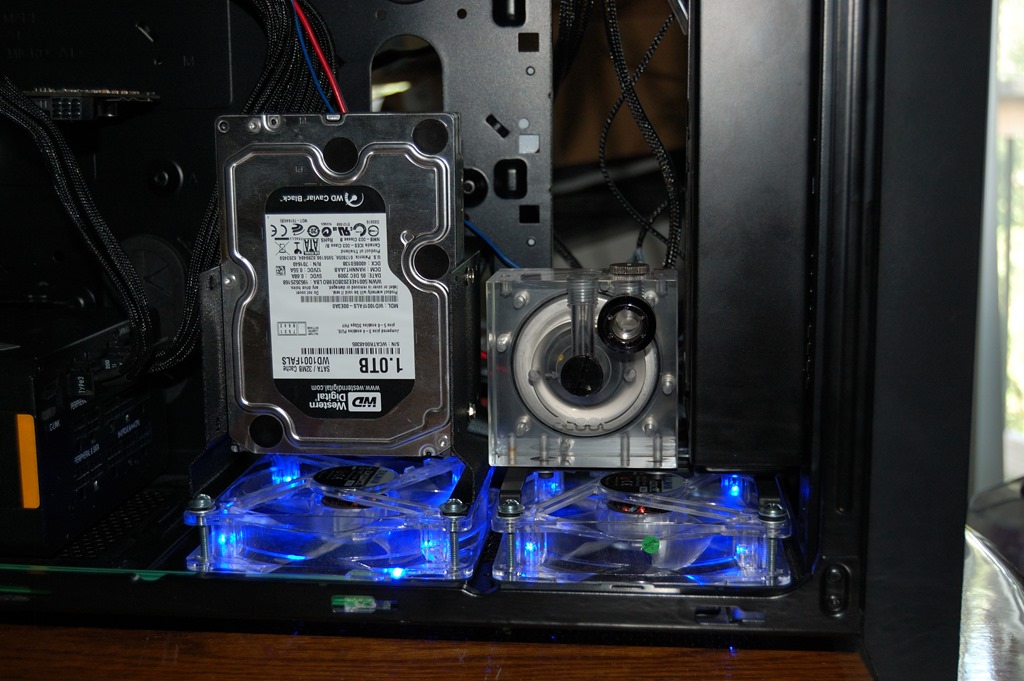
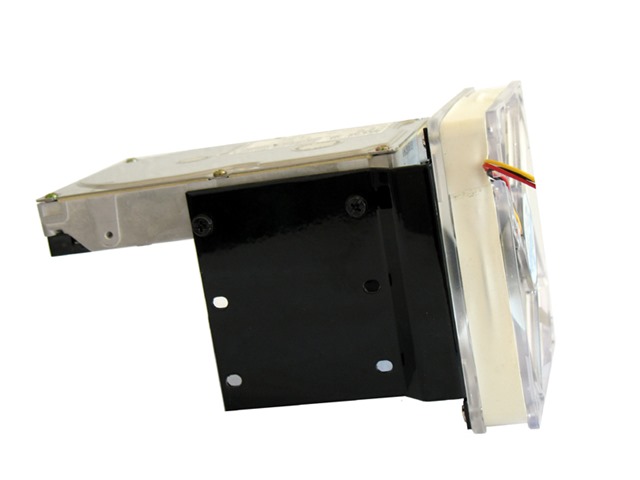
The other test fit is for the hard drive cage I purchased from Mountain Mods. And on this one I wanted the pump in there as well so I could see how the entire unit would fit together.

The hard drive in the picture is a dead hard drive I just never discarded – who’ve thought it’d come in handy?

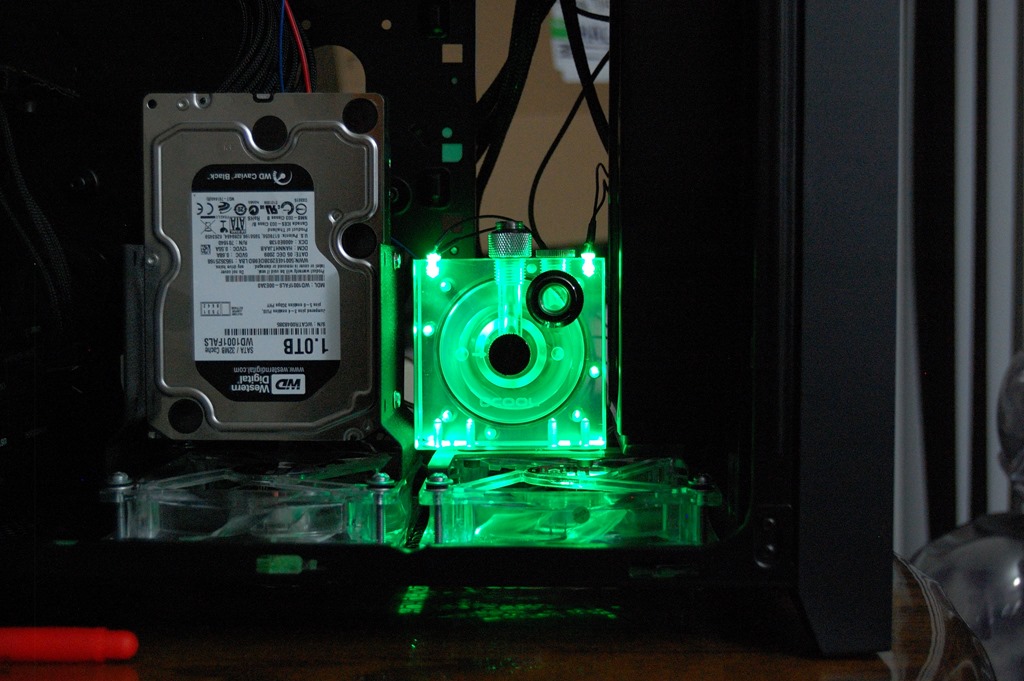
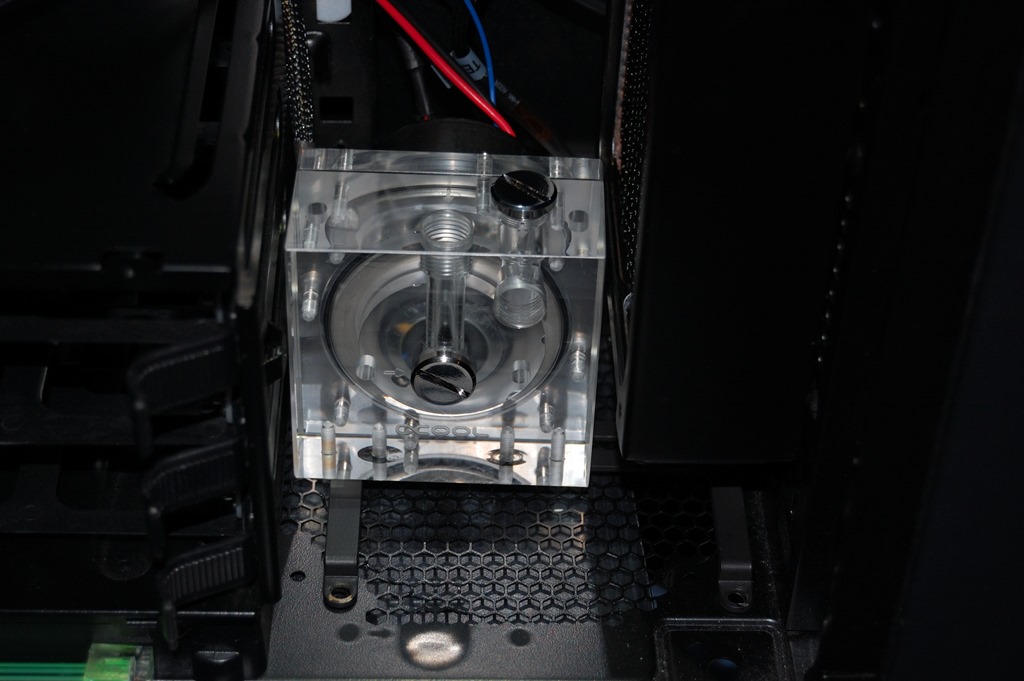
The fit toward the bottom is a little tighter than with the drive cage, which was contrary what I thought it’d be. I needed to move the pump a couple millimeters away from the drive mount, but as you can see, it still fits. This means again that the hard drives are getting air across them, whereas in the drive cage that wasn’t necessarily the case, or the airflow wasn’t as great as it could have been. So the slightly tighter fit is a reasonable and minor trade-off to having airflow across the drives.

So definitely a huge plus to Mountain Mods for making this drive mount.

Next order

So that’s it for now until I place the next order. That’ll include the 5 x Spectre Pro 120mm fans and two FF123 fan filters along with a different reservoir. Not sure if I’ll go with the Bitspower full-acrylic reservoir as I currently plan or if I’ll go with something else. The pump is part of the consideration on that, as is the front radiator – too tall of a reservoir and I can’t connect it easily to the outlet on the radiator. And as that’s how I want it to flow, that leaves only a few options from what I’ve seen available.

But I’m exploring my options, and I’ve got time before I place the next order.

After the next order arrives, I’ll be switching out the Zalman fans on the bottom and mounting the others to the radiator. Hopefully by then I’ll also have figured out how to mount and secure the reservoir, which will likely also include tubing up some parts of the loop. Details are still subject to change, so we’ll see what happens.

Project Absinthe – Part V

Build Log:

I picked up the order from my local FedEx office, which included:

  • 2 x Swiftech 90-degree single rotary fittings
  • 10-pack Primochill Rigid Revolver compression fittings
  • 2 x Koolance bulkhead tank fittings
  • 3 x 140mm Bitfenix Spectre Pro fans

Okay that’s not entirely correct.

They sent me dual-rotary fittings instead of single-rotary fittings. This isn’t the first time Performance-PCs as gotten an order wrong, but the fact it’s happened with two of my last three orders is a little worrisome – the order of the last three they didn’t get wrong was a power supply cable for the RM1000 that I had overnighted. Everything else about the order was correct, though. The last mix-up was over a fan cable splitter.

The sad thing about this discrepancy isn’t necessarily that it happened, again, but that there are three people who take care of packing up shipments. One person packs it with two other people signing off on having inspected it. For this big of a discrepancy to get by three people is worrying, to say the least.

I sent an e-mail to them after noticing the discrepancy. They’ll issue a shipping label for returning the wrong fittings, which will be put on the box they’re using to send the correct fittings.

It’s a good thing I’m not trying to do a build for a paying client, and that there’s still plenty of time before I plan to actually build out the system again as I still need to pinpoint the rest of what I’m going to order – I know what the bulk of the next order will be, but I’m unsure if I’ll need anything beyond that. And even despite the recent difficulties, I still recommend going with them as they have the lowest prices on most everything I’ve ordered and I haven’t had any issues with them until recently.

Rigging for silent running

First order of business after contacting Performance-PCs about the order was to open and plug up one of the Spectre Pro fans for a quick sound test – and to make sure they’re not DOA.

The SP120 sounded like a buzzing insect. It was loud, and combined with several other SP120s, it sounded like a swarm or beehive at full blast. The Spectre Pro fans are a significant improvement over the SP120, but not too much of an improvement over the AF140L fans that come with the 750D. Recall from a prior iteration that the fans only had a slightly lower noise pressure rating to the AF140 – 24 dB/A for the AF140 compared to slightly under 23 dB/A for the Spectre Pro 140mm.

I installed the fans into the case, two in the front and one in the back. For the rear fan I used the same brass screws I had already purchased – there’s a slight overhang on the screws but it’s a pretty solid mount nonetheless. For installing the front fans, I needed to pull the power cable clear of the fan.

You see how the power cable is tucked under the rim of the fan? To mount these as front intake fans in the 750D (and likely the other cases in the Obsidian series), you just need to slide the power cable back through that opening and it’ll be able to slide through this opening in the front panel.

You won’t be able to mount the fan unless you do that.

With the fans installed, I got a spare power supply and got power to them. You could feel the air coming from them, but they weren’t making a sound. My wife actually had to ask if I had them running. Add the Spectre Pro 120mm fans to the mix and this machine will barely make a sound. As I’ve mentioned before, the pump is barely audible when it’s running. These fans also disappear behind the filters.

The fan controller, however, is able to put a bit more power through these fans, so they’re definitely noticeable when the controller is cranked up to max. Having the controller dialed at their rated 1200RPM, about the same level when they’re running off the power supply directly, makes them barely audible. The fan controller can get them up near 1400 RPM where they do become a little noisy but still nowhere near the SP120s.

Unfortunately one of the fans seems to not want to start up when initial voltage is applied to it. I have to tap the blades to get them spinning. And at least I discovered the problem now, long before I’m trying to build out a loop, so it’s not a huge deal. Performance-PCs tends to be quick on their RMA process – it’s already been filed and approved. I just need to print the shipping label (this return is on my own dime) and get it in the mail.

Project Absinthe – Part IV

Build Log:

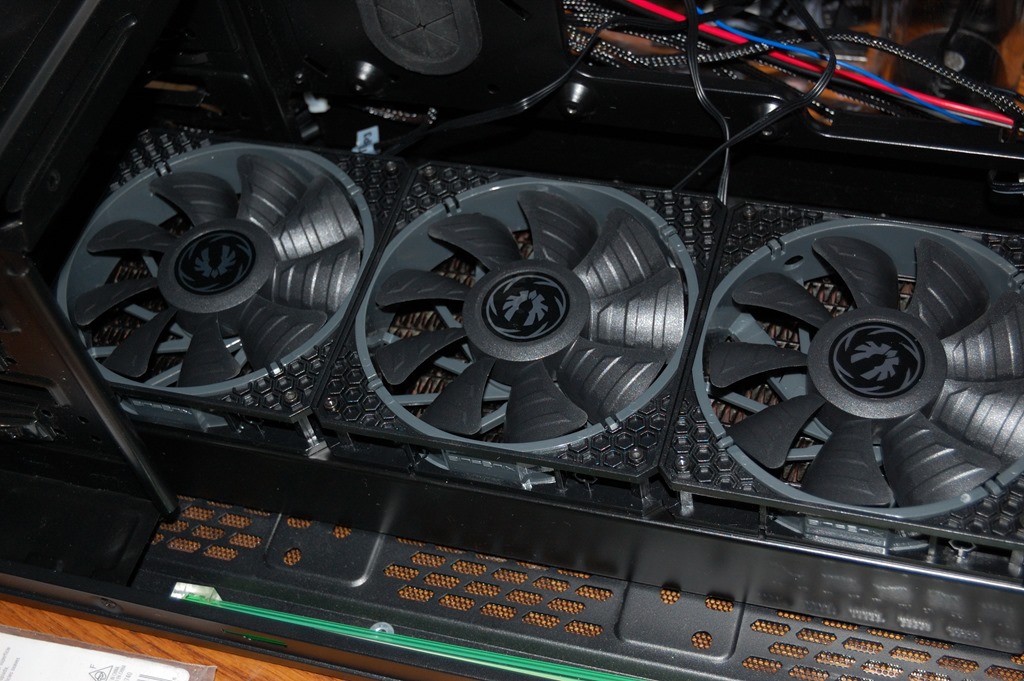
The night after posting the previous section, I got right to work on advancing things as best as I could. I mounted the 240mm radiator where I had suspected it would need to go, which is right in front of the front 140mm fans. And it had to be mounted with the fittings up or it would interfere with a planned 120mm fan on the floor. It’ll be easier to bleed with the fittings up, anyway, so that’s not a huge loss, and keeping the 120mm fan on the bottom for extra cooling is definitely a bonus.

But there was a setback in planning this loop.

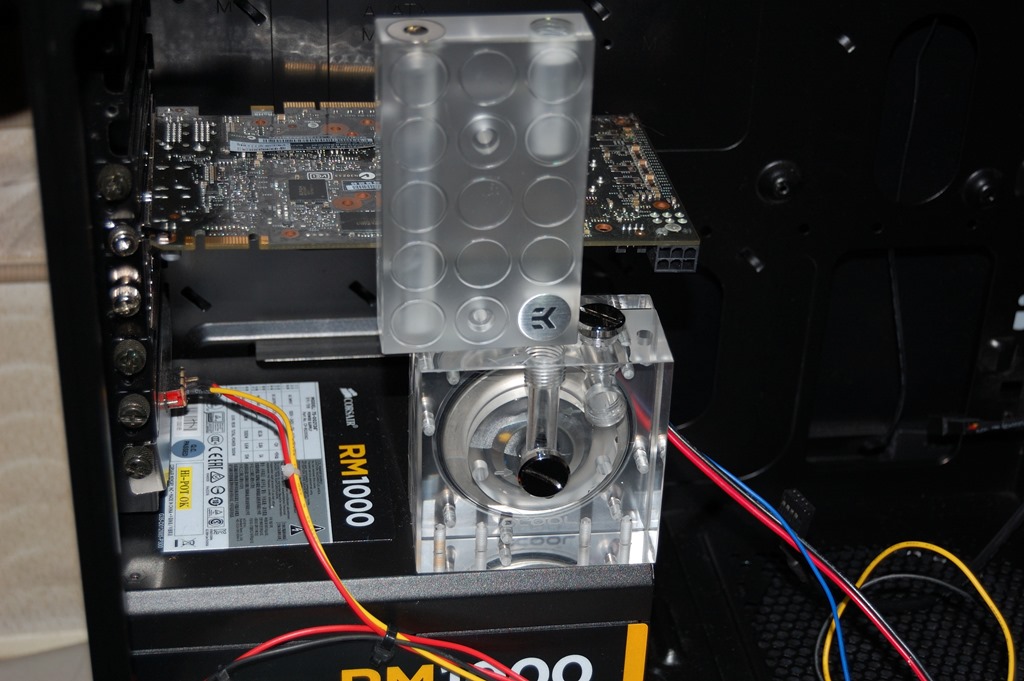
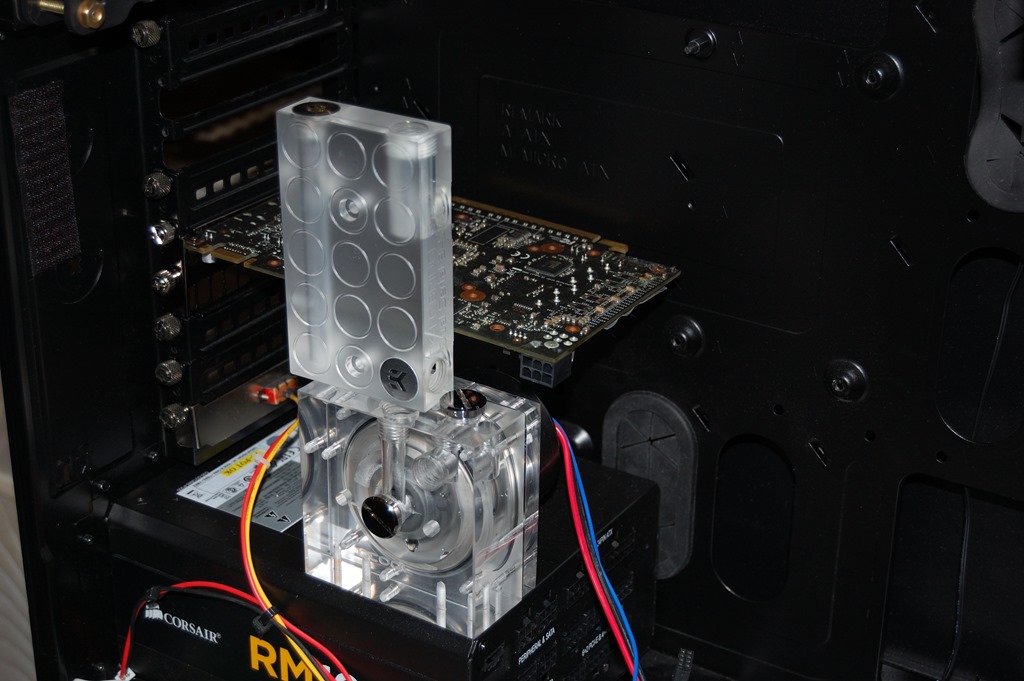
I had planned to have the pump sitting on top of the power supply directly below the graphics cards. Unfortunately the pump and SLI bridge are going to be much closer together than I originally thought. As in, they’ll be millimeters apart instead of further apart as I’d hoped.

This is the primary reason I wanted full access to the 750D, and if you’re considering putting together a custom water loop for your computer, this is also really what you need to be doing to thoroughly plan it out, especially if you’re doing hard tubing. The graphics card behind the SLI block is the dead graphics card from the previous loop. I’m glad I still have it around as it made a perfect stand-in for planning, giving me a good approximation of where things will be.

Now, granted this still has the potential to work, if I can get a fitting to line up the outlet of the pump directly to the inlet on the SLI block. I’d be able to determine that when the order arrived, as I included a Swiftech 90-degree single rotary fitting in the order. And the SLI block will probably be just a little higher such that a direct line-up from the pump outlet to SLI inlet could be pretty spot on.

But in the mean time, I started looking at alternate options for mounting the pump and reservoir.

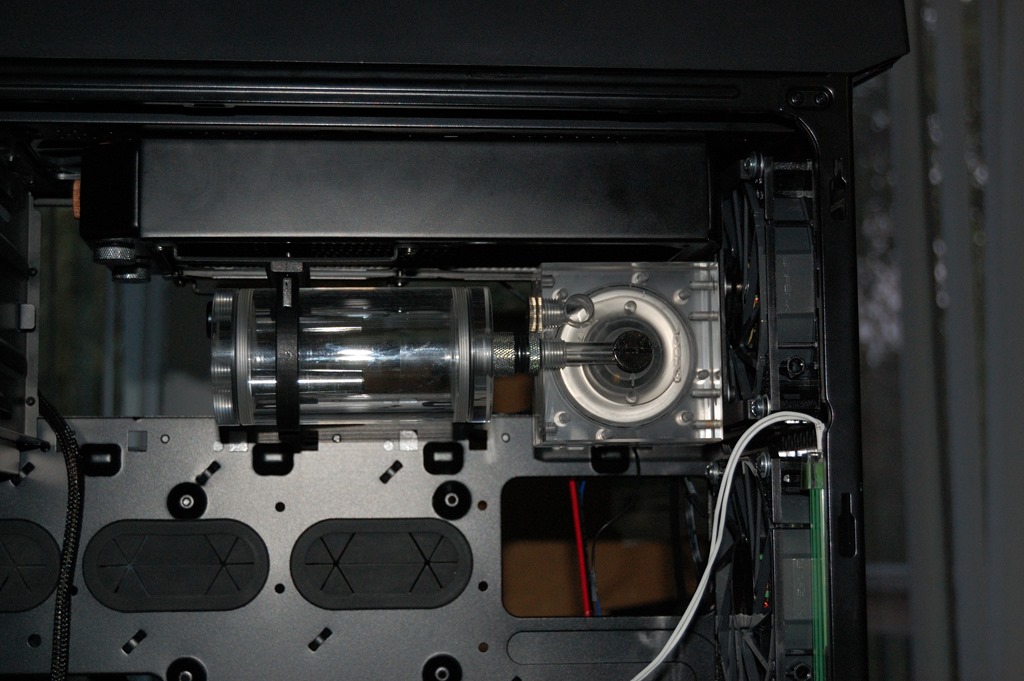
One option was to mount it in front of the front radiator on top of the 120mm fan on a UN Designs Z2 bracket. That is the bracket I used in the test loop to mount the pump to the radiator. Unfortunately there isn’t enough room to mount the pump and reservoir in front of the front radiator. The Bitspower Z-Multi 150 is just too tall: 172mm before fittings are taken into account. Combine this with an 80mm pump mount, and a fitting to join them plus fittings on the top, and it’s too tall to fit.

There is a version of the reservoir that is 100mm long (80mm tube with two 10mm caps), which would allow plenty of room for fittings on both ends of the reservoir and still be well shorter than the front radiator. There’s also a version that is 120mm long, which would still allow room for fittings on both ends, and I could still use the Z2 bracket to mount the pump/reservoir to the lower 120mm fan, just with everything slid far to one side. It creates a tight fit between the drive cage and radiator, but it’s still doable.

Doing this will simplify things quite a bit as well with figuring out how to build and run the loop. Plus for changing out the reservoir, I don’t have to order the entire reservoir, but just the tube for it, and all I’d have to do is just use the ends and fittings I already have. But I want the acrylic caps so it’s a full-clear reservoir instead of having the black caps at the end of it, and getting the full acrylic reservoir is only $4 more than ordering the tube and caps separately – plus it comes with the other things.

Another option is to mount the pump and reservoir on top of the drive cage – well it’d be more like using double-sided tape to stick the pump to the drive cage while the reservoir sticks out the top on a fitting. That would provide for quite a few options as well, depending on which direction I decided to take the flow. I could go from the pump to the 240mm radiator, to the CPU, then the 360mm radiator, down to the graphics cards, then back to the reservoir from underneath the reservoir. The drainage system would likely also come off the outlet from the SLI bridge, probably going to the Koolance pass-through bracket I mentioned in the previous iteration. Or I could take it from the pump to the SLI bridge, up and around to the front radiator and back to the reservoir.

And I can also just get rid of the drive cage using something I found from a company called Mountain Mods: a hard drive rack that mounts to a 120mm fan position.

I foresee using this to mount the hard drives vertically over a 120mm fan in the floor – the one nearer the power supply – to free up a few more millimeters on the floor so it’s not nearly as tight a fit around the pump. Plus it opens the hard drives up to some air flow rather than being stuck in a cage and blocked off – since the hard drives are WD Blacks, this would be a good thing. I’m just not sure which version of this I’ll buy, as there are three types for black and an aluminum version, but I’m definitely getting one.

The hard drives will be mounted so the data and power are toward the roof. Yeah it’ll look a little ugly, but cable management will be easier doing that, and if I need to swap out one of the drives later, it’ll be much easier. If they come up with some kind of way of hiding all of that, then I’ll look into getting it.

So with this in mind, the current plan for the loop is to have the pump mounted on top of the frontward 120mm fan on the floor, just pushed way off to the edge. I’m going to buy a smaller reservoir to mount onto the front radiator, which will feed into the pump. As the reservoir will be center-mounted on the reservoir, and the pump center-mounted over the 120mm fan, the outlet on the reservoir should line up with the inlet on the pump, with fittings to connect the dots, so to speak.

From the pump, copper tubing is going to come out of the outlet on the front of the pump housing, bend around the hard drive mount, then turn up to line up directly into the inlet on the SLI block. From the outlet on the SLI block, it’ll go up to the 360mm radiator, then to the CPU block, and to the 240mm radiator in the front. And fittings should be able to connect the outlet on the front radiator directly into the reservoir.

But that’s pretty much the plan and I don’t see a reason to change it right now. It does mean I’m ordering 5 of the 120mm Spectre Pros instead of 4 as originally planned, but it’ll add more air flow to the equation, and cooling on the hard drives for that matter. I’ll also be ordering another reservoir since I want the acrylic caps, along with the hard drive mount I mentioned earlier.

Now the drainage system – something you always need to plan for in a loop – is going through the Koolance pass-through bracket with a Bitspower valve. A t-fitting will divide the flow from the inlet to the SLI bridge and direct part of the flow to the valve. Draining the loop will basically be putting a barb fitting on the outlet, open the valve and tilt. Now this isn’t the lowest point in the loop – that would be the pump – but it’s the easiest place to put the drain valve.

And that valve fitting is on there tight. I tightened it with a wrench to make sure.

Now one thing to point out about installing this bracket: you may need to take the fittings off the bracket before you install it. The fittings are just a little too wide to easily fit through.

So that’s it for now. I haven’t taken apart the original reservoir mount, as I’ll wait till the order arrives on Wednesday before doing that as that order will include three new 140mm fans – i.e. do everything at once, including mounting the front fans. Progress on this is going slower than I’d like, but going slow means hopefully I’ll get all the kinks worked out long before I’m actually cutting, straightening and bending tubing to actually build out the loop. I’m pretty confident with the current plan and think it’ll work well, but I won’t know exactly until the next batch of components comes in, in particular the hard drive mount and new reservoir.

Project Absinthe – Part III

Build Log:

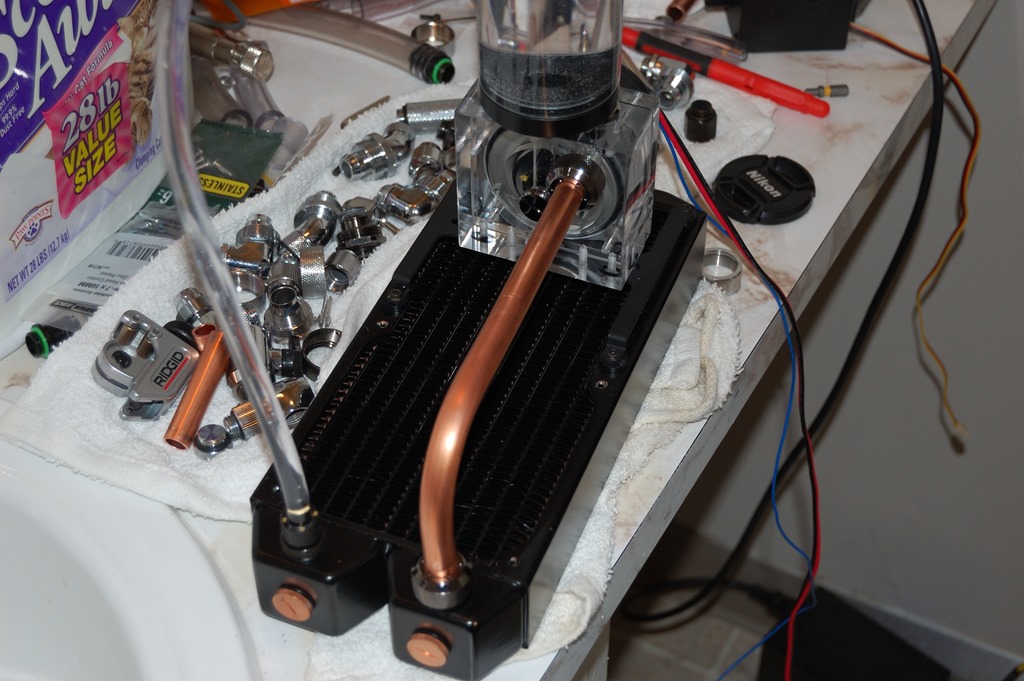
Let’s start with a proof of concept in a bid to do something different. For making hardline water cooling loops, most everyone is using acrylic or PETG tubing (note: do not use polycarbonate, as it can be destroyed by propylene glycol and ethylene glycol). But one thing that few are using is copper. I’ve looked around and found only a few builds using copper tubing.

Now Absinthe has its name from the green lights that my wife selected when we were upgrading her system. Absinthe is typically produced through distillation, and I think the soft copper tubing will make the system look as if it’s built to distill liquor. Plus the copper tubing is is still less expensive than some of the specialty water cooling tubing – I paid only $14 for 10′ at Home Depot, and the price is slightly better at Lowe’s. The green lighting that gave Absinthe its name will make it look like the “green fairy” watching over its latest batch being produced.

To that end I’ve had to make a couple acquisitions for the purpose of experimenting. Along with the aforementioned tubing – 3/8″ ID x 1/2″ OD – I also purchased a tubing bender: Imperial Tools 370-FH, which I was able to get through Zoro.com for under $50. It has a 1.5″ radius when bending, so something to keep in mind if you go this route. It was also the least expensive tubing bender I could find that could take 1/2″ tubing that also had a decent rating on it. I already had a tubing cutter from years ago, so I didn’t need that.

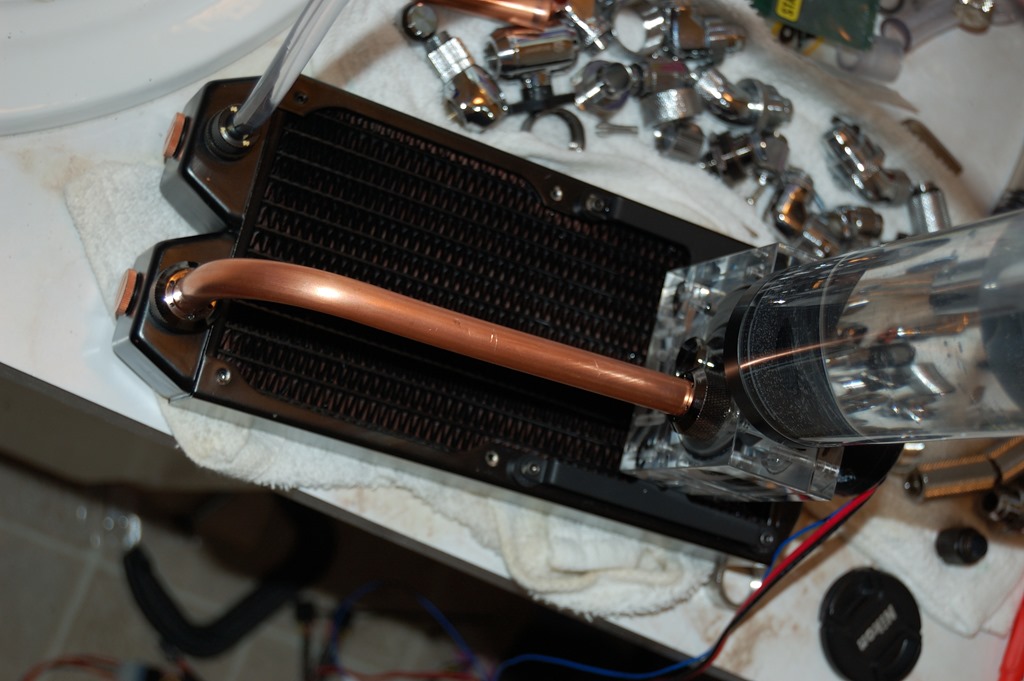
Now the tubing comes in coils, so I needed a way of straightening it. A crude method is using a C-clamp to clamp it to a countertop and using a mallet and wrench to pull it taught and straight. It works reasonably well and allowed me to straighten enough and bend a length of copper tubing:

But a better way of doing this is with an actual bench vice. Now I’m not expecting to get perfectly straight lengths of tubing, and I’m not willing to spend the outrageous price for a tubing straightener. If I was doing this for client builds, that might be a different story. Most options I’ve seen list for 200 USD, while the least expensive one I’ve seen available is 39.99 GBP (shy of 70 USD at current exchange rates) plus international shipping (though for US buyers it’d probably be less since I believe he’d have to subtract out the VAT), but isn’t available for 1/2″ OD tubing. I’ve seen some homegrown options that others have posted to DIY forums, but even then the bench vice option is the least expensive and easiest to obtain, especially since I was able to obtain a reasonable bench vice for only $24 from Harbor Freight.

For those wondering what a bench vice has to do with straightening soft copper tubing, watch this video:

http://www.youtu.be/LvGEKaaPf5E

But you also need fittings. Here’s where my research took me in a few directions.

Koolance makes compression fittings specifically for copper tubing – note that there is a difference between compression fittings used in plumbing and what companies like Bitspower and Alphacool call “compression fittings” for soft tubing. They’re also $10 each for 1/2″ OD fittings when bought in reasonable bulk through Koolance’s web site. But I was also already aware that PrimoChill made compression fittings for hard tubing, specifically for 3/8″ x 1/2″ tubing. So I ordered a pair to give them a try and gather the above proof of concept. They were less expensive than Koolance’s offering, and also looked better.

And I ended up ordering a 10-pack of them. I don’t know if 12 fittings will be enough, but we’ll find out.

Change of scenery

I have a lot planned for Absinthe, but a lot of what I need to figure out is going to require access to the case itself. But to have access to the case in the manner required, my wife really cannot be on her computer. Obviously there’s a conflict, as I need to access to the case without my wife losing access to her computer. Anyone with gamer wife likely knows the dangers involved here – I’m not sure if it’s on the same order as or worse than denying chocolate to a woman who’s menstrual.

Looks a bit cramped, doesn’t it?

That case is the Zalman Z12 Plus, which is a mid-tower ATX case, or at least it’s called a mid-tower. It barely has room for her two graphics cards and the mainboard. I bought this case earlier this year to house my computer as I was moving it out of an Apevia mid-tower case. Then my wife picked out the 750D for her computer, and I decided I needed one for my machine as well. I love building into the 750D, and I know I’ll like moving everything back into it.

Aside from room, the main downside on the Z12 is cooling space. It has room for only 5 fans: 2 in the roof, 1 in the front, rear and floor. The rear fan above the processor is 120mm only, but all the other fan spaces have a 140mm option, though the bottom fan mount can only fit a 140mm fan if you’re using a short enough power supply – and it cannot be a modular power supply either. More on that in a moment.

For water cooling, there’s no room for radiators with mounted fans. This case pretty much requires you to stick with external options using the tubing pass-through holes below the rear 120mm fan position to get the coolant into and out of the case.

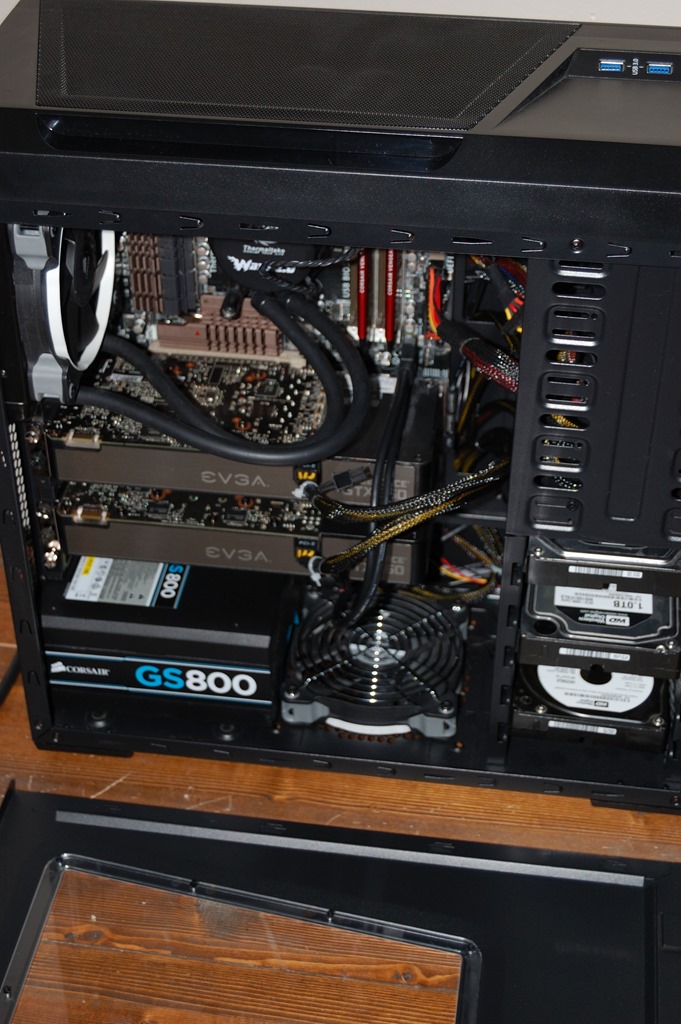
Unfortunately for this build, only 4xSP120s could fit due to the radiator on the ThermalTake cooler, including the one on the radiator. I also had no choice but to put the radiator in the rear 120mm position as any other place and it would’ve conflicted with the components on the mainboard, and I couldn’t mount it on the floor without the radiator tubing kinking. And the absolutely poor cooling on this case made it such that it was more worthwhile leaving the side panel off the case and having a fan blowing directly onto it. Sure it’ll likely mean I’m going to have to clean a ton of dust out of it in a couple weeks, but it’ll be running a bit cooler in the mean time.

I also wish I could’ve put the RM1000 in there as it would’ve made cable management so much easier, but unfortunately that wasn’t possible without sacrificing the bottom fan slot, so I opted for the GS800 and difficult cable management instead. With the components in this build, having better cooling was more important than having the more efficient power supply. The GS800 is 160mm long, while the RM1000 is 180mm long. My CX750M, however, is only 140mm long, so using that power supply in the Z12 would allow for a 140mm fan in the floor.

Again, this freed up her case so I could mount radiators and figure out how things will generally be tubed up, where and how things will be mounted. The 120mm Spectre Pros will be ordered when I’m about ready to move everything back into the 750D. The 140mm fans were ordered with fittings I knew I would need for this build and will be put in as soon as they arrive.

Breaking ground

As mentioned in pulling apart her system from the 750D, I initially removed the power supply because I was hoping I’d be able to use it in the Zalman case. So in freeing up her case, the first thing I did was remount the power supply, followed by mounting the 360mm radiator. This time, though, I used #6 washers under the M3 screws to ensure none of the screws would start slipping through the grommets. I left draining the test loop to free the 240mm radiator for the next day.

Earlier in the day I did visit Lowe’s to buy some brass #8-32 1-1/2″ screws, with corresponding washers and nuts. This was for mounting the radiator to the rear 140mm fan slot. Externally.

The reservoir is mounted on a UN Designs Z3 bracket. Sidewinder Computers I’ve found has the best price on this, by the way. Even with shipping they’re still less expensive than what everyone else is charging before shipping is included.

I’m using 00 rubber washers to offset the bracket from the back of the case, otherwise it wouldn’t fit the way I wanted to mount it. In hindsight I could actually have used 1/2″ or 3/4″ screws to mount this. The reason for this is the divided mounting holes for the fans. All I’d have to do is get the screw through the inner mounting hole. Not all fans have divided mounting holes, though, and the Spectre Pros fall into that category, having a channel connecting the two mounting holes. I’m not sure if I’ll modify the fans, though, but another option I’m considering is buying 2″ brass screws and use more 00 washers to offset the Z3 mounting bracket just a little more.

Planning it out

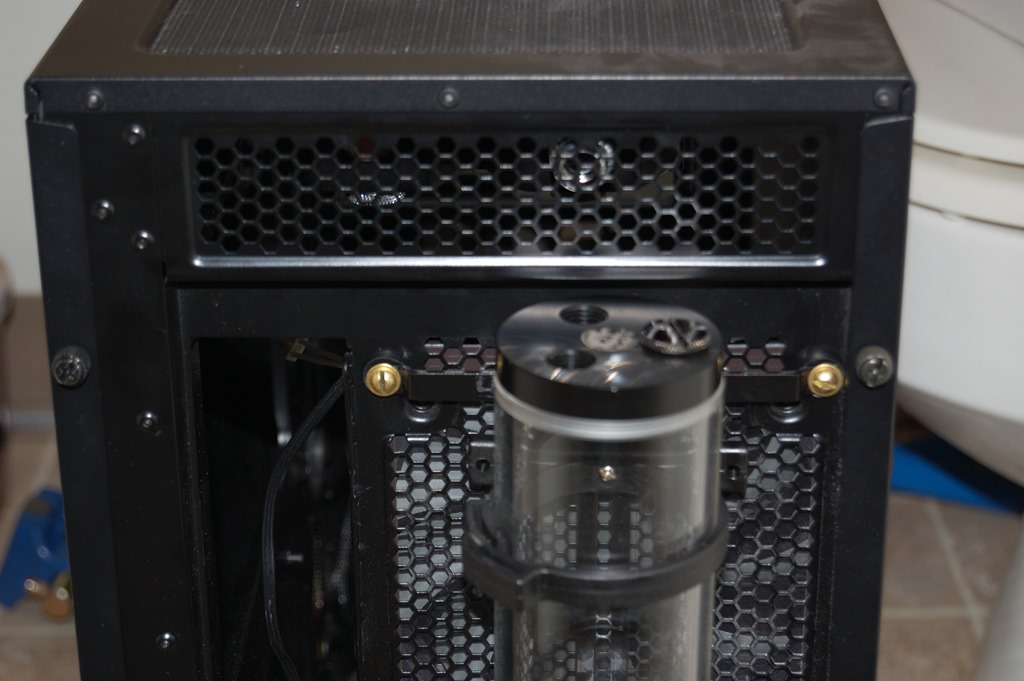
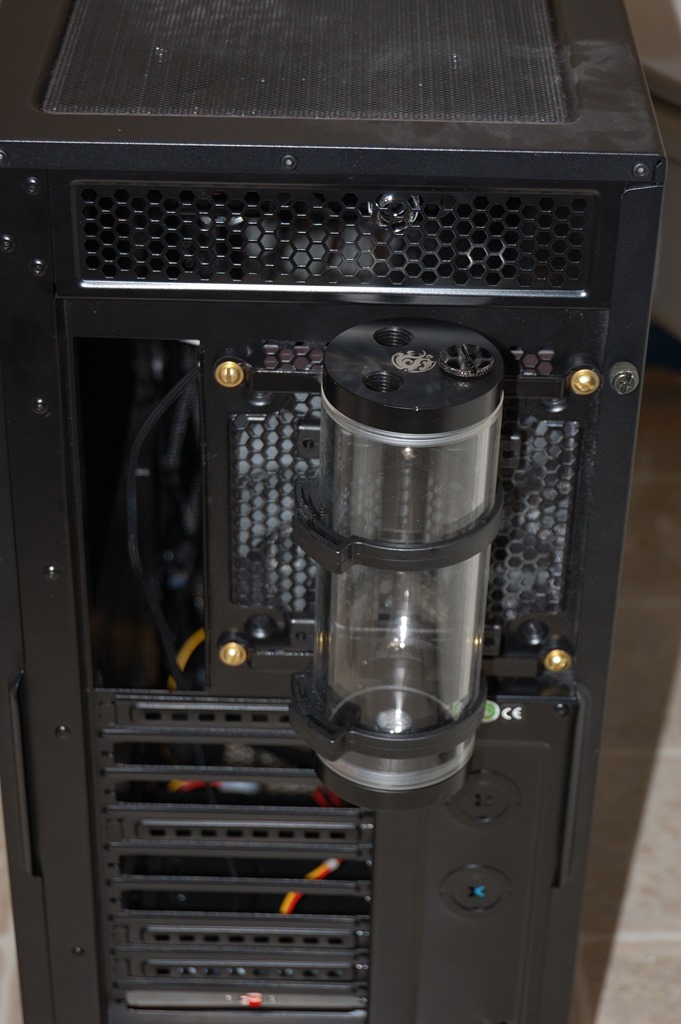
The plan is to have the outlet from the 360mm radiator go out the mesh on the upper rear of the case through a bulkhead fitting – you can probably see the Swiftech SLI fitting in the pictures above – and then go down into the reservoir, likely through a 90-degree dual rotary fitting since those provide for a softer radius which provides for less resistance over the hard 90-degree fittings you commonly see in water cooling loops. And having the least amount of resistance at the point in the flow furthest from the pump is always better.

In the lower picture above you can see the two pass-through holes at the back of the 750D. I’m not sure yet how I’m going to get the coolant from the reservoir into the case. I have a Koolance expansion slot pass-through bracket I’m considering using, but I’m also considering using one of the pass-through holes as well. The advantage of using the pass-through holes is a more direct route to where I’m planning to put the pump, allowing the coolant to just drop directly to it rather than having to travel along a horizontal path first.

That red switch down at the bottom is for the cold cathode lights. The little glint of blue you can see behind the lower pass-through is the transformer for the CCFLs. I want to hide that behind the mainboard tray and get it completely out of the way. Extension cables, though can be problematic and the issue well-documented online, and I’m well aware of them myself as I use an extension cable on the CCFLs in my own case. Initially I bought 24″ extension cables and didn’t like the result:

The dimmer light is connected to the extension cable, as you can see, while the brighter light is plugged directly into the inverter. I bought 12″ extension cables, and that is currently what’s in my system. It’s still odd with them, though, because the lights will start out dim when the system is powered on and will take a while to get to near full brightness. It’s nice having the cables because it allowed me to hide the inverter behind the mainboard out of the way, but I’m searching for something better.

And I think I’ve found it: a “stackable” CCFL inverter, which allow you to chain the inverter boxes off one single power point. This allows you to have one inverter toward the roof, another toward the floor, eliminating the need for extension cables on the lights. The question is whether everything could lay flat behind the mainboard tray.

* * * * *

So as I’ve shown herein, there is quite a bit planned for Absinthe. The next order arrives on Wednesday which will have the Primochill fittings, a Koolance bulkhead fitting, and the 140mm Spectre Pro fans. In the mean time, I need to drain the test loop I made with the 240mm radiator and the copper tubing so I can mount that radiator into the case.

I’m going to do another test fit with that radiator onto the floor of the case to see if it will actually fit on the floor adjacent to the power supply and its cables. If it will fit on the floor adjacent to the power supply and its cables, then the reservoir will go inside the case and I’ll figure out a different way to mount up everything else. If it won’t, as I believe it will not, then I’ll be holding to my original plans.