- Rack mount hard drive enclosure project
- Rack mount HDD enclosure, part 2
- Rack mount HDD enclosure, part 3
- Rack mount HDD enclosure, part 4
- Rack mount HDD enclosure, part 5
- Rack mount HDD enclosure, part 6: Follow up with Protocase
- Rack mount HDD enclosure, part 7
- Rack mount HDD enclosure — final and retrospective
I’ve made some progress on this particular project by ordering parts for it. I also sent out the evaluation request to iStarUSA for the hard drive rack, but ultimately I don’t think I’m going to use it. Instead I’ve had a little bit of a rethink on it.
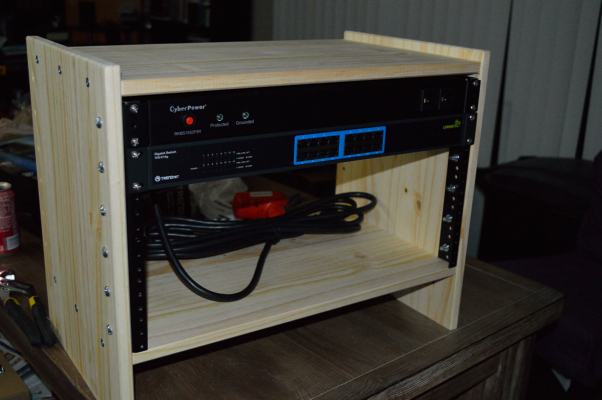
First, let’s talk about what’s been ordered. I ordered a 2U plastic rack mount enclosure from Allied Electronics, specifically Bud Industries part PRM-14462, which has useable dimensions of 16.5″ width, 3″ height and 7.5″ depth, which is more than enough space. What I was seeking, though, was an enclosure with a removable front face. A lot of the enclosures I found had the faceplate part of the overall structure, with the sides, top or bottom screwing into it as part of the overall structure. And the aluminum rack mount chassis that Bud Industries develops go along that line as well.
But the plastic rack mount option does not. The rack mount “ears” can be removed from the box if desired, and the front plate is not critical to the overall structure, making it a perfect fit. I’ll need to modify the front panel to mount intake fans — possibly even get rid of it entirely and just mount some kind of mesh in its place, like the MNPCTech modder’s mesh. Might do the same to the back, actually, to make things easy and promote a clean air flow through it, along with being easier to cut what and where I need.
This one also appears to be a lot easier to disassemble. Since I’m no longer planning to go with hot swap drive caddies, this is going to be important. This enclosure is going to be used in a home setting, meaning the drives aren’t going to be getting pounded like they would in a large business or enterprise setting, so the need to replace them should be very, very infrequent.
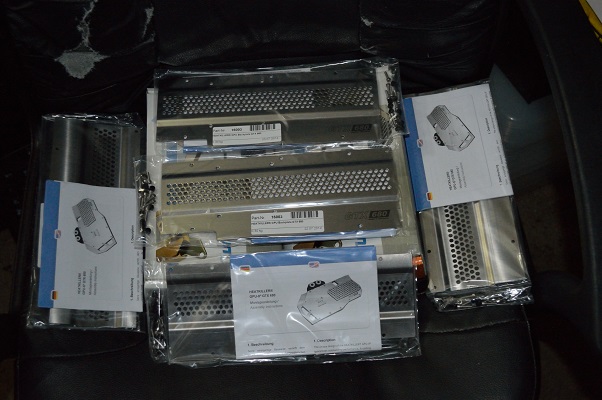
So instead of mounting up drive caddies, I’m looking at drive cages. Since I’m not planning to allow the drives to be removed out the front of this, meaning I’ll have to completely open the enclosure to get to the drives, I think I’ve found something that’ll work just perfectly: CaseLabs S3 Dual HDD Mount. It appears from the picture that this is only 2″ tall, perhaps a hair taller, which is perfect for what I’m building.
Now if I was trying to do this with 2.5″ laptop drives or SSDs, then I would have gone with something off the shelf and called it a day — even gone with removable drive caddies as well since that is what is mostly available. But for 3.5″ platter drives, things have been a little more… difficult to plan and locate.
I had also planned on just having SATA to eSATA pass-through cables in the back, but have decided instead on using a port multiplier. It’ll increase the cost of this substantially but lower the complexity of trying to connect all of this up. I didn’t even realize that the port multipliers could be purchased separate, but Addonics carries them. They have options with a built-in RAID function, but the one I bought doesn’t have that.
So the parts list so far is looking like this:
- Bud Industries PRM-14462
- Addonics AD5SARM6G 5-port SATA III port multiplier
- CaseLabs S3 Dual HDD Mount (x 2)
I only just discovered the CaseLabs HDD mount, so I haven’t ordered that yet as of the time I’m writing this. But so far the cost of these, not including shipping, is about 150 USD, which seems like a lot. But when you consider that pre-fabricated enclosures like this tend to be easily double that, I’m still coming out ahead.
For example there’s the M-140-JB enclosure from iStarUSA, which currently sells for about 300 USD through Amazon. It has a 150W open-frame power supply and hot-swap bays, but does not come with the port multiplier for connecting it to your server/system, nor any drive cables, which will add about 100 USD. And then there’s the EA-105-JB, which is basically just a steel box with some fans and hard drive mounts — no power supply, no drive cables, nothing else. Some places list it for about 150 USD.
All that’s left now is to figure out how to power the thing, and for that I’m leaning toward just getting an inexpensive 1U power supply and creating an on/off switch for it using a leftover locking anti-vandal switch I have laying around. The open-frame power supply on the M-140-JB gives me an idea as well.
So that’s it for now. Hopefully my next update on this will feature me actually building this.



You must be logged in to post a comment.